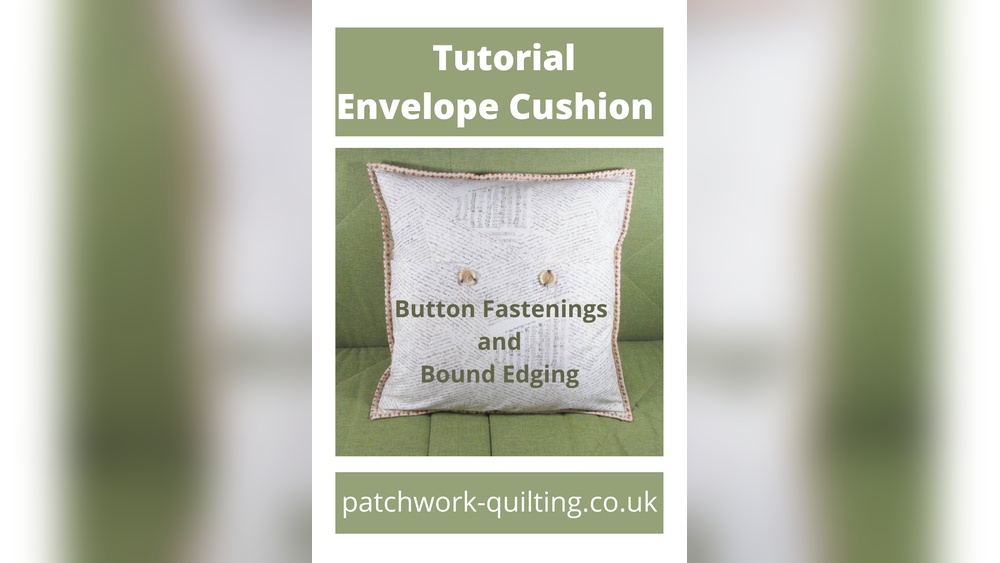
Are you looking for a simple way to refresh your living space? Making a cushion cover with button fastenings is easier than you think, and it adds a personal touch to your home décor.
Imagine creating a stylish, snug cover that fits perfectly and lets you change your cushions whenever you want. In this guide, you’ll learn step-by-step how to sew your own cushion cover with buttons, even if you have little or no sewing experience.
Ready to transform your cushions and impress your guests? Keep reading, and by the end, you’ll have the skills to make beautiful covers that match your style perfectly.
Materials Needed
Gathering the right materials is key to sewing a perfect cushion cover with button fastenings. Choose quality items to ensure durability and style. Prepare everything before starting to save time and avoid interruptions.
Fabric Selection
Pick a fabric that feels comfortable and suits your room’s style. Cotton and linen are easy to sew and clean. For a soft touch, consider velvet or fleece. Choose a fabric with a tight weave for strength. Make sure to buy enough fabric to cover both sides of the cushion.
Button Types
Select buttons that match your fabric and design. Wooden buttons give a rustic look. Plastic buttons are lightweight and come in many colors. Metal buttons add a modern, stylish touch. Choose buttons with holes or shanks that fit your sewing skills. Make sure buttons are the right size for easy fastening.
Sewing Supplies
Essential tools include needles, thread, scissors, and pins. Use thread that matches your fabric color. A sewing machine speeds up the process but hand sewing works too. Measuring tape helps cut fabric accurately. Don’t forget a seam ripper for fixing mistakes. A fabric marker or chalk makes cutting easier and more precise.
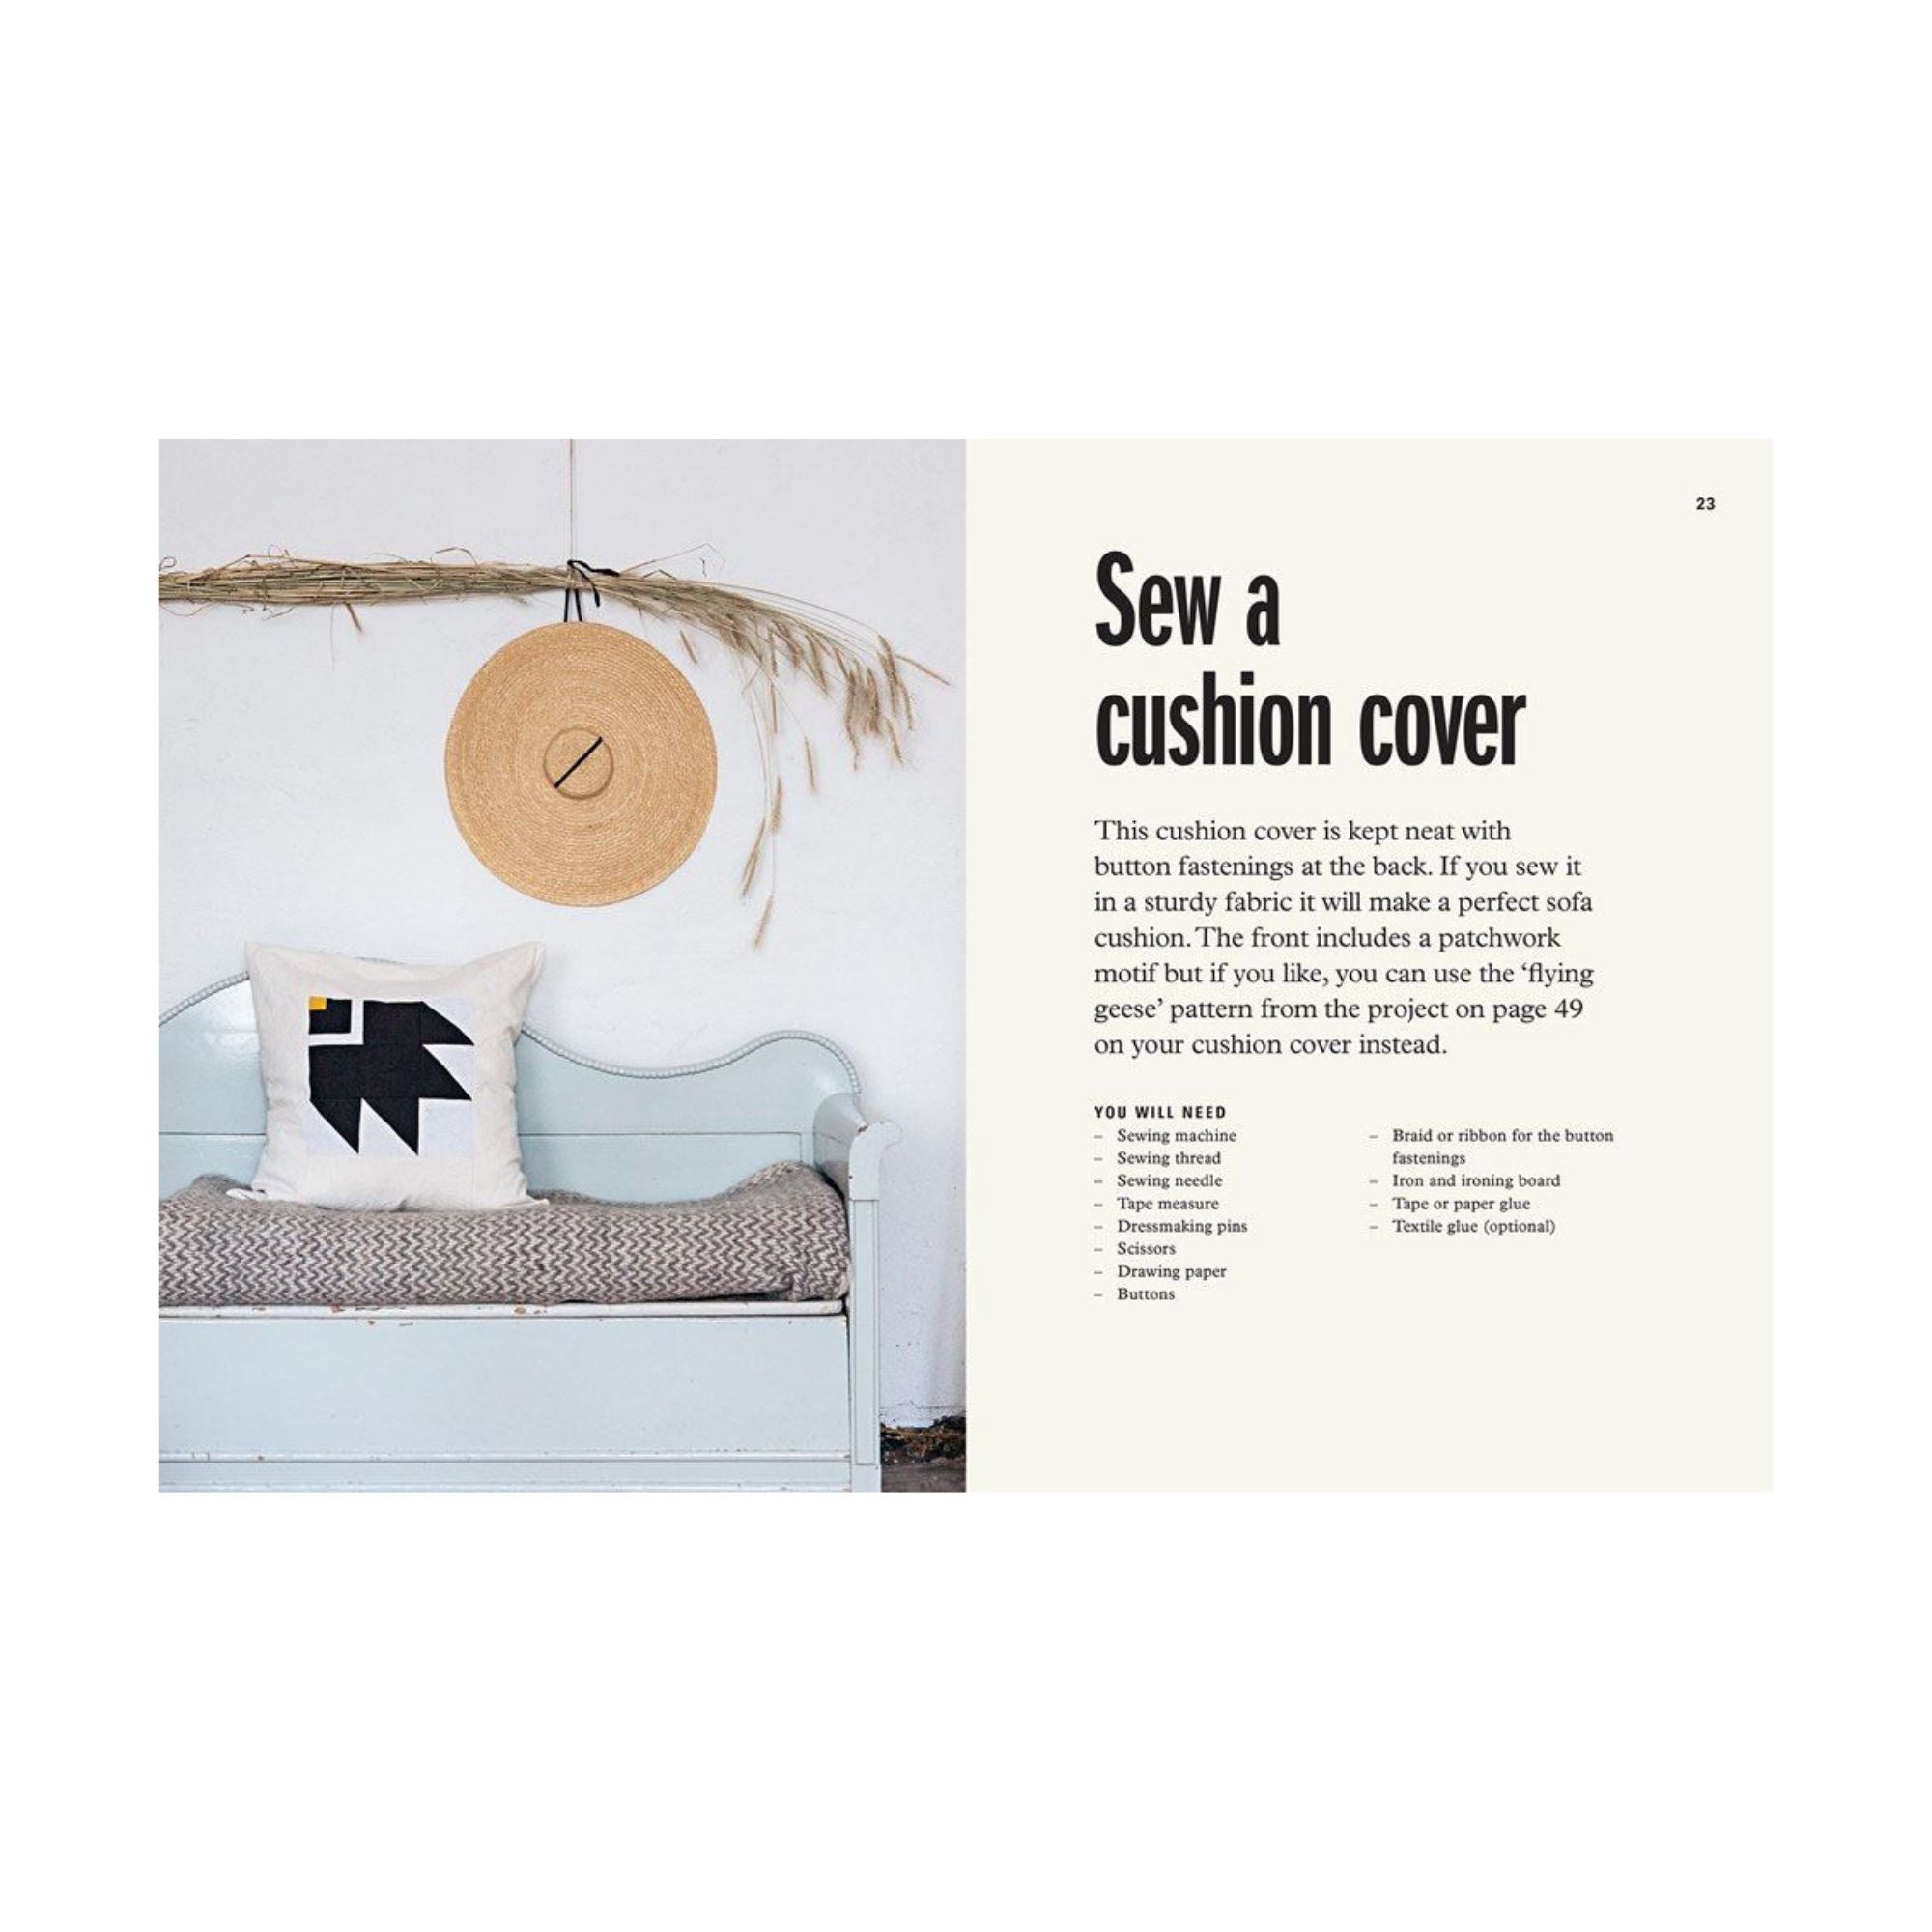
Credit: www.harbourlane.com
Measuring And Cutting Fabric
Measuring and cutting fabric are the first steps in making a cushion cover with button fastenings. These steps ensure your cover fits the cushion perfectly. Careful measuring and cutting prevent mistakes later. Take your time for the best results.
Measuring Cushion Size
Start by measuring your cushion. Use a tape measure for accuracy. Measure the length and width of the cushion. Note these numbers down. Add extra space for seams, usually 1 to 1.5 inches on each side. This space allows the fabric to be sewn together easily. Double-check your measurements before cutting.
Cutting Fabric Pieces
Lay your fabric flat on a clean surface. Use scissors or a rotary cutter for clean edges. Cut two pieces of fabric using your measurements. One piece is for the front, and the other for the back. Remember to add seam allowance around all edges. Keep your cuts straight and precise. Neat pieces make sewing easier and the cover look better.
Sewing The Main Fabric
Sewing the main fabric is the first big step in making your cushion cover. This part shapes the cover and holds it all together. Use good quality fabric and make sure it is cut to the right size. Take your time to sew straight and even lines. This will make your cushion cover look neat and last longer.
Stitching The Sides
Place the fabric pieces with the right sides facing each other. Pin the edges to keep them in place. Sew along the sides using a straight stitch. Leave the top side open for the cushion to fit in. Backstitch at the start and end to secure the seams. Trim any extra fabric from the edges to reduce bulk.
Creating The Button Placket
Fold the fabric edge twice to make a neat placket for buttons. Iron the folds to keep them flat. Sew close to the inner fold for a clean finish. Mark where the buttons and buttonholes will go. Cut small slits for the buttonholes carefully. Sew the buttonholes using a zigzag stitch or buttonhole setting on your machine.
Attaching Buttonholes
Sew small buttonholes carefully along one edge of the fabric. Make sure they are evenly spaced for a neat look. This helps secure buttons and keeps your cushion cover tidy.
Marking Buttonhole Placement
Start by deciding where the buttons will go on the cushion cover flap. Measure equal distances from the edges for a neat look. Use a fabric pencil or tailor’s chalk to mark the spots. Make sure the marks line up with the buttons on the opposite side. Double-check the placement by pinning the flap closed.
Sewing Buttonholes
Set your sewing machine to the buttonhole stitch setting. Place the fabric under the machine foot, aligning the mark with the needle. Sew slowly, following the buttonhole shape carefully. After sewing, use small scissors to cut open the buttonhole. Cut only the center, not the stitches. Test the buttonholes by fitting buttons through them. Adjust if needed for a perfect fit.
Sewing On Buttons
Sewing on buttons is a key step in making a cushion cover with button fastenings. It holds the cover closed and adds a neat look. The process is simple but needs care to keep buttons strong and well placed.
Choose the right position and sew buttons firmly for a tidy finish. Below, learn how to place and attach buttons properly.
Choosing Button Position
Mark where each button will go. Usually, place buttons evenly along the edge of the opening. Space them about 3 to 4 inches apart. The buttons should line up with the buttonholes for easy closing. Check the position by folding the fabric before sewing. Adjust marks if needed for a perfect fit.
Attaching Buttons Securely
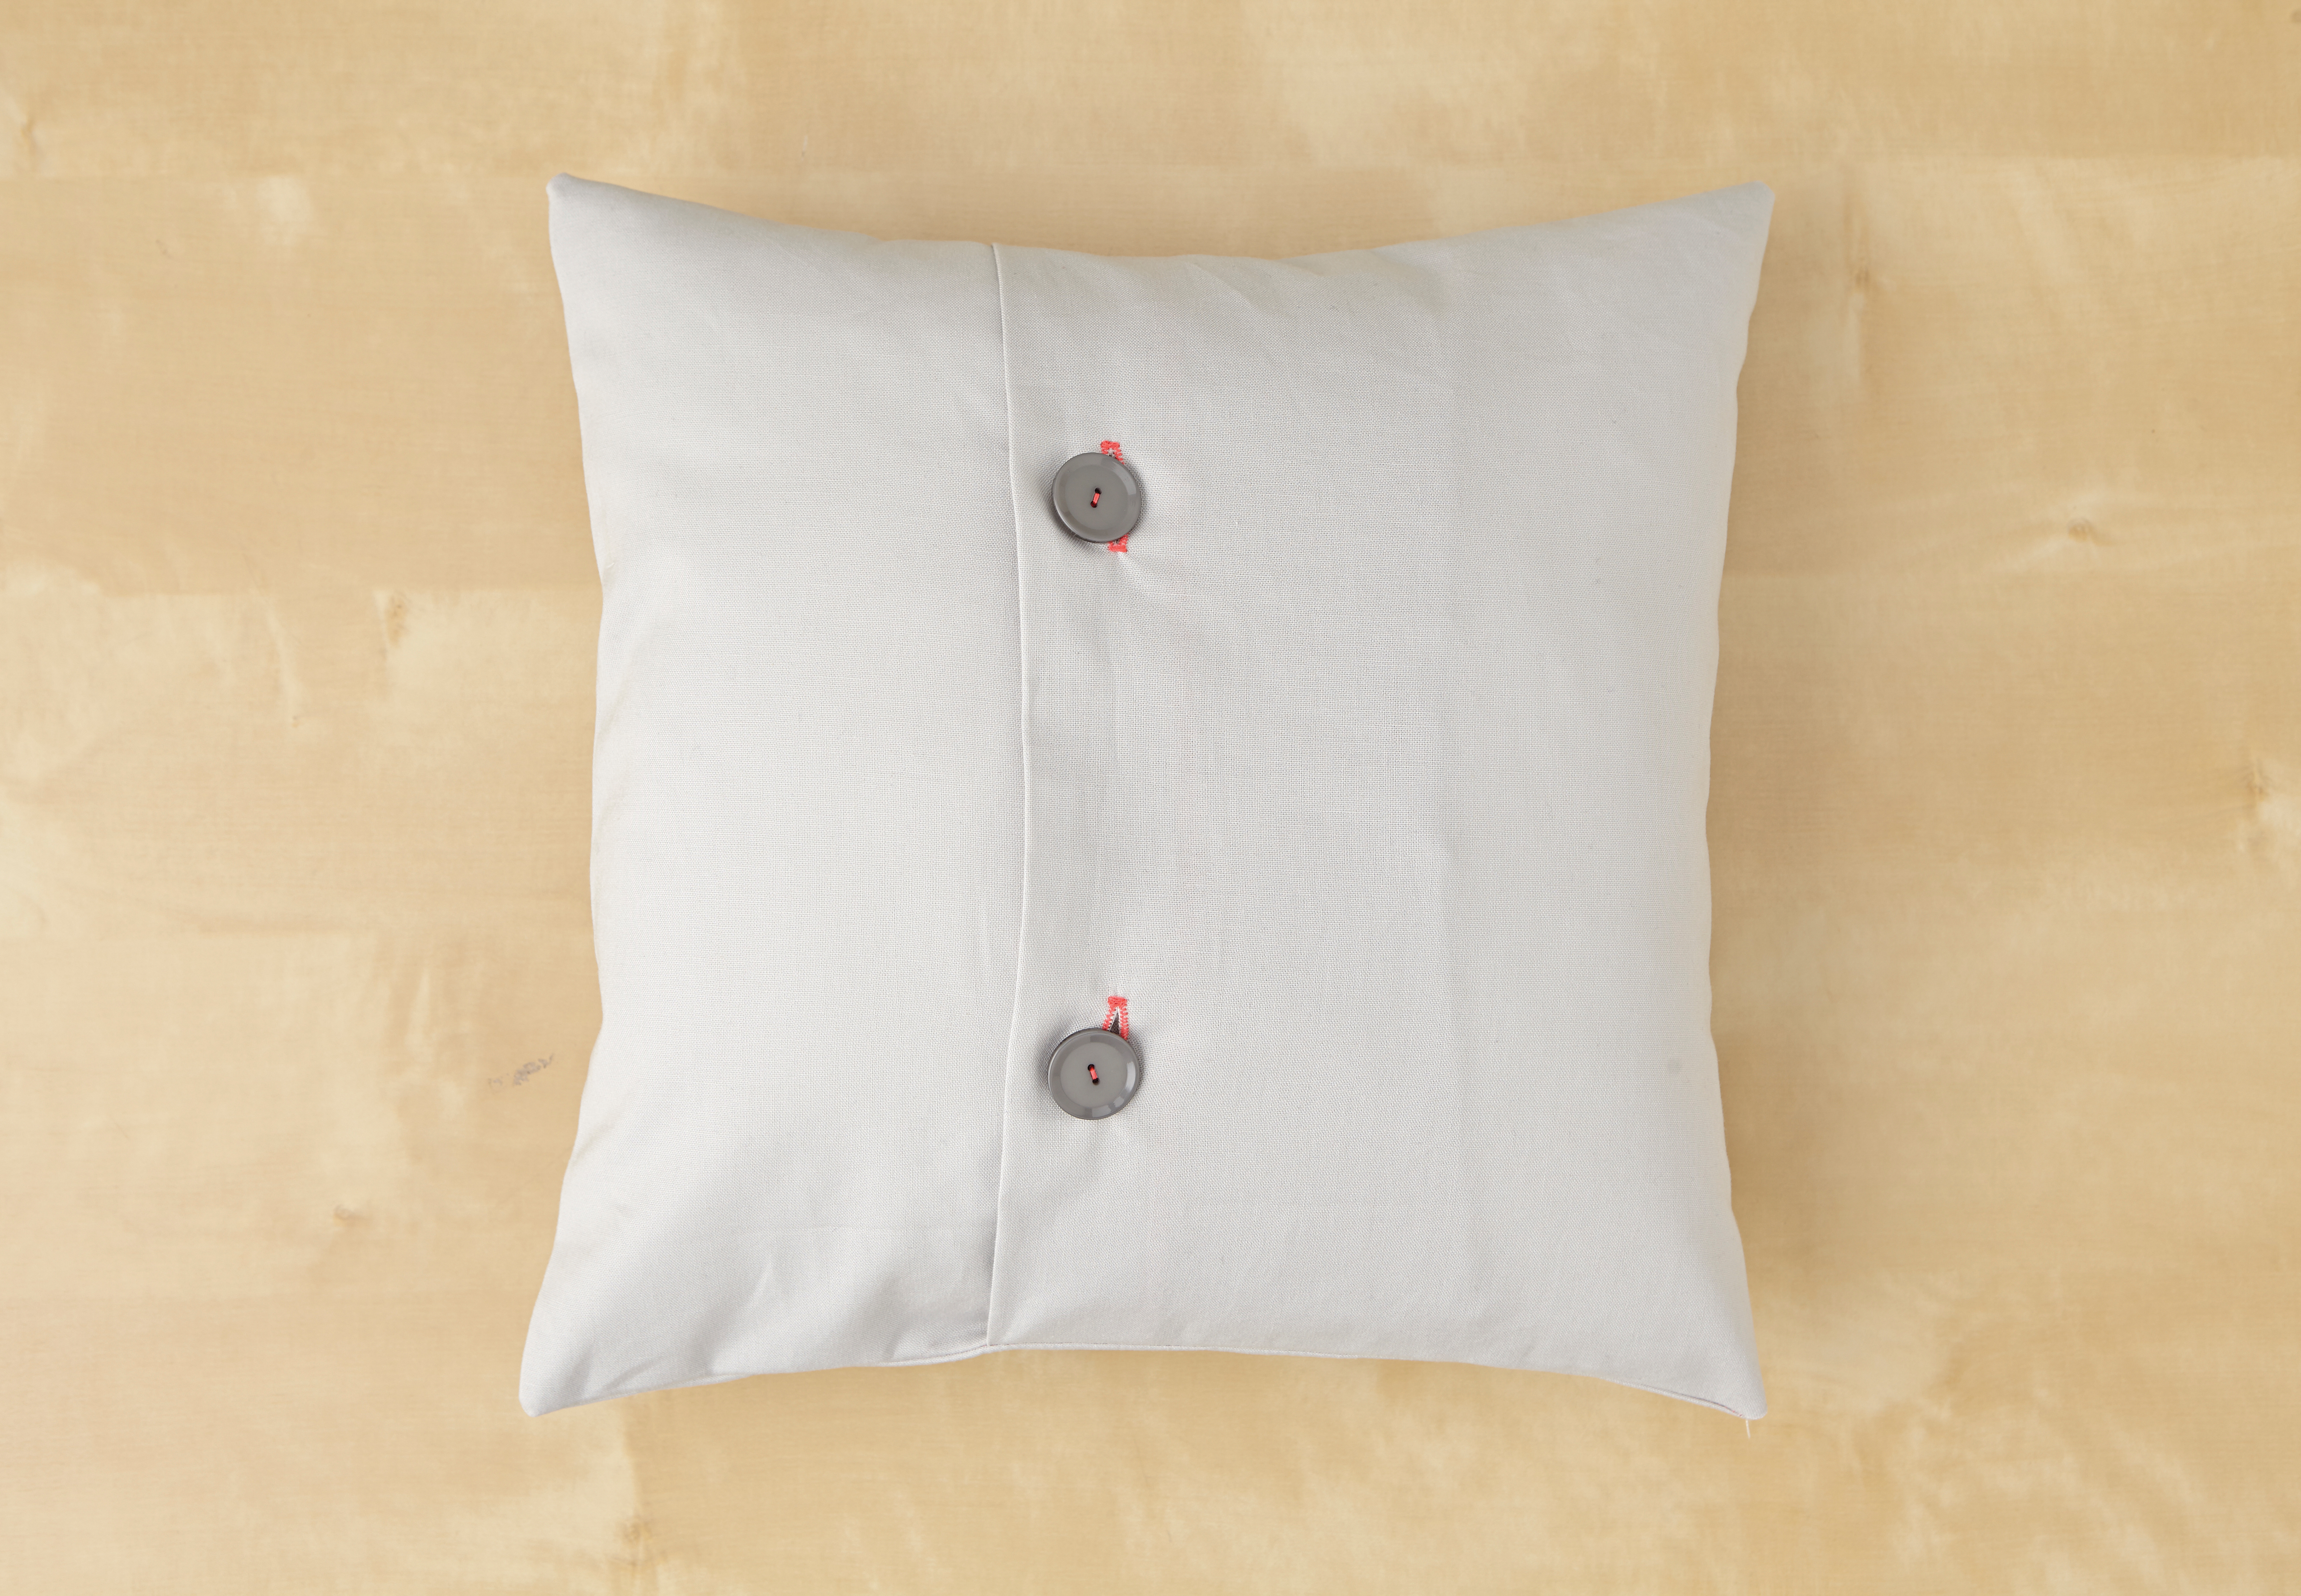
Thread a needle with strong thread matching the fabric color. Knot the end to keep it tight. Push the needle through the fabric from the back to the front. Sew through the button holes several times. Use a few stitches to keep the button firm but not too tight. Wrap thread around the button shank if it has one. Knot the thread at the back and cut the excess. Test the button by fastening and unfastening it to check strength.
Credit: www.finesseph.co.uk
Finishing Touches
Finishing touches make your cushion cover look neat and complete. These final steps improve the overall appearance and durability. Take your time to ensure everything fits well and looks tidy.
Pressing And Trimming
Use an iron to press the seams flat. This step helps the fabric lie smooth and crisp. Trim any loose threads around the buttons and edges. Clean edges give a polished look and prevent fraying.
Inserting The Cushion
Slide your cushion into the cover carefully. Make sure the cover fits snugly without stretching. Button up the fastenings to secure the cushion inside. Check the buttons close properly and the cover looks even.

Credit: www.instructables.com
Frequently Asked Questions
How Do I Sew Button Fastenings On Cushion Covers?
To sew button fastenings, mark button andhole positions on fabric. Use a needle and strong thread to attach buttons securely. Ensure holes align perfectly for easy fastening.
What Fabric Works Best For Buttoned Cushion Covers?
Choose medium-weight cotton or linen for buttoned cushion covers. These fabrics are durable and easy to sew. They hold buttons well and offer a neat finish.
How To Measure Cushion Size For Making Covers?
Measure your cushion’s width and height accurately. Add extra fabric for seam allowance and button overlap. This ensures a snug, well-fitted cushion cover.
Can I Use Decorative Buttons For Cushion Covers?
Yes, decorative buttons enhance your cushion’s look. Choose buttons that match fabric and theme. Ensure they are sturdy enough to withstand regular use.
Conclusion
Making a cushion cover with button fastenings is simple and fun. You can choose any fabric you like. Sewing the buttons adds a nice touch and keeps the cover secure. This project helps improve your sewing skills step by step.
Try different colors and patterns for a unique look. Enjoy creating cozy, personalized cushions for your home. With practice, you will make covers faster and better. Give it a try today and see how easy it can be!