Are you ready to take your rope bracelet skills to the next level? Knowing how to create fasteners for your rope bracelets gives you full control over the design and makes your creations stronger and more stylish.
Imagine making a bracelet that fits perfectly and stays secure all day long. You’ll discover simple, step-by-step techniques to craft fasteners that not only look great but also last. Keep reading, and soon you’ll be turning ordinary rope into stunning, wearable art you’ll be proud to show off.

Credit: jewelrymakingjournal.com
Materials Needed
Creating fasteners for rope bracelets requires a few key materials. Choosing the right materials helps your bracelet last longer and look better. Prepare everything before starting to avoid delays.
Focus on three main things: the rope itself, the fastener options, and the tools you need. Each part plays a vital role in making a secure and stylish bracelet.
Types Of Ropes
Select ropes that are strong and flexible. Common choices include nylon, cotton, and paracord. Nylon ropes are smooth and durable. Cotton ropes feel soft and natural. Paracord is thick and very strong, ideal for outdoor styles.
Pick a rope thickness that suits your bracelet size. Thinner ropes create delicate bracelets. Thicker ropes give a bold look.
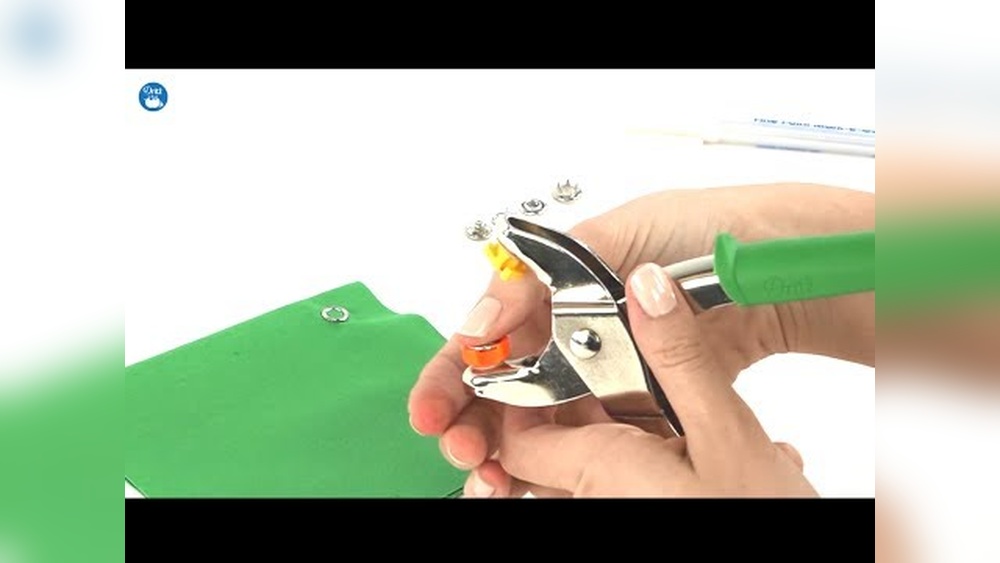
Fastener Options
Fasteners keep your bracelet secure. Metal clasps like lobster or magnetic clasps are popular. They are easy to use and reliable. Knot fasteners work well for adjustable bracelets. Sliding knots let you change the size quickly.
Buttons or beads can also act as fasteners. Choose ones that match your rope style and color.
Tools Required
Gather tools to cut and attach your fasteners. Scissors or sharp cutters help trim the rope cleanly. Needle and thread can sew knots or fasteners firmly. Pliers assist in opening and closing metal clasps.
A lighter or glue can secure rope ends and prevent fraying. Prepare all tools before you start crafting your bracelet.
Preparing The Rope
Preparing the rope is the first step in making fasteners for a rope bracelet. The rope must be ready to hold knots and secure ends. Proper preparation ensures the bracelet looks neat and lasts long.
Measuring And Cutting
Measure the rope length carefully. Leave extra length for tying knots. Use a ruler or tape measure for accuracy. Cut the rope with sharp scissors. A clean cut prevents fraying and makes sealing easier.
Sealing Rope Ends
Seal the rope ends to stop fraying. Use a lighter or match to melt synthetic rope ends. Hold the flame close but do not burn the rope. Press the melted end with a non-stick surface to flatten it. For natural fibers, wrap the ends with glue or tape. This step keeps the rope strong and tidy.
Basic Knot Fasteners
Basic knot fasteners are the foundation of rope bracelets. They hold the bracelet securely on your wrist. These knots are simple to tie and adjust. Learning them helps you make bracelets that fit well and look neat.
Each knot has a special way to fasten and loosen the bracelet. They keep the rope ends from slipping or fraying. Using basic knots makes your bracelet durable and easy to wear.
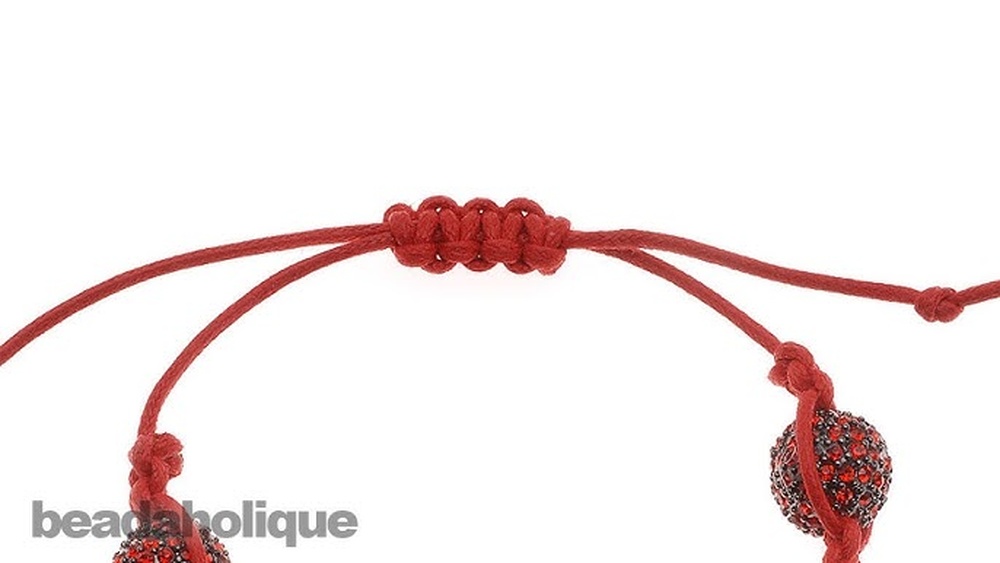
Sliding Knot
The sliding knot allows the bracelet size to change. It slides along the rope to tighten or loosen. To make it, cross the rope ends and wrap one end around the other. Pull the ends to secure the knot. This knot works well for adjustable bracelets.
Square Knot
The square knot is strong and lies flat on the wrist. It ties two rope ends together evenly. Cross one end over the other, then under. Repeat the same steps in reverse order. Pull tight to lock the knot. This knot is common for many bracelet designs.
Adjustable Knot
The adjustable knot lets you change the bracelet size easily. It uses two sliding knots on each side of the bracelet. Tie each knot so it can move along the rope. This knot is perfect for bracelets worn by different wrist sizes. It keeps the bracelet secure and comfy.
Credit: www.kernowcraft.com
Using Clasps And Hooks
Using clasps and hooks is a simple way to create fasteners for rope bracelets. They help secure the bracelet around the wrist. Clasps and hooks come in various styles and sizes. Each type offers a different look and level of security. Choosing the right one depends on your bracelet design and personal preference.
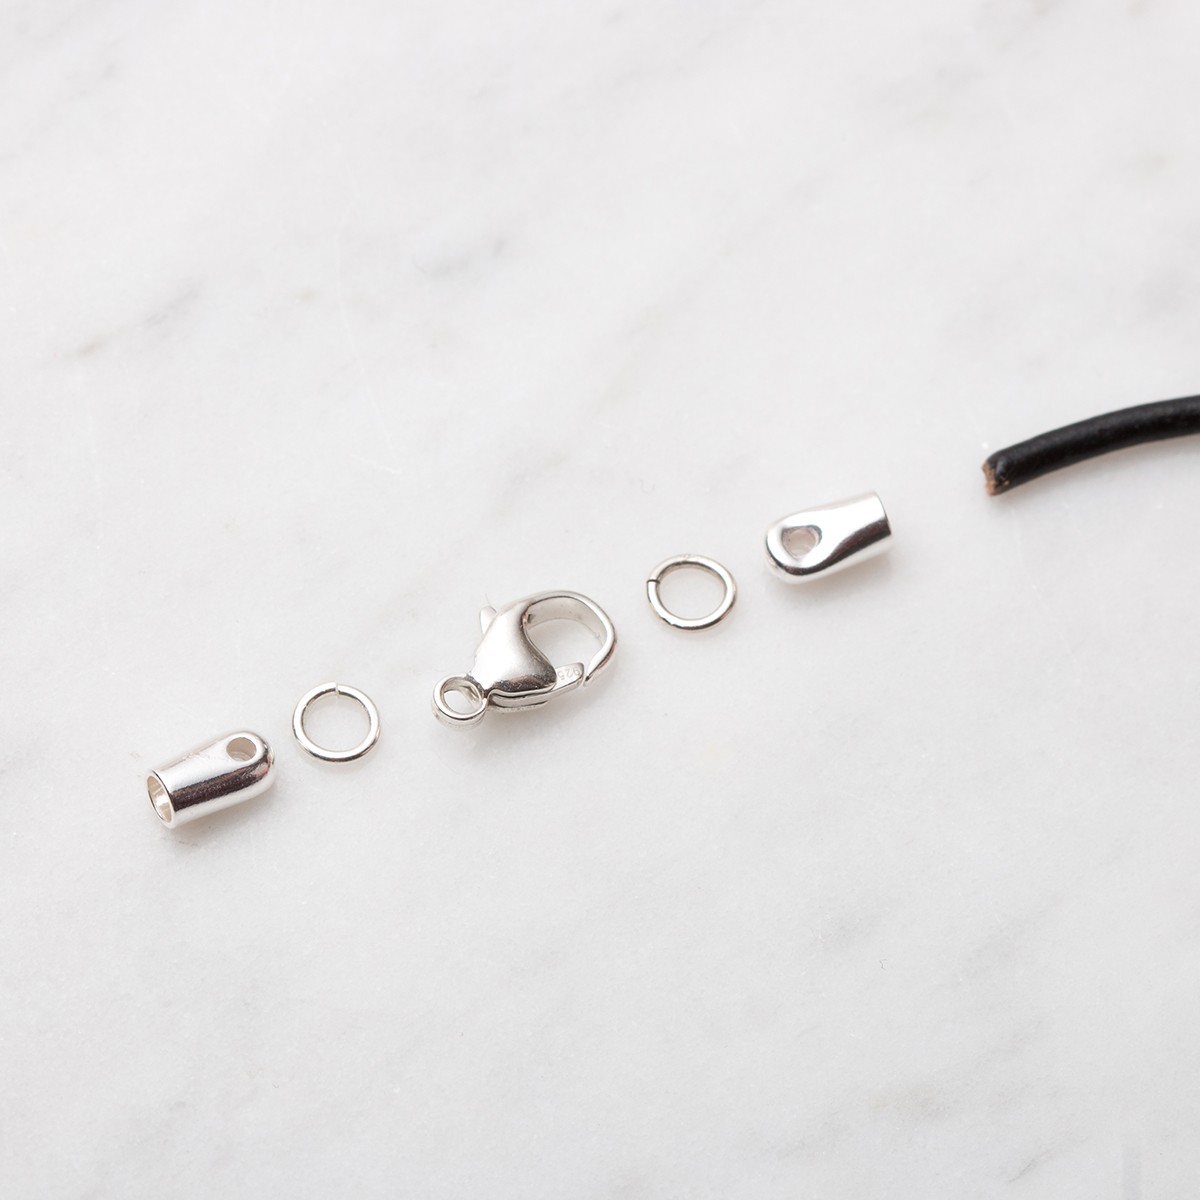
Attaching Lobster Clasps
Lobster clasps are popular for rope bracelets. They open and close with a small lever. Attach the lobster clasp by threading the rope end through a jump ring. Use pliers to close the jump ring tightly. Then connect the lobster clasp to the jump ring. This method keeps the clasp secure and easy to use.
Using Toggle Clasps
Toggle clasps have two parts: a bar and a ring. Thread the rope through the ring and tie a strong knot. Attach the bar to the other rope end the same way. To fasten, push the bar through the ring. Toggle clasps add a stylish look. They also offer a sturdy hold for rope bracelets.
Securing With Jump Rings
Jump rings link clasps and hooks to the rope ends. Open a jump ring by twisting it sideways with pliers. Slide the ring through the rope loop or knot. Attach the clasp or hook to the jump ring. Close the ring tightly to prevent it from opening. Jump rings are small but very strong connectors.
Creating Decorative Fasteners
Creating decorative fasteners adds style and function to rope bracelets. These fasteners secure the bracelet and make it look unique. You can use various techniques and materials to craft fasteners that match your design. Below are some simple ways to create beautiful closures for your rope bracelets.
Macrame Style Closures
Macrame closures use knotting techniques for a secure hold. They work well with different rope types and add a handmade feel. You can tie sliding knots that adjust to fit any wrist size. These knots are easy to make and look elegant. Macrame closures blend seamlessly with the bracelet’s design.
Beaded Fasteners
Beaded fasteners add color and texture to your bracelet. String a bead on the end of the rope to serve as a button. Use a loop on the other side to catch the bead. Choose beads that are smooth and large enough to hold tight. This method is simple and brightens your bracelet’s look.
Leather Wrap Fasteners
Leather wrap fasteners give a rustic and sturdy appearance. Wrap a thin leather strip around the rope ends and tie it securely. This creates a natural contrast with the rope material. Leather wraps are durable and add a unique touch to the bracelet. They are perfect for casual or outdoorsy styles.

Credit: www.amazon.com
Finishing Touches
Finishing touches are key to making your rope bracelet look neat and last longer. These small steps improve both the style and strength of your bracelet. Take your time to do them well. The result will be a polished, durable accessory you can wear proudly.
Trimming Excess Rope
Cut off any extra rope close to the knot or fastener. Use sharp scissors to get a clean cut. Leaving too much rope can make the bracelet look messy. Be careful not to cut too close to the knot. This step helps the bracelet fit better and look tidy.
Adding Glue For Security
Apply a small amount of strong glue to the knots or fasteners. This stops the rope from coming loose over time. Use glue made for fabric or rope for best results. Avoid using too much glue; a little goes a long way. Let the glue dry fully before wearing the bracelet.
Polishing And Cleaning
Wipe the bracelet gently with a soft cloth to remove dust. This makes the colors of the rope stand out more. Avoid using water if your bracelet has glue, as it may weaken the bond. For metal parts, use a polishing cloth to add shine. Clean bracelets look fresh and feel good on your wrist.
Troubleshooting Common Issues
Creating rope bracelets is fun, but some issues can happen with fasteners. Problems like loose fasteners, frayed rope ends, or wrong bracelet size can spoil your work. Fixing these issues is easy with simple steps.
Loose Fasteners
Loose fasteners make the bracelet unsafe to wear. Check if knots are tight and secure. Pull each knot firmly to test strength. Use glue on knots for extra hold. Avoid using too much glue as it can make knots stiff.
Fraying Rope Ends
Rope ends can fray and look messy. Cut the ends cleanly with sharp scissors. Use a lighter to melt the ends slightly. This stops fraying and gives a neat finish. Be careful not to burn the rope or your fingers.
Adjusting Bracelet Size
Bracelets that are too big or small need resizing. Add or remove rope length before tying the fastener. Use sliding knots for easy size adjustment. Test the bracelet on your wrist to check fit. Adjust knots until the bracelet feels right.
Frequently Asked Questions
What Materials Are Best For Rope Bracelet Fasteners?
The best materials for fasteners include metal clasps, wooden beads, or sturdy knots. They offer durability and style. Choose based on your bracelet’s design and usage needs for secure fastening.
How Do You Tie A Secure Fastener Knot?
Use a double or sliding knot for a secure fastener. These knots tighten under tension and are adjustable. Practice ensures the knot holds firmly without slipping or loosening.
Can I Make Adjustable Fasteners For Rope Bracelets?
Yes, adjustable fasteners use sliding knots or loop closures. They allow size changes easily and improve comfort. Adjustable fasteners are popular for personalized bracelet fits.
How Long Does It Take To Create A Rope Bracelet Fastener?
Creating a fastener typically takes 5 to 15 minutes. Time depends on knot complexity and material type. Beginners may take longer but improve with practice.
Conclusion
Creating fasteners for rope bracelets is simple and fun. Use basic tools and follow clear steps. Practice helps you make stronger, neater fasteners each time. Choose the right materials for durability and style. Enjoy making unique bracelets that fit your taste.
Keep experimenting with different knots and designs. Your handmade fasteners add a personal touch. Keep crafting and sharing your creations with friends. Small efforts lead to great results in bracelet making. Try these tips today and see the difference yourself.