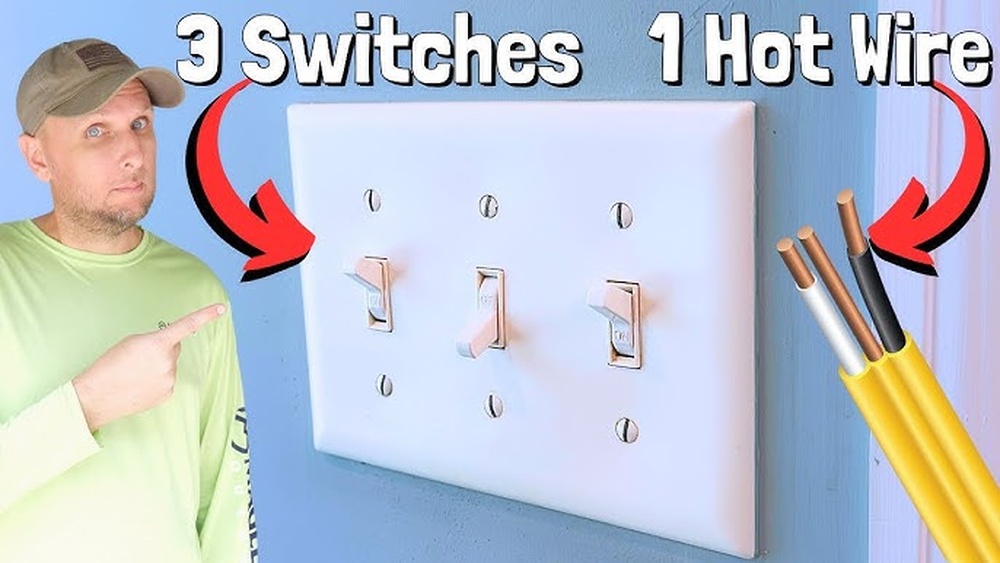
Are you staring at a confusing light switch with three toggles and wondering how to replace it without messing up the wiring? Changing a light switch with three switches might seem tricky, but with the right steps, you can do it safely and quickly.
Imagine saving time and money by fixing it yourself instead of calling an electrician. In this guide, you’ll learn exactly what to do, even if you’re not an expert. Keep reading, and you’ll feel confident handling your three-switch light switch in no time.
Tools And Materials Needed
Changing a light switch with three switches requires specific tools and materials. Having the right items makes the job easier and safer. This section lists everything needed before starting the work.
Essential Tools
A screwdriver set is necessary. Both flathead and Phillips screwdrivers help remove and install screws. A voltage tester checks if the power is off. Wire strippers cut and strip electrical wires safely. Needle-nose pliers help bend and twist wires. A flashlight or headlamp provides light in dark spaces.
Required Materials
Buy a new three-way or four-way switch, depending on your setup. Use electrical tape to secure wire connections. Wire nuts connect wires safely and prevent shorts. Electrical wires might be needed if existing ones are damaged. A switch plate cover protects the switch and hides wires.
Safety Equipment
Wear insulated gloves to avoid electric shocks. Safety goggles protect eyes from dust and debris. A sturdy ladder helps reach high switches. Always turn off power at the breaker before starting any work.

Credit: www.youtube.com
Safety Precautions
Changing a light switch with three switches can be tricky. Safety is the top priority. Taking the right precautions helps prevent accidents and injuries. Follow these simple steps before you start working.
Turn Off Power At The Circuit Breaker
Always switch off the power at the circuit breaker. Do not rely on the light switch alone. This stops electricity from flowing to the switch. Use a tester to make sure the power is off before touching wires.
Wear Safety Gear
Wear insulated gloves to protect your hands. Use safety glasses to shield your eyes. Loose clothing or jewelry can cause accidents. Remove them before starting your work.
Use The Right Tools
Use tools with insulated handles. A voltage tester helps check if wires are live. Avoid using damaged or worn-out tools. Good tools make the job safer and easier.
Work In A Well-lit Area
Good lighting helps you see wires clearly. Use a portable lamp if the room is dark. Avoid working in dim or shadowy places. Clear visibility reduces the chance of mistakes.
Double-check Wiring Connections
Check wire colors and connections carefully. Incorrect wiring can cause short circuits or fires. Follow the wiring diagram for three-switch setups. Label wires if needed to avoid confusion.
Identify The Three-way Switches
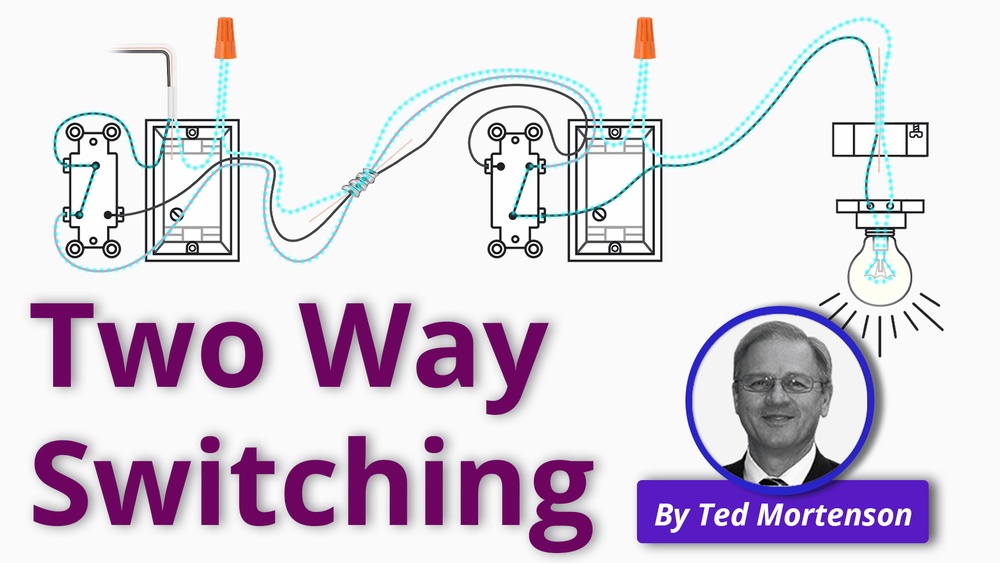
Three-way switches control one light from two different places. Identify these switches by their three terminals or screws. They often have a common screw that sets them apart from regular switches.
What Is A Three-way Switch?
A three-way switch controls one light from two different places.
It has three terminals instead of two on a regular switch.
This allows you to turn the light on or off from two locations.
How To Recognize Three-way Switches
Three-way switches look similar to regular switches.
Check the back or side of the switch for three screw terminals.
Two terminals are usually brass-colored, one is darker or black.
Sometimes, the screws are labeled as “common” and “traveler.”
Where To Find The Three-way Switches
Find switches controlling the same light from different spots.
Common places include hallways, staircases, or large rooms.
Locate all switches linked to the light before starting work.
Turn off power at the circuit breaker before touching any switch.
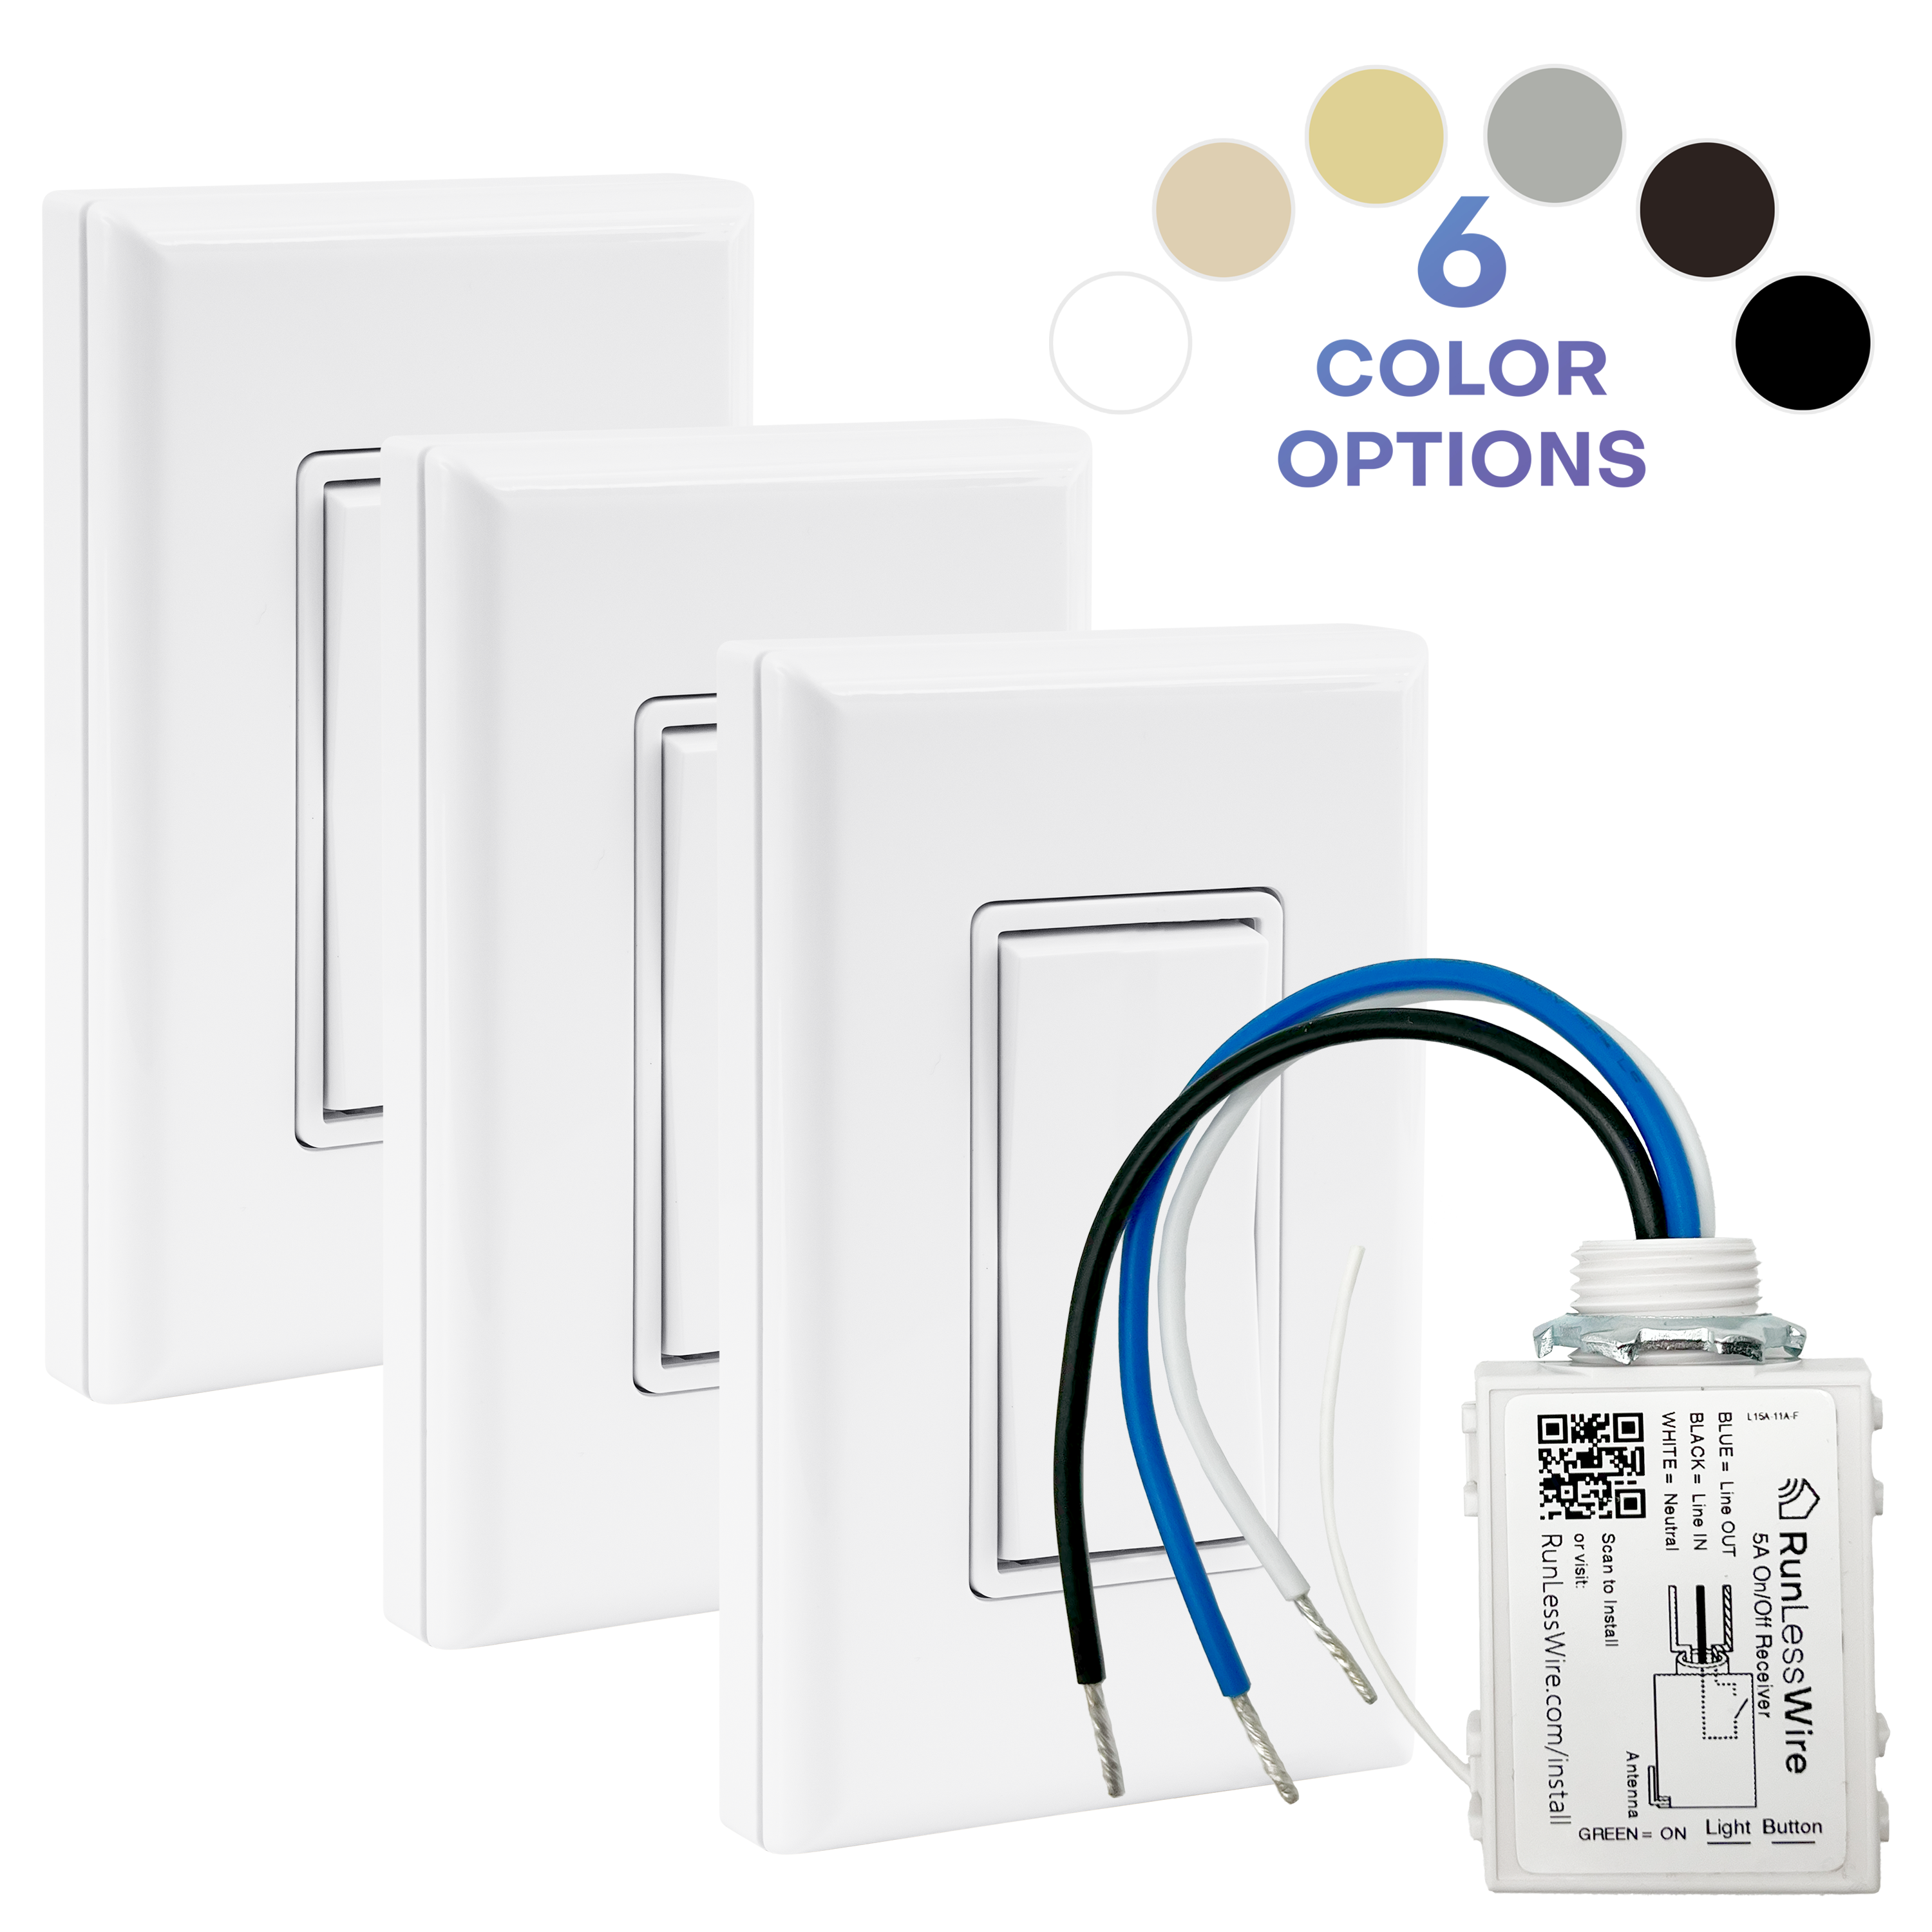
Credit: runlesswire.com
Turn Off The Power
Turning off the power is the first and most important step before changing a light switch with three switches. It keeps you safe from electric shock and prevents damage to your electrical system. Never skip this step.
Always treat electrical work with caution. Even a small mistake can cause serious injury or fire. Taking time to properly turn off the power protects you and your home.
Locate The Circuit Breaker Panel
Find your home’s circuit breaker panel. It is usually in the basement, garage, or utility room. The panel controls all the electrical circuits in your house.
Identify The Correct Breaker
Look for the breaker that controls the light switch circuit. It might be labeled as “lights” or “living room.” If not, turn off breakers one by one and check which switch loses power.
Switch Off The Breaker
Flip the breaker switch to the “off” position. This stops electricity from flowing to the light switch. Confirm the power is off before starting any work.
Test The Power Is Off
Use a voltage tester or a simple light bulb tester. Touch it to the wires in the switch box. No reading means the power is off. Never assume without testing.
Remove The Old Switches
Connecting the new switches is a key step in changing a light switch with three switches. This part ensures the switches work properly and safely. Taking time to connect wires correctly prevents future problems. Follow these steps carefully to get the best results.
Match The Wires Correctly
First, identify each wire by its color and function. Usually, black wires are hot, white are neutral, and green or bare wires are ground. Match each wire from the old switch to the new switch. Connect black wires to black terminals and white wires to white terminals. Ground wires must go to the green screw or ground terminal. Check the instructions that come with your new switches for any special notes. Correct matching is crucial for safety and switch performance.
Secure The Connections
After matching, tighten all wire screws firmly. Loose connections can cause flickering lights or electrical shorts. Use a screwdriver to ensure wires do not move. If your switches use push-in connectors, pull gently on the wire to test security. Wrap electrical tape around terminals for extra safety. Double-check each connection before closing the switch box. Properly secured wires keep your setup safe and working well.
Check The Wiring
After wiring your new 3-switch light switch, restoring power is the next step. This step is crucial for checking if the switch works correctly. Safety remains important, so proceed carefully.
Once power is back, test each switch to confirm proper function. This ensures your work was done right and the switches control the lights as expected.
Turn On The Circuit Breaker
Locate your home’s electrical panel. Find the breaker that controls the switch you replaced. Flip it back to the ON position. This restores electricity to the switch and connected lights.
Test Each Switch Individually
Flip each switch up and down. Watch the lights carefully for response. Each switch should turn the light on and off without delay. If any switch does not work, turn off the breaker before checking wiring again.
Check For Safety And Proper Function
Feel the switch for heat. It should not be warm or hot. Warmth may signal a wiring problem. Listen for buzzing sounds. No noises mean good electrical contact. Confirm all switches operate smoothly and safely.
Connect The New Switches
Troubleshooting common issues helps fix problems with three-switch light setups. These switches control one light from multiple locations. Small mistakes can cause the light to not work properly. Identifying the problem saves time and ensures safety during repairs.
Check The Power Supply
Start by turning off the main power. Use a voltage tester on the switch wires. Confirm if power reaches the switches. No power means a tripped breaker or blown fuse. Reset the breaker or replace the fuse as needed.
Inspect Wire Connections
Loose or wrong wire connections cause flickering or no light. Remove the switch cover carefully. Look for disconnected or damaged wires. Tighten any loose screws holding wires. Make sure each wire is in the correct terminal.
Test The Switch Function
Flip each switch to check if it moves smoothly. A stuck switch may need replacement. Use a multimeter to test switch continuity. No continuity means the switch is faulty. Replace the switch with the same type and rating.
Look For Damaged Components
Burn marks or melted plastic indicate damage. Check the switch box and wiring for signs of wear. Damaged parts can cause shorts or shocks. Replace any burned wires or switches immediately. Always use parts that meet electrical codes.

Credit: www.diychatroom.com
Frequently Asked Questions
How Do You Identify A 3-way Switch Setup?
A 3-way switch setup has two switches controlling one light. It uses three wires: a common, two travelers, and a ground wire. Look for these wires to identify the 3-way switches before starting the replacement.
What Tools Are Needed To Change A 3-switch Light?
You need a screwdriver, voltage tester, wire stripper, electrical tape, and a new 3-way switch. Always turn off the power before working to ensure safety. These tools make the switch replacement safe and efficient.
How To Safely Turn Off Power For Switch Replacement?
Turn off the circuit breaker controlling the switch. Use a voltage tester to confirm power is off. This prevents electric shock and ensures a safe working environment during the switch change.
Can I Replace A 3-way Switch Myself?
Yes, if you follow safety steps and understand wiring. Turn off power, label wires, and connect the new switch correctly. If unsure, consult a professional to avoid hazards.
Conclusion
Changing a light switch with three switches is simple and safe. Always turn off the power before starting any work. Follow each step carefully to avoid mistakes. Take your time and check your work as you go. With patience, you can fix or replace the switch yourself.
This saves money and helps you learn a useful skill. Remember, safety comes first in every electrical task. Now, your light switch should work perfectly again. Feel confident to try this project at home.