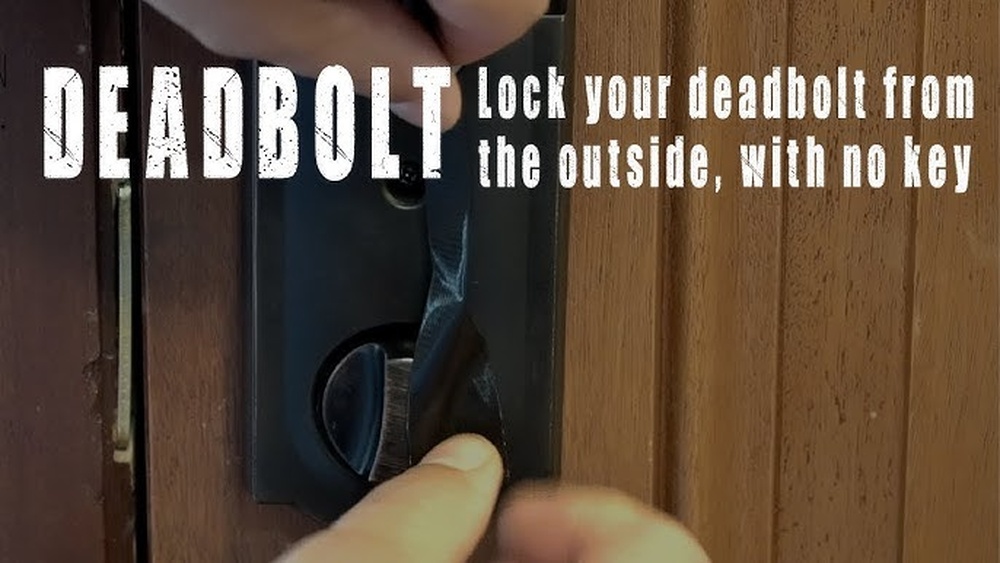
If you’re staring at your deadbolt lock and wondering how to remove its cylinder, you’re in the right place. Removing a deadbolt lock cylinder might sound tricky, but with the right steps, you can do it yourself quickly and safely.
Whether you’re fixing a jammed lock, upgrading security, or replacing worn parts, this guide will walk you through each step clearly. Keep reading, and you’ll gain the confidence to handle your lock like a pro—no locksmith needed.

Credit: www.youtube.com
Tools Needed
Removing a deadbolt lock cylinder requires some basic tools. Having the right tools makes the job easier and faster. Without them, you might damage the lock or door.
Here is a list of tools needed. Each one plays an important role in the process.
Phillips Head Screwdriver
A Phillips head screwdriver is essential. Most deadbolt screws use this type of head. It helps remove screws holding the lock in place.
Flat Head Screwdriver
Use a flat head screwdriver to pry or hold parts gently. It fits into small gaps and helps release clips or covers.
Allen Wrench
Some locks have small hex screws. An Allen wrench matches these and allows you to unscrew them easily.
Pliers
Pliers help grip small parts or pull out stubborn pieces. They provide extra strength and control during removal.
Tape Measure
A tape measure helps check the size of the cylinder. This ensures you buy the right replacement if needed.
Flashlight
Use a flashlight to see inside dark lock areas. Good lighting prevents mistakes and helps find hidden screws.
Prepare The Door
Preparing the door is the first step to remove a deadbolt lock cylinder safely. It helps prevent damage to the door and makes the process easier. This step involves checking the lock, gathering tools, and clearing the workspace.
Inspect The Deadbolt And Door
Look closely at the deadbolt and door surface. Check for screws or covers hiding the lock cylinder. Notice any damage or rust that might affect removal. This helps understand what tools you need.
Gather Essential Tools
Collect a screwdriver, drill, and possibly pliers. Choose tools that fit the screws and lock parts well. Having the right tools saves time and effort during removal.
Clear The Area Around The Door
Remove objects near the door to create space. Clear the floor to avoid tripping hazards. A clean area helps you work safely and move freely.
Protect The Door Surface
Place painter’s tape or cloth around the lock area. This prevents scratches or dents while working. Small protection steps keep the door looking good.
Remove The Lock Faceplate
Removing the lock faceplate is a key step in taking out the deadbolt lock cylinder. The faceplate covers the lock cylinder and holds it in place. Taking it off carefully helps avoid damage to the door and lock parts.
Use the right tools to make the job easier and safer. Follow these simple steps to remove the lock faceplate smoothly.
Gather The Necessary Tools
Start by collecting a screwdriver, usually a Phillips head. Check the screws on the faceplate to choose the right screwdriver. Have a flat tool nearby to gently pry the plate if needed.
Locate And Remove The Screws
Look for screws on the lock faceplate. They are often on the edge of the door. Unscrew them slowly and keep them in a safe place. Do not force the screws out to avoid stripping them.
Gently Pry Off The Faceplate
After removing the screws, the faceplate may still stick to the door. Use a flat tool to lift it gently. Work around the edges slowly. Avoid bending or breaking the plate.
Keep The Faceplate And Screws Safe
Place the faceplate and screws in a small container. This keeps all parts together for reassembly. Losing these parts can make reinstalling the lock difficult.

Credit: www.youtube.com
Unscrew The Deadbolt Cylinder
Unscrewing the deadbolt cylinder is a key step in removing the lock. It frees the cylinder from the door, allowing you to replace or fix it. The process is simple and requires just a few tools. Follow these steps carefully for a smooth removal.
Locate The Fixing Screw
Open the door to see the side edge. Find the screw that holds the cylinder in place. This screw is usually near the middle of the lock body. It keeps the cylinder secured inside the door.
Use The Correct Screwdriver
Select a screwdriver that fits the screw head perfectly. Most deadbolts use a Phillips or flathead screwdriver. Using the wrong tool can strip the screw and cause damage.
Remove The Fixing Screw
Turn the screwdriver counterclockwise to loosen the screw. Take your time and keep steady pressure. Once loose, remove the screw completely and set it aside safely.
Pull Out The Deadbolt Cylinder
Hold the key and turn it slightly to align the cylinder. Gently pull the cylinder out from the door. It should slide out without much force. If stuck, double-check the fixing screw is fully removed.
Extract The Cylinder
Extracting the deadbolt lock cylinder is a key step in removing the lock. This part holds the key and controls the locking mechanism. Removing it carefully helps avoid damage and prepares the lock for replacement or repair.
Follow these clear steps to extract the cylinder safely. Use the right tools and keep the lock steady. Take your time to work precisely and avoid forcing parts.
Remove The Lock Faceplate Screws
Start by unscrewing the faceplate on the door edge. Use a screwdriver that fits the screws well. Keep the screws safe for reassembly. Removing the faceplate exposes the cylinder for easy access.
Insert The Key And Turn Slightly
Put the key into the cylinder. Turn it about 15 to 20 degrees. This movement aligns the cylinder so it can slide out. Do not force the key; gentle turns work best.
Push Out The Cylinder
Use a small tool or punch to push the cylinder. Push from the side opposite the keyhole. The cylinder should slide out smoothly. If it sticks, check if the key is in the right position.
Handle The Cylinder With Care
Once out, place the cylinder on a clean surface. Avoid dropping or damaging the pins inside. This keeps the lock functional for future use or replacement.
Troubleshoot Common Issues
Troubleshooting common issues can make removing a deadbolt lock cylinder easier. Small problems often stop the process. Knowing how to fix these issues saves time and frustration. This section explains simple solutions to typical challenges.
Check For A Stuck Cylinder
A stuck cylinder is a usual problem. Dirt or rust may cause it to jam. Spray lubricant into the keyhole and wait a few minutes. Try turning the key gently to loosen the cylinder. Avoid forcing it to prevent damage.
Remove Broken Or Damaged Keys
Broken keys inside the lock block cylinder removal. Use tweezers or pliers to pull out the key piece. If it is deep inside, try a key extractor tool. Do not push the piece further in the lock.
Align The Cylinder Properly
Incorrect alignment makes removal hard. Make sure the key turns fully to align the cylinder. Turn the key slowly while pulling the cylinder out. This step often frees a stuck lock cylinder.
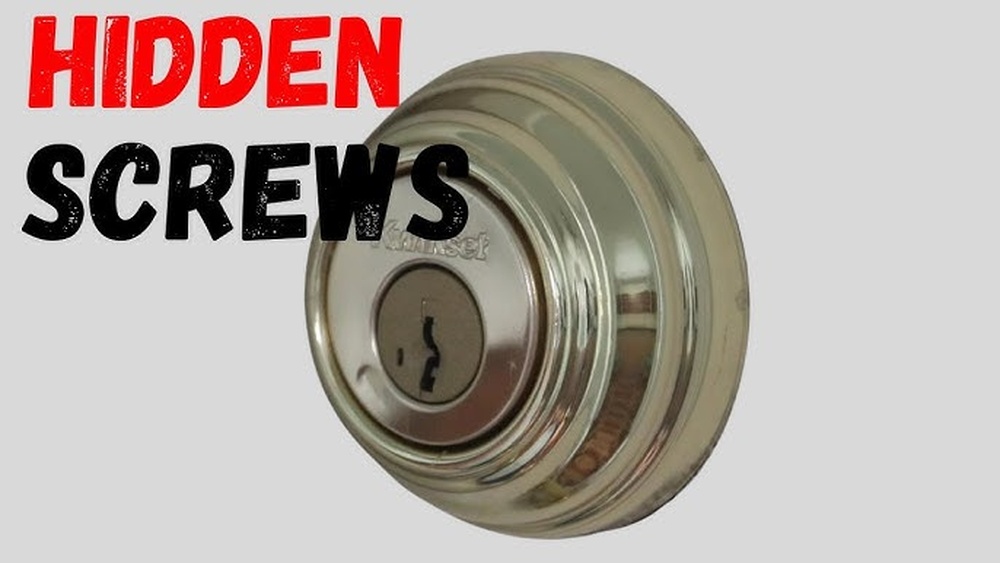
Unscrew Missing Or Hidden Screws
Missing screws may cause confusion. Check the lock for hidden screws under plates or covers. Unscrew all fasteners before pulling the cylinder out. This prevents damage to the lock or door.
Replace Or Reinstall Cylinder
Replacing or reinstalling the deadbolt lock cylinder is a key step in maintaining your door’s security. After removing the old cylinder, you must decide whether to put in a new one or put back the old one. Both choices require care and the right steps to ensure the lock works well.
Proper installation helps the lock function smoothly. It also prevents damage to the door and lock parts. Follow simple instructions to get the job done without stress.
How To Replace The Deadbolt Lock Cylinder
First, check the new cylinder matches your lock model. Insert the new cylinder into the hole. Align it carefully so the keyhole faces outside. Secure the cylinder with the screws you removed earlier. Tighten the screws, but do not overtighten. Test the lock by turning the key. Make sure it moves smoothly and locks firmly.
How To Reinstall The Old Cylinder
Clean the old cylinder before putting it back. Remove any dirt or rust with a soft cloth. Place the cylinder in the correct position. Align the keyhole and screw holes carefully. Screw the cylinder back into place. Check the cylinder’s movement with the key. Ensure the lock works without sticking or jamming.
Tips For A Secure And Smooth Installation
Use the right tools for screws and parts. Avoid forcing the cylinder into place. Keep screws tight but gentle. Lubricate the cylinder with graphite powder if needed. Test the lock several times after installation. Adjust screws if the lock feels loose or tight. Follow these tips for a safe, long-lasting lock.
Test The Lock Functionality
Testing the lock functionality is a key step after removing the deadbolt lock cylinder. It ensures the lock works smoothly and secures your door properly. Without this check, problems might go unnoticed.
Test the lock several times to confirm it turns easily and locks correctly. This helps catch any issues caused during the cylinder removal or installation.
Insert The Key And Turn
Insert the key into the lock cylinder. Turn it slowly to see if it moves without sticking. The lock should rotate smoothly both ways.
Check The Deadbolt Movement
Watch the deadbolt as you turn the key. It should slide in and out fully. Partial movement means a problem that needs fixing.
Test From Both Sides
Operate the lock from inside and outside the door. Both sides must work equally well to keep your door secure.
Listen For Unusual Sounds
Pay attention to clicking or grinding noises. These sounds can signal a misalignment or damage to the lock parts.
Ensure The Door Locks Firmly
Close the door and lock it. Try to open the door without the key. It should stay firmly locked and not open.

Credit: fast.parkavenuelocks.com
Frequently Asked Questions
How Do I Remove A Deadbolt Lock Cylinder?
First, remove the screws on the interior side of the deadbolt. Next, pull out the thumb turn and cylinder. Finally, slide the cylinder out carefully from the exterior side. Use a screwdriver and follow the lock’s manual if needed.
What Tools Are Needed To Remove Deadbolt Lock Cylinders?
You typically need a Phillips screwdriver, flathead screwdriver, and sometimes a hex wrench. These tools help remove screws and gently pry the cylinder out. Having a lubricant can also ease the removal process if the cylinder is stuck.
Can I Remove A Deadbolt Lock Cylinder Without A Key?
Yes, but it’s more challenging. You may need to remove the entire lock assembly by unscrewing and pulling out the cylinder. If locked tightly, consider calling a locksmith to avoid damage. Picking the lock is not recommended for beginners.
How Long Does It Take To Remove A Deadbolt Cylinder?
Removing a deadbolt lock cylinder usually takes 10 to 20 minutes. It depends on your experience and the lock type. Having the right tools ready speeds up the process. Reading the lock’s manual also helps avoid mistakes.
Conclusion
Removing a deadbolt lock cylinder is simpler than it seems. Follow each step carefully and take your time. Use the right tools to avoid damage. Stay safe by working slowly and paying attention. With patience, you can finish the job yourself.
Remember, practice helps improve your skill. Keep this guide for future reference. Now, you can handle basic lock repairs at home.