Hanging a coat hook on your wall might seem simple, but doing it the right way can save you time, effort, and frustration. If you want your hook to stay strong and secure, you need to know the right steps and tools to use.
In this guide, you’ll learn exactly how to screw in a coat hook so it holds up to daily use without damaging your wall. Keep reading to find out the easy tricks that will make your job quick and effective.
Your coats—and your walls—will thank you.
Choose The Right Coat Hook
Choosing the right coat hook is the first step to a sturdy and useful wall mount. The right hook holds your coats safely without damaging the wall. Different hooks fit different needs and spaces. Picking the right one saves time and effort during installation. This section helps you understand which hook suits your wall and style.
Types Of Coat Hooks
There are many types of coat hooks. Single hooks hold one item, perfect for small spaces. Double hooks can hold two items, useful for busy areas. Decorative hooks add style and function. Some hooks have a shelf for extra storage. Choose a type based on the number of coats and space available.
Material And Weight Considerations
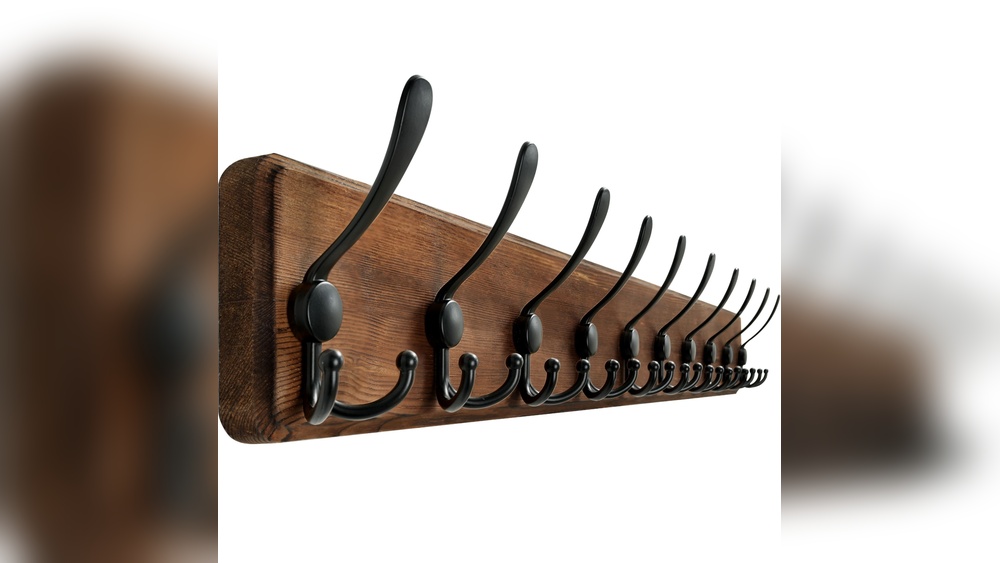
Coat hooks come in various materials. Metal hooks are strong and last long. Plastic hooks are light and easy to install but may break under heavy weight. Wood hooks look natural and hold medium weight well. Check the hook’s weight limit before buying. Heavy coats need hooks made from strong materials. This prevents damage to your wall and keeps coats safe.

Credit: www.amazon.com
Gather Necessary Tools
Gathering the right tools is the first step to screw a coat hook into the wall. Having everything ready makes the job easier and faster. It helps avoid interruptions and ensures a neat result.
Prepare your workspace and check each tool before you start. This way, you avoid surprises and keep your project smooth.
Essential Tools List
- Screwdriver (Phillips or flathead, based on screw type)
- Drill with drill bits
- Wall anchors or plugs
- Measuring tape
- Level
- Pencil for marking
- Coat hook screws
Optional Helpful Tools
- Stud finder for solid wall support
- Hammer for tapping wall anchors
- Safety goggles to protect your eyes
- Masking tape to mark drill points
- Vacuum or brush to clean drill dust
Select The Best Wall Location
Selecting the best wall location for your coat hook is important. The right spot ensures strength and easy access. It also keeps your space neat and organized. Careful planning helps avoid damage to walls and keeps hooks steady.
Take time to decide where the hook will be most useful. Think about who will use it and what will hang on it. This helps choose the perfect height and place on the wall.
Height And Spacing Tips
Place the coat hook at a comfortable height. Usually, 5 to 6 feet from the floor works well. For children, lower hooks are better. Space hooks at least 6 inches apart. This gives enough room for coats and bags without crowding.
Finding Studs Or Using Anchors
Look for wall studs to hold the hook firmly. Studs provide strong support for heavy items. Use a stud finder to locate them easily. If no stud is available, use wall anchors. Anchors keep the hook secure in drywall or plaster. Choose anchors that fit your wall type and hook weight.
Mark The Mounting Points
Marking the mounting points is the first step to hang a coat hook securely. This step helps you place the hook in the right spot. It also prevents mistakes that can cause damage. Take your time to mark accurately before drilling.
Clear and precise marks make the next steps easier. You will know exactly where to drill holes. Proper marking ensures the hook stays level and strong on the wall.
Use A Level For Accuracy
A level tool keeps your marks straight. Hold the coat hook against the wall. Place the level on top or beside the hook. Adjust the hook until the bubble is centered. This confirms the hook is horizontal. Mark the spots for screws while the hook is level. This step avoids a crooked coat hook.
Mark Drill Holes Clearly
Use a pencil or marker to make your marks. Press lightly to avoid large dots. Mark the exact spots where screws go. Double-check the marks before drilling. Clear marks guide the drill bit. They help keep holes clean and precise. Accurate marks reduce wall damage and keep the hook stable.
Drill Pilot Holes
Drilling pilot holes is an important step before screwing a coat hook into the wall. These small holes guide the screws and prevent the wall from cracking. They also make it easier to insert the screws straight and secure the hook firmly.
Taking time to drill pilot holes helps the coat hook stay strong and last longer. It also protects your wall from damage during installation.
Choosing The Right Drill Bit
Select a drill bit slightly smaller than the screw’s diameter. This size makes the screw fit tightly without splitting the wall. For wooden walls, use a wood drill bit. For drywall, a standard twist bit works best. Using the correct bit ensures a clean, precise hole.
Drilling Safely And Accurately
Mark the spot for the pilot hole with a pencil. Hold the drill steady and start drilling slowly. Keep the drill straight to avoid angled holes. Drill just deep enough for the screw length. Stop drilling if you feel resistance or see cracks. Wear safety glasses to protect your eyes from dust and debris.

Credit: navigatepa.com
Insert Wall Anchors If Needed
Inserting wall anchors is important when the coat hook does not align with a stud. Anchors provide extra support and prevent the hook from pulling out. They help hold the screw firmly in drywall or plaster.
Choosing the right anchor depends on the wall type and weight of the coat hook. Using anchors makes the installation stronger and safer. This step ensures your coat hook stays secure over time.
Types Of Wall Anchors
Plastic expansion anchors are common and easy to use. They work well for lightweight items on drywall.
Toggle bolts have metal wings that open inside the wall. They are strong and good for heavy hooks.
Molly bolts expand behind the wall when tightened. They offer solid support in drywall and plaster.
Self-drilling anchors screw directly into drywall. They do not need a pre-drilled hole.
How To Install Anchors
Mark the spot where the coat hook will go. Drill a hole matching the anchor size.
Push or tap the anchor gently into the hole. Make sure it fits flush with the wall.
Insert the screw through the coat hook and into the anchor. Tighten the screw until the hook is secure.
Do not overtighten, as it can damage the wall or anchor.
Screw In The Coat Hook
Screwing in a coat hook is a simple task that anyone can do. It helps keep your space tidy and organized. The key is to attach the hook firmly to the wall so it holds weight well. This part of the process requires care to ensure the hook stays secure over time.
Aligning The Hook
Place the coat hook where you want it on the wall. Check if it is straight and level. Use a small level tool or eye it carefully. Mark the screw holes on the wall with a pencil. Accurate marking prevents the hook from being crooked. Aligning the hook properly makes it look neat and holds better.
Tightening The Screws Properly
Use a screwdriver that fits the screws exactly. Push the screw into the marked hole gently. Turn the screwdriver clockwise to tighten the screw. Stop when the screw feels snug and secure. Avoid overtightening; it can damage the wall or strip the screw. Tight screws keep the coat hook stable for daily use.
Test The Hook’s Stability
Testing the hook’s stability is a crucial step after screwing it into the wall. It ensures the hook can hold the weight without coming loose. This step helps avoid damage to your wall and prevents accidents.
Applying Weight Gradually
Start by hanging a light item on the hook. Check if the hook stays firmly in place. Increase the weight step by step. Watch for any signs of movement or looseness. This method keeps your wall safe and the hook secure.
Making Adjustments If Necessary
If the hook wobbles or feels loose, tighten the screws gently. Use a screwdriver to secure the hook better. For drywall, consider using anchors for extra support. Re-test the hook after adjustments. Keep adjusting until the hook feels stable and safe.
Maintain And Clean Your Coat Hook
Keeping your coat hook in good shape helps it last longer and hold items safely. Dirt and loose screws can cause problems. Regular care makes sure your hook works well every day.
Regular Checks For Loose Screws
Check the screws on your coat hook often. Use a screwdriver to tighten any that feel loose. Loose screws can make the hook unstable. Tight screws keep the hook strong and safe to use. A quick check each month can prevent damage.
Cleaning Tips For Longevity
Clean your coat hook regularly to avoid dust and grime buildup. Use a soft cloth with mild soap and water. Wipe gently to protect the hook’s finish. Dry the hook completely after cleaning to stop rust. Keeping it clean helps the hook look new and last longer.
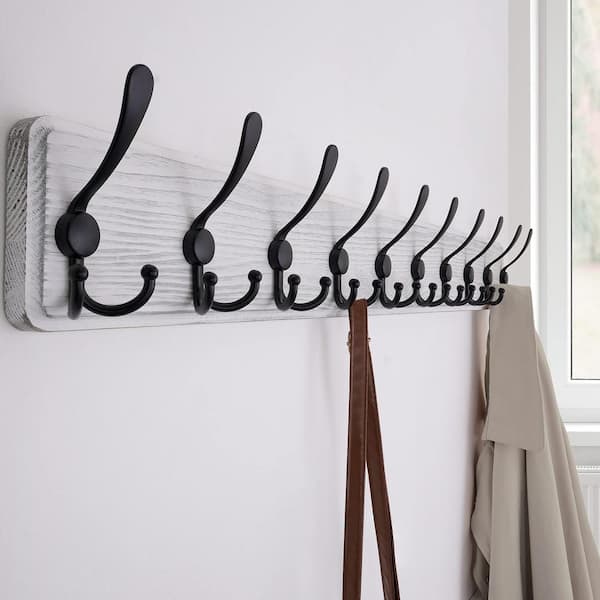
Credit: www.homedepot.com
Frequently Asked Questions
How Do I Choose The Right Wall For A Coat Hook?
Choose a solid wall like drywall with studs or wood for strong support. Avoid hollow or weak surfaces to prevent damage and ensure stability.
What Tools Are Needed To Screw In A Coat Hook?
You need a drill, screwdriver, screws, wall anchors, a pencil, and a level. These tools help ensure a secure and straight installation.
How Deep Should I Drill Holes For A Coat Hook?
Drill holes slightly deeper than the screw length to fit anchors fully. This ensures the hook holds firmly without damaging the wall.
Can I Install A Coat Hook On Plaster Walls?
Yes, but use wall anchors designed for plaster. Drill carefully to avoid cracking and ensure a secure hold for the coat hook.
Conclusion
Screwing a coat hook into the wall is simple with the right steps. Start by choosing the right spot and tools. Drill pilot holes to keep the wall safe. Screw in the hooks firmly but gently. Test the hook by hanging something light first.
This helps check if it holds well. With patience, you can do this easily at home. Enjoy having a neat place to hang coats and bags. A little care makes your wall strong and hook secure.