Are you ready to upgrade your door security but unsure how to start? Knowing how to drill a deadbolt hole correctly can save you time, money, and frustration.
Imagine having a strong, secure lock that fits perfectly without damaging your door. In this guide, you’ll discover simple, step-by-step instructions to drill the perfect hole for your deadbolt. By the end, you’ll feel confident tackling this project yourself and protecting what matters most.
Keep reading—your door’s security depends on it!
Tools And Materials Needed
Drilling a deadbolt hole requires the right tools and materials. Having the correct equipment makes the job easier and safer. Prepare everything before starting the work. This saves time and prevents mistakes.
Essential Drilling Tools
Start with a power drill that has a variable speed setting. Use a hole saw bit sized for the deadbolt hole, usually 2 1/8 inches. A spade bit or auger bit of 1 inch diameter works for the latch hole. A tape measure and pencil help mark the door accurately. A chisel and hammer are needed to create the latch plate recess. A screwdriver will help with finishing the installation.
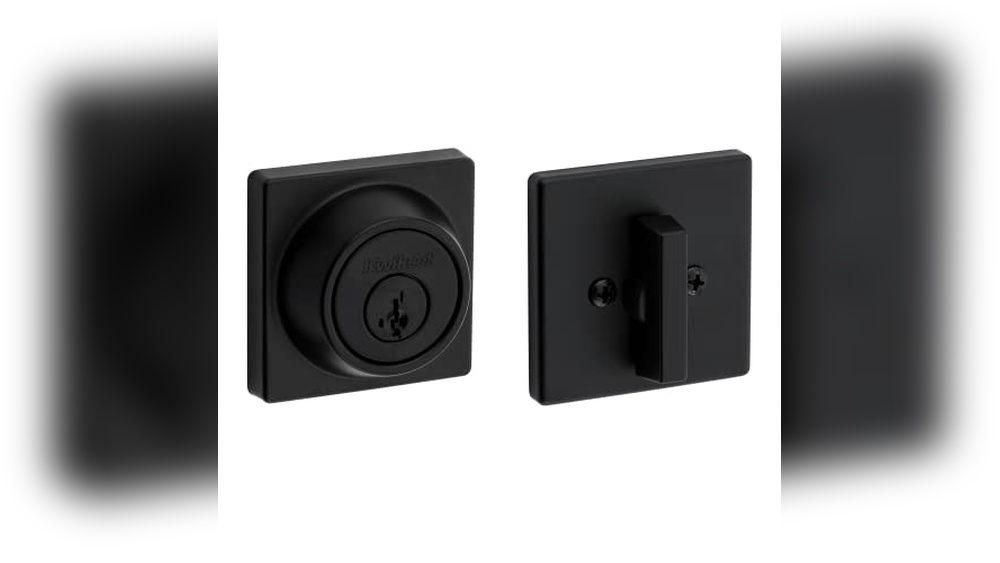
Choosing The Right Deadbolt
Select a deadbolt that fits your door thickness. Most doors are 1 3/4 inches thick, but check yours. Pick a single-cylinder deadbolt for inside key control or double-cylinder for extra security. Check the backset size, usually 2 3/8 or 2 3/4 inches. Choose a deadbolt with a good grade for durability and security.
Safety Gear
Wear safety glasses to protect your eyes from wood chips. Use ear protection to reduce noise from drilling. Gloves protect your hands from splinters and sharp edges. Ensure the work area is clear and well-lit. Keep children and pets away during the work.

Credit: www.wikihow.com
Preparing The Door
Preparing the door is a key step before drilling a deadbolt hole. It ensures the lock fits perfectly and works well. Take time to prepare carefully. This saves effort and avoids mistakes.
Measuring And Marking
Start by measuring the exact spot for the deadbolt. Use a tape measure and a pencil. Mark the center point clearly on the door. Double-check your marks to avoid errors. Accurate marking leads to a clean hole.
Checking Door Thickness
Next, check how thick the door is. Most deadbolts fit doors between 1 3/8 to 1 3/4 inches thick. Use a ruler or tape measure to find the thickness. Knowing this helps choose the right lock size. It also prevents drilling too deep or too shallow.
Selecting Drill Bit Size
Choose the drill bit size based on your deadbolt’s instructions. Usually, a 2 1/8-inch hole saw works for the main hole. For the latch, a 1-inch bit is common. Using the correct bit size ensures a snug fit. It also keeps the door strong and secure.
Drilling The Face Bore
Drilling the face bore is a key step in installing a deadbolt lock. This hole goes through the front of the door and must be precise. A clean, well-drilled face bore allows the lock to fit properly. It also ensures the lock works smoothly and stays secure.
Positioning The Drill
Mark the spot for the face bore carefully. Use a template or measure from the door edge. The hole usually sits about 2 1/8 inches in diameter. Keep the drill perpendicular to the door surface. This helps make a straight and even hole. Hold the drill steady to avoid slips.
Drilling Through The Door
Start drilling slowly at first. This controls the drill and prevents splintering. Drill all the way through the door. Use a hole saw bit that matches the lock size. Clear debris often to keep the drill cool. Stop drilling if you feel resistance or wobble.
Avoiding Common Mistakes
Do not rush the drilling process. Drilling too fast can cause rough edges. Avoid drilling off-center holes. This can make the lock hard to install. Check your measurements twice before drilling. Wear safety goggles to protect your eyes. Keep the drill steady and straight at all times.

Credit: www.familyhandyman.com
Drilling The Edge Bore
Drilling the edge bore is a crucial step in installing a deadbolt lock. This hole on the door’s edge allows the latch to fit securely. Precise drilling ensures the lock works smoothly and keeps your door safe. Follow clear steps to mark, drill, and clean the edge bore.
Marking The Edge
Start by measuring the right height for the deadbolt. Use a pencil to mark the door’s edge. Check that the mark lines up with the face bore on the door’s front. Double-check measurements to avoid mistakes. A clear mark guides the drill for an accurate hole.
Drilling The Latch Hole
Select a spade bit or hole saw matching the latch size. Hold the drill straight and drill slowly at the marked edge. Drill just deep enough for the latch to fit inside. Keep the drill steady to avoid damaging the door. Stop and check the hole depth often.
Cleaning The Hole
Remove any wood chips or dust from the hole. Use a small brush or vacuum to clean inside. A clean hole helps the latch sit flush and work well. Smooth rough edges with sandpaper to prevent damage. Clean and smooth edges make installation easier.
Installing The Deadbolt
Installing the deadbolt is a key step after drilling the hole. It secures your door and keeps your home safe. The process involves placing the latch, attaching the deadbolt mechanism, and testing the lock. Each step needs care and attention for the lock to work well.
Inserting The Latch
Start by sliding the latch into the hole on the door edge. Make sure the latch’s slant faces the door frame. Push it in until it fits tightly. Secure the latch with screws to keep it from moving.
Mounting The Deadbolt Mechanism
Place the exterior part of the deadbolt on the door first. Align the tailpiece through the latch mechanism. Then, fix the interior part on the opposite side. Use screws to fasten both parts firmly. Check that everything lines up correctly.
Testing The Lock
Turn the key or thumb turn to check the deadbolt’s movement. It should slide smoothly without sticking. Test locking and unlocking a few times. Make sure the bolt fully extends into the door frame. Adjust if the lock feels tight or loose.
Troubleshooting Tips
Troubleshooting is a key step when drilling deadbolt holes. Problems can happen, but most have simple fixes. Knowing these tips helps you avoid delays and saves effort. Stay calm and follow the advice below to correct common issues quickly.
Dealing With Misaligned Holes
Misaligned holes make it hard to fit the deadbolt. Check your measurements first. Use a pencil to mark the center clearly. If the hole is off, widen it carefully with a drill bit. Do this slowly to avoid damage. Test the fit often to prevent over-drilling.
Fixing Splintered Wood
Splintered wood weakens the door and looks bad. Sand the edges gently to smooth splinters. For deeper damage, fill the gaps with wood filler. Let it dry before sanding again. This strengthens the area and improves the deadbolt fit.
Adjusting The Strike Plate
The strike plate must align with the bolt for smooth locking. Loosen its screws slightly and move it to fit the bolt. Tighten the screws once aligned. If needed, enlarge the hole in the door frame to give the bolt space. This makes locking easier and more secure.

Credit: www.youtube.com
Frequently Asked Questions
How Do I Drill A Hole For A Deadbolt Lock?
Mark the door for the deadbolt’s position. Use a hole saw to drill through the door face. Drill a smaller hole for the latch on the door edge. Ensure precise measurements for smooth lock installation.
What Tools Are Needed To Drill Deadbolt Holes?
You need a drill, hole saw bit, spade bit, tape measure, pencil, and a chisel. These tools help create accurate holes for deadbolt installation. Proper tools ensure a secure and clean fit for your lock.
How Deep Should The Deadbolt Hole Be Drilled?
Drill the hole to match the thickness of your door, usually 2-1/8 inches in diameter. The latch hole should be about 1 inch deep. Correct depth ensures the deadbolt fits securely without damaging the door.
Can I Drill A Deadbolt Hole Without Damaging The Door?
Yes, by measuring carefully and using the right drill bits, you avoid damage. Drill slowly and use clamps to stabilize the door. Proper technique keeps your door intact and ready for installation.
Conclusion
Drilling a deadbolt hole takes patience and care. Measure twice to avoid mistakes. Use the right drill bit for clean cuts. Keep the drill steady to make smooth holes. Always wear safety gear to protect yourself. Practice on scrap wood if unsure.
A well-drilled hole helps your lock fit perfectly. Take your time, and the job will go well. This simple skill improves your home’s security. You can do it with the right steps and tools.