Is your floor feeling uneven or sagging? This can be more than just a nuisance—it might be a sign of a bigger problem in your crawlspace.
You don’t have to live with a sagging floor or pay a fortune for repairs. In this guide, you’ll learn how to jack up a sagging floor in your crawlspace step by step. By the end, you’ll have the confidence to fix the issue yourself and bring your floor back to solid, level ground.
Keep reading to discover simple, effective solutions that save you time and money.

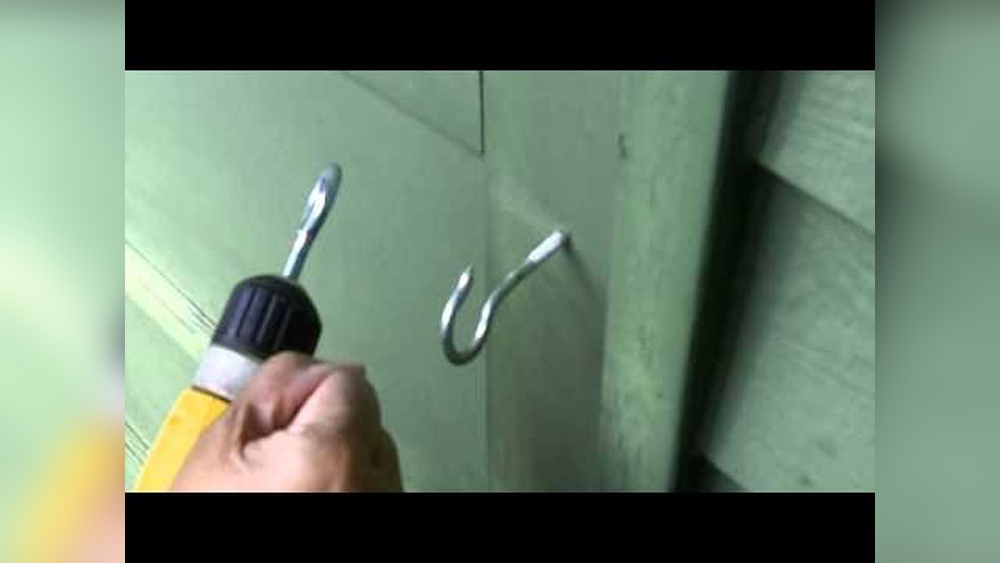
Credit: oldhousecrazy.com
Signs Of A Sagging Floor
A sagging floor often shows clear signs before it worsens. Spotting these signs early helps prevent bigger problems. It also saves money on repairs. Knowing what to watch for makes a big difference.
Visible Floor Dips
Look closely at the floor surface for dips or low spots. These areas may feel soft or uneven underfoot. A sagging floor often has noticeable dips that disrupt walking. Check for areas where the floor looks warped or slants downward.
Door And Window Issues
Doors and windows may start sticking or not close properly. They might jam or leave gaps along the edges. This happens because the frame shifts as the floor sags. Notice if you need to push or pull doors to shut them fully.
Cracks In Walls And Ceilings
Cracks near the floor or ceiling corners can signal floor problems. These cracks might appear around door frames or along baseboards. They result from the house settling unevenly due to sagging floors. Watch for new or widening cracks over time.
Tools And Materials Needed
Before jacking a sagging floor in your crawlspace, gather the right tools and materials. Having everything ready makes the job safer and smoother. Each tool has a specific role in lifting and supporting the floor properly.
Floor Jacks And Support Posts
Floor jacks help lift the sagging floor slowly and evenly. Choose hydraulic jacks for stronger, controlled lifting. Support posts hold the floor in place once lifted. Use solid, adjustable metal posts for better stability. Make sure posts fit tight between floor joists and the ground.
Measuring Instruments
Accurate measurements guide the lifting process. Use a tape measure to check the height difference before and after jacking. A level helps ensure the floor is even. Mark the spots that need lifting with chalk or pencil. Good measuring tools prevent over-lifting and damage.
Safety Gear
Safety is important in crawlspace work. Wear gloves to protect your hands from sharp objects. Use safety goggles to keep dust and debris out of your eyes. A hard hat can protect your head in tight spaces. Knee pads make crawling more comfortable and prevent injury.
Preparing The Crawlspace
Preparing the crawlspace is the first step to fix a sagging floor. It helps create a safe and clear work area. This preparation also lets you see what needs repair. Proper preparation saves time and effort later.
Clearing Debris
Remove all trash, old wood, and dirt from the crawlspace. Clear space makes it easier to work and move tools. It also helps spot problem areas like rotten wood or mold. Use gloves and a mask to protect yourself from dust.
Inspecting For Moisture
Check for wet spots or dampness on the ground and walls. Moisture can cause wood to rot and supports to weaken. Use a flashlight to see dark corners well. Fix any leaks or drainage problems before starting the jacking process.
Assessing Structural Components
Look closely at beams, joists, and supports for cracks or damage. Mark any parts that look weak or broken. Make sure the main supports are strong enough to hold the floor. This step helps plan where to place jacks safely.
Installing Temporary Supports
Installing temporary supports is a key step to safely jack a sagging floor in a crawlspace. These supports hold the floor steady while you make adjustments. They prevent sudden shifts or further damage. Setting up strong, reliable supports creates a safe work area. Proper installation helps spread the weight evenly and protects the structure.
Positioning Support Posts
Place support posts under the sagging floor joists. Find the lowest points that need lifting. Space the posts evenly to balance the load. Avoid placing posts too close to each other. Check for solid ground or a firm base under each post. This prevents posts from sinking or tilting during jacking.
Using Adjustable Floor Jacks
Use adjustable floor jacks designed for crawlspaces. These jacks fit in tight spaces and allow precise height control. Position the jack under the support post or directly under the sagging joist. Turn the handle slowly to raise the floor. Stop lifting once the floor starts to level out. Do not force the jack beyond its limit to avoid damage.
Ensuring Stability
Check each support post and jack for firm contact with the floor and ground. Tighten all connections and lock the jacks in place. Add temporary bracing between posts for extra stability. Watch for any movement or shifting as you jack the floor. Keep the work area clear to avoid accidents and maintain balance.
Lifting The Sagging Floor
Lifting a sagging floor in a crawlspace requires care and patience. This step restores the floor’s level and strength. It improves safety and stops further damage.
Using the right tools and methods is key. The process involves slowly raising the floor joists with jacks. This section explains how to lift the floor safely and effectively.
Applying Gradual Pressure
Start by placing the jack under the lowest point of the sag. Turn the jack handle slowly. Apply small, steady pressure. Avoid quick or large movements. This prevents sudden shifts that can cause cracks. Raise the floor a little bit at a time. Pause often to let the wood adjust.
Monitoring Floor Level
Use a level tool to check progress. Measure before and after each lift. Keep track of the floor’s height at several points. This helps ensure even lifting. Stop lifting if the floor becomes level or near level. Overlifting can cause new problems.
Avoiding Structural Damage
Never force the jack beyond resistance. Watch for signs of stress, like cracking sounds. Support nearby beams and joists during lifting. Use additional braces if needed. Work slowly to protect the house structure. Safety is more important than speed.

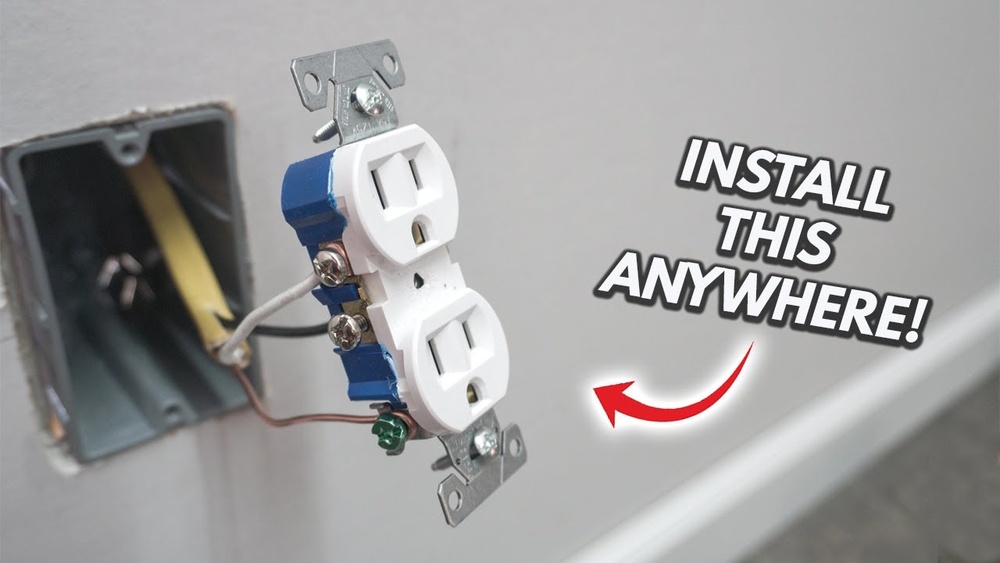
Credit: www.cowleys.com
Securing Permanent Repairs
Securing permanent repairs is key to fixing a sagging floor in a crawlspace. Temporary fixes may help, but strong, lasting solutions stop the problem for good. Proper support and reinforcement keep your floor level and safe.
Focus on strengthening the existing structure. Add extra support where needed. Replace any parts that are damaged. Use blocking to make everything stable. These steps build a solid base for your floor.
Adding Sister Joists
Sister joists run alongside the old joists. They add strength to weak, sagging boards. Cut new joists the same length as the old ones. Nail or screw them tightly together. This shares the load and stops sagging.
Replacing Damaged Beams
Damaged beams can cause the floor to droop. Remove the old, rotten beam carefully. Measure and cut a new beam to fit. Place it in the same spot and secure it well. New beams restore the floor’s original strength.
Reinforcing With Blocking
Blocking means adding short pieces of wood between joists. This stops them from twisting or moving. Cut blocks to fit tightly between joists. Nail them in place every few feet. Blocking keeps the floor steady and firm over time.
Post-repair Inspection
After jacking up a sagging floor in your crawlspace, a careful inspection is vital. This step confirms the repair’s success and finds any issues left behind. Proper inspection helps keep your floor safe and stable for years.
Checking Floor Level
Start by checking the floor level with a carpenter’s level or laser level. Look for any dips or uneven spots. Make sure the floor is straight and flat across the repaired area. Small adjustments might be needed to perfect the level.
Ensuring Support Stability
Next, check the stability of the new support posts or beams. Push gently on them to see if they move. Secure supports should not wobble or shift. Tighten any loose bolts or add extra bracing if needed. This step prevents future sagging.
Addressing Remaining Issues
Look for cracks in the floor or walls near the repair. Check for moisture or signs of wood rot. Fix any problems found quickly to avoid bigger damage. Keep the crawlspace dry and clean to maintain the repair’s strength.
Preventing Future Sagging
Preventing future sagging in your crawlspace is key to keeping your floor stable. After jacking up a sagging floor, taking steps to stop the problem from returning saves time and money. Moisture, poor air flow, and unnoticed damage cause sagging over time. Fixing these issues helps maintain a strong, level floor.
Improving Crawlspace Drainage
Water buildup in your crawlspace weakens the soil and wood supports. Ensure gutters and downspouts direct water away from your home. Use gravel or drainage pipes to move water out quickly. A dry crawlspace stops moisture from causing wood to rot or soil to settle.
Maintaining Proper Ventilation
Good airflow keeps moisture low and prevents mold growth. Check that vents are clear and open. Use fans or a vapor barrier if your crawlspace lacks natural ventilation. Dry air protects wood beams and joists from damage and decay.
Regular Structural Inspections
Look for signs of sagging or damage every six months. Check for cracked beams, soft wood, or uneven floors. Early detection lets you fix problems before they get worse. Hire a professional if you spot serious issues or are unsure about damage.

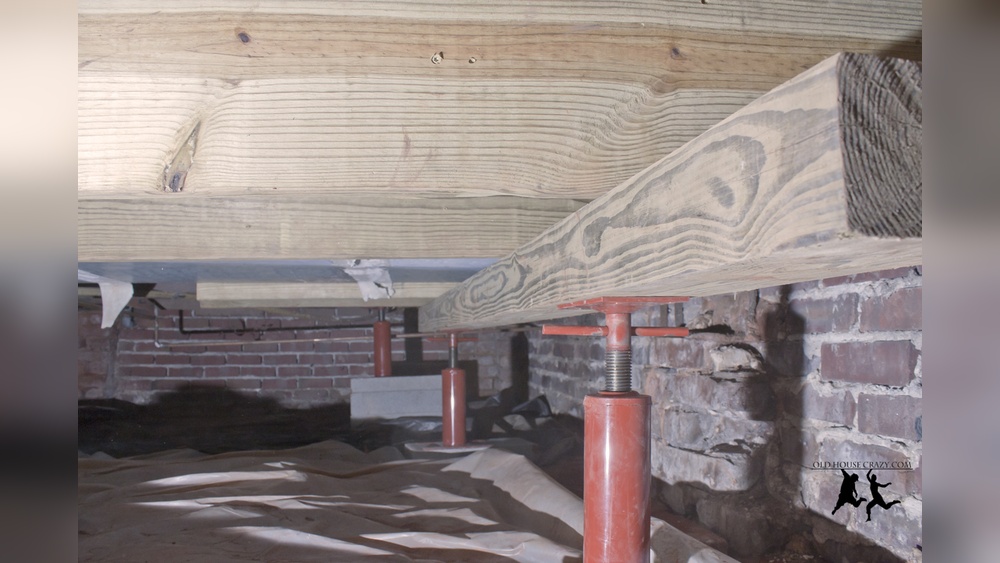
Credit: www.healthybasementsystems.com
Frequently Asked Questions
What Causes A Floor To Sag In A Crawlspace?
Sagging floors in crawlspaces are caused by moisture, wood rot, or soil settling. Poor ventilation and termite damage also contribute. Identifying the cause is crucial before jacking the floor to prevent future issues.
How Do You Safely Jack Up A Sagging Floor?
To safely jack a sagging floor, use a hydraulic jack and support beams. Raise slowly and evenly to avoid damage. Always wear safety gear and consult a professional if unsure about the process.
What Tools Are Needed To Jack A Sagging Floor?
Essential tools include a hydraulic jack, wooden beams, a level, shims, and protective gloves. These help lift and stabilize the floor safely during the repair process.
How Long Does It Take To Fix A Sagging Crawlspace Floor?
Fixing a sagging floor usually takes a few hours to a day, depending on damage severity. Proper preparation and tools speed up the process and ensure lasting results.
Conclusion
Sagging floors in crawlspaces can cause big problems if left alone. Raising the floor helps keep your home safe and steady. Take your time and follow the steps carefully. Use the right tools to make the job easier. Check your work often to avoid mistakes.
A strong floor adds value to your house. Remember, small repairs now can stop bigger issues later. Stay patient and work slowly. Your effort will pay off with a solid, level floor.