Are you struggling with those stubborn metal wall anchor screws that just won’t come out? You’re not alone.
Removing them can feel frustrating and tricky, especially if you want to avoid damaging your walls. But don’t worry—this guide will show you simple, effective steps to get those anchors out smoothly. By the end, you’ll have the confidence and know-how to handle any metal wall anchor screw with ease.
Keep reading, and say goodbye to those stubborn anchors for good!

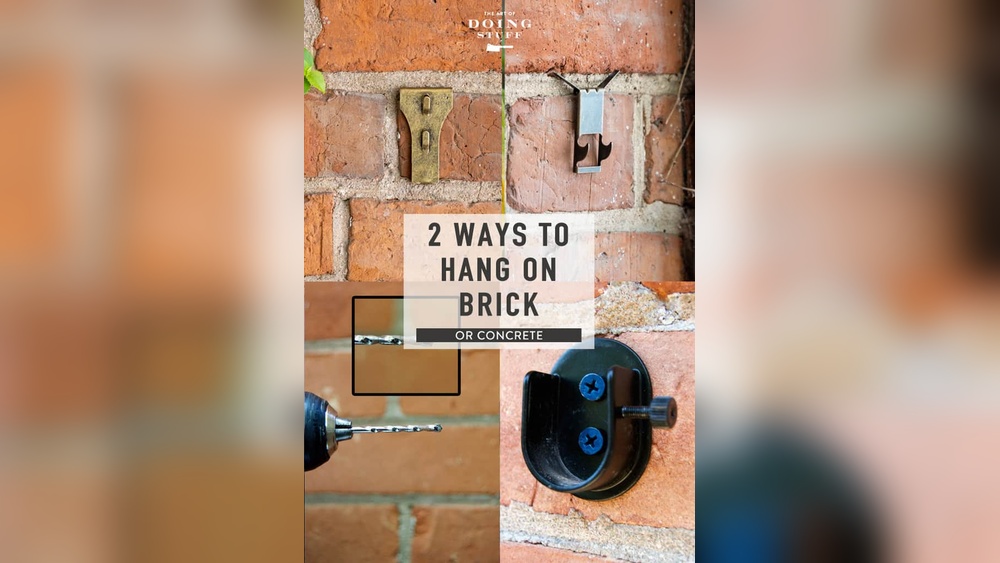
Credit: www.concretefasteners.com
Tools Needed
Removing metal wall anchor screws requires the right tools. Having the proper tools makes the task easier and safer. This section explains the basic tools needed for this job.
Screwdrivers And Pliers
A flathead or Phillips screwdriver helps to unscrew the anchor. Choose the right size for a tight grip on the screw head. Pliers are useful to pull out the anchor after loosening the screw. Needle-nose pliers work well for small or hard-to-reach anchors.
Power Drill Options
A power drill with a screwdriver bit speeds up the removal. Use a low speed to avoid damaging the wall. A drill also helps if the screw is stuck or rusted. Choose a drill with adjustable speed for better control.
Safety Gear
Wear safety glasses to protect your eyes from dust and debris. Gloves protect your hands from sharp edges and slipping tools. Use a dust mask if the wall material creates dust when drilling or scraping. Safety gear keeps you safe during the process.

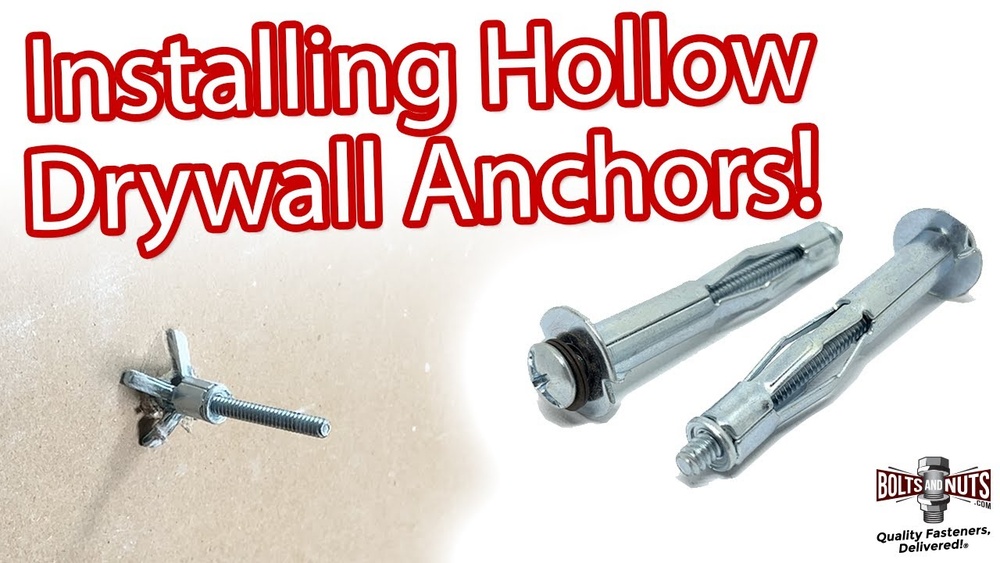
Credit: diy.stackexchange.com
Preparation Steps
Preparation is key before removing metal wall anchor screws. It helps avoid damage and makes the job easier. Taking a few minutes to get ready saves time and effort later.
Clear The Area
Start by removing objects near the wall anchor. This creates space to work safely. Clear furniture, decorations, and anything fragile. Dust and debris can fall during removal, so cover the floor if needed.
Inspect The Anchor
Look closely at the anchor and screw. Check the type and condition of the metal anchor. Notice if the screw head is stripped or damaged. This helps choose the right tools for removal.
Choose The Right Method
Select a removal method based on the anchor type and wall material. Some anchors pull out easily. Others need twisting or drilling. Having the correct tools ready is important. Prepare pliers, screwdrivers, or a drill as needed.
Removing Screws With A Screwdriver
Removing metal wall anchor screws with a screwdriver is a common task in home projects. It needs care and the right technique to avoid damage. Using a screwdriver correctly helps you remove screws quickly and safely.
Aligning The Screwdriver
Place the screwdriver tip directly into the screw head slot. Make sure it fits tightly and sits straight. This prevents slipping and damage to the screw. Hold the screwdriver steady and keep it aligned as you turn.
Applying Proper Torque
Turn the screwdriver slowly but firmly. Use enough force to loosen the screw without stripping it. Stop if the screw feels stuck or if the screwdriver slips. Applying steady pressure helps the screw come out smoothly.
Handling Stripped Screws
For screws with worn heads, try using a rubber band for grip. Place the band between the screwdriver and the screw head. Press down hard and turn slowly. If this fails, use pliers to grip the screw’s edge and twist it out gently.
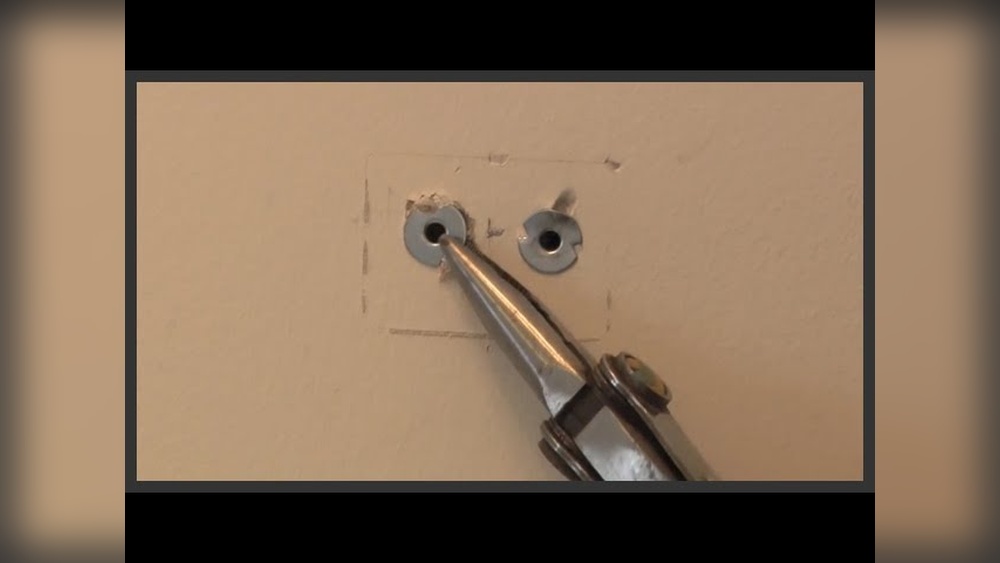
Using Pliers For Stubborn Screws
Removing metal wall anchor screws can be tough, especially if they are stuck. Pliers are a useful tool for this job. They give you a strong grip and help you twist and pull the screws out. Using pliers carefully can save your wall from damage and make the process easier.
Grip Techniques
Hold the pliers close to the screw head. Use needle-nose or locking pliers for a better hold. Make sure the pliers grip the screw firmly. Avoid squeezing too hard to prevent slipping. Adjust the pliers to fit the screw size perfectly.
Twisting And Pulling
Turn the pliers slowly to loosen the screw. Twist back and forth gently to break the screw’s grip. Pull the screw straight out with steady force. Avoid sudden jerks that can break the screw. Keep twisting and pulling until the screw comes free.
Avoiding Wall Damage
Place a cloth between the pliers and wall to protect the surface. Work slowly to prevent holes or scratches. Use a small putty knife to support the wall near the screw. Stop if the wall starts to crack or crumble. Repair any small damage with spackle after removal.
Drilling Out The Anchor
Drilling out a metal wall anchor screw is a practical way to remove it without damaging your wall. This method involves using a drill to carefully bore through the anchor. The goal is to break the anchor apart or remove it completely. It takes patience and the right tools to do it safely and effectively.
Selecting Drill Bits
Choose a drill bit slightly smaller than the anchor’s diameter. A bit too large can damage the wall. A bit too small will take longer and may overheat. High-speed steel (HSS) bits work well for metal anchors. Start with a small bit to create a pilot hole. Then switch to a larger bit for the main drilling.
Drill Settings
Set the drill to a low speed. High speed can cause the bit to slip or overheat. Use steady, gentle pressure while drilling. Avoid forcing the drill into the wall. Let the drill bit do the work. Reverse the drill occasionally to clear metal shavings. This keeps the bit sharp and prevents jamming.
Safety Precautions
Wear safety glasses to protect your eyes from flying debris. Use ear protection if the drill is loud. Keep your hands away from the drill bit. Work in a well-lit area to see clearly. Ensure the wall is free of electrical wires or pipes before drilling. Always unplug the drill when changing bits or adjusting settings.
Finishing Touches
After removing metal wall anchor screws, the wall may look rough or damaged. Finishing touches help restore the wall’s smooth look. These steps prepare the wall for new use or painting.
Filling Holes
Start by filling holes left by the anchors. Use a wall filler or spackling paste. Apply it with a putty knife. Press firmly to fill the hole completely. Let the filler dry fully before the next step.
Sanding And Painting
Once dry, sand the area with fine sandpaper. Sand until the surface is smooth and flush with the wall. Wipe away dust with a clean cloth. Paint over the filled spots using matching wall paint. Use light coats for even coverage. Allow the paint to dry between coats.
Preparing For New Anchors
To install new anchors, wait until paint dries fully. Check the wall for firmness and smoothness. Choose the right size anchor for your needs. Mark the new anchor spots carefully. Drill new holes if needed, avoiding old filler areas. This ensures strong support for new anchors.

Credit: www.youtube.com
Frequently Asked Questions
How Do I Remove Metal Wall Anchor Screws Safely?
To remove metal wall anchor screws safely, use a screwdriver or drill to unscrew them. Avoid forcing to prevent wall damage. If stuck, gently pry the anchor out with pliers after loosening the screw.
What Tools Are Needed To Remove Metal Wall Anchors?
You need a screwdriver or drill, pliers, and possibly a putty knife. These tools help unscrew, grip, and remove anchors without damaging the wall.
Can I Reuse Metal Wall Anchors After Removal?
Typically, metal wall anchors are not reusable. Removing them may deform the anchor, reducing grip strength. It’s best to replace with new anchors for secure installation.
How To Fix Holes After Removing Metal Wall Anchors?
Fill the holes with spackle or wall filler, then sand smooth once dry. Paint over to match the wall color for a clean finish.
Conclusion
Removing metal wall anchor screws is easier than it seems. Use the right tools and take your time. Gently pull or twist the screw to avoid damage. Clean the hole afterward for a smooth finish. This simple process saves you money and effort.
Now, you can fix or repaint your wall without stress. Try these steps next time you need to remove anchors. Simple, fast, and effective.