If your Kwikset deadbolt has come apart, you might feel stuck and unsure where to start putting it back together. Don’t worry—you can fix it yourself, even if you’re not a locksmith.
This guide will walk you through each simple step so you can restore your deadbolt quickly and securely. By the end, you’ll have the confidence to handle your lock like a pro and keep your home safe. Ready to get your Kwikset deadbolt working perfectly again?
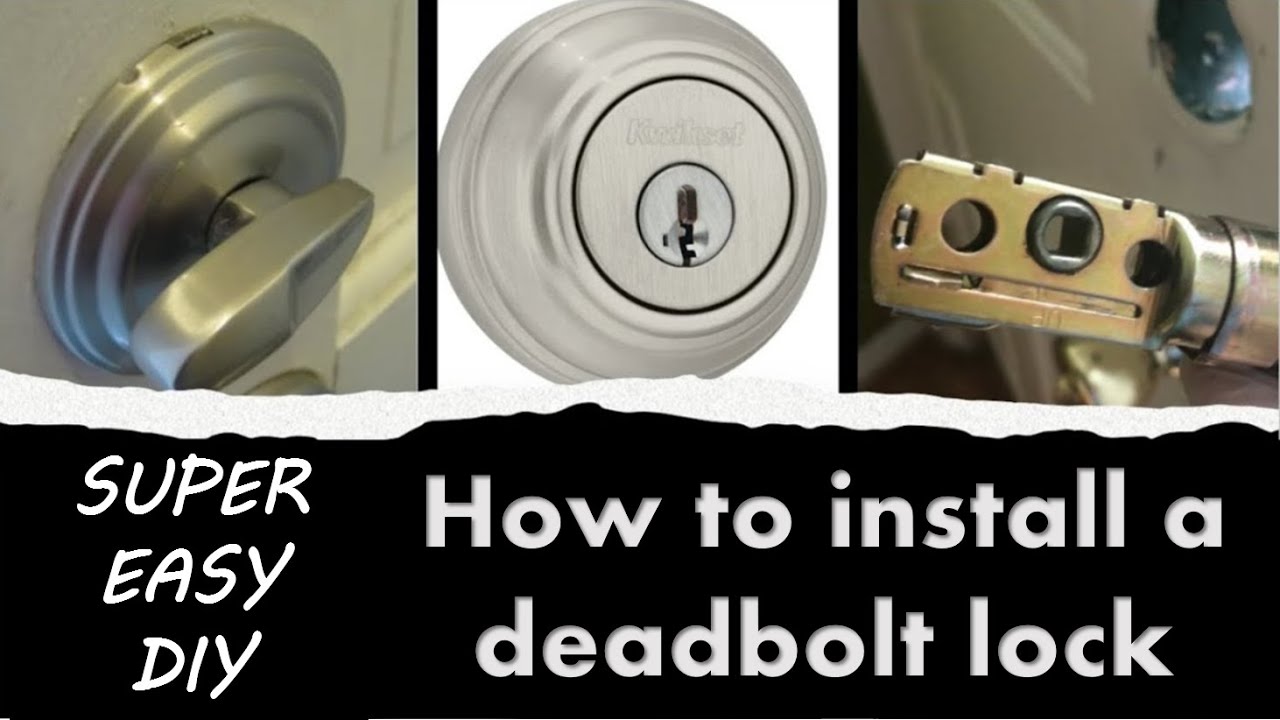
Let’s dive in.

Credit: diy.stackexchange.com
Tools Needed
Putting a Kwikset deadbolt back together needs the right tools. The tools help you work safely and quickly. Having them ready before starting saves time. You can avoid mistakes and damage to the lock parts.
Screwdriver
A screwdriver is a must-have tool. Most deadbolts use Phillips head screws. Use a medium-sized Phillips screwdriver for best control. It helps remove and tighten screws easily.
Needle-nose Pliers
Needle-nose pliers help grab small pieces. They are perfect for holding pins and springs. These pliers make it easy to place parts in tight spots.
Flat Head Screwdriver
A flat head screwdriver is useful for prying parts gently. It also helps to push out stubborn pins or clips. Keep it handy for small adjustments.
Small Hammer
A small hammer can tap pins back into place. Use light taps to avoid breaking the lock. It is helpful to seat parts firmly during assembly.
Lubricant
Lubricant keeps the lock working smoothly. Use a graphite or silicone spray. Avoid oil-based lubricants as they attract dirt. Apply a little before reassembling.
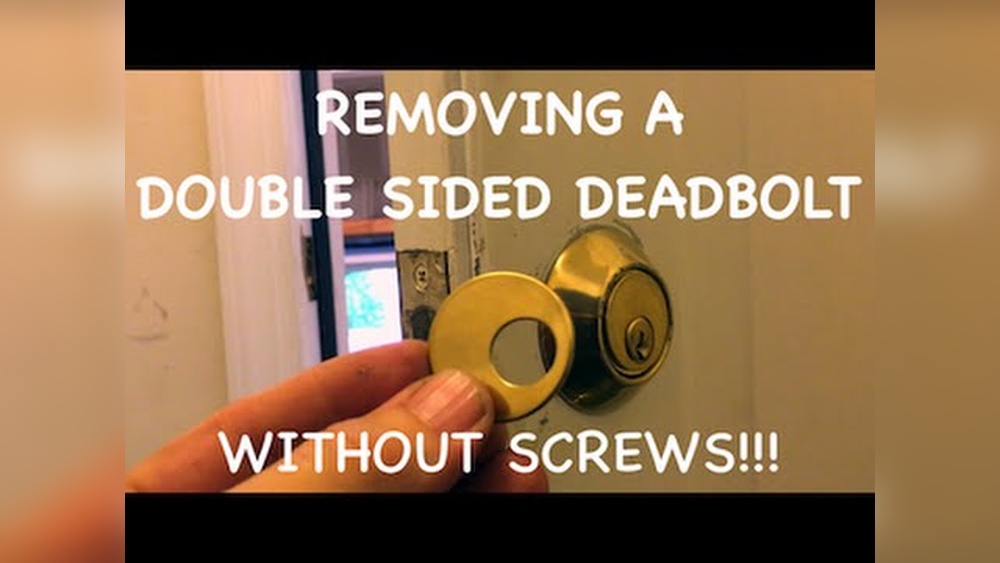
Removing The Deadbolt
Removing the deadbolt is the first step to put your Kwikset lock back together. Take your time and follow each step carefully. This will help avoid damage and make reassembly easier. Start by focusing on the exterior side, then move to the interior parts.
Unscrew The Exterior
Locate the screws on the outside part of the deadbolt. Use a screwdriver to remove them. Keep the screws safe for later use. Gently pull the exterior piece away from the door. Do this slowly to avoid breaking any parts.
Detach The Interior Assembly
Turn to the inside of the door. Find the screws holding the interior assembly. Unscrew them carefully and set them aside. Gently lift the interior part off the door. Keep all pieces together to prevent loss.
Inspecting The Components
Before putting your Kwikset deadbolt back together, inspecting each part is crucial. This step ensures the lock works smoothly and lasts longer. Careful inspection helps spot any issues that might cause problems later.
Take your time to examine every component closely. Look for anything unusual or broken. A good inspection saves time and effort during reassembly.
Check For Damage
Start by checking all the parts for damage. Look at the cylinder, screws, and latch carefully. Cracks or bends can stop the deadbolt from working properly. Missing pieces must be replaced before you continue. Check the spring and pins too. They should move freely without sticking. Any worn or broken parts need fixing or swapping out.
Clean The Parts
Dirt and dust can cause the lock to jam. Clean each part using a soft cloth or brush. Avoid water or harsh cleaners that could rust metal parts. A little rubbing alcohol on a cloth works well. Remove all grime from the keyhole and moving pieces. Clean parts help the deadbolt operate smoothly and quietly.
Aligning The Deadbolt Mechanism
Aligning the deadbolt mechanism is key to making your Kwikset lock work smoothly. This step ensures the lock moves freely and secures your door properly. Careful alignment helps avoid jamming or sticking problems.
Follow simple steps to position the bolt and set the tailpiece correctly. These parts must fit perfectly for the lock to function.
Position The Bolt
Start by placing the bolt inside the door edge. Make sure the bolt slides easily in and out. The bolt should face the correct direction, with the angled side pointing toward the door frame.
Check that the bolt moves smoothly without catching. Adjust it slightly if it feels tight. Proper positioning prevents the lock from sticking.
Set The Tailpiece Correctly
The tailpiece connects the inside knob to the bolt mechanism. Insert it through the center hole of the lock. Align the tailpiece with the bolt’s slot carefully.
Turn the tailpiece gently to test its movement. It should rotate the bolt without resistance. A well-set tailpiece ensures the deadbolt locks and unlocks easily.
Reassembling The Interior Side
Reassembling the interior side of a Kwikset deadbolt is a key step in completing the lock installation. This part controls the lock from inside your door. Careful assembly ensures the lock works smoothly and safely. Follow each step carefully for the best results.
Attach The Thumb Turn
Start by placing the thumb turn on the spindle inside the lock. The thumb turn is the small knob you twist to lock or unlock. Align it with the spindle so it fits snugly. Press it firmly until it clicks into place. This connection allows you to control the bolt from inside easily.
Secure The Interior Plate
Next, position the interior plate over the thumb turn and spindle. The plate holds everything together and keeps parts stable. Use the screws you removed earlier to fix the plate to the door. Tighten the screws evenly for a secure fit. Avoid over-tightening to prevent damage to the lock.
Credit: www.homedepot.com
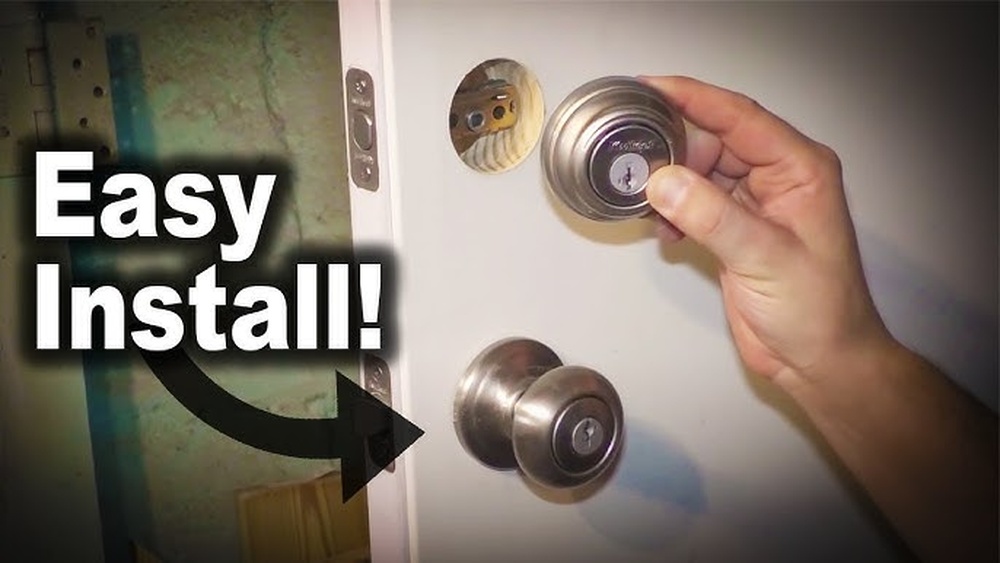
Reattaching The Exterior Side
Reattaching the exterior side of a Kwikset deadbolt is an important step. This part holds the lock cylinder and connects to the interior mechanism. Careful alignment helps the lock work smoothly. Follow simple steps to place the parts correctly and secure them firmly.
Insert The Cylinder
Take the lock cylinder and align it with the hole on the door’s exterior. The keyhole should face outward. Slide the cylinder gently into place. Make sure it fits snugly without forcing it. The cylinder must sit flush with the door surface. Proper positioning allows the key to turn smoothly later.
Fasten The Screws
Find the screws that came with your deadbolt. Insert them through the holes on the exterior side into the door. Use a screwdriver to tighten the screws firmly. Do not over-tighten, or you might damage the lock. Check that the exterior side does not wobble. Tight screws keep the lock stable and secure.
Testing The Deadbolt
Testing the deadbolt is a key step after reassembling your Kwikset lock. It ensures the lock works smoothly and keeps your door secure. A properly tested deadbolt helps avoid future problems. This step saves time and effort later.
Check Lock Operation
Turn the key or thumb turn to test the lock. The deadbolt should slide out and retract smoothly. Listen for any unusual sounds like grinding or sticking. Try locking and unlocking several times. Make sure the bolt fully extends into the door frame. Check both sides of the door for smooth operation.
Adjust If Necessary
If the deadbolt sticks or feels stiff, adjust the lock parts. Loosen screws slightly and move the lock or strike plate. Tighten screws after adjustment. Test the lock operation again. Repeat this until the deadbolt moves freely. Small tweaks improve security and ease of use.
Credit: www.youtube.com
Tips For Maintenance
Keeping your Kwikset deadbolt in good shape helps it work smoothly. Regular care prevents problems and extends the lock’s life. Simple steps make a big difference in how well your deadbolt performs.
Lubricate Regularly
Use a graphite-based lubricant for the deadbolt. Spray or apply a small amount inside the keyhole and on moving parts. Avoid oil-based lubricants. They attract dirt and can cause jams. Lubricate the lock at least twice a year. This keeps the mechanism moving smoothly and prevents rust.
Avoid Excessive Force
Turn the key gently when locking or unlocking. Forcing the key can damage the pins inside. Do not slam the door hard. Rough handling can misalign the deadbolt parts. Handle your lock with care to avoid costly repairs or replacements.
Frequently Asked Questions
How Do I Reassemble A Kwikset Deadbolt?
To reassemble a Kwikset deadbolt, align the internal parts carefully. Insert the latch into the door edge, attach the exterior and interior assemblies, and secure with screws. Test the lock to ensure smooth operation before final tightening.
What Tools Are Needed To Put Back A Kwikset Deadbolt?
You need a Phillips screwdriver and possibly a flathead screwdriver. These tools help remove and tighten screws during reassembly. Having a small hammer or pliers can also assist in aligning parts properly.
How Can I Ensure My Kwikset Deadbolt Works Smoothly?
Make sure all parts are aligned correctly and screws are snug but not over-tightened. Lubricate the latch and cylinder with graphite or silicone spray for smooth operation. Test the lock multiple times to confirm it functions without sticking.
Why Is My Kwikset Deadbolt Not Locking After Reassembly?
Misalignment of internal components or loose screws often cause this issue. Double-check the latch placement and tighten all screws evenly. Ensure the cylinder and thumb turn are properly connected inside the door.
Conclusion
Putting a Kwikset deadbolt back together is simple with clear steps. Take your time and follow each part carefully. Check that all pieces fit snugly before tightening screws. Test the lock to make sure it turns smoothly. Doing it yourself saves money and gives confidence.
Practice helps you get better and faster. Keep tools nearby for easy access next time. This guide makes deadbolt assembly less confusing. You can handle this task without special skills. Feel proud of fixing your lock alone.