Have you ever wished your lights could turn off automatically, saving you energy and giving you peace of mind? Putting a timer on a light switch is a simple way to do just that.
Whether you want to make your home more energy-efficient, enhance security, or just avoid forgetting to switch off the lights, this guide is for you. Keep reading, and you’ll discover easy steps to add a timer to your light switch—no complicated tools or skills needed.
By the end, you’ll have a smart, hands-free solution that fits perfectly into your daily routine.

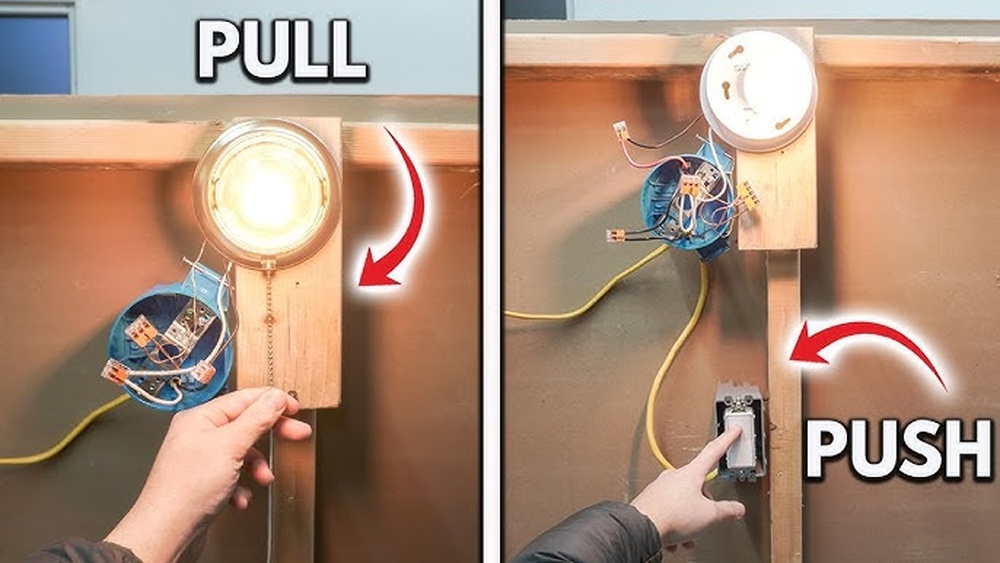
Credit: mydome.co.uk
Choosing The Right Timer
Choosing the right timer for your light switch makes a big difference. It controls when your lights turn on and off. The right timer saves energy and adds convenience. You need to pick one that fits your needs and your home.
Types Of Light Switch Timers
Mechanical timers have a dial you turn to set on and off times. They are simple and cost less. Digital timers offer more precise control and multiple programs. Some can be set to different days and times. Smart timers connect to Wi-Fi. You control them with a phone app or voice commands. They are good for tech-savvy users and remote control.
Factors To Consider
Check the timer’s compatibility with your light bulbs and wiring. Look at how many on/off settings it offers. Easy-to-use controls matter, especially for beginners. Consider power source: battery or hardwired. Battery timers are easier to install. Think about your budget and how often you will change settings. Choose a timer that matches your lifestyle and technical skills.

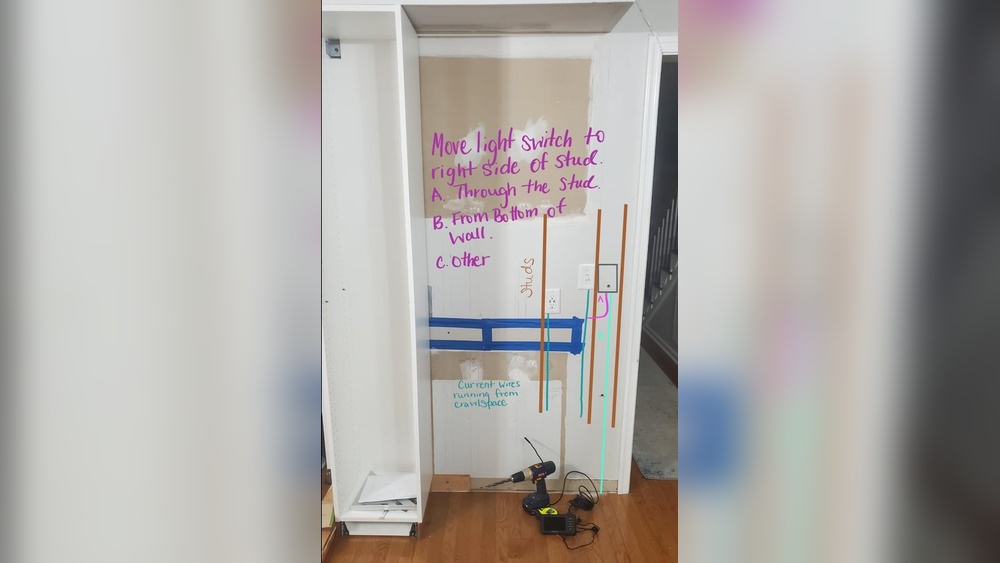
Credit: theladydiy.com
Gathering Necessary Tools
Before installing a timer on a light switch, gather all needed tools. Having the right tools makes the job easier and safer. Prepare everything in one place to avoid interruptions. Check each tool to ensure it works well. This step saves time and prevents frustration during installation.
Essential Tools List
Start with a screwdriver set. Both flathead and Phillips screwdrivers are useful. A voltage tester is vital to check if wires carry electricity. Wire strippers help remove insulation from wires safely. Needle-nose pliers make it easier to bend wires. Electrical tape secures wire connections and prevents shorts. A drill may be needed if new holes are required.
Safety Equipment
Safety gear protects you from electric shocks and injuries. Wear insulated gloves to avoid shocks. Use safety glasses to protect your eyes from debris. Turn off power at the circuit breaker before starting work. Use a sturdy ladder if the switch is high. Wear closed-toe shoes to protect your feet. Have a flashlight ready if lighting is poor.
Preparing The Light Switch
Preparing the light switch is the first step in adding a timer. This process ensures safety and makes installation easier. Follow simple steps to get ready.
Turning Off Power
Start by turning off the power to the light switch. Find the correct breaker in your fuse box. Flip it to the off position. Use a voltage tester to check if the power is off. This step protects you from electrical shocks.
Removing The Existing Switch
Remove the cover plate from the switch using a screwdriver. Unscrew the switch from the wall box carefully. Pull the switch out gently to expose the wires. Note how the wires connect to the switch. Take a picture or mark them for reference. This makes connecting the timer switch easier later.
Installing The Timer Switch
Installing the timer switch is a simple process that anyone can do. It helps save energy and adds convenience. This section explains how to set up the timer switch safely and correctly. Follow these steps carefully for best results.
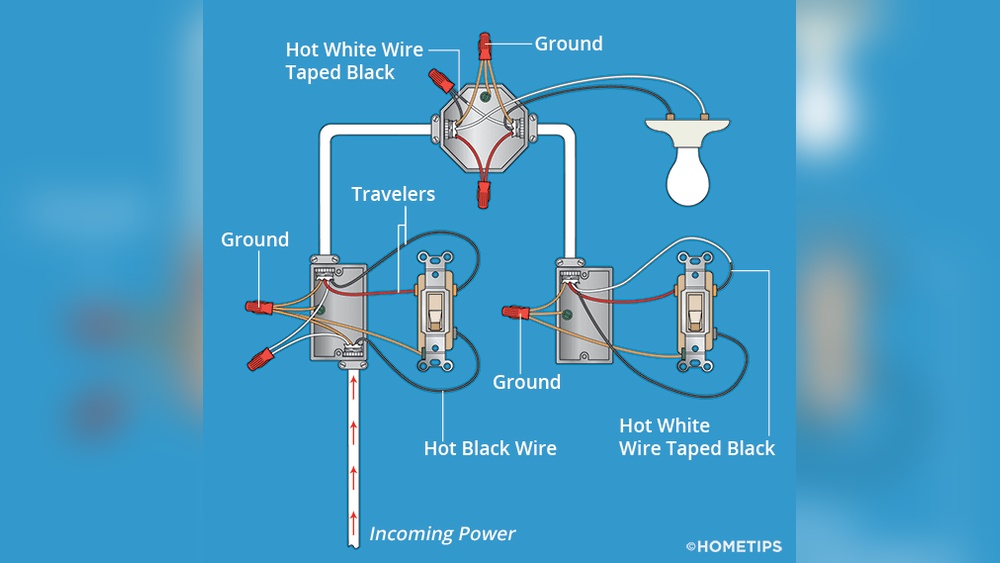
Wiring The Timer
Turn off the power at the circuit breaker before starting. Remove the old switch by unscrewing the faceplate and switch. Identify the wires: usually a live wire, a load wire, and a ground wire. Connect the timer switch wires to the matching wires in the wall. Use wire nuts to secure the connections tightly. Double-check that no bare wire is showing. Proper wiring is key to safe operation.
Securing The Switch
Push the wires gently back into the electrical box. Align the timer switch with the screw holes. Screw the switch firmly into place without over-tightening. Attach the faceplate over the switch. Turn the power back on at the breaker. Test the timer switch to ensure it works properly. A secure switch stays in place and functions well.
Testing The Timer Function
Testing the timer function is a key step after installing a timer on a light switch. It ensures the timer works correctly and controls the light as expected. Testing helps find any errors early and confirms the setup is safe and reliable.
Restoring Power
Turn the circuit breaker back on to restore power to the switch. The light connected to the timer should now have power. Check for any signs of problems, like flickering or no light.
Setting The Timer
Follow the timer’s instructions to set the on and off times. Use the buttons or dials to select times for the light to turn on and off automatically. Make sure the current time is set correctly on the timer.
Verifying Operation
Watch the light closely during the set on and off times. Confirm the light turns on and off according to the timer settings. Test the manual override if your timer has one. Repeat the test a few times to be sure it works every time.
Troubleshooting Common Issues
Using a timer on a light switch makes life easier and saves energy. Sometimes, things do not work as planned. Troubleshooting helps find and fix common problems quickly. This section covers usual issues and simple ways to solve them.
Timer Not Working
Check if the timer is properly set and powered. Sometimes, a loose connection stops the timer from working. Make sure the timer matches your light switch voltage. Resetting the timer can clear small glitches. If the timer still fails, it might be faulty or incompatible.
Switch Flickering
Flickering lights often mean a bad connection. Tighten all wires on the switch and timer. Use a screwdriver to secure loose terminals. Flickering can also come from a worn-out bulb. Replace the bulb if tightening wires does not help. In rare cases, the timer itself may cause flickering.
Power Problems
Power issues can stop the timer from working. Check the circuit breaker to see if it has tripped. Confirm the timer is installed on the correct switch with power. Use a voltage tester to ensure power reaches the timer. If power is missing, call an electrician for safety.
Maintenance Tips
Keeping your timer on a light switch working well needs some care. Simple steps can help your timer last longer and work right. This section shares easy maintenance tips for your light switch timer.
Regular Checks
Look at the timer often to spot any problems. Check if the lights turn on and off at the right times. Make sure the switch feels firm and not loose. Clean dust or dirt from the timer and switch gently. Early checks stop bigger issues later.
Replacing Batteries
Many timers use batteries to keep time. Change batteries before they run out. Use the right battery type for your timer. Low batteries can cause the timer to fail or lose settings. Keep fresh batteries on hand for quick changes.
Upgrading Timers
Old timers may not work well with new technology. Replace old timers with modern ones for better control. New models often save energy and offer more features. Choose timers that fit your switch and needs. Upgrading keeps your system safe and efficient.

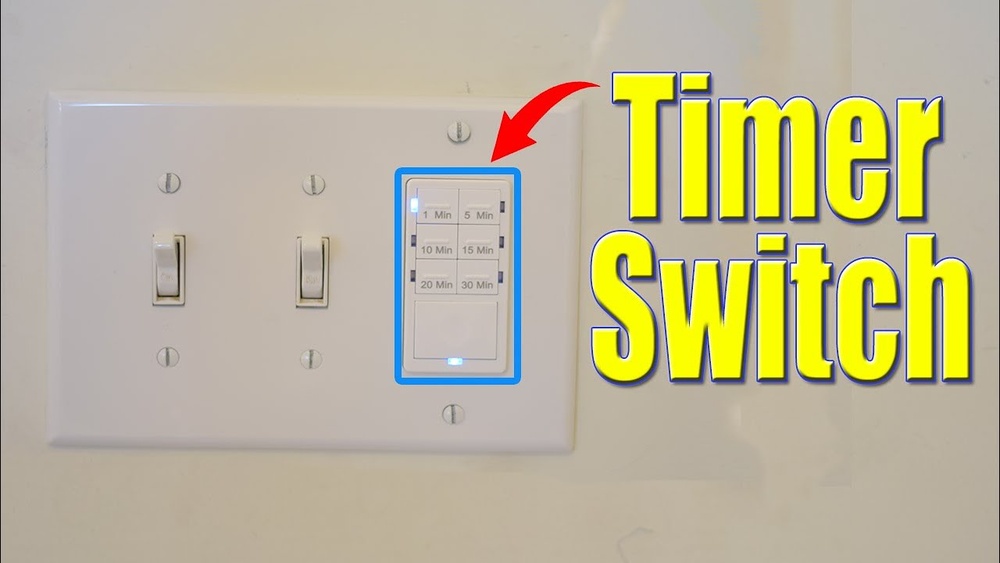
Credit: www.youtube.com
Frequently Asked Questions
How Do You Install A Timer On A Light Switch?
Turn off the power at the circuit breaker. Remove the switch cover and disconnect wires. Connect the timer switch wires following the manual. Secure the timer switch and replace the cover. Restore power and test the timer functionality.
What Types Of Timers Work With Light Switches?
Mechanical timers, digital timers, and smart timers are common options. Mechanical timers are simple and affordable. Digital timers offer precise control and settings. Smart timers connect to Wi-Fi for remote operation and automation.
Can I Put A Timer On Any Light Switch?
Most standard light switches can support a timer switch. Ensure compatibility with your wiring type and load. Some timers require a neutral wire for installation. Check the timer’s specifications before purchasing to avoid issues.
Are Timer Switches Energy-efficient For Lights?
Yes, timer switches help save energy by controlling light usage. They prevent lights from staying on unnecessarily. Timers can be programmed for specific hours, reducing electricity waste. This leads to lower energy bills and a smaller carbon footprint.
Conclusion
Setting a timer on a light switch saves energy and adds convenience. It helps control when lights turn on and off automatically. This simple step can improve home safety and reduce electricity bills. Choose the right timer that fits your needs and install it carefully.
With just a little effort, you can enjoy smarter lighting every day. Try it yourself and see the difference it makes.