Are you looking to make your home smarter and more convenient? A Honeywell programmable light switch can help you control your lights with ease.
But if you’re wondering how to program it without any hassle, you’re in the right place. This guide will walk you through simple steps to set up your switch exactly the way you want. Imagine turning your lights on or off automatically, saving energy, and adding comfort to your daily routine—all with a few easy taps.
Keep reading to discover how to unlock the full potential of your Honeywell light switch and take control of your lighting like a pro.
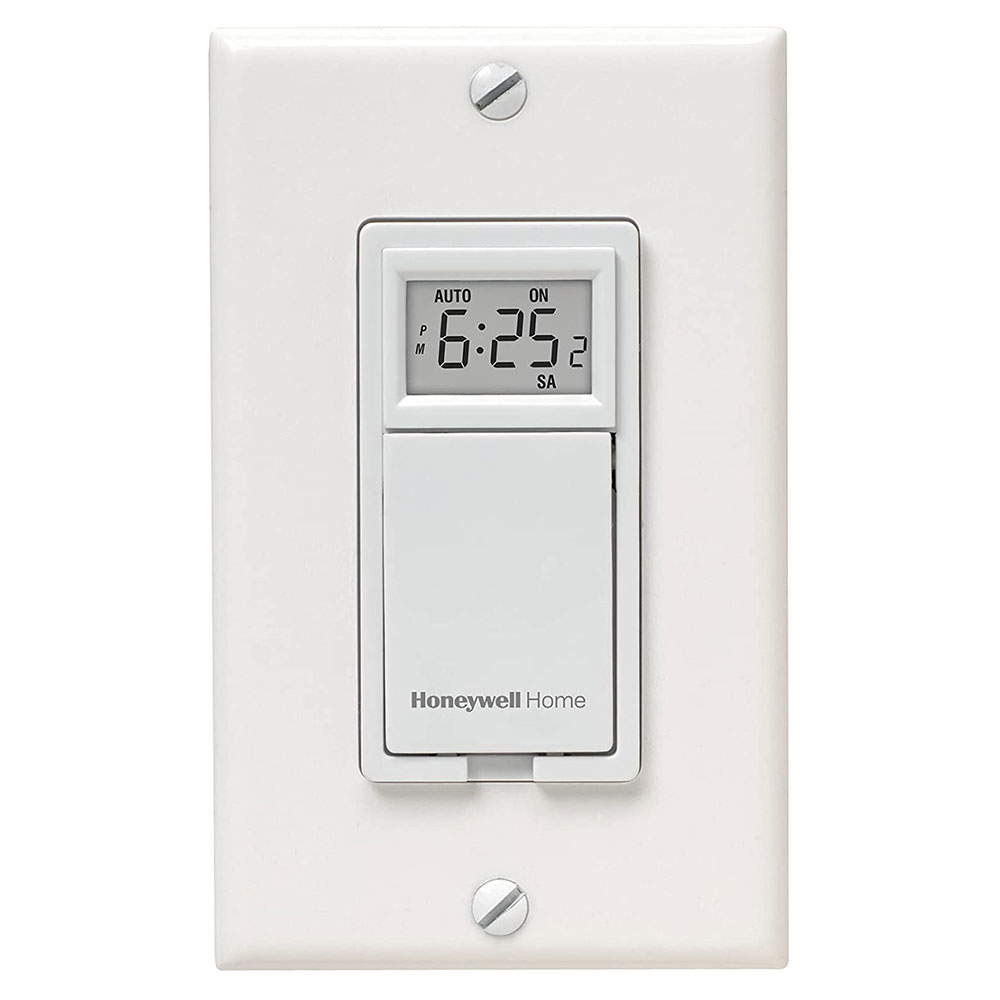
Honeywell Light Switch Features
Honeywell light switches offer many features to improve your home lighting. These switches allow you to control lights with ease. You can set schedules and adjust settings to save energy. Their design fits most home styles. Easy to install and simple to use, these switches bring convenience to your daily routine.
They work well for different lighting needs. Whether you want to turn lights on automatically or dim them, Honeywell switches can handle it. They help create a comfortable and efficient lighting environment.
Types Of Programmable Switches
Honeywell offers several types of programmable light switches. Some switch models focus on basic on/off control. Others include dimming options for mood lighting. There are also switches with touchscreens for easy programming. Wireless models connect to your smartphone or smart home system. Each type suits different user needs and preferences.
Key Functions And Benefits
Programming lets you set specific times for lights to turn on or off. This feature helps save electricity by avoiding wasted power. Many models include manual override to turn lights on anytime. Some switches support multiple schedules for weekdays and weekends. They also allow gradual dimming for comfort. The ability to control lights remotely adds security. These functions make Honeywell switches practical and energy-efficient.

Credit: www.youtube.com
Preparation Before Programming
Preparing your Honeywell programmable light switch for programming is an important step. It helps ensure smooth setup and proper function. This section guides you through the essential preparations before starting.
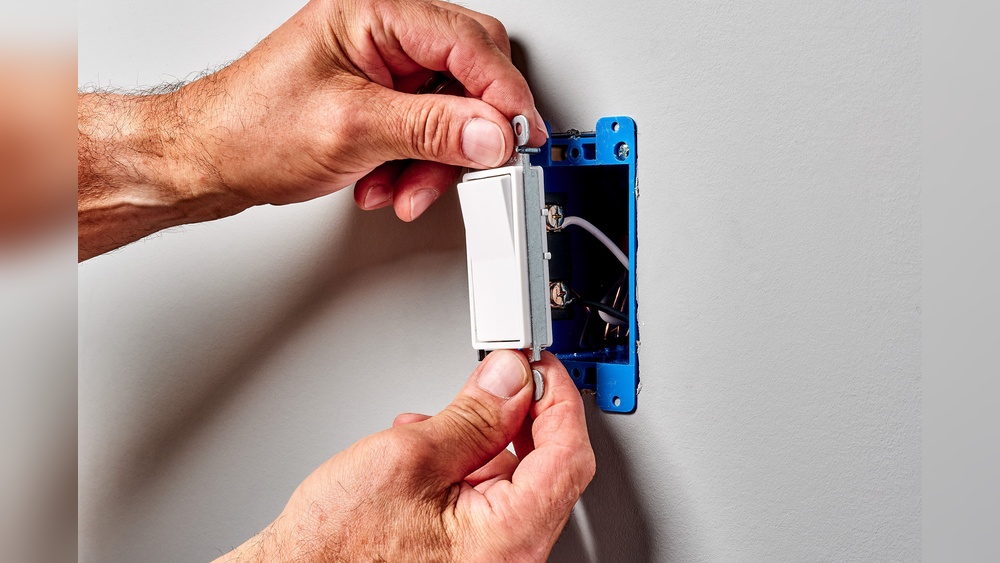
Tools And Requirements
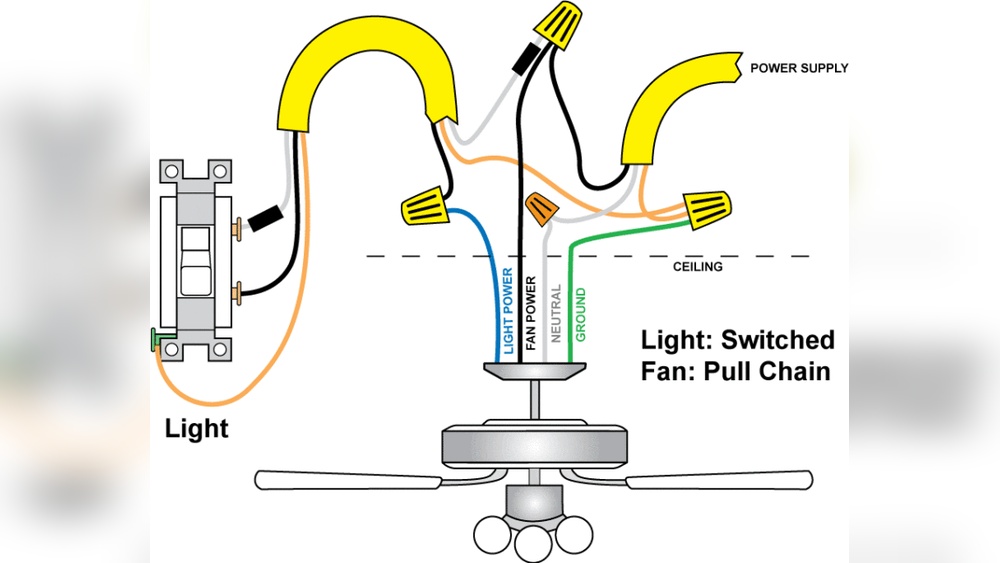
Gather all necessary tools before you begin. You will need a flat-head screwdriver and a small Phillips screwdriver. A voltage tester is also important to check power safety. Make sure you have the instruction manual handy. A smartphone or tablet may be needed for app-based programming. Confirm your Wi-Fi network is stable and accessible. Prepare fresh batteries if your model uses remote controls.
Safety Precautions
Turn off the power at the circuit breaker before handling the switch. Use the voltage tester to ensure no electricity flows to the wires. Avoid touching exposed wires with bare hands. Wear insulated gloves if possible. Work in a dry area to prevent electric shock. Keep children and pets away from the work zone. Follow all safety instructions from the Honeywell manual closely.
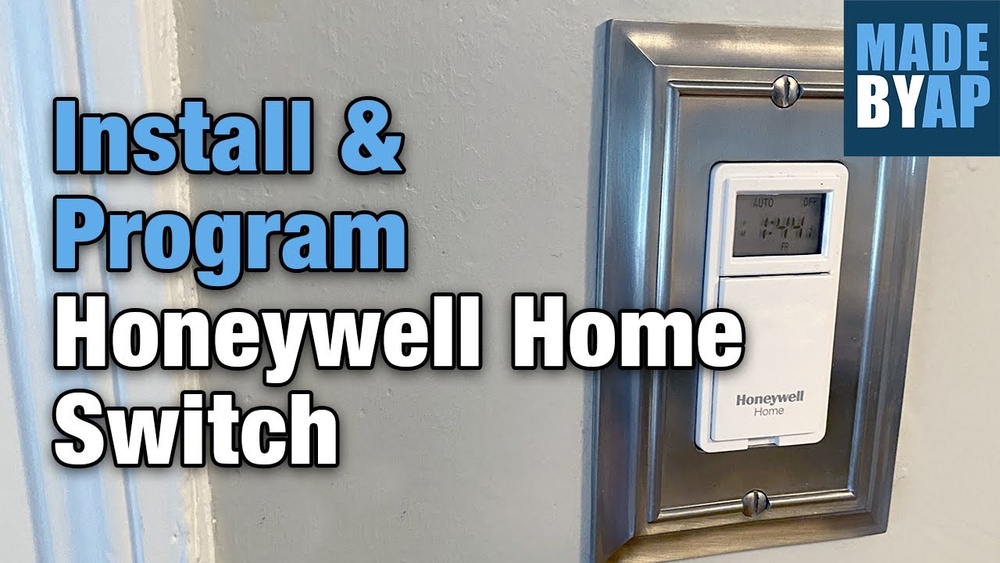
Step-by-step Programming Process
Programming the Honeywell programmable light switch is simple. Follow these clear steps to set up your switch correctly. Each step is easy to do and helps control your lights perfectly. This guide walks through the programming process clearly and simply.
Accessing The Programming Mode
Press and hold the main button for 5 seconds. The screen will start blinking. This means the switch is in programming mode. Use the arrow keys to move through options. Press the main button to select the setting you want to change.
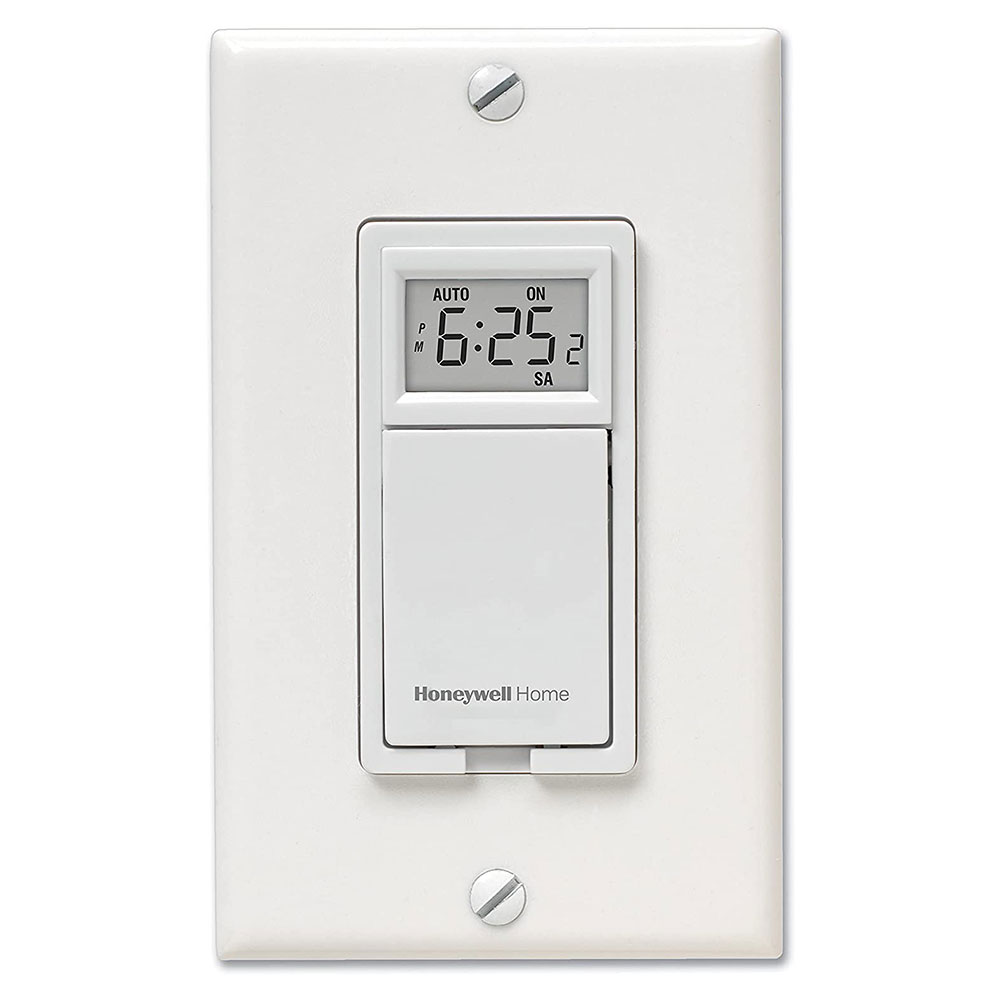
Setting The Time And Date
Choose the time and date option from the menu. Use the arrows to set the hour first. Press the button to confirm and move to minutes. Set the minutes and confirm again. Next, set the day, month, and year in the same way. Accurate time is important for schedules to work well.
Configuring On And Off Schedules
Select the schedule option in the menu. Pick the day or days you want the schedule for. Set the time to turn the light on. Press confirm and then set the off time. Save the schedule and repeat for more times if needed. The switch will now follow these times automatically.
Adjusting Brightness And Modes
Find the brightness or mode setting in the menu. Use the arrows to increase or decrease brightness. Choose between normal, dim, or night modes. Confirm your choice to save the setting. This helps create the perfect light for any time or mood.
Troubleshooting Common Issues
Troubleshooting common issues with your Honeywell programmable light switch helps keep it working well. Problems may arise from simple errors or connection troubles. Understanding basic fixes saves time and effort. This section guides you through easy steps to solve frequent problems. Follow these tips to maintain smooth operation of your switch.
Resetting The Switch
Resetting the Honeywell switch clears minor errors quickly. To reset, press and hold the main button for about 10 seconds. Wait until the lights blink, then release the button. The switch will restart and restore factory settings. This step fixes many programming glitches and unresponsive behavior. Use reset if the switch does not respond to commands or settings.
Dealing With Connectivity Problems
Connectivity issues often cause the switch to lose control over lights. Ensure the Wi-Fi network is stable and within range of the switch. Restart your router to refresh the connection. Check if the switch’s firmware is up to date; update if needed. Avoid interference from other devices by keeping them away from the switch. Re-pair the switch with your home network if it disconnects repeatedly.
Error Codes And Their Meanings
Honeywell switches display error codes to show specific problems. Code “E1” means a wiring issue; check all connections carefully. Code “E2” signals a communication error; verify the network setup. Code “E3” indicates a hardware fault; consider replacing the switch. Consult the user manual for a full list of codes. Knowing these codes helps diagnose problems fast and accurately.
Tips For Optimizing Switch Performance
Optimizing the performance of your Honeywell programmable light switch helps save energy and extends its life. Simple tips improve how well your switch works daily. These tips keep your switch efficient and reliable for years.
Energy Saving Strategies
Set timers to turn lights off when not needed. Use the switch’s scheduling feature to match your daily routine. Reduce electricity use by dimming lights during the day. Choose energy-efficient bulbs compatible with your switch. Avoid leaving lights on in empty rooms. Use motion sensors if your switch supports them. These small actions lower your energy bills and help the environment.
Maintaining Your Programmable Switch
Clean the switch surface regularly with a dry cloth. Avoid using water or harsh chemicals on the switch. Check the wiring connections every few months for safety. Update the switch’s firmware if updates are available. Replace batteries in remote controls or wall units as needed. Keep the switch away from extreme heat or moisture. Proper care ensures your switch works smoothly and lasts longer.
Credit: www.honeywellstore.com
Credit: www.honeywellstore.com
Frequently Asked Questions
How Do I Start Programming A Honeywell Light Switch?
Begin by turning off the main power for safety. Press and hold the switch’s program button until the LED flashes. This indicates it’s ready for programming. Follow the specific model’s instructions to set your desired lighting schedule.
Can I Set Multiple Schedules On One Switch?
Yes, Honeywell programmable switches usually allow multiple schedules. You can program different on/off times for weekdays and weekends. Use the switch’s interface or app to customize these schedules easily for your convenience.
What If The Honeywell Switch Doesn’t Save My Program?
Ensure the switch is receiving power during programming. Double-check you followed the correct button sequence. If problems persist, reset the switch to factory settings and try programming again.
Is A Manual Needed For Programming Honeywell Switches?
Yes, always refer to your specific model’s manual. It provides step-by-step programming guidance and troubleshooting tips. Manuals are often available on Honeywell’s official website for download.
Conclusion
Programming your Honeywell light switch is easier than it seems. Follow the steps carefully to set your preferred schedule. This helps save energy and adds convenience to your home. You can change settings anytime to fit your daily routine. Enjoy the comfort of automated lighting without any hassle.
Keep this guide handy for quick reference. Small efforts lead to better home control and savings. Simple programming makes your life a bit easier every day.