Struggling with a stubborn Starlock washer fastener? You’re not alone.
These fasteners hold tight and can be tricky to remove without the right know-how. But don’t worry—once you learn the simple steps, you’ll save time and avoid damage to your tools or materials. Keep reading, and you’ll discover easy, effective techniques that anyone can use to remove a Starlock washer fastener quickly and safely.
Your next project just got a lot easier.
What Is A Starlock Washer Fastener
A Starlock washer fastener is a special type of locking washer. It holds parts tightly together. The fastener has sharp edges that grip the surface. This prevents nuts or bolts from loosening over time.
These fasteners are common in machines and vehicles. They keep connections strong and safe. Starlock washers come in different sizes and shapes. Each is designed for specific uses.
Design And Shape Of Starlock Washer Fasteners
The Starlock washer looks like a small star. It has many pointed edges around its circle. These edges dig into metal surfaces. This digging action stops movement and loosening.
Purpose And Use Of Starlock Washers
Starlock washers stop nuts and bolts from turning. They hold parts firmly under stress or vibration. This makes them useful in engines and tools. The washer keeps everything in place.
Materials Used For Starlock Washers
Most Starlock washers are made from steel or stainless steel. This gives them strength and rust resistance. Some have coatings to prevent wear and corrosion. Strong materials help the washer last longer.
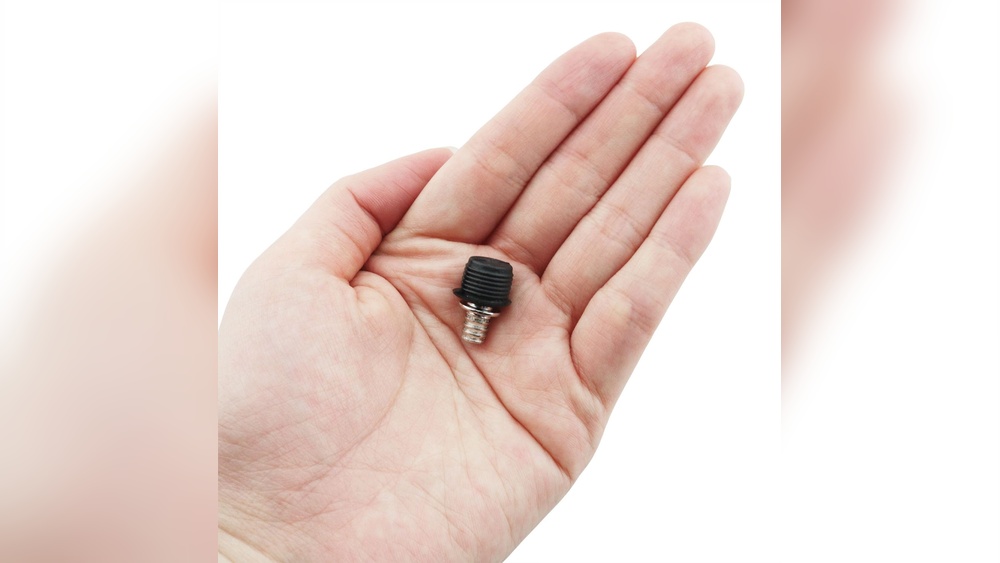
Credit: www.model-engineer.co.uk
Tools Needed For Removal
Removing a Starlock washer fastener requires specific tools. Using the right tools makes the job easier and safer. It helps prevent damage to the fastener and the material around it.
Below are the essential tools you need for removal. Each tool plays a key role in the process.
Starlock Removal Pliers
These pliers are designed to grip and twist the Starlock washer. They fit perfectly around the fastener’s edges. Their strong grip helps pull the washer off smoothly.
Flat-head Screwdriver
A flat-head screwdriver can help pry the washer gently. Use it to lift the edges without scratching the surface. It’s useful when the washer is stuck tight.
Needle-nose Pliers
Needle-nose pliers work well for tight spaces. They hold the washer firmly during removal. Their thin tips allow precise control and maneuvering.
Lubricant Spray
Spraying lubricant loosens the washer’s grip. It reduces friction and makes removal easier. Use a small amount to avoid mess and slipping.
Protective Gloves
Wearing gloves protects your hands from sharp edges. It also improves grip on tools and fasteners. Choose gloves that fit well and allow good movement.
Preparing The Work Area
Preparing the work area is the first step to safely remove a Starlock washer fastener. A clean and organized space makes the task easier. It also helps prevent losing small parts or tools during the process.
Clear enough room around the fastener. This allows good access and movement. Good lighting helps you see details clearly. Natural light or a bright lamp works well.
Gather Necessary Tools
Collect all tools before starting. Common tools include pliers, screwdrivers, and a flat pry bar. Using the right tools reduces damage risk. Keep tools within reach to avoid interruptions.
Wear Safety Gear
Safety glasses protect your eyes from flying debris. Gloves keep your hands safe from sharp edges. Choose gloves that fit well to maintain dexterity. Safety is key when working with metal parts.
Secure The Workpiece
Hold the part firmly to prevent slipping. Use a vise or clamps if possible. A stable workpiece lets you apply force safely. Avoid holding small pieces by hand during removal.

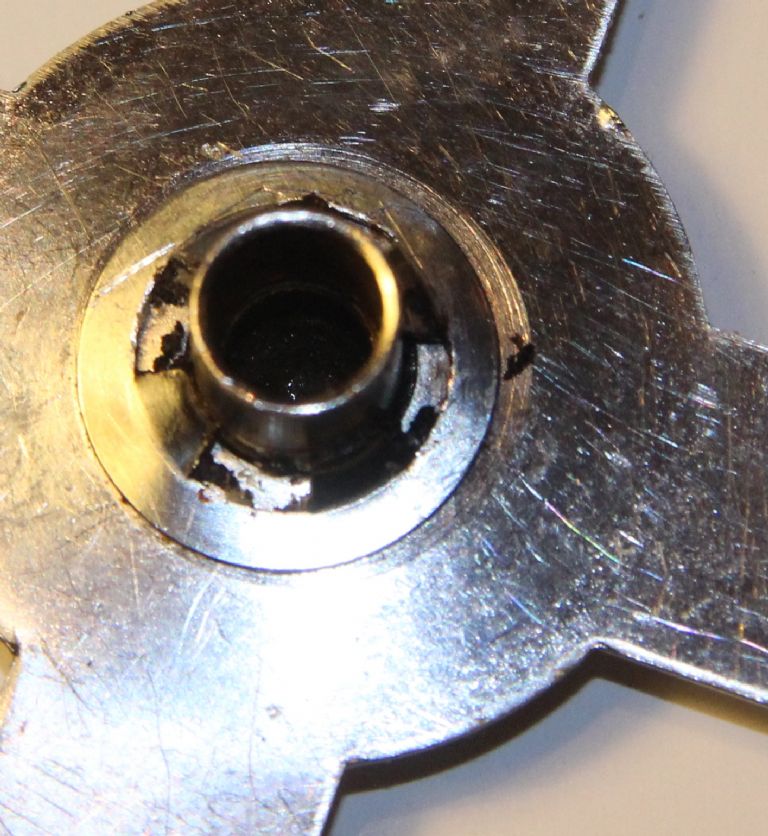
Credit: www.apriliaforum.com
Step 1: Inspect The Fastener
Step 1: Inspect the Fastener is a crucial part of removing a Starlock washer fastener. This step helps you understand the condition and type of fastener. It also guides you on the best tools to use for removal. Skipping this step can make the process harder or cause damage.
Careful inspection saves time and effort. It allows you to plan the removal safely and effectively. Let’s explore how to inspect the fastener properly.
Identify The Fastener Type
Look closely at the fastener’s shape and size. Starlock washers have a unique star-shaped design. Confirm it matches the Starlock type. Knowing this helps choose the right removal method.
Check For Visible Damage
Examine the fastener for rust, cracks, or wear. Damage can make removal tricky. Note any signs that may affect tool grip or removal ease.
Assess The Fastener’s Position
Observe how the fastener sits in the material. Is it flush or recessed? Position affects which tool works best. It also guides your removal angle.
Step 2: Select The Right Removal Tool
Selecting the right tool is key to removing a Starlock washer fastener safely. Using the wrong tool can damage the fastener or the surface. This step ensures you have the proper equipment to work efficiently and avoid frustration.
Starlock washers have a unique shape that needs specific tools. These tools grip the fastener firmly for easy removal. Picking the right tool reduces the effort and time needed.
Selecting A Starlock Removal Tool
Special pliers or drivers fit the Starlock fastener shape perfectly. Look for tools designed to match the washer’s star-shaped edges. These tools provide a strong grip to turn or pull the fastener without slipping.
Using Needle Nose Pliers
Needle nose pliers can work for small Starlock washers. Their narrow tips fit into the star slots. Use steady pressure to avoid bending or breaking the fastener.
Choosing A Flathead Screwdriver
A flathead screwdriver can help if the fastener’s edges are accessible. Insert the blade gently under the washer’s edge. Twist carefully to lift the fastener without scratching the surface.
Power Tool Attachments
Power tools with special Starlock bits speed up the removal. These bits snap into the driver and match the fastener’s shape. Use low speed to keep control and avoid damage.
Step 3: Position The Tool Correctly
Place the tool firmly over the Starlock washer fastener. Ensure it fits snugly to avoid slipping. Proper positioning helps in easy removal.
Understanding The Tool’s Design
The tool for removing a Starlock washer fastener fits into the fastener’s unique shape. It has notches that match the fastener’s edges. Correct alignment is crucial to avoid damage. The tool must sit flush against the fastener. This ensures a secure grip and smooth removal.
Aligning The Tool With The Fastener
Hold the tool steady near the fastener. Position the notches carefully over the fastener’s tabs. Check that the tool fits snugly without wobbling. A loose fit can strip the fastener. Make small adjustments until the tool locks in place.
Maintaining Proper Hand Position
Grip the tool firmly but not too tight. Keep your hand steady to avoid slipping. Use both hands if necessary for better control. A steady hand helps apply even pressure. This prevents damage to the fastener and surrounding parts.
Step 4: Apply Controlled Pressure
Step 4 focuses on applying controlled pressure to remove the Starlock washer fastener safely. This step is key to avoid damage and ensure the fastener comes off smoothly. Using the right amount of force helps loosen the fastener without slipping or breaking it.
Too much pressure can cause the tool or fastener to slip. Too little pressure may not move the fastener at all. Controlled pressure means steady, even force that feels balanced.
Choose The Right Tool For Pressure
Use a tool designed for Starlock washers, such as a special plier or driver. The tool must fit the fastener tightly. A good fit helps apply pressure evenly across the fastener’s edges.
Position The Tool Correctly
Place the tool so it grips the fastener firmly. Align it straight with the fastener to avoid bending or slipping. Proper position ensures your pressure works in the right direction.
Apply Steady And Even Force
Press down slowly and steadily. Avoid sudden pushes or jerks. Keep the force consistent until the fastener starts to loosen. This prevents damage to the fastener or the surface around it.

Credit: bobistheoilguy.com
Step 5: Remove The Fastener
Step 5 is the moment to take out the Starlock washer fastener. This step needs care to avoid damage to the fastener or the parts it holds. Using the right tool and technique makes removal smooth and safe.
Use The Correct Removal Tool
Choose a tool made for Starlock fasteners. Usually, a special Starlock removal tool or a flathead screwdriver works best. Avoid using pliers or tools that can slip or damage the fastener.
Apply Gentle Pressure
Place the tool under the fastener’s edge carefully. Press gently but firmly. The goal is to lift the fastener without bending or breaking it. Small, steady movements help here.
Work Around The Fastener
Move the tool around the fastener’s edge slowly. Lift a little from one side, then the other side. This even pressure helps loosen the fastener evenly.
Lift The Fastener Off
Once loosened, lift the fastener straight up. Avoid twisting or pulling at an angle. This keeps the fastener intact and ready for reuse.
Tips For Difficult Fasteners
Removing a Starlock washer fastener can be tricky sometimes. Some fasteners get stuck tight. They need extra care and the right tools. Knowing how to handle these tough fasteners saves time and effort. Use the right tricks to loosen them without damage.
Use The Correct Tool For Grip
Choose a tool made for Starlock fasteners. Special pliers or a flat screwdriver work best. Avoid using tools that slip or damage the washer. A good grip helps turn the fastener easily.
Apply Penetrating Oil
Spray penetrating oil on the stuck fastener. Let it sit for 10 to 15 minutes. The oil loosens rust and dirt inside the threads. This makes turning the fastener smoother and easier.
Tap Gently With A Hammer
Lightly tap the fastener edge with a hammer. This breaks rust or dirt bonds. Use small taps to avoid damage. After tapping, try turning the fastener again.
Work Back And Forth Slowly
Turn the fastener a little bit one way. Then turn it back slightly. Repeat this slow motion several times. It helps break the stuck fastener free without force.
Use Heat For Stubborn Fasteners
Heat the fastener carefully with a heat gun. Heat expands metal and loosens tight parts. Do not apply too much heat. After heating, try to remove the fastener again.
Preventing Damage During Removal
Removing a Starlock washer fastener requires care to avoid damage. These fasteners are designed to hold tightly. Pulling or prying too hard can harm the fastener or the parts around it.
Taking steps to protect surfaces and the fastener saves time and money. It also keeps tools and materials in good shape for future use.
Use The Right Tools
Choose tools made for Starlock fasteners. A proper removal tool fits the fastener perfectly. This reduces slipping and scratching. Avoid using makeshift tools that can damage the fastener or nearby parts.
Apply Gentle Pressure
Start with light force. Gradually increase pressure if needed. Sudden strong pulls can bend or break the fastener. Gentle pressure keeps the parts intact and easy to reuse.
Protect Surrounding Surfaces
Cover nearby areas with tape or cloth. This stops scratches and dents during removal. Keep the work area clean to prevent dirt from causing damage.
Replacing The Starlock Washer
Replacing the Starlock washer is a simple task that keeps your fastener secure. Starlock washers hold parts tightly to avoid loosening over time. Changing a worn or damaged washer helps maintain a strong hold.
Use the correct replacement washer for best results. The new washer must fit perfectly to work well. Follow these steps to replace the Starlock washer safely and easily.
Choose The Right Starlock Washer
Pick a washer that matches the size of your fastener. Check the diameter and thickness before buying. Using the wrong size can cause poor fitting and failure.
Remove The Old Starlock Washer
Use pliers or a flat tool to pry off the old washer. Pull it gently to avoid damaging the fastener. Clean the area before placing the new washer.
Install The New Starlock Washer
Press the new washer firmly onto the fastener. Use a tool if needed to push it into place. Make sure it snaps securely around the fastener edge.
Test The Fastener
Check the fastener for tightness after replacing the washer. Move it slightly to confirm the washer holds well. A secure fit prevents parts from loosening.
Frequently Asked Questions
What Tools Are Needed To Remove A Starlock Washer Fastener?
You need a flathead screwdriver or a special Starlock removal tool. Pliers can help grip the fastener. Use gentle force to avoid damage. Safety gloves protect your hands during removal.
How Do You Safely Remove A Starlock Washer Fastener?
Wear gloves to protect your hands. Insert the removal tool under the washer’s edge. Gently pry it upward. Avoid excessive force to prevent damage to surrounding parts.
Can Starlock Washer Fasteners Be Reused After Removal?
Starlock washers are designed for single use. Removing them often deforms their locking tabs. It’s best to replace with new Starlock washers for secure fastening.
Why Is A Starlock Washer Fastener Difficult To Remove?
Starlock washers lock tightly to prevent loosening. Their tabs grip the shaft firmly. This secure fit makes removal challenging without proper tools and technique.
Conclusion
Removing a Starlock washer fastener is easier than it seems. Use the right tools and apply steady force. Take your time to avoid damage. Practice helps improve your technique quickly. Now, you can handle these fasteners with confidence. Keep safety in mind during the process.
This skill saves time and effort later. Try it yourself and see the difference.