Are you looking for a simple way to secure panels, doors, or covers quickly and firmly? Installing a Camloc fastener might be the perfect solution for you.
These fasteners are designed to provide strong, reliable holds while being easy to open and close when you need access. In this guide, you’ll discover step-by-step instructions that anyone can follow, even if you’ve never worked with fasteners before. By the end, you’ll have the confidence to install Camloc fasteners like a pro, saving you time and effort on your next project.
Keep reading to find out how!
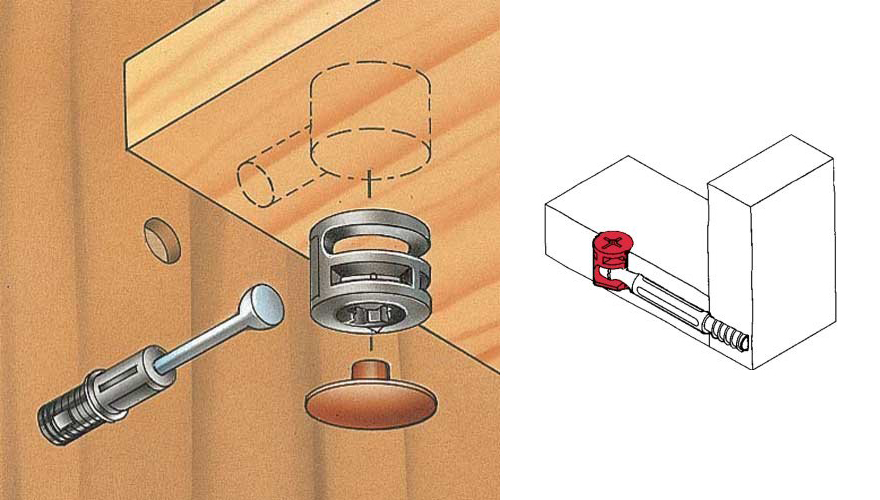
Credit: www.core77.com
Choosing The Right Camloc Fastener
Choosing the right Camloc fastener is key to a secure and smooth installation. Different types suit different needs. Knowing the options helps to pick the best fit.
Picking a fastener that matches your project ensures safety and durability. It also saves time and effort during installation.
Types Of Camloc Fasteners
Camloc fasteners come in several types. Each type has a unique design and locking method. Common types include stud fasteners, receptacles, and handles.
Stud fasteners attach to panels or doors. Receptacles hold the stud in place. Handles allow easy opening and closing. Some fasteners have quarter-turn locks for quick release.
Selecting Based On Application
Consider the material and thickness of what you are fastening. Think about how often you will open or close the fastener. Some fasteners work better for frequent use.
Environmental factors matter too. Choose corrosion-resistant fasteners for outdoor or wet areas. Weight and size limits also guide your choice.
Tools And Materials Needed
Installing a Camloc fastener requires specific tools and materials. Having the right items ready makes the process smooth and safe. This section lists everything you need for a successful installation.
Essential Installation Tools
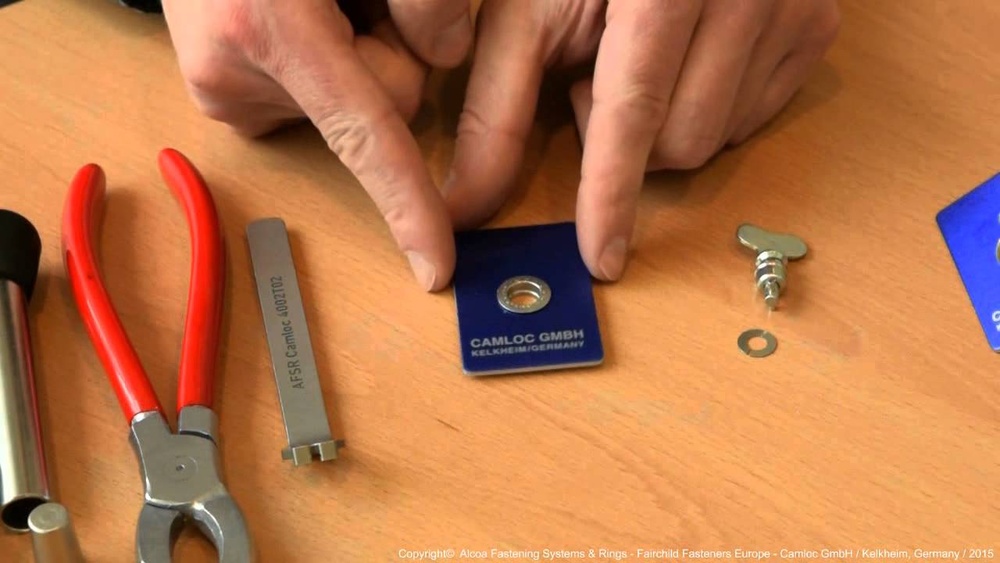
Start with a drill and drill bits matching the fastener size. A rivet gun or rivet tool is necessary for securing the fastener. You will also need a screwdriver for tightening screws.
A measuring tape helps to mark exact positions for holes. Use a marker or pencil for clear, visible marks. A deburring tool or file removes sharp edges after drilling.
Safety Equipment
Wear safety glasses to protect your eyes from metal shavings. Gloves keep your hands safe and improve grip. Hearing protection is important when using loud tools like drills.
Work in a well-ventilated area to avoid inhaling dust. Keep a clean workspace to prevent accidents. Proper safety gear ensures a smooth and injury-free installation.
Preparing The Installation Site
Preparing the installation site is a key step to ensure the Camloc fastener fits perfectly. This step helps avoid mistakes and makes the fastener work well. Proper preparation saves time and effort during installation.
Cleaning And Marking
Start by cleaning the surface where you will install the fastener. Remove dirt, dust, and grease. A clean surface helps the fastener stick better and last longer.
Next, mark the exact spots for the fastener. Use a pencil or marker. Accurate marking prevents wrong drilling and keeps the fastener aligned.
Measuring And Drilling
Measure carefully to find the right hole size. Use a ruler or tape measure for precision. Correct measurements ensure the fastener fits tightly.
Drill holes at the marked points. Use a drill bit that matches the fastener size. Drill straight and avoid making the holes too big or small.
Credit: www.youtube.com
Installing The Camloc Fastener
Installing the Camloc fastener is a straightforward process. It ensures a secure hold for panels, doors, or other parts. This section covers how to position and fix the fastener properly. Follow the steps carefully for the best results.
Positioning The Fastener
Start by selecting the exact spot for the fastener. Align it with the hole or slot on the panel or frame. Make sure it fits snugly without forcing. The fastener should sit flat against the surface. Check that it will lock smoothly with the mating part.
Securing With Screws Or Rivets
Use screws or rivets to fix the fastener in place. Choose the right size and type for your material. Insert screws or rivets through the holes in the fastener base. Tighten screws evenly to avoid warping the fastener. For rivets, use a proper rivet gun for a firm hold. Double-check the fastener stays steady after securing.
Testing The Fastener
Testing the Camloc fastener is a key step after installation. It confirms the fastener works correctly and holds parts firmly. This step ensures safety and durability in the final assembly.
Ensuring Proper Engagement
Check that the fastener locks smoothly into place. The latch should snap without force. If it feels loose, the parts may not align well. Tight engagement means the fastener holds parts tightly.
Use gentle pressure to test the lock. The fastener must not move or wiggle. Proper engagement prevents parts from separating during use. This test confirms the fastener performs as designed.
Adjustments And Troubleshooting
If the fastener does not lock properly, inspect the parts again. Look for dirt or debris blocking the latch. Clean the fastener and surrounding area if needed. Adjust the fastener position slightly for better fit.
Check for damaged or bent components. Replace any parts that look worn out. Tighten loose screws or bolts. Repeat the test after each adjustment until the fastener locks securely.
Maintenance Tips For Longevity
Proper maintenance of Camloc fasteners extends their life and ensures smooth operation. Simple steps can prevent wear and damage. These tips help keep your fasteners reliable and safe over time.
Cleaning And Lubrication
Keep fasteners clean by removing dirt and debris. Use a soft brush or cloth for cleaning. Avoid harsh chemicals that can damage metal parts. Apply a light lubricant to moving parts. This reduces friction and prevents rust. Wipe off excess lubricant to avoid dust buildup. Regular cleaning and lubrication improve performance and durability.
Regular Inspections
Check fasteners often for signs of wear or damage. Look for cracks, corrosion, or loose parts. Test the locking mechanism to ensure it works smoothly. Replace any damaged components immediately. Regular checks help catch problems early. This prevents failures and keeps fasteners working well.

Credit: www.hfsindustrial.com
Frequently Asked Questions
What Tools Are Needed To Install A Camloc Fastener?
You need a drill, drill bit, screwdriver, and Camloc fastener parts. A measuring tape helps for accurate placement. Always use safety gear during installation.
How Do I Prepare The Surface For Camloc Fastener Installation?
Clean and dry the surface thoroughly. Remove dirt, grease, or paint flakes. Mark the exact spot for drilling to ensure precise installation.
Can I Install Camloc Fasteners On Metal And Plastic?
Yes, Camloc fasteners work on both metal and plastic surfaces. Use appropriate drill bits for each material to avoid damage during installation.
How To Ensure A Secure Fit For Camloc Fasteners?
Align the fastener components properly before tightening. Avoid over-tightening to prevent damage. Test the fastener by opening and closing it several times.
Conclusion
Installing a Camloc fastener is simple when you follow clear steps. Start by preparing the surface and aligning parts carefully. Use the right tools to secure the fastener firmly. Check the fit to ensure it works smoothly. Regular practice improves your skill and speed.
This fastener saves time and adds strength to your projects. Keep these tips in mind for easy and strong installations every time.