Are you struggling with stubborn Hi Lok fasteners that just won’t come off? You’re not alone.
These fasteners are designed to hold tight, making removal tricky if you don’t know the right steps. But don’t worry—you can learn how to remove Hi Lok fasteners safely and efficiently without damaging your equipment or wasting time. Keep reading, and you’ll discover simple, proven techniques that anyone can follow to get the job done right.
Your next project will be smoother than ever.
Credit: www.aircraft-tool.com
Hi Lok Fasteners Basics
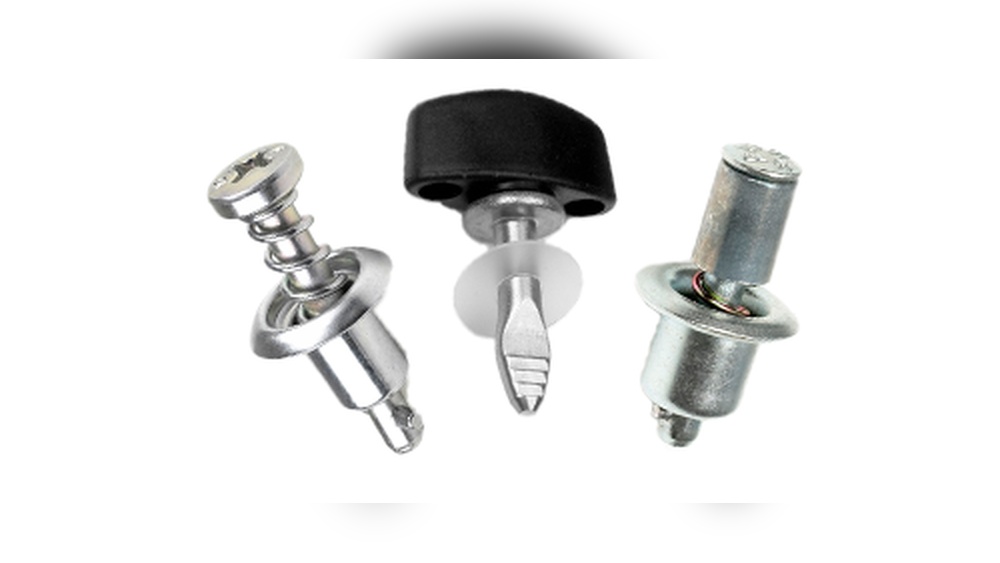
Hi Lok fasteners are a type of mechanical fastener. They join two parts securely using a pin and collar system. These fasteners provide strong, reliable connections. Understanding their basics helps in proper removal and installation.
Hi Lok fasteners come in different types and sizes. Each type serves a specific purpose. Knowing these types helps identify the right tool and method for removal.
Types Of Hi Lok Fasteners
Hi Lok fasteners include pins, collars, and threaded collars. Pins come with or without threads. Collars lock the pins in place by crimping or threading. Some fasteners are flush, while others are protruding. Each type requires a special removal technique.
Common Uses And Applications
Hi Lok fasteners are common in aerospace and automotive industries. They hold metal sheets and structural parts together. These fasteners resist vibration and stress. Their strong hold makes them ideal for critical applications. Removing them carefully prevents damage to parts.
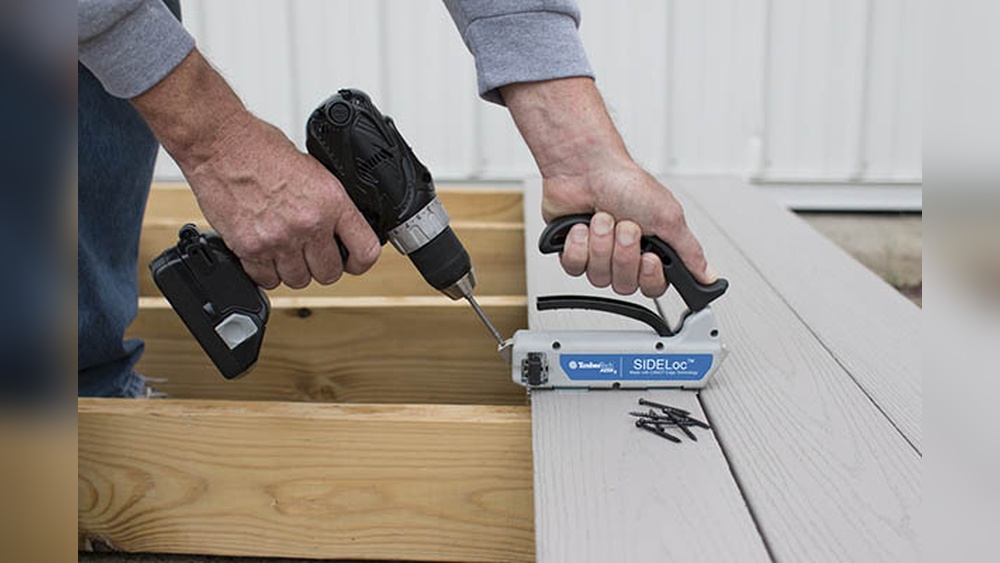
Tools Needed For Removal
Removing Hi Lok fasteners requires the right tools for safety and efficiency. Using proper equipment helps prevent damage to materials and fasteners. Gather all necessary tools before starting the removal process.
Essential Hand Tools
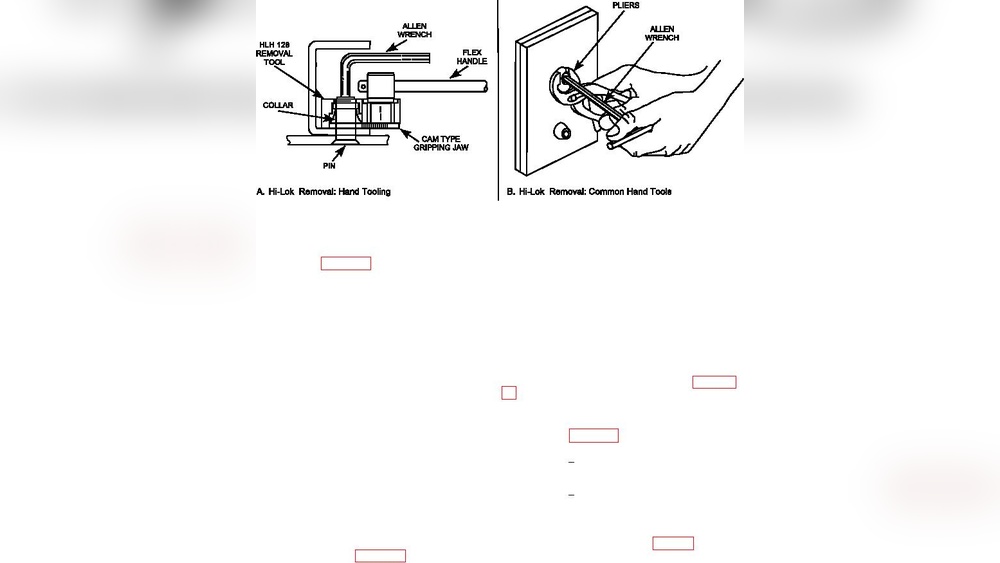
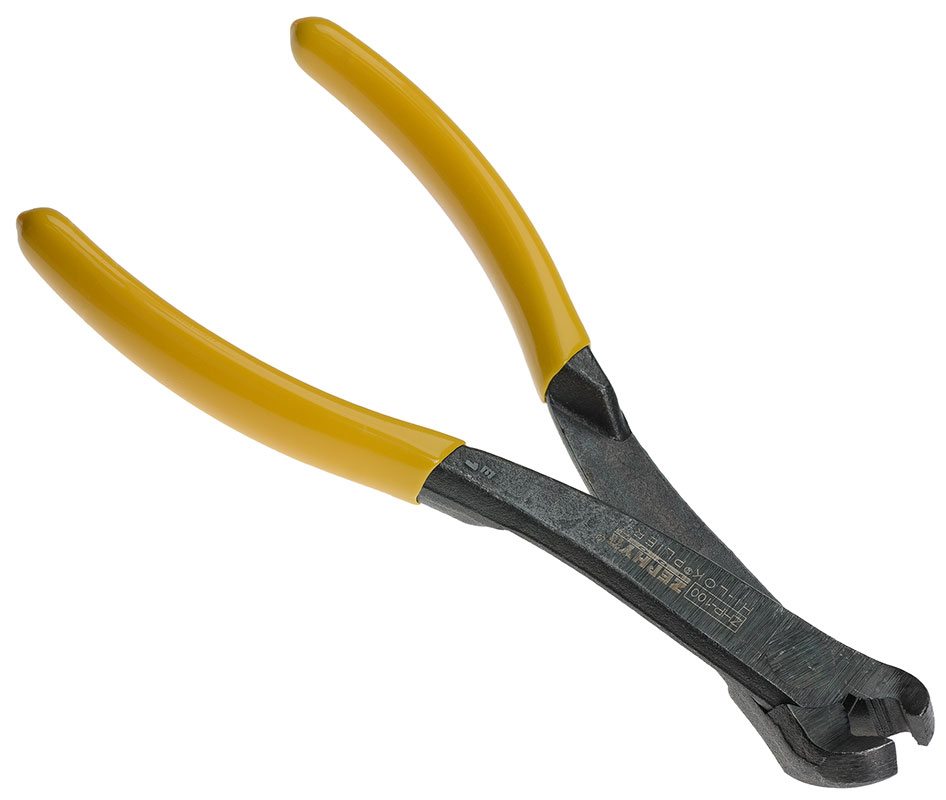
Basic hand tools are crucial for removing Hi Lok fasteners. A torque wrench helps loosen fasteners without stripping threads. Use a screwdriver or Allen wrench to fit the fastener head precisely. Needle-nose pliers assist in gripping and pulling out fasteners gently. A hammer may be needed for light tapping to loosen stuck parts. Always choose hand tools that match the fastener size and type.
Specialized Removal Equipment
Some Hi Lok fasteners need special equipment to remove safely. A Hi Lok removal tool is designed to fit specific fastener heads perfectly. It reduces the risk of damaging the fastener or surrounding materials. A drill with a proper bit size can help remove damaged or seized fasteners. Use a deburring tool to clean edges after removal. These specialized tools ensure a smooth and safe removal process.
Preparing For Removal
Preparing to remove Hi Lok fasteners is an important step. It helps ensure the process goes smoothly and safely. Taking time to prepare can prevent damage and injury. This section covers key points to focus on before removal.
Safety Precautions
Wear safety glasses to protect your eyes from debris. Use gloves to avoid cuts and scrapes. Work in a well-lit area to see clearly. Keep a fire extinguisher nearby if using heat tools. Follow all safety guidelines for your tools and equipment.
Inspecting The Fastener
Check the fastener for signs of damage or corrosion. Look for cracks, rust, or wear that may affect removal. Identify the fastener type and size for correct tool selection. Note any locking features like collars or pins. Proper inspection helps avoid tool slipping and fastener damage.

Credit: www.youtube.com
Step-by-step Removal Process
Removing Hi Lok fasteners takes careful steps. Follow this process to avoid damage and ensure safety. Each part of the fastener must come off in order. Use the right tools and work slowly. This guide shows clear steps for removal.
Loosening The Fastener
Start by identifying the fastener type and size. Use a proper wrench or tool to turn the fastener counterclockwise. Apply steady pressure without forcing it. If the fastener is stuck, apply a small amount of lubricant. Wait a few minutes, then try again. Loosen it until you can turn it by hand.
Removing The Collar
Once loose, focus on the collar part. The collar holds the pin tightly in place. Use pliers or a collar removal tool to grip it. Pull the collar straight off the pin. Avoid twisting or bending the collar to prevent damage. Set the collar aside carefully for inspection or reuse.
Extracting The Pin
With the collar removed, the pin is free to come out. Gently tap or pull the pin out of the hole. Use a pin extractor tool if needed. Keep the pin aligned to avoid bending it. Check the pin for wear or damage after removal. Store the pin properly if you plan to reuse it.
Troubleshooting Removal Issues
Removing Hi Lok fasteners can sometimes be tricky. Problems may arise during the process. Troubleshooting helps solve these issues quickly. It saves time and prevents damage. This section covers common problems and simple solutions. Follow these tips for smoother removal.
Dealing With Stuck Fasteners
Stuck fasteners resist turning or pulling. Dirt, corrosion, or tight fitting cause this. Start by cleaning around the fastener. Use a wire brush or cloth. Apply a small amount of penetrating oil. Let it sit for 10-15 minutes. Tap gently with a soft hammer to loosen it. Use the proper tool size for removal. Avoid using excessive force to prevent damage.
Handling Damaged Components
Fasteners may get damaged during removal. Stripped heads or broken parts are common. Use a fastener extractor tool for stripped heads. If the fastener breaks, try to remove pieces carefully. Drill around the damaged area if needed. Replace any damaged washers or inserts. Always check the surrounding parts for harm. Proper handling ensures safety and future use.

Credit: www.youtube.com
Post-removal Tips
After removing Hi Lok fasteners, proper care ensures safety and longevity. Taking time to clean and store parts correctly helps maintain equipment quality. Follow these tips to keep components ready for reuse or replacement.
Cleaning And Inspecting Components
Remove dirt and debris from each fastener using a soft brush. Check fasteners for cracks, corrosion, or damage. Use a magnifying glass to spot small defects. Clean threads carefully to avoid cross-threading later. Clean components dry to prevent rust formation. Inspect washers and collars for wear or distortion. Replace any parts that show visible damage.
Proper Storage And Replacement
Store fasteners in a clean, dry container to prevent contamination. Separate used and new fasteners to avoid confusion. Label containers clearly with part numbers and dates. Avoid mixing different sizes or types in one box. Replace fasteners that fail inspection with new approved parts. Follow manufacturer guidelines for torque and installation during replacement. Proper storage reduces the risk of equipment failure later.
Frequently Asked Questions
What Tools Are Needed To Remove Hi Lok Fasteners?
You need a Hi Lok removal tool or a drill with the correct bit. Safety goggles and gloves are essential. These tools help avoid damage during removal. Always use the recommended tool for efficiency and safety.
Can Hi Lok Fasteners Be Reused After Removal?
No, Hi Lok fasteners are usually single-use. Removing them damages the locking mechanism. Always replace with new fasteners to ensure structural integrity and safety compliance.
How Do You Safely Remove Hi Lok Fasteners?
Use the proper Hi Lok removal tool or drill carefully. Wear safety gear to protect against metal shavings. Follow manufacturer instructions to prevent damage to the material or surrounding parts.
What Are Common Mistakes When Removing Hi Lok Fasteners?
Common mistakes include using incorrect tools, applying too much force, and ignoring safety gear. These can damage components or cause injury. Always follow proper procedures and use recommended tools.
Conclusion
Removing Hi Lok fasteners is simple with the right tools and steps. Follow safety rules and work carefully to avoid damage. Take your time and check each fastener closely. Using the proper method makes the job faster and easier. Practice helps you get better and more confident.
Now, you can remove Hi Lok fasteners without stress or mistakes. Keep this guide handy for future use.