If you use a hydraulic floor jack regularly, you know how frustrating it can be when it stops working properly. Maybe it won’t lift as high, or it feels weak and sluggish.
The good news is that you don’t have to buy a new one right away. You can repair and refill your hydraulic floor jack yourself—and save time and money. In this guide, you’ll learn simple steps to get your jack back in top shape.
Keep reading, and you’ll find out exactly what to do to fix your floor jack quickly and safely.

Credit: stonedesignbysantos.com
Tools And Materials Needed
Repairing and refilling a hydraulic floor jack requires the right tools and materials. Having these ready makes the process smooth and safe. This section lists everything needed for the job.
Basic Hand Tools
Wrenches and sockets help remove bolts and screws. A screwdriver set is useful for opening covers. Pliers assist in pulling out small parts.
Hydraulic Jack Oil
Use only the recommended hydraulic oil type. This oil ensures the jack works properly. Avoid using motor oil or other liquids.
Clean Cloths And Rags
Keep the work area clean with cloths. Wipe off dirt and oil spills. Clean tools and parts before reassembling.
Drain Pan Or Container
A container catches old oil during draining. Prevent spills and keep the workspace tidy. Use a wide, shallow pan for easy access.
Gloves And Safety Glasses
Protect your hands with gloves. Safety glasses shield your eyes from splashes. Safety first during any repair task.
Replacement Parts (optional)
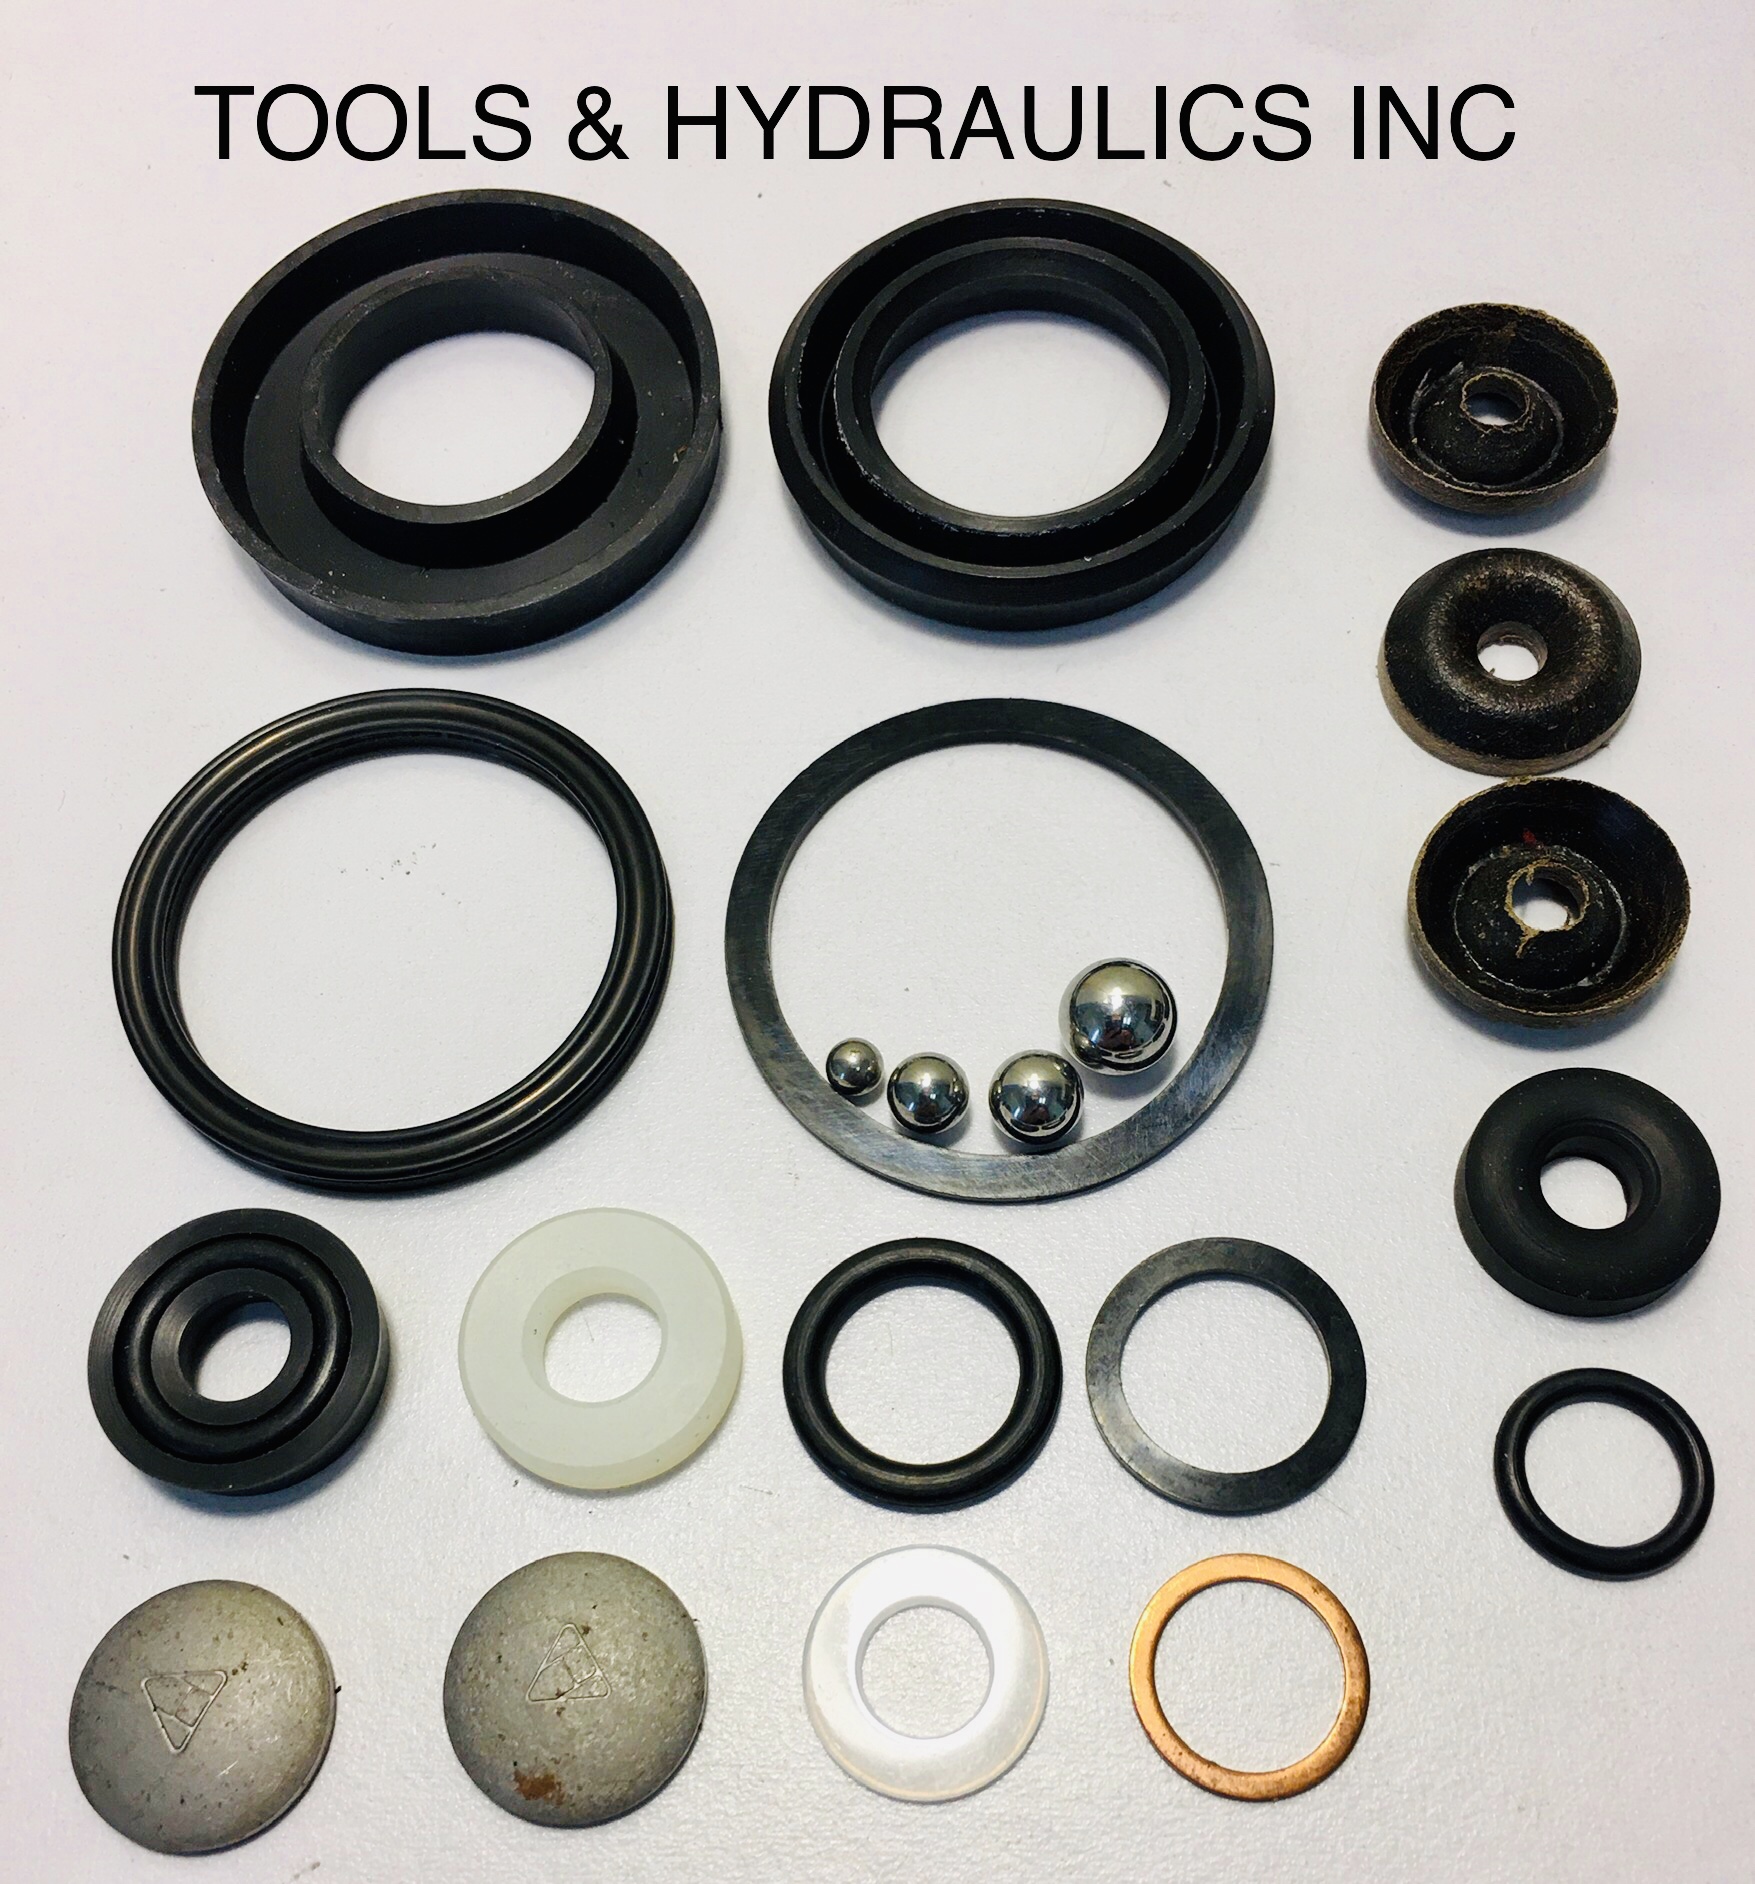
Seals, O-rings, and valves may need replacing. Check the jack for worn or broken parts. Having spares saves time during repair.

Credit: oldhammam.co.uk
Safety Precautions
Safety is the top priority when repairing or refilling a hydraulic floor jack. These tools hold heavy weights and use high pressure. A small mistake can cause serious injury or damage. Always follow safety steps carefully before starting any work on the jack.
Wear protective gear to guard against oil spills and sharp parts. Work in a clean, flat area with good lighting. Keep children and pets away from the workspace. Never rush the process. Take your time to avoid accidents.
Wear Protective Gear
Use gloves to protect your hands from oil and dirt. Safety glasses stop oil or debris from hitting your eyes. Wear old clothes that you don’t mind getting dirty. This gear reduces the risk of injury during repair or refill.
Work On A Stable Surface
Place the jack on a flat, hard surface. Uneven ground can cause the jack to tip over. Stability prevents the jack from slipping during use. This keeps you safe and protects the tool from damage.
Release Pressure Before Repair
Always lower the jack and release all pressure first. High pressure can cause sudden oil leaks or parts to move fast. Check that the jack handle is down and locked. This step avoids unexpected accidents.
Keep Area Clean And Organized
Clear the workspace of clutter before starting. Oil spills can make the floor slippery. Use a drip tray to catch any leaking fluid. Clean tools and parts after use to avoid hazards.
Follow Manufacturer’s Instructions
Read the user manual carefully before repair or refill. Use the recommended hydraulic fluid type and quantity. Incorrect fluids can harm the jack’s function. Stick to the guide for safe and proper maintenance.
Preparing The Jack For Repair
Preparing your hydraulic floor jack for repair is an important first step. This stage helps ensure safety and makes the repair process easier. Taking time to clean and position the jack properly saves effort later.
A clean jack lets you see parts clearly. Proper positioning keeps the jack stable. Both steps reduce the chance of mistakes or accidents.
Cleaning The Jack
Start by wiping off dirt and grease. Use a rag or paper towel. Clean around the pump, release valve, and base.
Remove stubborn grime with a mild cleaner. Avoid harsh chemicals that damage paint or seals. Dry the jack thoroughly before repair.
Cleaning helps spot leaks, cracks, or damaged parts. Clear surfaces also prevent dirt from entering the hydraulic system.
Positioning And Securing
Place the jack on a flat, stable surface. Concrete floors or workbenches work well. Avoid uneven or slippery areas.
Lock the jack’s release valve by turning it clockwise. This keeps the jack from dropping during repair.
Use blocks or stands to secure the jack if needed. Do not rely only on the jack’s lifting arm for support.
Proper positioning keeps the jack steady and safe. It makes accessing parts easier and reduces risk of injury.
Credit: www.blackhawkparts.com
Draining Old Hydraulic Fluid
Draining old hydraulic fluid is a key step in maintaining your floor jack. Over time, the fluid can get dirty and lose its ability to lift heavy loads safely. Removing the old fluid ensures the jack works smoothly and lasts longer.
Old fluid may contain dirt, metal bits, and moisture. These impurities can damage the jack’s internal parts. Clean fluid prevents rust and keeps the hydraulic system strong. Proper drainage also helps spot leaks or other problems early.
Prepare Your Work Area
Place the jack on a flat surface. Use a drip tray or old cloth to catch the fluid. Wear gloves to protect your hands from the fluid. Have rags ready to clean spills quickly. Safety first.
Locate The Drain Plug
Find the drain plug at the base of the jack. It looks like a small screw or bolt. Check your jack’s manual if unsure. The plug allows the old fluid to flow out easily.
Drain The Fluid Slowly
Loosen the drain plug carefully. Let the fluid flow into the tray. Avoid sudden spills by removing the plug slowly. Wait until the flow stops. This means the jack is empty.
Clean The Drain Plug And Area
Wipe the plug with a clean cloth. Remove any dirt or rust. Clean around the drain hole too. This keeps new fluid from getting dirty. A clean plug helps seal the jack properly.
Inspecting For Damage
Inspecting for damage is the first step to repair or refill a hydraulic floor jack. This step helps find parts that do not work well or leak oil. Catching problems early prevents bigger damage and keeps the jack safe to use. Take your time to look closely at all parts before starting the repair.
Checking Seals And O-rings
Seals and O-rings stop oil from leaking out of the jack. These small parts wear out over time. Look for cracks, tears, or hard spots on the seals. Soft or broken seals need to be replaced. Clean the area around seals to see them clearly. Good seals keep the jack working smoothly and hold pressure well.
Examining The Hydraulic Cylinder
The hydraulic cylinder moves the jack up and down. Check the cylinder for dents or rust. Rust can cause the piston to stick or leak oil. Look inside the cylinder for scratches or damage. Clean the cylinder before checking. A damaged cylinder needs repair or replacement to avoid failure during use.
Refilling Hydraulic Fluid
Refilling the hydraulic fluid in a floor jack is a key step in its repair and maintenance. The fluid helps the jack lift heavy loads smoothly and safely. Using the right fluid and filling it correctly ensures the jack works well for a long time.
Choosing The Right Fluid
Pick the hydraulic fluid recommended by the jack’s manufacturer. Usually, this is a special jack oil or hydraulic oil. Avoid using motor oil or brake fluid. These can damage the seals and parts inside the jack.
Check the user manual or the label on the jack for the fluid type. Using the correct fluid keeps the system clean and prevents rust.
Filling Procedure
First, place the jack on a flat surface and lower the arm fully. Locate the fluid fill plug, usually on the side or top of the jack.
Remove the plug carefully. Use a clean funnel to pour the hydraulic fluid into the reservoir. Fill it slowly until the fluid reaches the bottom of the fill hole.
Do not overfill. Too much fluid can cause leaks or pressure problems. Replace the fill plug tightly to avoid spills. Pump the jack handle a few times to remove air bubbles and check the fluid level again.
Bleeding Air From The System
Bleeding air from a hydraulic floor jack is a key step in its repair and refill process. Air trapped inside the hydraulic system can cause the jack to lose pressure and fail to lift properly. Removing this air restores the jack’s strength and smooth operation.
This process involves opening the system to release trapped air bubbles. It helps the hydraulic fluid flow freely and increases the jack’s lifting power. Without bleeding air, the jack may feel weak or spongy when used.
Prepare The Jack For Bleeding
Start by placing the jack on a flat surface. Make sure the jack is lowered completely. Check the fluid level and add hydraulic oil if needed. Keep the release valve closed during this step.
Open The Bleed Valve
Locate the bleed valve, usually near the hydraulic cylinder. Use a wrench to open it slightly. Do not open it too much; just enough to let air escape.
Pump The Handle Slowly
Pump the jack handle several times slowly. This action pushes air bubbles out through the bleed valve. Watch for bubbles in the fluid coming out.
Close The Bleed Valve
Once no more air bubbles appear, close the bleed valve tightly. Ensure it is secure to prevent leaks. Check the fluid level again and add oil if needed.
Test The Jack
Lift the jack handle and observe its pressure. The jack should feel firm and steady. If it still feels weak, repeat the bleeding process.
Testing The Repaired Jack
Testing the repaired hydraulic floor jack is crucial before using it. This step ensures safety and confirms the repair is successful. You must check the jack’s lifting ability and inspect for leaks. These checks help avoid accidents and damage during use.
Lifting Capacity Check
Start by placing the jack on a flat, stable surface. Slowly pump the handle to raise the jack. Use a weight close to the jack’s maximum capacity for testing. Observe if the jack lifts smoothly without strange noises. Hold the lifted position for a few minutes. The jack should not drop or feel weak. Lower the jack gently after the test is complete.
Leak Inspection
Look closely at all seals, joints, and the hydraulic cylinder. Check for any fluid drops or wet spots. Use a clean cloth to wipe areas and see if new leaks appear. Inspect under the jack as well. A dry jack means the repair sealed the leaks well. Any sign of oil means further repair is needed.
Maintenance Tips For Longevity
Maintaining a hydraulic floor jack extends its life and ensures safe use. Regular care stops damage and costly repairs. Follow simple steps to keep the jack working smoothly and reliably.
Check And Change Hydraulic Fluid Regularly
Hydraulic fluid powers the jack’s lifting ability. Check fluid levels often and top up if low. Replace old fluid every 6 to 12 months to avoid dirt buildup. Use the correct fluid type recommended by the manufacturer.
Keep The Jack Clean And Dry
Dirt and moisture cause rust and wear parts fast. Wipe the jack clean after each use. Store it in a dry place to prevent corrosion. Avoid leaving the jack outside or in damp areas.
Inspect Seals And Hoses For Leaks
Leaks reduce jack performance and cause damage. Look closely at seals and hoses for cracks or oil stains. Replace damaged parts quickly to maintain pressure and safety. Regular checks catch issues early before they worsen.
Lubricate Moving Parts Often
Lubrication reduces friction and wear on joints and wheels. Apply light oil or grease to pivot points monthly. Smooth moving parts help the jack lift easily and last longer. Avoid using too much lubricant to prevent dirt buildup.
Store The Jack Properly
Keep the jack lowered when not in use. This reduces stress on the hydraulic system. Store the jack on a flat surface to prevent tipping. Proper storage protects the jack and keeps it ready for work.
Frequently Asked Questions
How Do I Refill Hydraulic Fluid In A Floor Jack?
To refill, first locate the fluid reservoir. Unscrew the cap and add the recommended hydraulic oil. Fill slowly to avoid overfilling. Replace the cap securely before testing the jack’s operation.
What Tools Are Needed To Repair A Hydraulic Floor Jack?
You need a wrench set, hydraulic fluid, a clean rag, and possibly replacement seals. A screwdriver and pliers may also be useful. Proper tools ensure effective and safe repair.
How Can I Fix A Hydraulic Floor Jack That Won’t Lift?
Check for low hydraulic fluid and refill if needed. Inspect seals for leaks and replace if damaged. Bleed air from the system to restore proper pressure and lifting capability.
How Often Should I Maintain My Hydraulic Floor Jack?
Maintain your jack every 6 months or after heavy use. Regularly check fluid levels, inspect seals, and clean moving parts. Proper maintenance extends the jack’s lifespan and ensures safety.
Conclusion
Repairing and refilling a hydraulic floor jack keeps it working well. Regular care helps avoid big problems later. Always check for leaks and clean parts before refilling. Use the right hydraulic fluid to keep the jack safe. With these simple steps, you save money and stay safe.
Take your time and follow instructions carefully. Your floor jack will lift smoothly and last longer. Keep it ready for any job. Simple maintenance makes a big difference.