If your Craftsman Floor Jack 50136 isn’t holding pressure or lifting like it used to, the problem might be worn-out seals. Replacing these seals can bring your jack back to life, saving you time and money.
In this guide, you’ll learn simple, step-by-step instructions to replace the seals yourself—even if you’ve never done it before. Keep reading to get your floor jack working smoothly again and avoid costly repairs down the road.
Tools And Materials Needed
Replacing seals in your Craftsman Floor Jack 50136 needs the right tools and parts. Having these ready saves time and avoids frustration. It ensures a smooth repair process and a properly working jack.
Gather all tools and materials before starting. This keeps your work organized and safe. Below are the main tools and replacement seals you will need.
Essential Tools
- Socket wrench set for removing bolts
- Flathead screwdriver to pry old seals gently
- Needle-nose pliers to grab small parts
- Rubber mallet for light tapping without damage
- Clean cloths to wipe away dirt and oil
- Hydraulic fluid for refilling after seal replacement
- Safety gloves to protect your hands
- Flashlight to see inside tight spaces
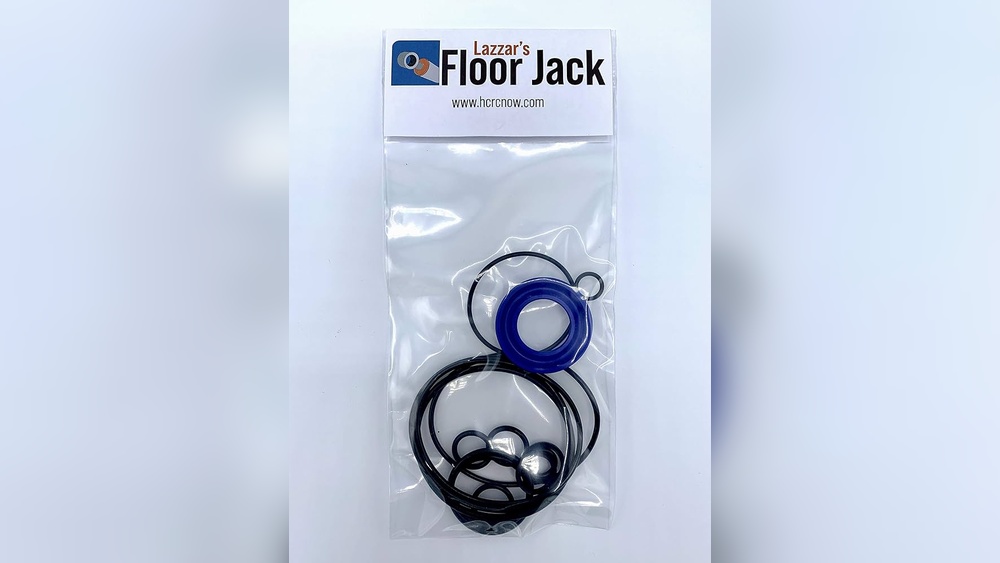
Replacement Seals
- Seal kit designed specifically for Craftsman Floor Jack 50136
- O-rings and gasket seals included in the kit
- High-quality rubber material for durability
- Exact sizes to fit your jack’s components

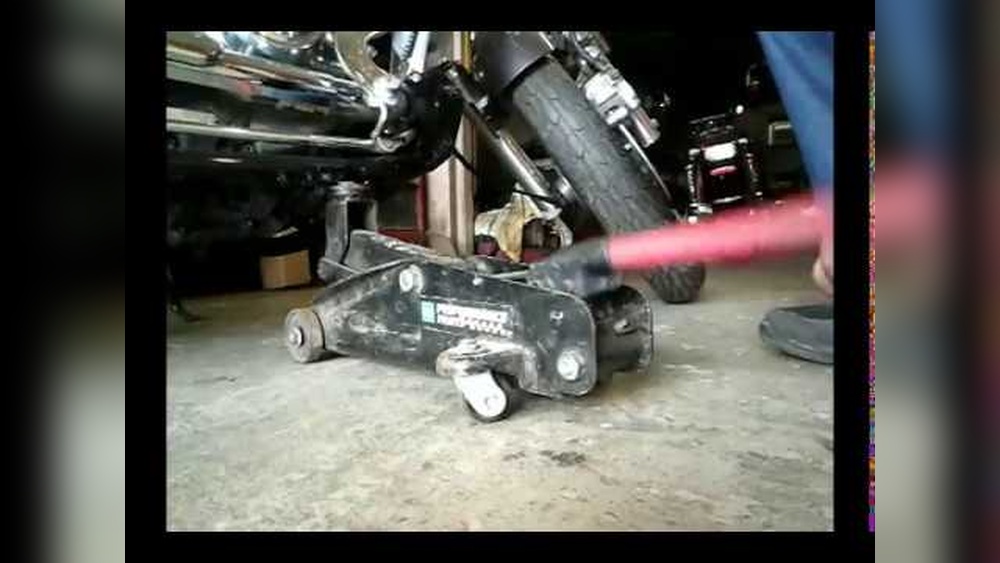
Credit: www.ebay.com
Preparing The Floor Jack
Preparing the Craftsman Floor Jack 50136 before replacing the seals is important. It makes the repair easier and safer. Proper preparation helps you avoid damage and injury. Follow these steps to get the jack ready.
Safety Precautions
Start by working in a clean, flat area with good light. Wear safety gloves to protect your hands. Use eye protection to guard against dirt and oil. Make sure the jack is fully lowered. This stops sudden movements. Keep children and pets away from your workspace. Double-check that the jack is stable and will not slip.
Cleaning The Jack
Remove dirt and grease from the jack’s surface. Use a clean cloth and mild detergent. Wipe off all oil and debris. Clean around the seals carefully. This prevents dirt from entering when you open the jack. Dry the jack completely before starting seal replacement. Clean tools and workspace too, for better results.
Removing Old Seals
Removing old seals from your Craftsman Floor Jack 50136 is a key step in maintaining its performance. Old seals wear out and cause leaks. This leads to poor lifting power and safety risks. Careful removal ensures you install new seals correctly. Follow these steps to remove old seals safely and efficiently.
Disassembling The Jack
Start by lowering the jack completely. Make sure it rests on a flat surface. Remove the handle and any attachments. Use the right tools to open the jack’s main housing. Keep track of all screws and parts. Take your time to avoid damage. Disassembly gives you clear access to the seals inside.
Locating Seals
Look for rubber or plastic rings inside the jack. Seals are usually around the hydraulic cylinder and pistons. Check near the pump and release valve too. These seals stop oil leaks and keep pressure steady. Identify each seal before removing it. This helps during reassembly and replacement.
Extracting Seals
Use a small flat tool or seal puller to remove seals. Gently pry under the edge without scratching surfaces. Old seals may be stiff or stuck. Work slowly to avoid tearing or breaking them. Clean the seal grooves after removal. Prepare the area for new seal installation.

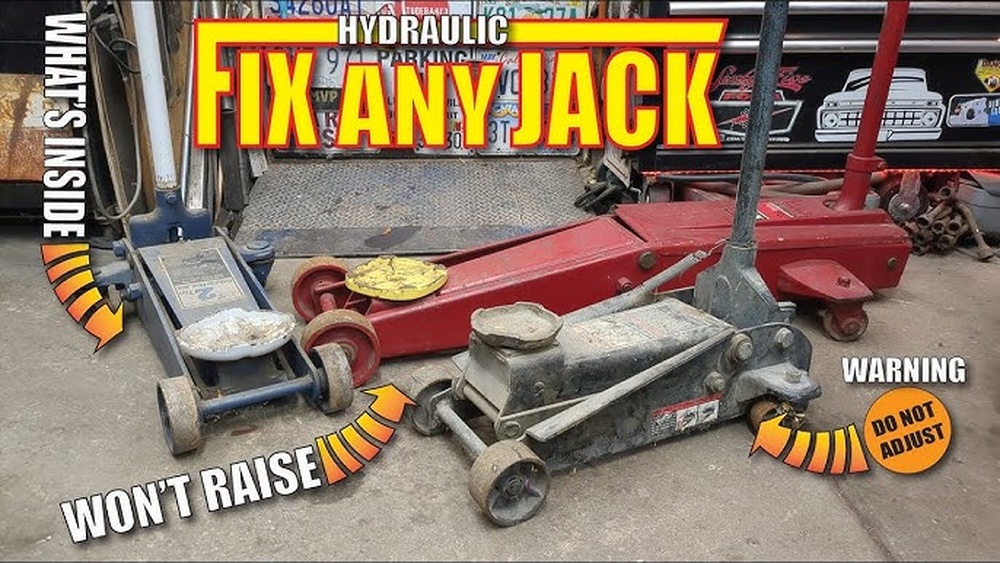
Credit: www.amazon.com
Installing New Seals
Installing new seals in your Craftsman Floor Jack 50136 is a key step to keep it working well. Seals stop oil from leaking and help the jack lift smoothly. This part of the repair needs care and attention. Correct seal installation can extend the life of your floor jack.
Positioning Seals Correctly
Start by cleaning the seal area. Dirt can stop the seal from sitting right. Check the new seals for any damage before use. Place each seal gently in its groove. Make sure the seal lays flat and even. Press the seal slightly to fit, but do not stretch it. A well-positioned seal stops leaks and keeps pressure steady.
Reassembling Components
After seals are in place, begin reassembling parts carefully. Align each component as it was before. Tighten bolts and screws firmly but avoid overtightening. Check that moving parts operate smoothly. Test the jack by pumping it slowly. Watch for any leaks or unusual sounds. Proper reassembly ensures safe and efficient jack use.
Testing The Floor Jack
Testing the floor jack after replacing the seals is vital. It confirms the jack works well and is safe to use. This step helps catch any issues early. Proper testing ensures the jack lifts smoothly and holds weight without problems.
Checking For Leaks
Start by inspecting the jack closely. Look around the new seals for any oil leaks. Oil spots or wet areas show the seal may not fit correctly. Pump the handle slowly and watch for drips or puddles. No leaks mean the seals are tight and secure.
Ensuring Proper Function
Next, test the jack’s lifting ability. Place it under a heavy object and pump the handle. The jack should raise the load smoothly without slipping. Lower the load carefully to check the release valve. The jack must hold pressure and lower evenly. Proper function confirms the seals are installed correctly and the jack is ready for use.
Maintenance Tips
Maintaining your Craftsman Floor Jack 50136 ensures it works safely and lasts longer. Proper care helps avoid leaks and damage to seals. Follow these simple tips to keep the jack in good shape.
Regular Inspection
Check the seals often for cracks or wear. Look for oil leaks around the jack. Clean dirt and debris from the seal area. Early checks prevent bigger problems later. Tighten any loose parts you find. This keeps the jack reliable and safe.
Seal Longevity
Use the right type of oil to protect seals. Avoid overloading the jack beyond its limit. Store the jack in a dry place to stop rust. Replace seals at the first sign of damage. Proper care extends the life of your seals and jack. Good habits save money and hassle.

Credit: www.ebay.com
Frequently Asked Questions
How Do I Identify A Worn Seal In Craftsman Floor Jack 50136?
A worn seal causes hydraulic fluid leaks and reduced lifting power. Look for oil around the seal area. Inspect for cracks or damage. Early detection prevents further jack damage and ensures safety during use.
What Tools Are Needed To Replace Seals On This Floor Jack?
You need a seal kit, wrenches, screwdrivers, pliers, and hydraulic fluid. Clean rags and safety gloves are also helpful. Having the right tools ensures a smooth and safe seal replacement process.
How Long Does It Take To Replace Seals In The Jack?
Seal replacement typically takes 30 to 60 minutes for most users. Time varies by experience level and tool availability. Following the correct steps speeds up the process and ensures proper seal installation.
Can I Use Any Seal Kit For Craftsman Floor Jack 50136?
No, always use a seal kit designed specifically for model 50136. Generic kits may not fit properly or seal effectively. Using the correct kit ensures optimal performance and safety.
Conclusion
Replacing seals in your Craftsman Floor Jack 50136 keeps it working smoothly. This task saves money and extends the jack’s life. Follow each step carefully for the best results. Take your time and use the right tools. A well-maintained floor jack is safer and more reliable.
Keep checking seals regularly to avoid leaks. Small repairs now prevent bigger problems later. Your jack will lift heavy loads with confidence again. Simple maintenance makes all the difference. You’ve got this!