Are you struggling to remove quick fastener screws that just won’t budge? You’re not alone.
These screws can be tricky, especially if you don’t have the right approach. But don’t worry—removing them doesn’t have to be a frustrating battle. You’ll discover simple, effective techniques to get those screws out quickly and safely. Keep reading, and you’ll save time, avoid damage, and gain confidence in handling quick fastener screws like a pro.

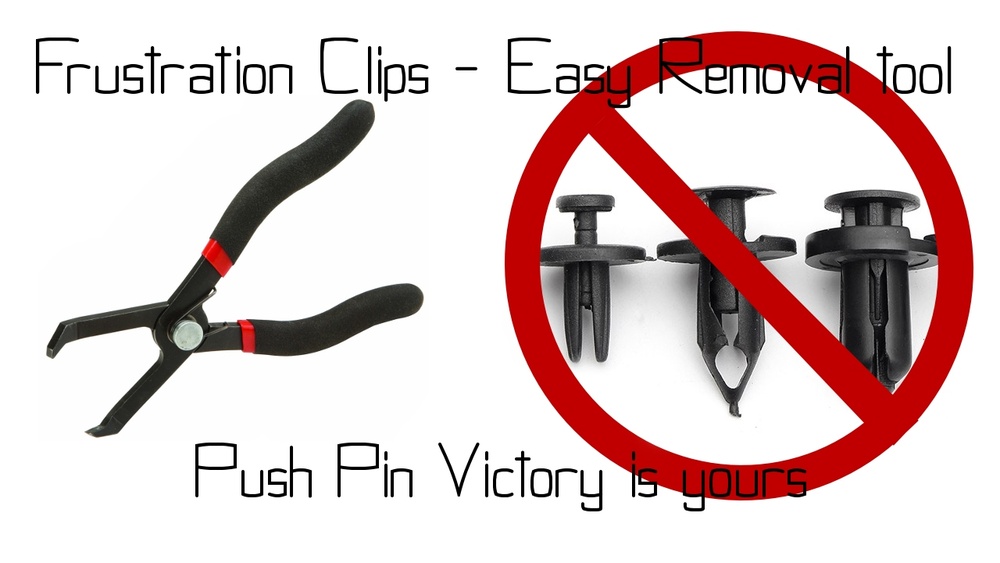
Credit: www.amazon.com
Types Of Quick Fastener Screws
Quick fastener screws come in different types. Each type has a specific purpose. Knowing the types helps in removing them safely and easily. This section explains the common styles and materials of quick fastener screws.
Common Styles And Uses
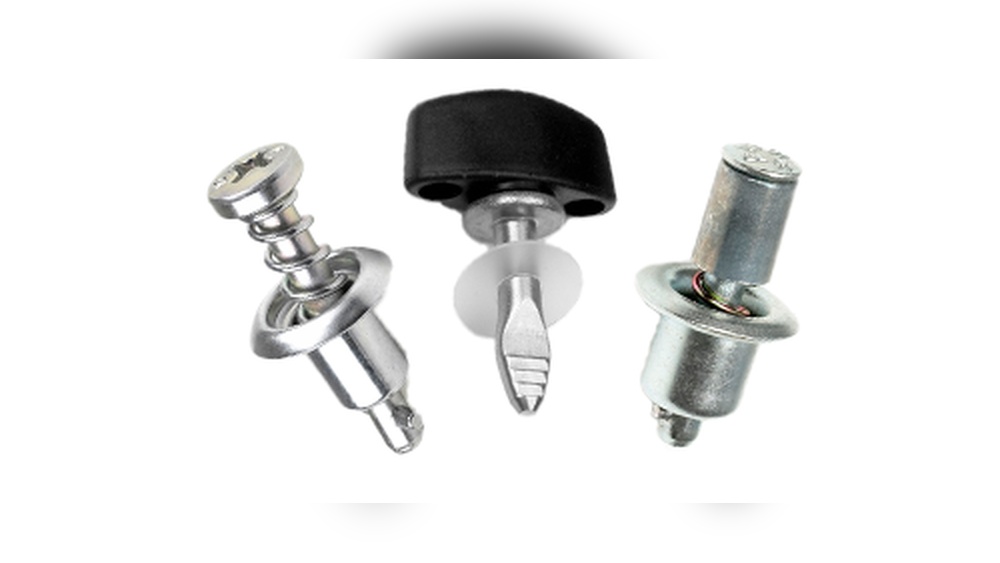
Quick fastener screws include wing screws, thumb screws, and quarter-turn fasteners. Wing screws have wings for hand tightening. Thumb screws feature a knurled head for grip. Quarter-turn fasteners lock with a simple twist. These screws are popular in furniture, electronics, and machinery. They allow quick assembly and disassembly without tools.
Materials And Finishes
Quick fastener screws come in steel, stainless steel, and brass. Steel screws are strong and cost-effective. Stainless steel resists rust and works well outdoors. Brass screws resist corrosion and look decorative. Finishes like zinc plating and black oxide protect against wear. Choosing the right material helps in easy removal and longer use.

Credit: www.amazon.com
Tools Needed For Removal
Removing quick fastener screws requires the right tools. Choosing proper tools makes the job easier and faster. Some tools are common and easy to find. Others are designed specifically for quick fastener screws.
Basic Hand Tools
Start with simple hand tools. A flathead screwdriver works for many fastener screws. A Phillips screwdriver fits screws with a cross shape. Needle-nose pliers help grip small or stubborn screws. A small hammer can tap screws loose gently. These tools suit most basic removal jobs.
Specialized Removal Tools
Some quick fastener screws need special tools. A quick release tool fits the screw’s unique shape. A spanner wrench fits fasteners with holes or slots. An impact driver helps loosen very tight screws. These tools reduce damage and save time. They are useful for frequent or tough removals.
Preparation Before Removal
Preparing to remove quick fastener screws helps avoid mistakes and injuries. Taking time to get ready makes the task smoother and faster. It also protects your tools and materials from damage. Follow simple steps to prepare correctly.
Safety Precautions
Wear safety glasses to protect your eyes from flying debris. Use gloves to keep your hands safe from sharp edges. Make sure you work in a well-lit area. Avoid loose clothing or jewelry that can get caught. Keep a first aid kit nearby in case of minor cuts.
Clearing The Workspace
Remove all unnecessary items from your work area. Clear the surface where you will place tools and screws. Make sure the space is clean and dry to prevent slips. Organize your tools so you can reach them easily. Good space helps you focus and work faster.

Credit: www.youtube.com
Step-by-step Removal Process
Removing quick fastener screws can seem tricky at first. This step-by-step guide makes the process clear and easy. Follow these simple steps to avoid damage and save time.
Loosening The Fastener
Start by selecting the right tool for the screw. Usually, a screwdriver or a drill works well. Turn the fastener gently counterclockwise. Apply steady pressure to avoid stripping the screw head. If it moves, continue turning until it loosens.
Handling Stuck Screws
Stuck screws need extra care. Spray a little lubricant on the fastener and wait a few minutes. Tap the screw lightly with a hammer to break rust or dirt. Use a screwdriver with a firm grip and try turning again slowly. Avoid forcing the screw to prevent damage.
Removing Damaged Fasteners
Damaged screws need special tools. Use a screw extractor set designed for this job. First, drill a small hole into the screw head. Insert the extractor and turn it counterclockwise. The damaged screw should come out with the extractor. Take your time and work carefully.
Tips For Faster Removal
Removing quick fastener screws can be tricky and take time. Faster removal saves effort and avoids damage. Use simple tools and smart methods to speed up the process. Small changes can make a big difference when removing these screws.
Focus on two main tips: using lubricants and applying proper technique. Both help loosen the screws and make removal easier. These tips work well for quick fastener screws on many surfaces.
Using Lubricants
Lubricants reduce friction between the screw and its hole. Spray a small amount of oil or WD-40 on the screw head. Let it sit for a few minutes to soak in. The lubricant helps loosen rust and dirt. This makes the screw turn easily. Avoid using too much oil to prevent mess. Wipe off extra lubricant before unscrewing.
Applying Proper Technique
Use the right screwdriver that fits the screw head perfectly. Press the screwdriver down firmly to avoid slipping. Turn the screw slowly at first to break its grip. Use steady, even pressure to prevent stripping. If the screw resists, try small back-and-forth turns. This motion helps break tight spots. Keep the tool aligned with the screw to avoid damage.
Preventing Damage During Removal
Removing quick fastener screws can be tricky. These screws hold parts tightly and can damage the surface around them if not handled carefully. Taking steps to prevent damage helps keep your project safe and looking good. Small mistakes can cause scratches or dents that are hard to fix. Follow simple tips to protect the materials and avoid tool problems during removal.
Protecting Surrounding Materials
Cover the area around the screw with tape. Painter’s tape works well to stop scratches. Use a thin cloth or cardboard under your tools. This creates a barrier between the tool and the surface. Work slowly to avoid slipping and hurting the material. Keep the workspace clean to see clearly and control your movements.
Avoiding Tool Slippage
Choose the right screwdriver or bit size. A loose fit can strip the screw head or slip. Hold the tool steady and apply firm pressure straight down. Use a screwdriver with a grip that feels comfortable. Check the tool condition; worn tips cause slipping. Turn the screw gently to keep control and avoid sudden movements.
After Removal Care
After removing quick fastener screws, proper care is important. It helps keep the surface clean and ready for new fasteners or repairs. Taking a few simple steps can prevent damage and extend the life of your project.
Cleaning The Area
Start by clearing away any dust or debris around the holes. Use a soft brush or cloth to wipe the surface gently. Avoid harsh chemicals that can damage the material. A clean area ensures better adhesion or fitting for new fasteners.
Inspecting For Damage
Look closely at the holes and surrounding material. Check for cracks, splits, or worn spots. Small damage can grow if not fixed early. Repair any issues before installing new screws. This keeps the structure strong and safe.
Frequently Asked Questions
What Tools Are Needed To Remove Quick Fastener Screws?
You need a screwdriver matching the screw head type. A flathead or Phillips screwdriver usually works best. Sometimes pliers help loosen tight screws. Use the right tool to avoid damaging the screw or surface.
How Do You Prevent Damage When Removing Quick Fastener Screws?
Apply gentle pressure and turn screws slowly. Avoid using excessive force to prevent stripping. Use proper screwdrivers that fit well. If screws are stuck, apply penetrating oil and wait before trying again.
Can Quick Fastener Screws Be Reused After Removal?
Yes, quick fastener screws can often be reused. Inspect them for wear or damage before reusing. Replace screws if the threads are stripped or if they don’t hold securely.
What If A Quick Fastener Screw Is Stripped Or Stuck?
Use a rubber band for extra grip on stripped screws. Apply penetrating oil to loosen stuck screws. If needed, use screw extractors designed for stripped screws carefully.
Conclusion
Removing quick fastener screws is easier with the right tools. Use a screwdriver that fits well to avoid damage. Turn screws slowly and steadily for best results. If a screw feels stuck, apply a little oil to loosen it. Take your time and work carefully.
These steps help you remove screws without trouble. Keep your workspace clean and organized to find tools quickly. Practice makes the process smoother and faster. Now you can handle quick fastener screws with confidence. Simple steps, good tools, and patience make all the difference.