Are you struggling to remove those stubborn push pin fasteners? You’re not alone.
These tiny clips can hold things tightly in place, but getting them out without damage can be tricky. Whether you’re fixing your car’s interior, working on a DIY project, or just need a quick repair, knowing the right way to remove push pin fasteners will save you time and frustration.
Keep reading, and you’ll learn simple, effective steps that anyone can follow—even if you’ve never done this before. Say goodbye to broken clips and hello to smooth, easy removal!
Tools Needed
Removing push pin fasteners requires the right tools. Using proper tools makes the job easier and prevents damage. Some tools are common in most homes. Others are designed specifically for fasteners.
Common Household Tools
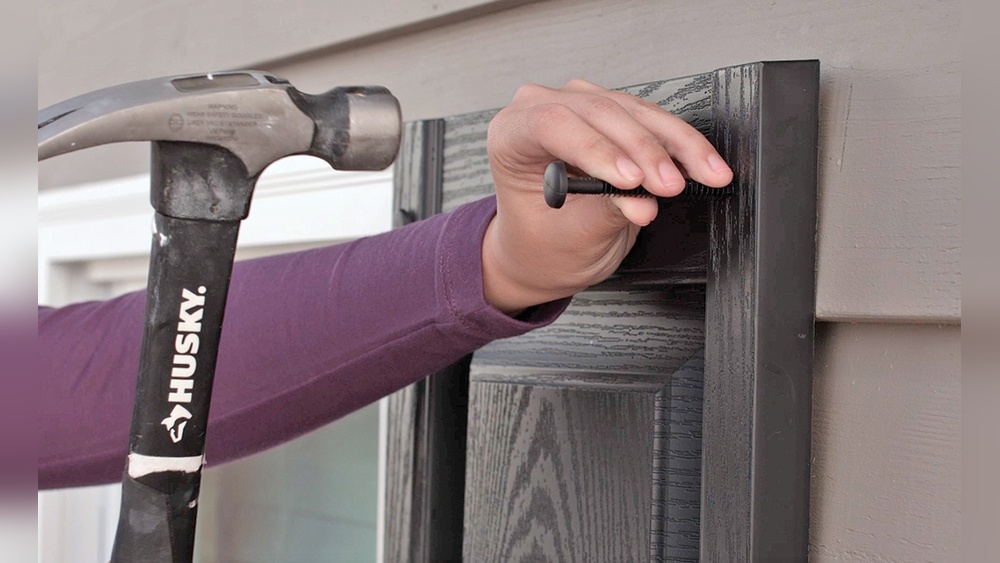
Many push pin fasteners can be removed with simple household tools. A flathead screwdriver often works well. It fits under the pin’s head to pry it up gently. A pair of needle-nose pliers helps to pull out pins. A butter knife can also slide under the pin. These tools are easy to find and use.
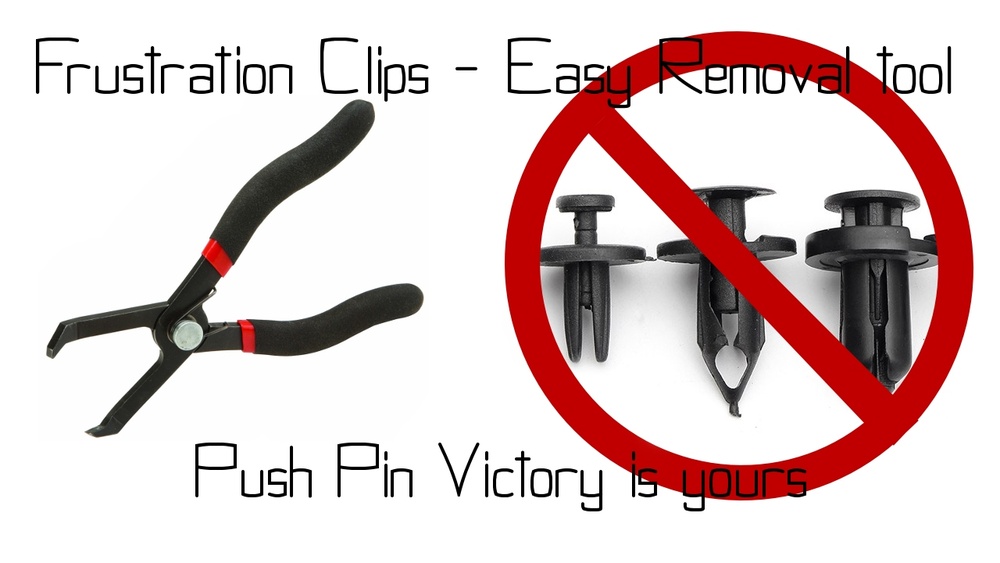
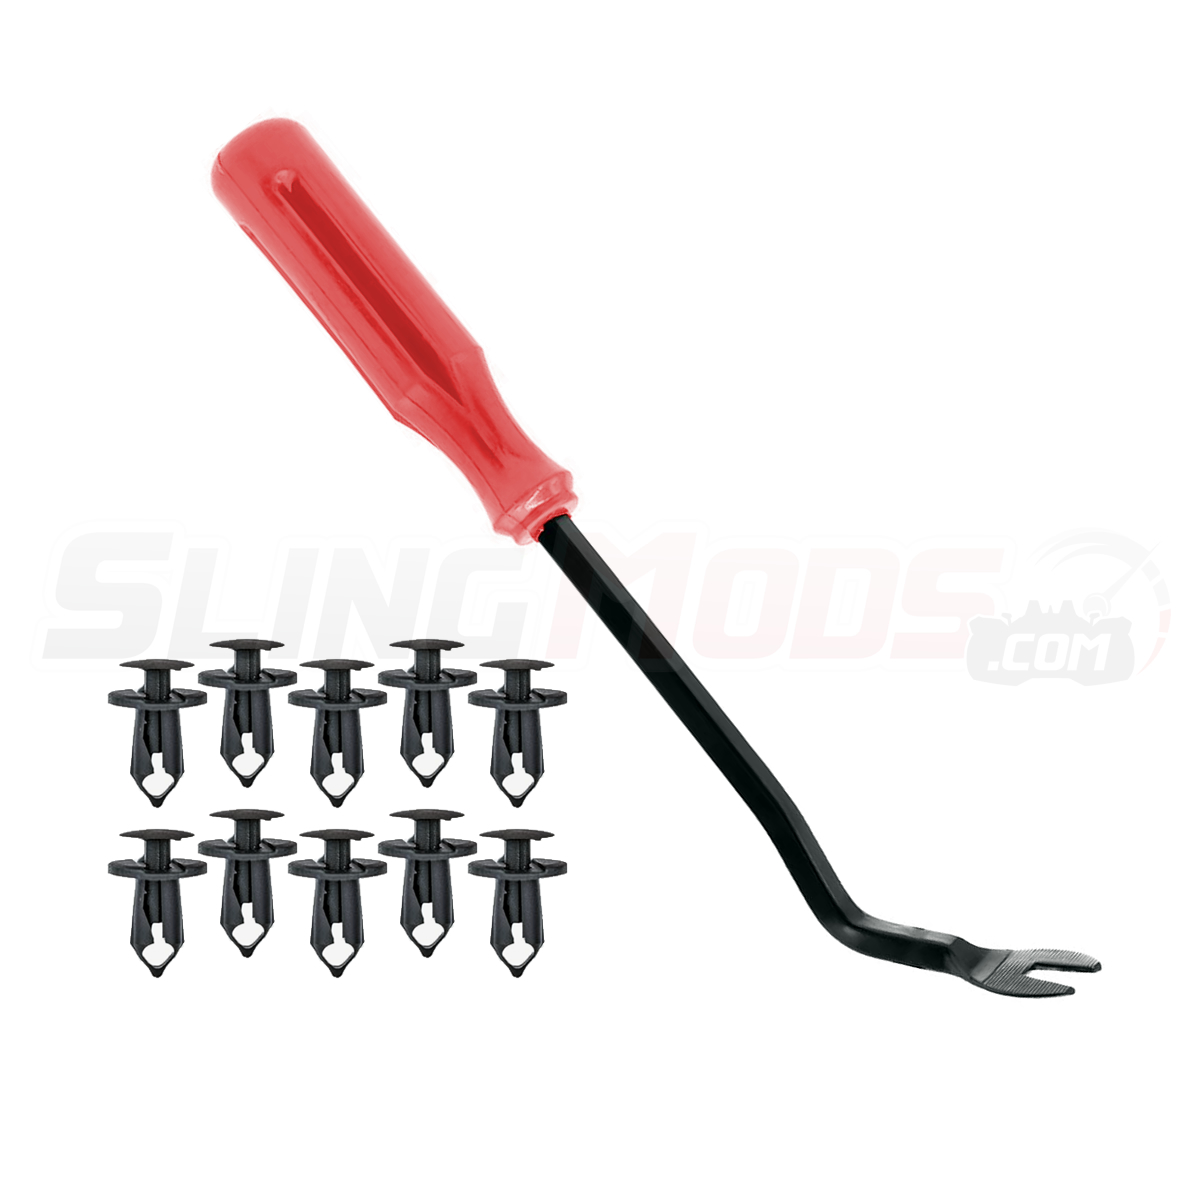
Specialized Fastener Removers
Specialized tools make removing fasteners safer and quicker. A trim removal tool is designed to fit around pins without damage. It has a flat, wide end for better leverage. Fastener removal pliers grip pins firmly and pull them out smoothly. These tools reduce the risk of scratches or breaks. They are worth having for frequent work with push pins.
Identifying Push Pin Types
Identifying the type of push pin fastener is the first step to remove it safely. Different fasteners require different tools and methods. Knowing the type helps avoid damage to your vehicle or project surface. This section covers the common types of push pin fasteners found in cars and furniture.
Plastic Push Pins
Plastic push pins are light and flexible. They often have a round head and a split shank. These pins hold panels or trim in place. You can spot them by their smooth, colorful heads. They are easy to remove with a flat tool or a special clip remover.
Metal Push Pins
Metal push pins are stronger and more durable. They usually have a metal pin with a plastic or metal head. These fasteners secure heavier parts. Their heads may be flat, domed, or sometimes hex-shaped. Removing metal pins needs more care to avoid bending or breaking the pin.
Trim Clips
Trim clips are a mix of plastic and metal parts. They hold interior or exterior trim tightly. The clip has a base and a pin that expands to lock in place. Trim clips vary in size and shape. Use a trim clip tool or a small pry bar to remove them safely.
Preparing For Removal
Preparing to remove push pin fasteners helps make the process safe and smooth. Taking a few simple steps before starting can prevent damage and injury. A clean, organized space and proper safety gear are key parts of preparation. Follow these tips to get ready.
Safety Precautions
Wear safety glasses to protect your eyes from flying debris. Use gloves to avoid cuts and scrapes on your hands. Check tools for damage before use to ensure they work correctly. Keep children and pets away from the workspace. Avoid loose clothing or jewelry that can get caught during removal.
Workspace Setup
Clear the area around the fastener for easy access. Use a flat surface with good lighting to see details clearly. Gather all tools needed before starting to avoid interruptions. Place a tray or container nearby to hold removed fasteners. Work slowly and carefully to avoid damaging surfaces.
Step-by-step Removal Process
Removing push pin fasteners does not have to be hard. Follow these clear steps to take them out safely. Each step shows how to handle the fasteners without damage. This process saves time and keeps your parts intact.
Loosening The Pin Head
Start by loosening the pin head carefully. Use a flat tool like a small screwdriver or pry tool. Place the tool under the pin head edge. Gently twist or lift to create space. Avoid using too much force to prevent breaking the fastener.
Prying Out The Pin
After loosening, pry the pin out slowly. Insert the tool under the pin stem. Lift the pin straight out with a steady motion. Keep the tool steady to avoid slipping. If the pin moves, pull it out a little more each time.
Handling Stubborn Fasteners
Some fasteners stick tight and need extra care. Spray a little lubricant around the pin. Let it sit for a few minutes. Use the tool again to loosen the pin head. Work slowly and patiently to avoid damage. Repeat if needed until the pin comes out easily.
Avoiding Damage
Removing push pin fasteners requires care to avoid damage. These small pins hold parts tightly. Pulling them out roughly can harm surfaces or break the fastener. Taking time and using the right method keeps everything safe. This section explains how to protect surfaces and apply the right pressure.
Protecting Surrounding Surfaces
Push pins sit close to painted or plastic areas. Scraping or prying too hard can scratch or dent these parts. Use a soft cloth or tape around the pin before starting. This layer acts as a shield for the surface. Always work gently near edges and corners. Avoid metal tools that are sharp or pointy.
Using The Right Pressure
Apply slow and steady force to loosen the pin. Quick jerks can snap the fastener or damage the hole. Use a plastic trim tool or flathead screwdriver for better control. Insert the tool under the pin head carefully. Pull or lift the pin bit by bit. Stop if you feel strong resistance. Patience helps keep the fastener and surface intact.

Credit: www.pointsunknown.com
After Removal Tips
After removing push pin fasteners, proper care is important. It helps keep your work neat and saves time later. Small parts like these can easily get lost or damaged. Taking a few minutes to organize and check them is smart. This will make future repairs or reassembly smoother and faster.
Storing Removed Fasteners
Keep removed fasteners in a small container or bag. Label the container to know where they came from. This stops confusion during reassembly. Avoid mixing different types of fasteners together. Store them in a dry place to prevent rust or damage. A simple method saves you from searching later.
Replacing Damaged Pins
Check each pin for cracks or bends after removal. Damaged pins cannot hold parts securely. Replace any broken or weak fasteners with new ones. Using the correct size and type is important. New pins ensure a tight fit and safe assembly. Don’t reuse damaged pins; they can cause problems later.
Common Mistakes To Avoid
Removing push pin fasteners sounds simple but many make mistakes. These errors can cause damage or make removal harder. Avoiding common pitfalls saves time and protects your parts.
Learn about typical errors to keep your work safe and smooth. Follow clear steps and use the right tools. This section shows what to avoid when removing push pin fasteners.
Using Excessive Force
Pressing too hard can break the fastener or the surface. Push pins are delicate and need gentle handling. Use slow, steady pressure instead of pushing quickly.
Ignoring The Correct Tool
Using the wrong tool can damage the fastener or the panel. Use a trim removal tool or flathead screwdriver. Avoid sharp objects that might scratch or break parts.
Not Checking Fastener Type
Push pin fasteners come in different styles and sizes. Removing them like a single type causes mistakes. Identify the exact type before starting removal.
Forcing The Pin Straight Out
Pulling the pin directly out may break it. Most push pins need the center pin pulled up first. This unlocks the fastener for smooth removal.
Skipping Safety Precautions
Not wearing gloves or eye protection risks injury. Fasteners can snap or fly off unexpectedly. Protect yourself during removal tasks.
Credit: www.slingmods.com

Credit: www.youtube.com
Frequently Asked Questions
What Tools Are Best For Removing Push Pin Fasteners?
The best tools include a flathead screwdriver, trim removal tool, or pliers. These tools prevent damage while prying out the fasteners carefully.
How Do You Safely Remove Push Pin Fasteners?
Insert a tool under the fastener head and gently pry upward. Avoid using excessive force to prevent breaking the pin or damaging surfaces.
Can Push Pin Fasteners Be Reused After Removal?
Yes, push pin fasteners can often be reused if undamaged. Inspect for cracks or bends before reinserting to ensure a secure fit.
Why Are Push Pin Fasteners Commonly Used In Vehicles?
They are lightweight, easy to install, and secure panels firmly. Push pin fasteners also allow quick removal for repairs and maintenance.
Conclusion
Removing push pin fasteners can be simple with the right tools. Take your time and work carefully to avoid damage. Small steps make the process easier and safer. Keep your workspace clean to find all parts easily. Practice helps you get better and faster each time.
Remember, patience is key when handling delicate clips. Use these tips to remove push pin fasteners confidently. You can handle similar tasks with more skill now. Keep learning and stay safe while working on projects.