Are your old cabinet hardware looking tired and outdated? You don’t need to replace them to give your space a fresh, stylish update.
Painting your cabinet hardware is a simple, affordable way to transform your kitchen or bathroom without breaking the bank. In this guide, you’ll learn easy steps to make your knobs and handles look brand new. By the end, you’ll feel confident to tackle the project yourself and enjoy stunning results that impress everyone who sees them.
Ready to breathe new life into your cabinets? Let’s get started!
Credit: www.kilz.com
Gathering Supplies
Gathering the right supplies is the first step to paint old cabinet hardware well. Having everything ready makes the job easier and faster. The right paint and tools help the hardware look fresh and last longer.
Choosing The Right Paint
Pick paint made for metal surfaces. Spray paint works best for small hardware pieces. It covers evenly and dries fast. Choose paint with a finish you like. Matte, satin, or glossy all look different. Primer paint helps the color stick better. It also stops rust on old metal parts.
Essential Tools And Materials
Get a few key tools before starting. Fine sandpaper smooths rough spots and old paint. Clean the hardware with soap and water first. Use a small brush to remove dust. Gloves protect your hands from paint. Newspaper or a drop cloth keeps your work area clean. A small container helps if you use brush-on paint. Tape can hold parts while drying.
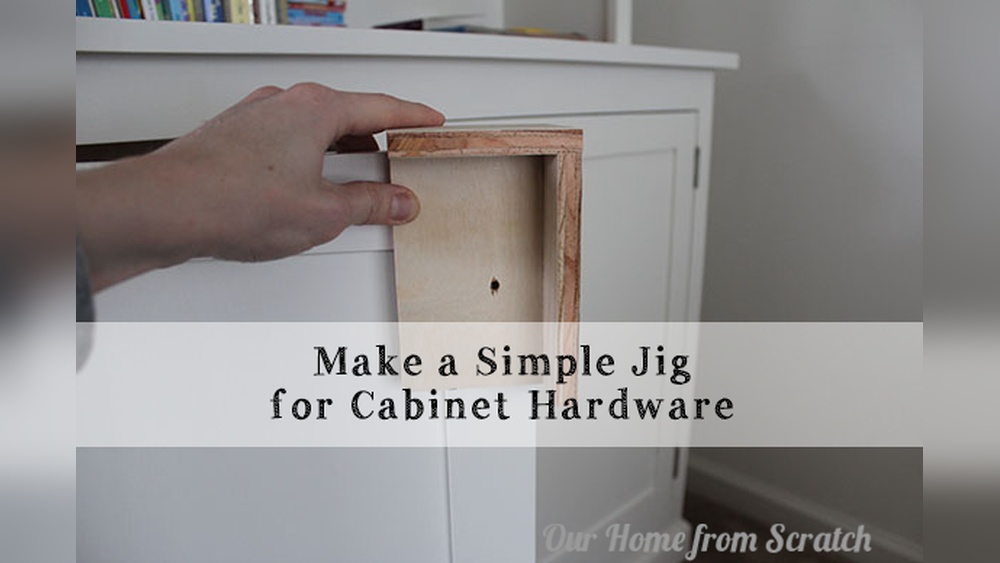
Removing Hardware Safely
Removing old cabinet hardware needs care. You want to avoid damage to cabinets and hardware. Taking your time helps keep everything safe and ready for painting.
Start by preparing your tools and workspace. A calm and steady approach makes the process easier and cleaner.
Tips For Unscrewing Cabinets
Use the right screwdriver that fits the screws well. This stops screws from stripping or slipping.
Turn screws slowly and steadily. Quick moves can damage the wood or screw head.
If screws are tight, try a drop of oil to loosen them. Let it sit for a few minutes before unscrewing.
Keep pressure on the screwdriver to avoid slipping. This protects your hands and cabinet surface.
Organizing Hardware Pieces
Sort screws, knobs, and handles in small containers or zip bags. Label each container by cabinet or drawer.
Photograph hardware placement before removal. This helps with reassembly and keeps things clear.
Keep all pieces together in one safe spot. Avoid losing small screws or parts during painting.
Organizing hardware saves time and reduces frustration later on.
Cleaning And Preparing Hardware
Cleaning and preparing old cabinet hardware is a key step before painting. It helps the paint stick well and last longer. Dirt, grease, and old finishes can stop the paint from bonding. Proper preparation makes the hardware look fresh and smooth. Follow these simple steps to get your hardware ready.
Removing Dirt And Grease
Start by soaking the hardware in warm, soapy water. Use a mild dish soap to break down grease. Let it soak for 10 to 15 minutes. Then, scrub gently with a soft brush or cloth. Focus on removing all dirt and grime. Rinse well under clean water. Dry completely with a towel or let air dry. Clean hardware ensures paint will stick evenly.
Sanding For Better Adhesion
After cleaning, lightly sand the hardware’s surface. Use fine-grit sandpaper, around 220 grit. Sand to remove old paint or shiny finishes. This creates small scratches for the new paint to grip. Sand all sides carefully but avoid deep scratches. Wipe off dust with a damp cloth. Let dry fully before painting. Sanding boosts paint adhesion and smooths the surface.

Credit: www.youtube.com
Priming The Hardware
Priming old cabinet hardware is a key step before painting. It helps paint stick better and last longer. Without primer, paint may peel or chip quickly. Priming also prevents rust and improves the final look. Prepare the hardware well and choose the right primer for best results.
Selecting A Suitable Primer
Choose a primer made for metal surfaces. Some primers work better on brass, steel, or iron. Look for rust-resistant or bonding primers. These types create a strong base for paint. Avoid primers meant only for wood or plastic. Check the label to ensure it suits your hardware material.
Applying Primer Evenly
Clean the hardware thoroughly before priming. Use a brush or spray for even coverage. Apply thin coats to avoid drips or lumps. Let each coat dry fully before adding another. Light sanding between coats can help smooth the surface. Even primer helps paint look smooth and last longer.
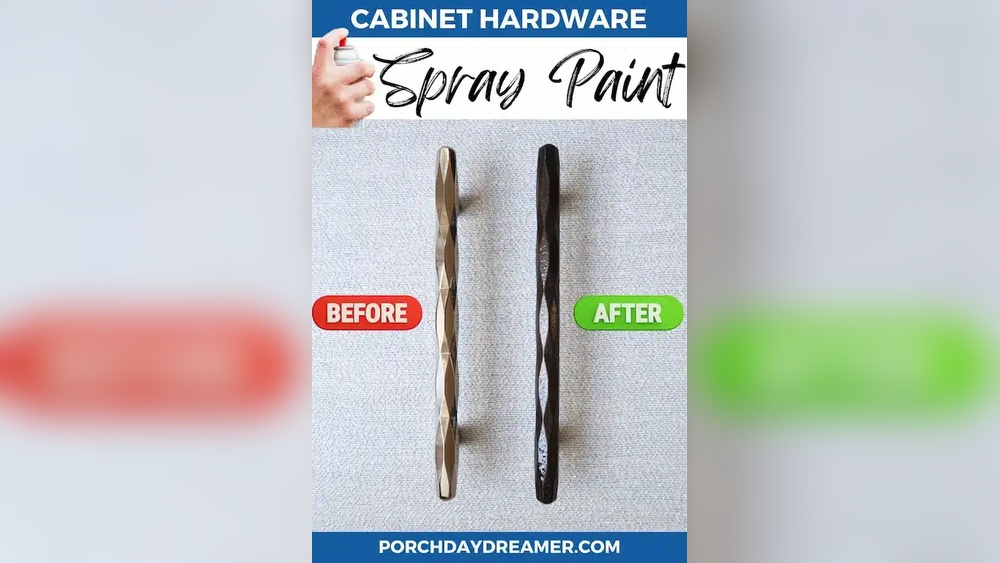
Painting Techniques
Painting old cabinet hardware can give your space a fresh look. Using the right painting techniques helps the paint last longer and look better. This section covers key tips on paint types, applying paint, and making the finish strong.
Choosing Paint Types
Pick paint made for metal surfaces. Spray paint and enamel paints work well. These paints stick better and resist chipping. Avoid water-based paints as they peel easily. Check the label for “metal” or “hardware” use. Primer is important to help paint stick. Use a metal primer before painting.
Brush Vs Spray Painting
Brush painting gives more control on small details. Use a small, soft brush for smooth coverage. Brush strokes may show but dry quickly. Spray painting covers evenly and fast. It reaches tight spots easily. Spray paint creates a smooth finish but needs good ventilation. Choose spray paint for many pieces or complex shapes.
Multiple Coats For Durability
Apply several thin coats instead of one thick coat. Thin coats dry faster and stick better. Let each coat dry fully before the next. This prevents drips and uneven surfaces. Two to three coats are enough for strong coverage. Finish with a clear sealant for extra protection.
Drying And Curing
Drying and curing are key steps after painting old cabinet hardware. Proper drying helps the paint set well. Curing makes the paint strong and long-lasting. Skipping these steps can cause damage or peeling later.
Patience is important here. Each coat needs time to dry fully. The environment also affects drying speed. A cool, dry place works best. Avoid touching the hardware until it is ready.
Optimal Drying Times
Let the paint dry for at least 1 hour between coats. Thin layers dry faster than thick ones. After the final coat, wait 24 to 48 hours to dry completely. Full curing can take up to a week. The paint becomes harder and more durable during this time.
Avoiding Smudges And Runs
Handle the hardware carefully to prevent smudges. Place pieces on a soft cloth or paper towel. Avoid stacking wet items together. Use a well-ventilated area to reduce dust and dirt landing on paint. Do not rush. Let each coat dry before adding more paint.
Sealing For Longevity
Sealing old cabinet hardware protects your paint job from wear and tear. It helps keep the color fresh and prevents chips. A good seal extends the life of your work. Without sealing, paint can peel or fade quickly. Choose the right sealant to match your hardware and paint type.
Topcoat Options
Clear topcoats add a strong layer over paint. They shield against moisture and scratches. Polyurethane is tough and works well on metal hardware. Acrylic topcoats dry fast and have low odor. Choose satin or glossy finishes based on your style. Matte finishes hide fingerprints better but may wear faster.
Applying Protective Finishes
Use a small brush or spray for even coverage. Apply thin coats to avoid drips or bubbles. Let each coat dry fully before adding another. Sand lightly between coats for smoothness. Work in a dust-free space to keep finish clean. Proper application boosts hardware durability and shine.
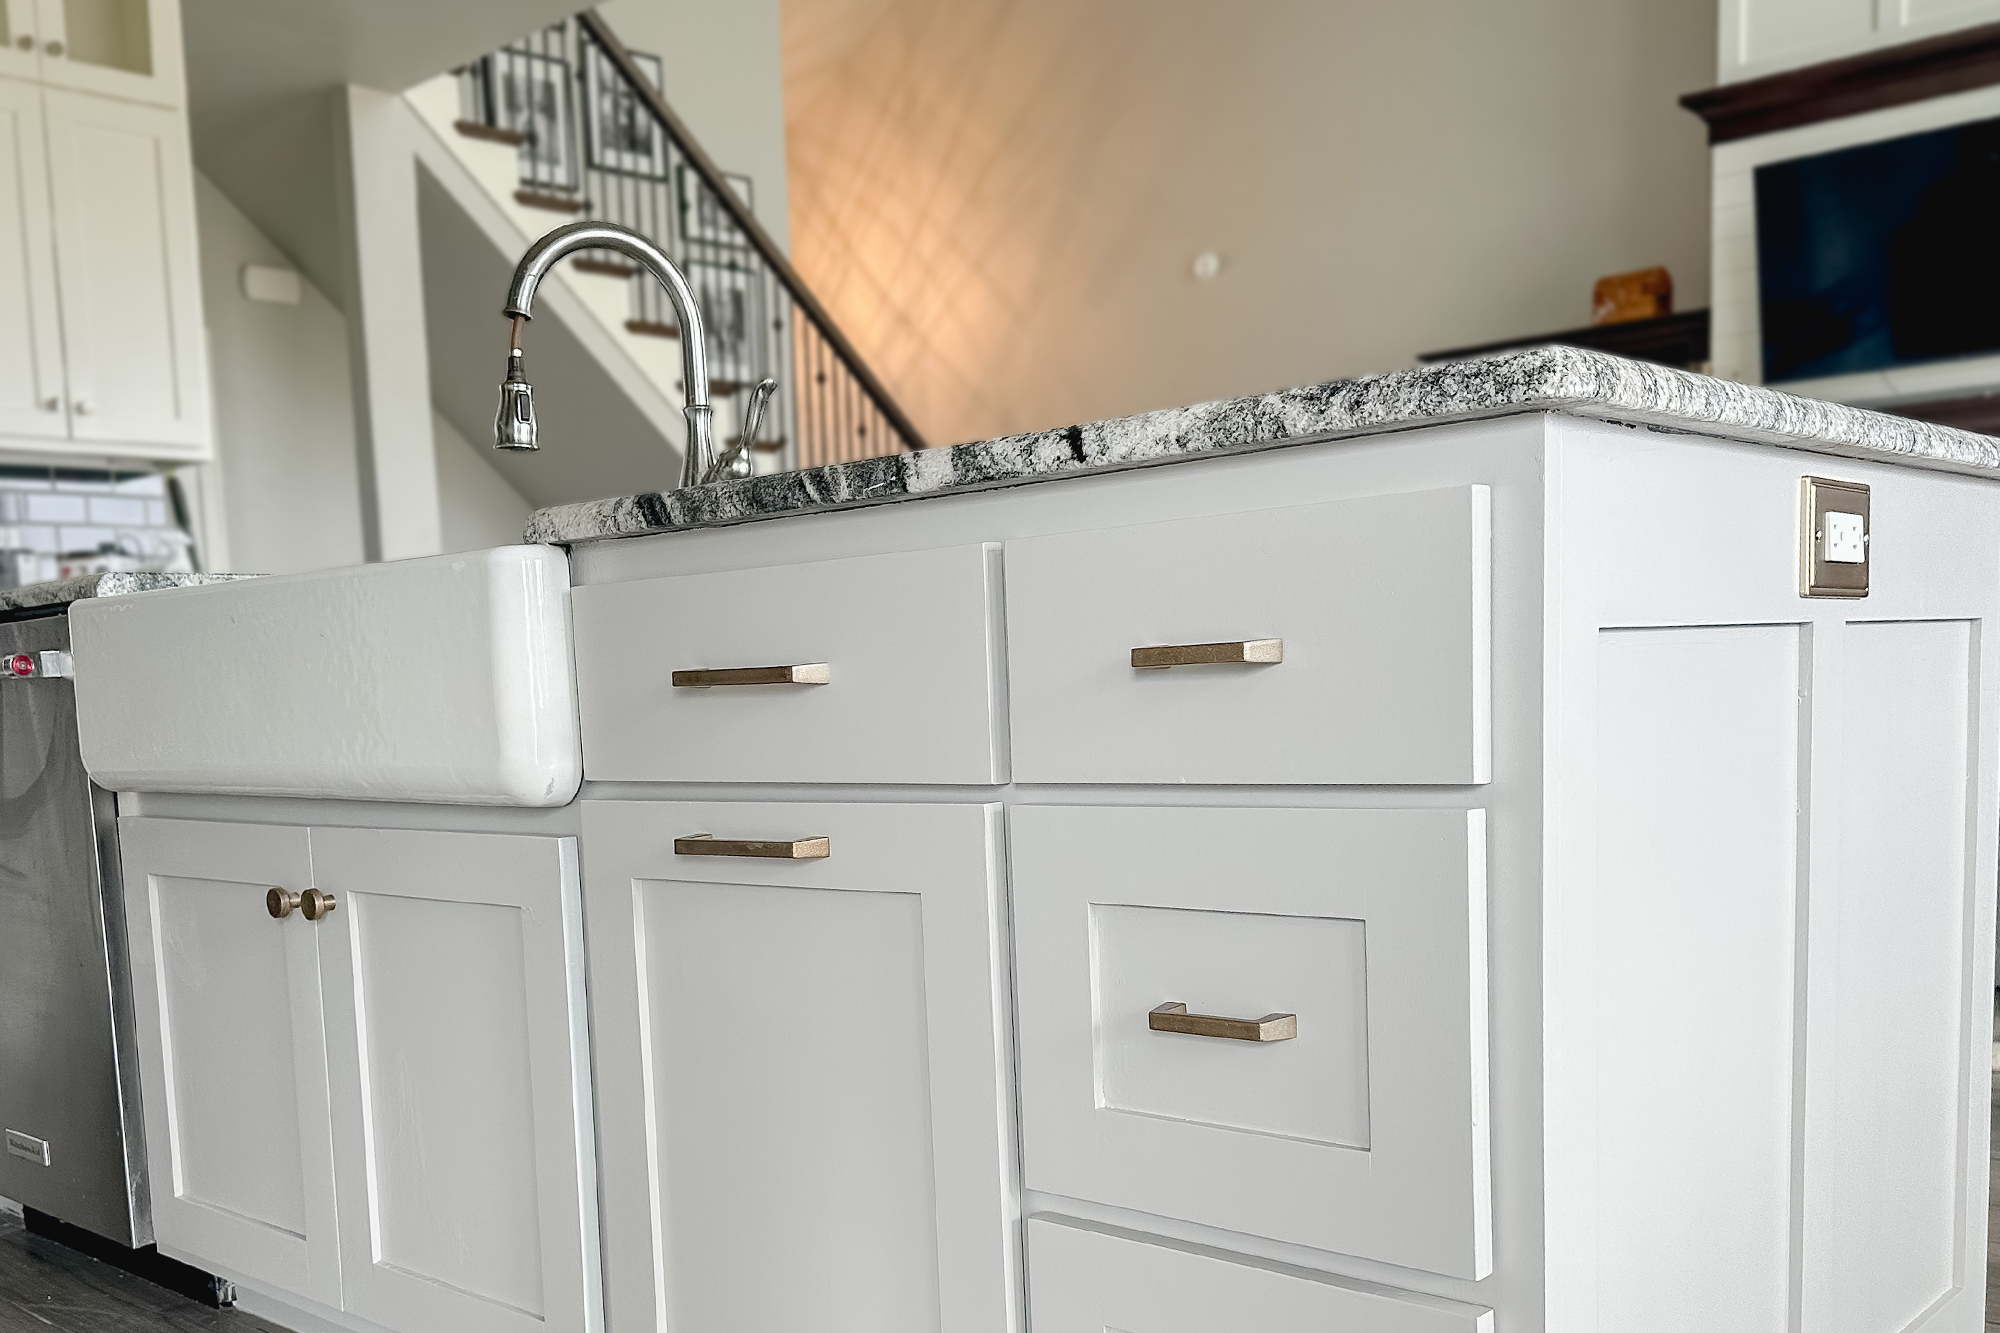
Reinstalling Hardware
Reinstalling hardware on your cabinets brings the project back to life. This step finishes the look and makes sure everything works well. Take time to fit each piece correctly. A smooth, secure fit keeps the hardware strong and easy to use.
Ensuring Secure Attachment
Start by checking the screws and holes. Replace any old or stripped screws for better grip. Hold the hardware in place and screw it tightly. Avoid over-tightening to stop damage to the wood. Use a screwdriver for precise control. The hardware should not wiggle or shift after tightening.
Final Touches And Adjustments
Check each handle or knob for proper alignment. Make small adjustments so all pieces look even and neat. Clean the hardware with a soft cloth to remove fingerprints or dust. Open and close the cabinet doors to test the fit. Smooth action means a job done right.
Maintenance Tips
Keeping painted cabinet hardware looking fresh needs some care. Small actions help keep the paint strong and bright. Regular maintenance makes your hardware last longer and look better.
Cleaning Painted Hardware
Use a soft cloth to clean the hardware gently. Avoid harsh chemicals or scrubbing hard. Mild soap and water work best for dirt and dust. Dry the hardware well after cleaning to stop rust or damage.
Touching Up Chips And Scratches
Check hardware often for small chips or scratches. Use the same paint to fix any spots quickly. Lightly sand the area before painting for smooth touch-ups. Let the paint dry completely before using the hardware again.

Credit: www.thriftydecorchick.com
Frequently Asked Questions
How Do I Prepare Old Cabinet Hardware For Painting?
Clean hardware thoroughly to remove dirt and grease. Sand lightly to create a smooth surface. Use a primer to help paint adhere better. Allow each step to dry completely before painting.
What Type Of Paint Works Best On Cabinet Hardware?
Use spray paint designed for metal surfaces. Choose durable, rust-resistant paint for long-lasting results. Satin or semi-gloss finishes work well for hardware. Avoid using regular wall paint as it chips easily.
Can I Paint Cabinet Hardware Without Removing It?
It’s best to remove hardware for even coverage. Painting hardware in place risks messy, uneven finishes. Removing hardware also allows thorough cleaning and sanding. This approach ensures a professional, durable look.
How Long Does It Take For Painted Hardware To Dry?
Drying time varies by paint type and conditions. Spray paint typically dries to touch in 30 minutes. Full curing may take 24 to 48 hours. Avoid handling until paint is completely dry.
Conclusion
Painting old cabinet hardware gives your space a fresh look. It saves money and lets you customize your style. Clean and sand the pieces well before painting. Use spray paint for smooth, even coverage. Let the paint dry fully to avoid smudges.
Small steps make a big difference in appearance. Try this simple project to refresh your cabinets today. You’ll enjoy a new look without much effort or cost.