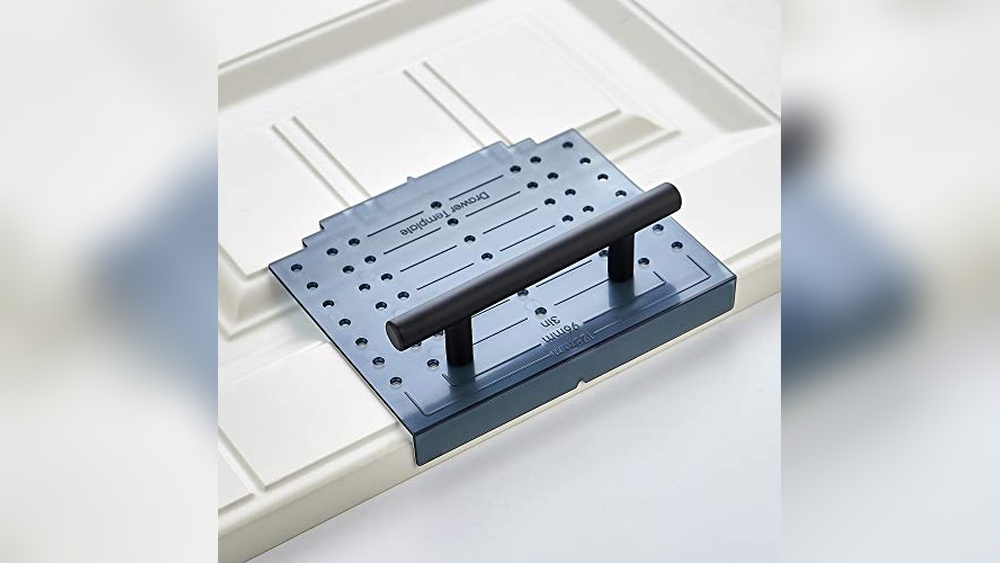
If you’re ready to upgrade your cabinets with new hardware but want to avoid the hassle of uneven holes and constant measuring, making your own jig is the perfect solution. A jig for cabinet hardware helps you drill holes quickly, accurately, and consistently every single time.
Imagine saving hours of frustration and getting professional-looking results right at home. In this guide, you’ll learn exactly how to create a simple, effective jig tailored to your cabinet projects. Whether you’re a beginner or have some DIY experience, this step-by-step process will make your installation smooth and stress-free.
Keep reading, and soon you’ll be drilling perfect holes like a pro!
Credit: ourhomefromscratch.com
Tools And Materials
Designing your jig is the first key step in making cabinet hardware installation easier. A well-designed jig ensures accurate and consistent holes every time. It saves time and reduces mistakes during your project.
Focus on precision and simplicity. Your jig should fit your cabinet and hardware perfectly. This section guides you through measuring, planning, and marking wood for your jig.
Measuring Cabinet Hardware
Begin by measuring the cabinet hardware carefully. Use a ruler or tape measure to find the exact distance between the screw holes. Note the height and width of the handles or knobs. Accurate measurements are crucial for hole placement and drill guides.
Planning Hole Placement
Plan the hole placement based on your hardware measurements. Decide where to position the holes on the jig to match your cabinet doors or drawers. Keep consistent spacing for uniformity. Double-check your plan to avoid errors before cutting or drilling.
Marking The Wood
Mark the wood clearly using a pencil and a square or ruler. Draw precise lines and dots where holes will be drilled. Use light, visible marks to guide your drilling without damaging the wood. Accurate marking ensures your jig works well each time.

Credit: www.youtube.com
Designing Your Jig
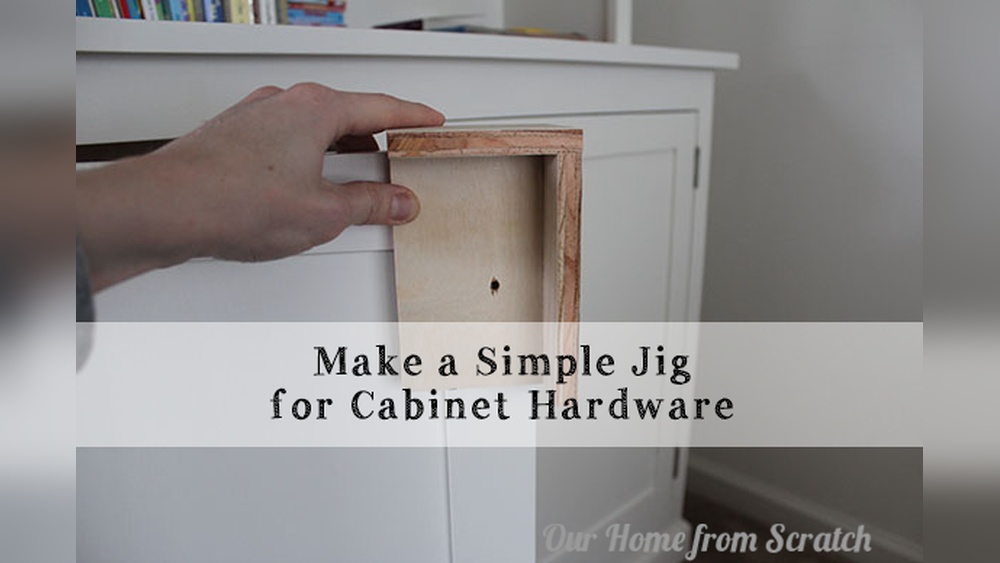
Building the jig base is the first step to making a reliable cabinet hardware jig. This base must be strong and stable to hold the hardware in place during drilling. Use sturdy wood to create a solid foundation. A well-built base keeps your jig accurate and easy to use.
Start by cutting the wood pieces to the right size. Then assemble these pieces carefully. Finally, secure the base with glue and clamps to ensure it stays firm over time.
Cutting The Wood Pieces
Choose hardwood or plywood for durability. Measure the size of your cabinet doors first. Cut a flat piece for the base, about 12 inches long and 4 inches wide. Cut two side pieces, about 1 inch wide and the same length as the base. Use a saw for straight, clean cuts. Sand the edges smooth to avoid splinters and improve fit.
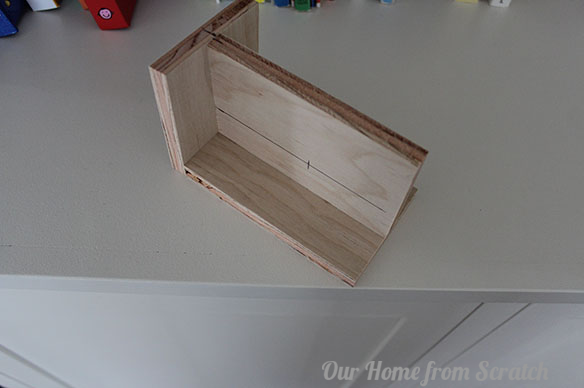
Assembling The Base
Lay the base piece flat on your workspace. Position the two side pieces along the longer edges of the base. These side pieces act as guides for your hardware. Make sure they align perfectly with the base edges. Check the corners to confirm they are square. This alignment keeps holes straight when drilling.
Securing With Glue And Clamps
Apply wood glue along the edges where the side pieces meet the base. Press the pieces firmly together. Use clamps to hold the assembly tight while the glue dries. Leave the clamps on for at least 30 minutes. This step ensures a strong bond. After drying, remove clamps and check for any loose parts. Your jig base is now ready for the next steps.
Building The Jig Base
Troubleshooting common issues is key to making a reliable cabinet hardware jig. Small mistakes can cause big problems in your project. This section helps you fix typical problems fast. Follow these tips to improve your jig’s accuracy and lifespan.
Fixing Misaligned Holes
Misaligned holes ruin cabinet hardware placement. To fix this, check your jig’s markings carefully. Use a square tool to keep lines straight. Clamp the jig firmly to prevent movement while drilling. Drill a test hole on scrap wood first. Adjust the jig if the hole is off. Repeat until the holes line up perfectly.
Preventing Wood Splitting
Wood splitting weakens your cabinet doors. Drill a small pilot hole before the main hole. This reduces pressure on the wood. Use a sharp drill bit to cut cleanly. Avoid pushing too hard while drilling. Support the wood behind the hole area. This helps reduce cracks and splits during drilling.
Improving Jig Durability
Jigs wear out with frequent use. Use hardwood for the jig base instead of softwood. Add metal inserts or sleeves in drill holes to prevent wear. Apply wood glue on joints for extra strength. Store the jig in a dry place to avoid warping. Regularly check for loose parts and tighten them. A durable jig saves time and improves accuracy.
Credit: www.youtube.com
Frequently Asked Questions
What Is The 1 3 Rule For Cabinet Hardware?
The 1-3 rule for cabinet hardware means placing handles 1 inch from the drawer edge and 3 inches apart on adjacent drawers for balance and ease.
Can I Make My Own Pocket Hole Jig?
Yes, you can make a simple pocket hole jig using scrap wood. Drill angled holes, glue pieces together, and optionally reinforce with metal inserts for durability. This DIY jig may lack the precision of commercial ones but works well for basic woodworking projects.
How To Make Your Own Drilling Jig?
Cut two wood pieces; drill angled guide holes in one. Glue pieces together, reinforcing holes if needed. Sand smooth and add anti-skid tape. Clamp jig firmly and drill through guide holes for precise, repeatable drilling.
How To Make A Hole For A Cabinet Knob?
Mark the knob’s center on the cabinet surface. Use a drill with the correct bit size. Drill straight through the marked spot carefully. Clean any rough edges for a smooth finish. Attach the knob with the screw from inside the cabinet.
Conclusion
Making a jig for cabinet hardware saves time and improves accuracy. It helps you drill perfect holes every time. Using simple materials keeps the project easy and affordable. Follow the steps carefully and take your time. A good jig makes installing handles faster and neater.
Try building one for your next cabinet project. It will make your work look professional and clean. Keep practicing to get better results with each use. Enjoy the satisfaction of a well-made, custom tool.