You’ve stuck something important using Scotch Permanent Outdoor Mounting Tape, but now you need to remove it. Maybe it’s leaving behind sticky residue, or you’re worried about damaging your surface.
Removing this tape can feel tricky, but it doesn’t have to be. You’ll discover simple, effective ways to get rid of Scotch Permanent Outdoor Mounting Tape without stress or damage. Keep reading, and you’ll learn easy tricks that save your time and protect your surfaces perfectly.

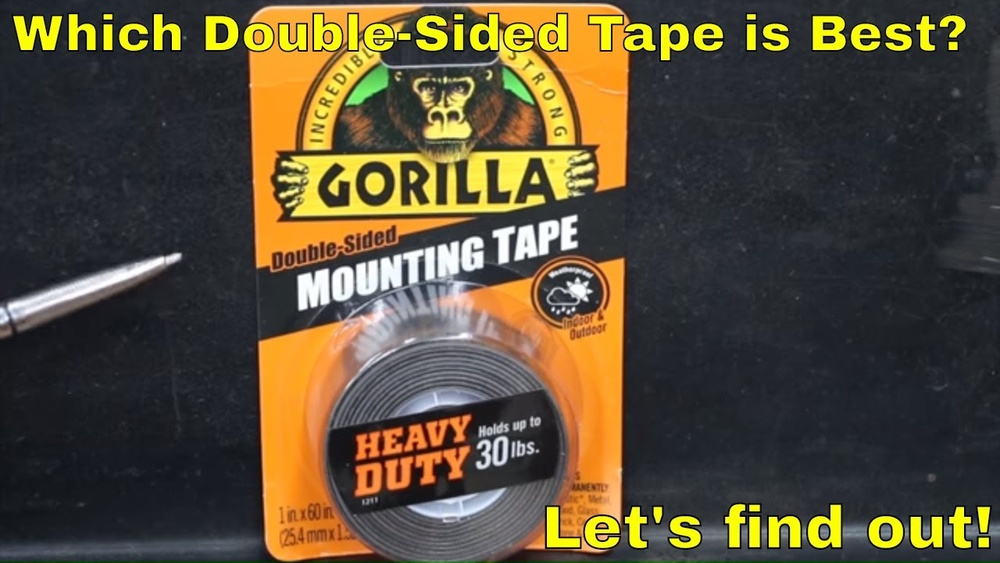
Credit: www.amazon.com
Tools Needed
Removing Scotch Permanent Outdoor Mounting Tape needs the right tools. Using proper tools makes the process easier and safer. It helps protect surfaces from damage while removing the tape.
Gathering tools before starting saves time. Each tool has a specific role in loosening or scraping the tape. Keep tools ready to work efficiently.
Plastic Scraper
A plastic scraper helps lift tape edges gently. It prevents scratching delicate surfaces like painted walls or glass. Use a plastic scraper instead of metal to avoid damage.
Hair Dryer Or Heat Gun
Heat softens the adhesive, making tape removal easier. A hair dryer or heat gun provides controlled warmth. Apply heat evenly over the tape area to loosen the glue.
Adhesive Remover
An adhesive remover dissolves sticky residue left on surfaces. Choose a remover safe for your material. Test on a small spot before full use to avoid damage.
Soft Cloth Or Sponge
Use a soft cloth or sponge to wipe away residue. It helps clean the surface without scratching. Keep the cloth damp for better adhesive removal.
Gloves
Wearing gloves protects your skin from chemicals and sharp edges. It keeps hands clean and safe during the process. Use disposable gloves for easy cleanup.
Prepare The Surface
Preparing the surface is a key step before removing Scotch Permanent Outdoor Mounting Tape.
A clean, dry surface helps the tape come off easier and prevents damage.
Clear Away Dirt And Dust
Use a soft cloth to wipe off dirt and dust from the area.
Clean surfaces allow tools and solvents to work better on the tape.
Dry The Surface Thoroughly
Make sure the surface is completely dry before starting the removal.
Water or moisture can make the tape sticky and harder to remove.
Test The Surface Material
Check what material the tape is stuck on, like wood, glass, or metal.
This helps choose the safest method to remove the tape without damage.
Soften The Adhesive
Removing Scotch Permanent Outdoor Mounting Tape can be tough. The adhesive sticks very well to surfaces. Softening the adhesive makes tape removal easier. It helps reduce damage to walls or objects. Two main ways to soften adhesive are using heat and solvents.
Use Heat
Heat loosens the glue under the tape. A hairdryer works best for this. Hold it a few inches from the tape. Move it slowly over the tape surface. Heat for about one to two minutes. The adhesive becomes softer and less sticky. This makes peeling the tape easier. Avoid using very high heat to prevent damage. Stop heating if the surface feels too hot.
Apply Solvents
Certain solvents dissolve the sticky glue. Rubbing alcohol or nail polish remover works well. Put some solvent on a cloth or cotton ball. Dab the solvent gently on the tape edges. Let it sit for a minute or two. The adhesive starts to break down. Use a plastic scraper to lift the tape slowly. Repeat applying solvent if needed. Test solvents first on a small spot to avoid damage.
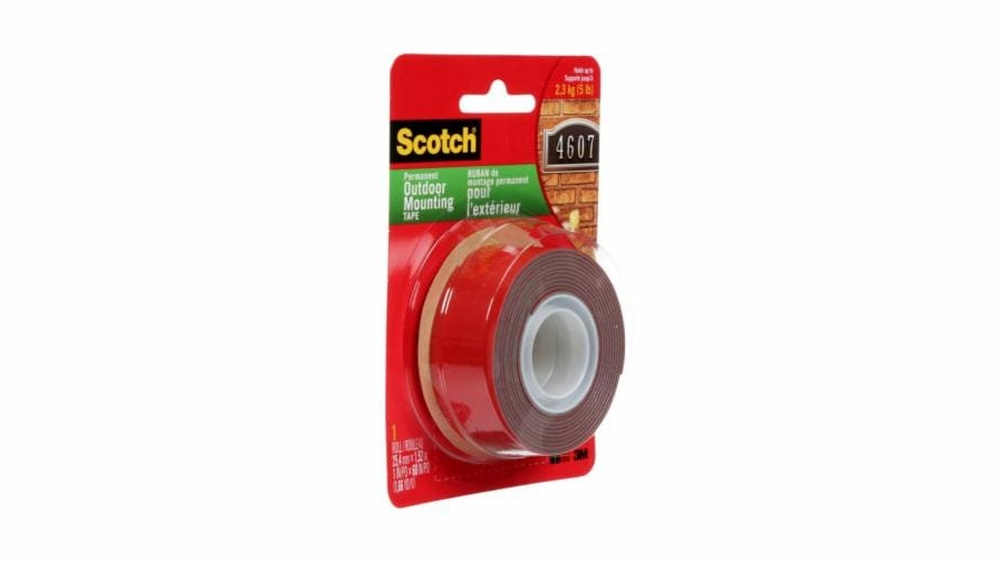
Credit: www.homedepot.com
Peel Off The Tape
Peeling off Scotch Permanent Outdoor Mounting Tape needs care and patience. The tape sticks strongly to surfaces. Pulling it off too fast can damage paint or wood. Take your time to lift the edges gently. This method helps keep the surface safe and clean.
Lift Edges Carefully
Start by finding a corner or edge of the tape. Use your fingernail or a plastic card to lift it slowly. Avoid sharp tools that might scratch the surface. Pull the tape back at a low angle. This reduces the chance of leaving sticky residue behind. Keep the tape close to the surface as you peel it off.
Remove Residue
Some sticky residue may stay after the tape is gone. Use warm soapy water and a soft cloth to clean it. Rub gently until the residue dissolves. For tougher spots, try rubbing alcohol or a commercial adhesive remover. Test on a small area first to avoid damage. Wipe dry with a clean cloth to finish.
Clean The Surface
Cleaning the surface is an important step after removing Scotch Permanent Outdoor Mounting Tape. It helps remove leftover residue and dirt. A clean surface prepares the area for any new application or finish.
Use Mild Cleaners
Choose mild cleaners like dish soap mixed with water. Apply the solution with a soft cloth or sponge. Gently rub the surface to lift any sticky tape residue. Avoid strong chemicals that can harm the material. Rinse the area with clean water after cleaning. Dry the surface completely with a soft towel to prevent water spots.
Avoid Damage
Do not use abrasive tools like scrapers or steel wool. These can scratch or damage the surface. Avoid harsh solvents such as acetone or paint thinner. Test any cleaner on a small hidden spot first. If the surface shows signs of damage, stop immediately. Use gentle methods to protect your walls, glass, or metal surfaces.
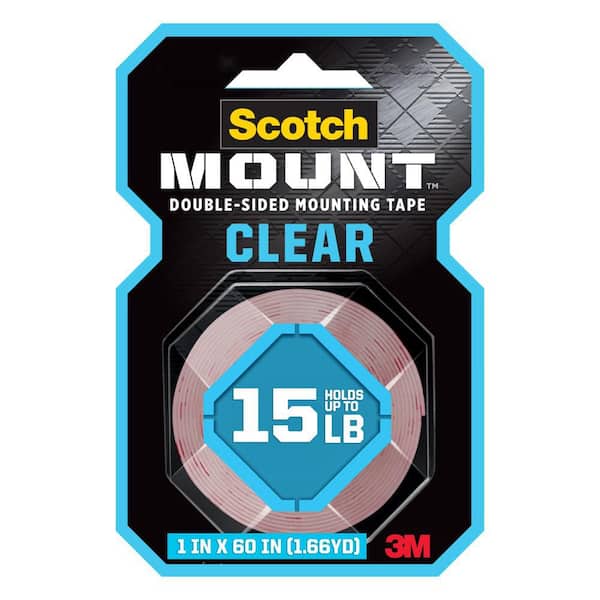
Credit: www.scotchbrand.com
Prevent Future Adhesion Issues
Preventing future adhesion problems is key after removing Scotch permanent outdoor mounting tape. Proper steps stop damage and keep surfaces clean. Careful preparation and maintenance help tape stick well next time. Follow simple tips to avoid sticky residue or weak bonds.
Clean Surfaces Thoroughly
Always clean surfaces before applying tape. Dirt and dust reduce tape’s grip. Use rubbing alcohol or mild soap to wipe the area. Let it dry completely before sticking tape. Clean surfaces ensure strong, lasting adhesion.
Choose The Right Tape For The Surface
Different surfaces need different tapes. Use tapes designed for outdoor use and your material type. Check product instructions for best results. Right tape choice prevents peeling and residue. Match tape to the surface for strong bonds.
Avoid Moisture And Extreme Temperatures
Moisture weakens tape glue. Avoid applying tape on wet or damp surfaces. Extreme heat or cold can also affect tape strength. Apply tape in moderate weather for best adhesion. Protect taped items from rain and sun exposure.
Apply Tape With Firm Pressure
Press tape firmly onto the surface. Strong pressure helps glue stick well. Use a flat tool or your hand to press evenly. Proper application reduces lifting and peeling. Firm pressure gives tape a better hold.
Frequently Asked Questions
How Do I Safely Remove Scotch Permanent Outdoor Tape?
Use a hairdryer to warm the tape adhesive. Gently peel the tape off while applying heat. Use adhesive remover to clean any residue.
What Household Items Remove Scotch Permanent Tape Residue?
Rubbing alcohol, vinegar, or cooking oil can soften adhesive residue. Apply with a cloth, rub gently, then wipe clean.
Can I Remove Scotch Permanent Tape Without Damaging Surfaces?
Yes, warming the tape and peeling slowly minimizes surface damage. Test adhesive remover on a small area first to ensure safety.
How Long Does It Take To Remove Permanent Outdoor Tape?
It usually takes 5 to 15 minutes depending on tape size and surface. Heating and careful peeling speed up the process.
Conclusion
Removing Scotch permanent outdoor mounting tape can be simple and quick. Use gentle heat or rubbing alcohol to soften the adhesive. Peel the tape slowly to avoid damage. Clean the leftover sticky spots with soap and water. Take your time, and avoid harsh tools that scratch surfaces.
These easy steps help you remove tape without stress. Now, your surface looks clean and ready for new use. Keep these tips handy for future tape removal tasks.