Imagine coming home to a perfectly lit room without lifting a finger. You want your lights to turn on and off exactly when you need them, saving energy and adding convenience to your daily routine.
Programming a light switch timer might sound tricky, but with the right steps, you can set it up quickly and easily. In this guide, you’ll learn exactly how to program your light switch timer, so your home works smarter for you.
Ready to take control of your lighting? Let’s dive in.
Choosing The Right Timer Switch
Choosing the right timer switch is important for your lighting setup. The right timer makes your life easier and saves energy. Different timers fit different needs and fixtures. It is important to understand what each type offers. This helps you pick the best one for your home or office.
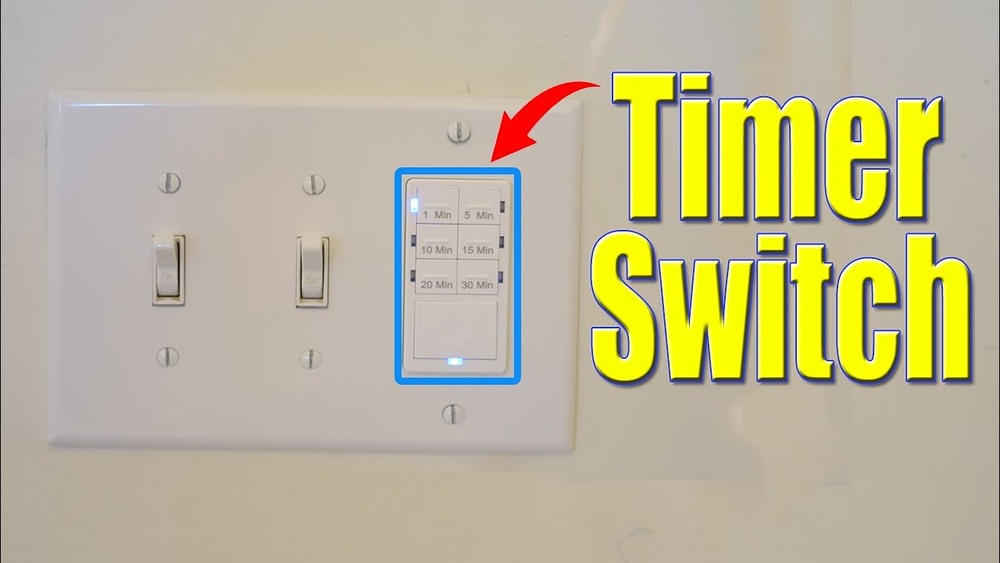
Types Of Timer Switches
There are several types of timer switches. Mechanical timers use a dial and simple gears. They are easy to use and cost less. Digital timers have buttons and a screen. They offer more precise control and settings. Smart timers connect to Wi-Fi. They allow control from a smartphone or voice assistant. Each type suits different preferences and budgets.
Compatibility With Your Fixtures
Not every timer works with every fixture. Check the type of bulb you have. LED, incandescent, and fluorescent bulbs may need different timers. Verify the voltage and wattage limits of the timer. Some timers work only with certain wiring setups. Confirm your home wiring matches the timer’s requirements. This prevents damage and ensures proper function.
Key Features To Consider
Look for features that fit your needs. Easy programming saves time and avoids mistakes. Some timers offer multiple on/off cycles per day. Backup batteries keep settings during power outages. A manual override lets you turn lights on or off anytime. Choose timers with clear displays and simple controls. These features help you manage your lighting with ease.
Credit: www.thefrugalnoodle.com
Tools And Materials Needed
Before programming a light switch timer, gather all necessary tools and materials. This step ensures a smooth and safe installation process. Having the right items ready saves time and prevents mistakes.
Basic Electrical Tools
Start with essential electrical tools. A screwdriver is needed to open the switch panel and secure wires. Wire strippers help remove insulation without damaging the wires. A voltage tester checks if the power is off before starting work. Pliers assist in bending and twisting wires. These tools are common and easy to find.
Safety Gear
Protect yourself with proper safety gear. Insulated gloves reduce the risk of electric shocks. Safety goggles shield your eyes from dust and debris. Wear sturdy shoes to avoid slips and falls. Using safety gear is crucial for every electrical task.
Additional Components
Besides tools, gather extra components. The light switch timer unit is the main device to install. Electrical tape secures wire connections and prevents shorts. Wire nuts join multiple wires safely. A small flashlight is useful for dark spaces. These items support a neat and reliable installation.
Preparing For Installation
Preparing for installation is the first step to program a light switch timer. It sets the stage for a safe and smooth process. You will handle electrical parts. Safety is a must.
Gather your tools and clear the workspace. A calm, clean area helps avoid mistakes. Know your switch type and read the timer’s instructions. This guide focuses on simple steps before you start wiring.
Turning Off Power Safely
Switch off the power to the light switch at the circuit breaker. Do not trust the wall switch to cut power. Use a voltage tester to check the wires. Make sure no electricity flows. Safety first.
Removing The Existing Switch
Remove the switch cover plate with a screwdriver. Unscrew the switch from the electrical box. Pull it out gently to see the wires. Do not yank or force the switch. Keep track of screws and parts.
Identifying Wiring Setup
Look at the wires connected to the switch. Note their colors and positions. Common wires are black (hot), white (neutral), and green or copper (ground). Take a photo or draw a diagram. This helps avoid confusion later.
Wiring The Timer Switch
Wiring the timer switch is a key step to control your lights automatically. It needs careful handling to ensure safety and function. This section guides you through the wiring process clearly and simply.
Connecting Wires Correctly
Turn off the power from the main switch before starting. Identify the wires: live, neutral, and ground. Match the timer switch wires with the home wiring. Usually, live wires connect to the timer’s live terminal. Neutral wires go to the timer’s neutral terminal. Ground wires connect to the green screw or ground terminal. Use a screwdriver to tighten the wire screws firmly. Loose wires can cause problems or hazards.
Securing The Timer Switch
Push the connected wires gently back into the wall box. Place the timer switch carefully in the box. Use screws to fix the timer switch firmly to the wall. Make sure it sits flat and does not move. A secure switch prevents wiring damage and ensures good contact.
Double-checking Connections
Look over each wire connection again. Check for loose or exposed wires. Confirm each wire matches the correct terminal. Use a voltage tester to confirm no power is flowing. Make sure the timer switch is safe before turning on power. Double-checking avoids electrical faults and keeps you safe.
Programming The Timer
Programming the timer on a light switch is simple. It lets you control when lights turn on or off. This saves energy and adds convenience. Follow these steps to set your timer correctly.
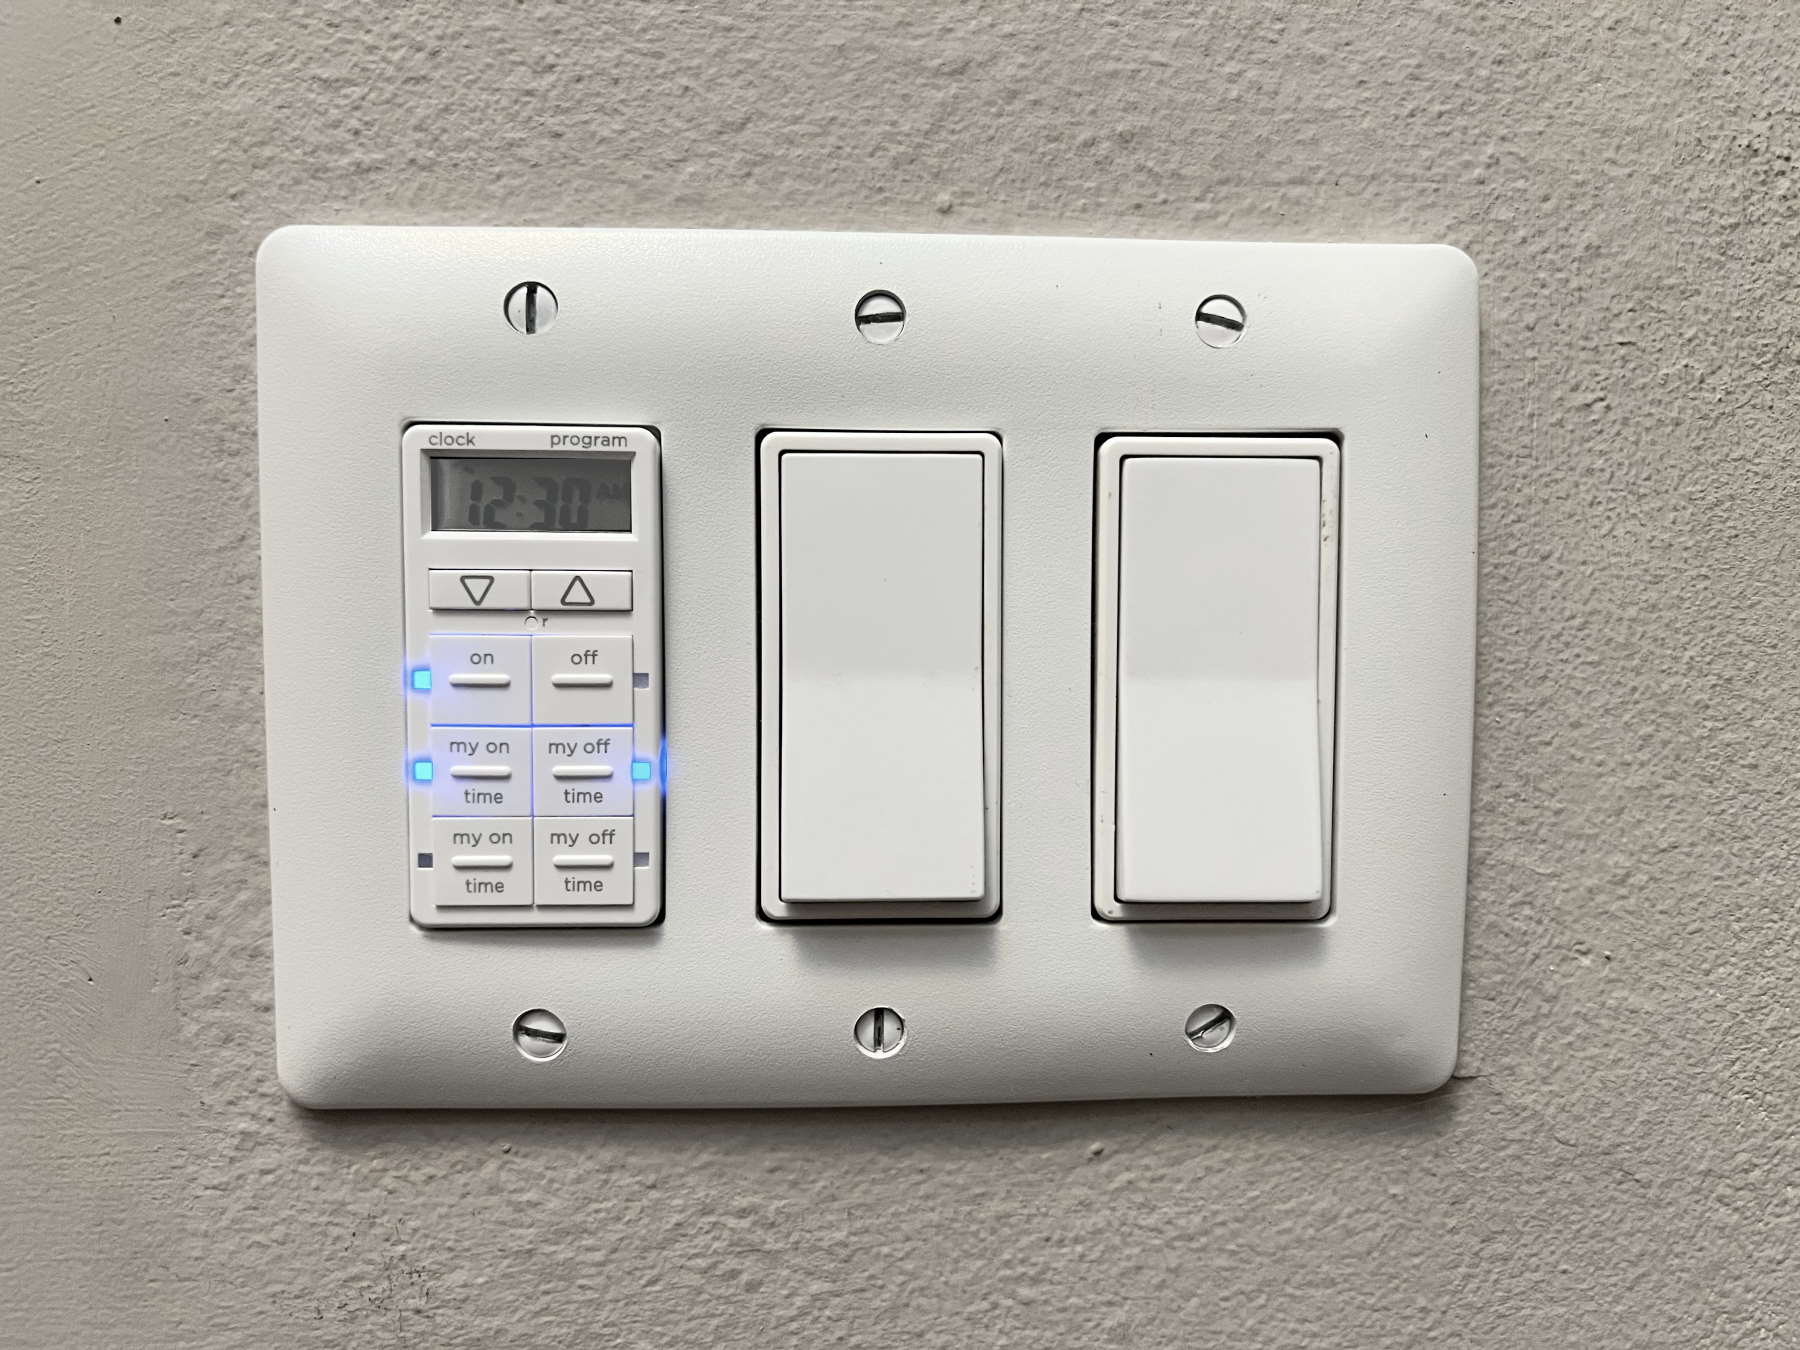
Setting The Current Time
First, set the current time on the timer. Press the clock or time button. Use the arrow keys to adjust hours and minutes. Make sure to set AM or PM correctly. Confirm the time by pressing the clock button again. Accurate time ensures the timer works as planned.
Scheduling On And Off Times
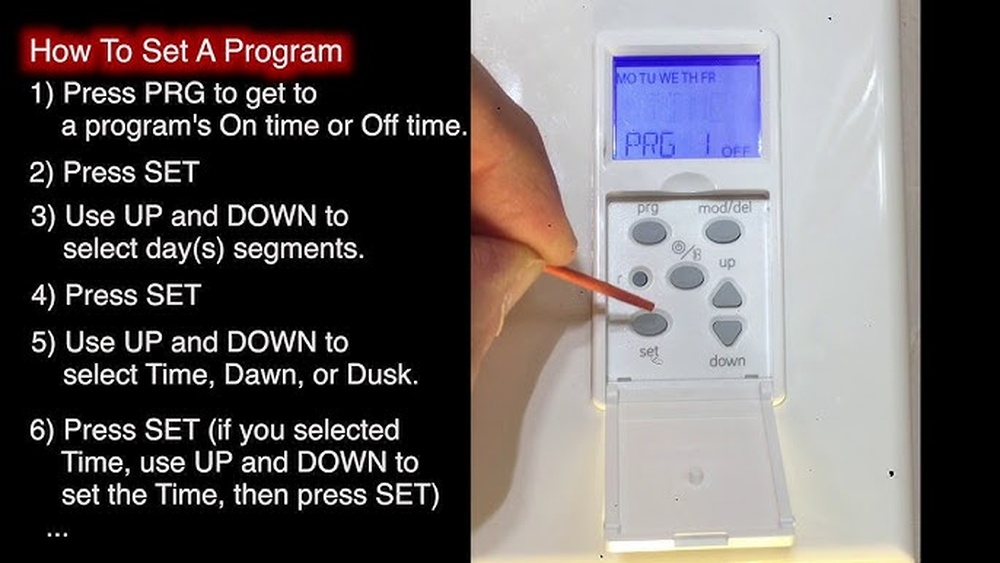
Next, program the times for lights to turn on and off. Press the program button to enter schedule mode. Set the desired on time using the arrow keys. Press the program button again to set the off time. Repeat for multiple on/off cycles if your timer allows. Save the schedule by pressing the clock or program button.
Using Manual Override Options
Manual override lets you control lights without changing schedules. Use the override button to turn lights on or off temporarily. The timer will return to the programmed schedule after the override ends. This feature is useful for extra light when needed. Check your timer’s manual for specific override functions.

Credit: www.youtube.com
Testing And Troubleshooting
Testing and troubleshooting are key steps after programming your light switch timer. These steps make sure the timer works right. They help find small problems early. Fixing them saves time and keeps your setup safe.
Verifying Timer Functionality
Start by turning the timer on. Watch the lights to see if they follow the set schedule. Check if the timer switches on and off at the right times. Use the manual override to test the switch. This confirms the timer responds to commands.
Common Issues And Fixes
Sometimes timers do not work as expected. A common issue is the timer not turning the light off. Check if the timer is set to the right mode. Loose wiring can also cause problems. Tighten all wire connections carefully. Dead batteries in the timer can stop it from working. Replace them if needed. Reset the timer if it acts strange.
When To Consult A Professional
Some problems require expert help. If the light switch timer does not work after testing, call an electrician. Avoid handling electrical wires if unsure. A professional will ensure safety and proper fixing. They can also check for hidden wiring issues.
Enhancing Smart Control
Enhancing smart control of a light switch timer adds great convenience to daily life. It allows you to manage lights easily and save energy. Smart control makes your home more responsive and adaptive to your needs.
Integrating With Home Automation
Connecting your light switch timer to a home automation system makes control simple. The timer can work with other smart devices like sensors and alarms. This integration helps create routines that match your lifestyle. Lights can turn on or off based on time or events. This setup adds comfort and security to your home.
Using Smartphone Apps
Smartphone apps provide easy access to your light switch timer. You can set schedules, adjust times, and monitor usage from anywhere. Apps offer a user-friendly interface for quick changes. Notifications can alert you if a light stays on too long. This feature saves energy and prevents forgetting to switch off.
Voice Control Compatibility
Voice control works well with many light switch timers today. Using voice assistants like Alexa or Google Assistant, you can control lights hands-free. Simple commands turn lights on or off, or adjust timers. This adds ease, especially when your hands are full. Voice control also helps people with mobility challenges.
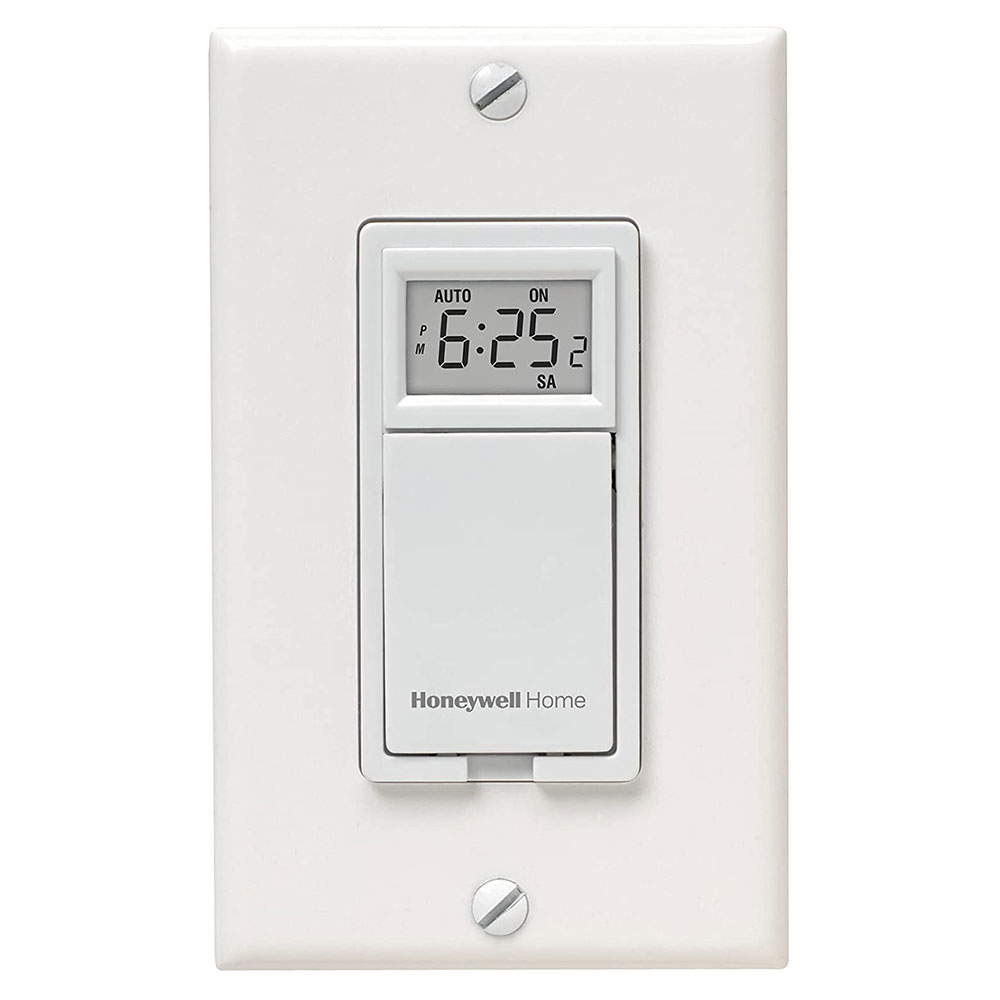
Credit: www.honeywellstore.com
Frequently Asked Questions
How Do I Program A Light Switch Timer Manually?
To program a light switch timer manually, first set the current time. Then, select the on and off times using the buttons. Confirm the settings and ensure the timer is in automatic mode to follow the schedule.
What Tools Are Needed To Install A Light Switch Timer?
You need a screwdriver, voltage tester, wire stripper, and electrical tape. Turn off power before installation for safety. Follow the manufacturer’s instructions carefully during the process.
Can I Program A Light Switch Timer Via Smartphone?
Yes, smart light switch timers can be programmed using a smartphone app. Connect the timer to Wi-Fi, then set schedules remotely with the app’s user-friendly interface.
How Often Should I Update My Light Switch Timer Settings?
Update settings whenever your daily routine or daylight hours change. Regular adjustments ensure efficient energy use and maintain convenience for your lighting needs.
Conclusion
Programming a light switch timer saves energy and adds convenience. It helps control lights without manual effort. Setting the timer is quick and simple. Just follow the steps carefully for best results. This small change can improve your daily routine.
Try it today and enjoy automatic lighting.