Are you tired of dealing with messy glue or complicated tools to hang things around your home? Mounting tape offers a simple, clean, and strong solution.
But do you know the right way to apply it for the best results? You’ll learn step-by-step how to use mounting tape like a pro. Follow these easy tips, and you’ll save time, avoid damage, and make your walls look neat.
Keep reading to discover the secret to a perfect, lasting hold every time.
Choosing The Right Tape
Choosing the right mounting tape is key to a strong hold and neat finish. Different tapes suit different jobs. The wrong tape can cause items to fall or leave marks. This guide helps you pick the best tape for your project.
Types Of Mounting Tape
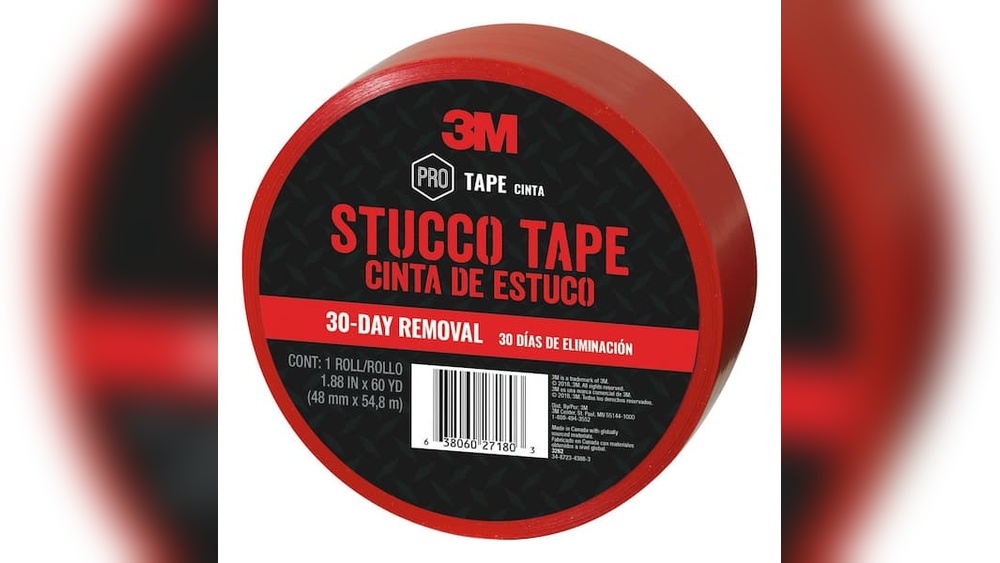
Mounting tape comes in many types. Double-sided tape works well for light items. Foam tape adds cushioning and grips uneven surfaces. VHB (Very High Bond) tape offers extra strength for heavy objects. Clear tape is good for glass or plastic. Choose a type that fits your item’s size and weight.
Surface Compatibility
Surfaces affect tape performance. Smooth surfaces like glass and metal hold tape better. Rough or textured surfaces need thicker or foam tape. Some tapes lose stickiness on painted walls or wallpaper. Clean the surface before applying tape to remove dust and oil. This step helps tape stick longer.
Weight And Load Considerations
Consider the weight of the item you want to mount. Light frames need light-duty tape. Heavy shelves require strong, heavy-duty tape. Check the tape’s weight limit on the packaging. Using tape with a proper load rating prevents falls and damage. Always test small areas first for safety.
Preparing The Surface
Preparing the surface is the first step before applying mounting tape. A clean and dry surface helps the tape stick better. It also makes the bond last longer. Poor surface preparation can cause the tape to peel off quickly. Follow simple steps to get the best results.
Cleaning Techniques
Start by removing dust and dirt. Use a soft cloth or sponge. Mild soap and water work well for most surfaces. Avoid harsh chemicals that can damage the area. Rinse with clean water to remove soap. Wipe gently to avoid scratches. For oily spots, use rubbing alcohol on a cloth. This removes grease and oils effectively.
Drying And Temperature Tips
Make sure the surface is completely dry. Use a dry cloth or let it air dry. Wet surfaces weaken the tape’s grip. Apply tape only in temperatures between 50°F and 90°F. Cold or hot surfaces reduce tape performance. Room temperature is best for strong adhesion. Avoid humid or wet conditions during application.
Avoiding Common Mistakes
Don’t apply tape on rough or uneven surfaces. This lowers the sticking power. Avoid touching the tape’s sticky side with fingers. Oils from skin reduce adhesion. Don’t rush the process. Press the tape firmly for a few seconds. This activates the adhesive. Avoid stretching the tape during application.
Cutting And Measuring Tape
Cutting and measuring mounting tape is a key step for a neat and strong hold. Proper measurement avoids waste and keeps your project clean. Careful cutting ensures the tape fits perfectly on surfaces.
Accurate Measurement Tips
Measure the area twice before cutting. Use a ruler or measuring tape for exact length. Mark the tape lightly with a pencil for guidance. Avoid guessing or eyeballing the size. Double-check measurements to prevent mistakes.
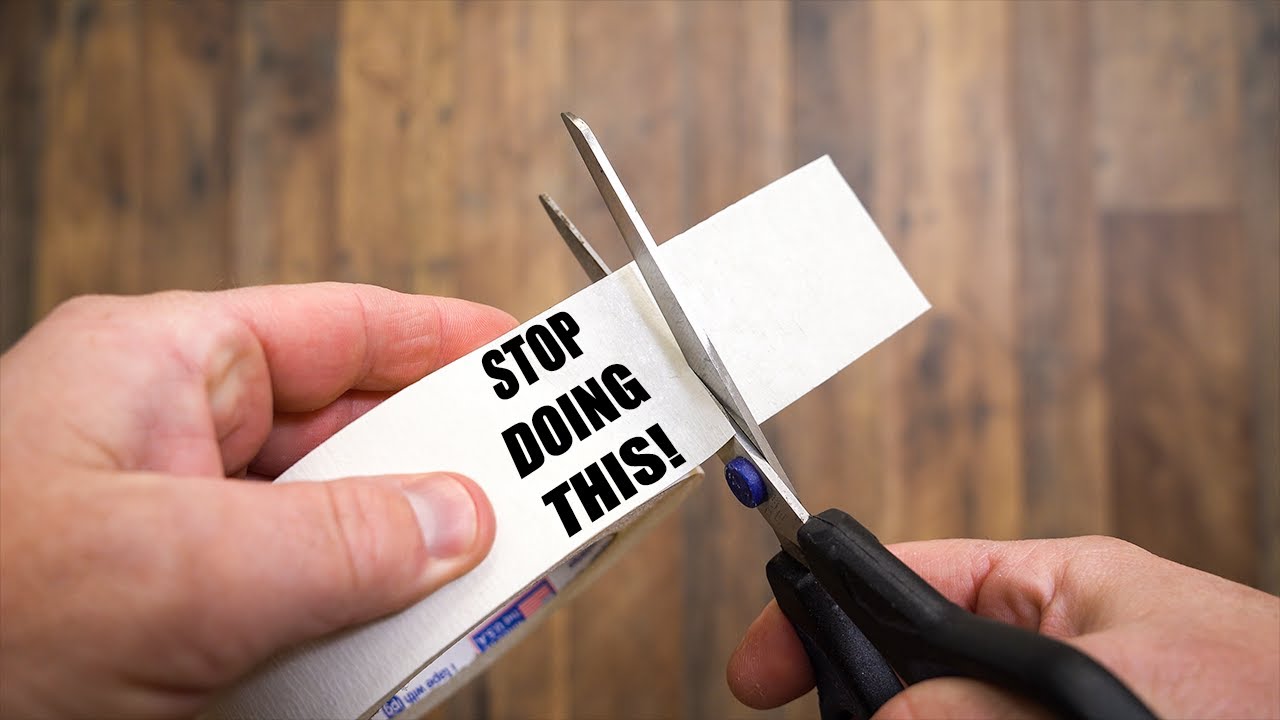
Cutting Tools To Use
Use sharp scissors for clean cuts without fraying. A utility knife works well on thicker tapes. Cut on a flat surface to keep edges straight. Avoid tearing the tape by hand. Always cut slowly and carefully.
Tape Placement Strategies
Place tape on a dry, clean surface for best adhesion. Press down firmly to remove air bubbles. Start from one edge and smooth the tape as you go. Overlap tape edges slightly for a stronger bond. Avoid stretching the tape during placement.
Credit: www.youtube.com
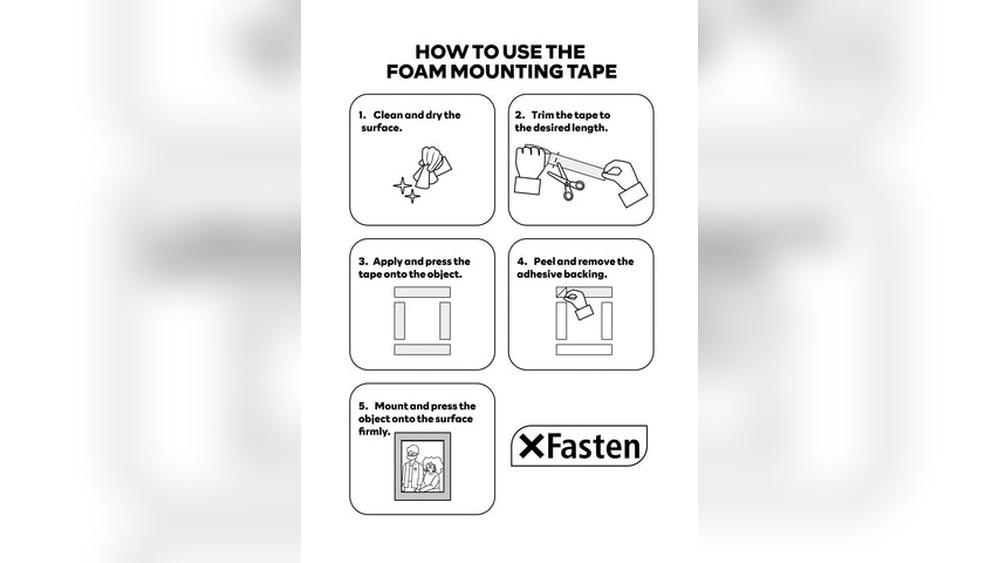
Applying The Tape
Applying mounting tape correctly ensures a strong, lasting hold. This step requires careful attention for best results. Follow simple methods to avoid mistakes and achieve firm adhesion.
Peeling The Backing Safely
Start by peeling the tape backing slowly. Avoid touching the sticky side to keep it clean. Use a fingernail or a small tool to lift the edge. Peel back just enough to stick the tape.
Pressing For Maximum Adhesion
Press the tape firmly against the surface. Use your fingers or a flat tool to apply even pressure. Hold for a few seconds to let the tape bond well. Strong pressure helps the tape stick longer.
Handling Corners And Edges
Wrap tape carefully around corners and edges. Cut tape at angles to fit tight corners smoothly. Press edges down firmly to prevent peeling. Proper handling stops the tape from lifting over time.
Securing The Mounted Item
Securing the mounted item is a key step after applying mounting tape. It ensures the item stays in place and lasts longer. Proper securing prevents falls and damage. This part focuses on how to balance weight, wait for the tape to bond, and check if the hold is strong.
Weight Distribution Methods
Spread the weight evenly across the tape surface. Press the item gently but firmly against the tape. Avoid placing all the weight on one side. Use multiple strips of mounting tape for heavier items. This helps the tape support the load better. Proper weight distribution reduces stress on the tape.
Allowing Time For Bonding
Let the tape bond with the surface before applying full weight. Wait at least one hour for a strong hold. Some tapes need up to 24 hours for maximum strength. Avoid moving the item during this time. Patience helps the adhesive set well and improves durability.
Testing The Hold Strength
Gently test the item’s hold after the bonding time. Push or pull lightly to check if it stays fixed. Do not use too much force at once. If the hold feels weak, add more tape or wait longer. Testing helps avoid accidents and ensures safety.

Credit: uk.gorillaglue.com
Removing And Reapplying Tape
Removing and reapplying mounting tape is a common task during home projects. Doing this carefully keeps surfaces safe and helps the tape stick well again. Follow these steps for best results.
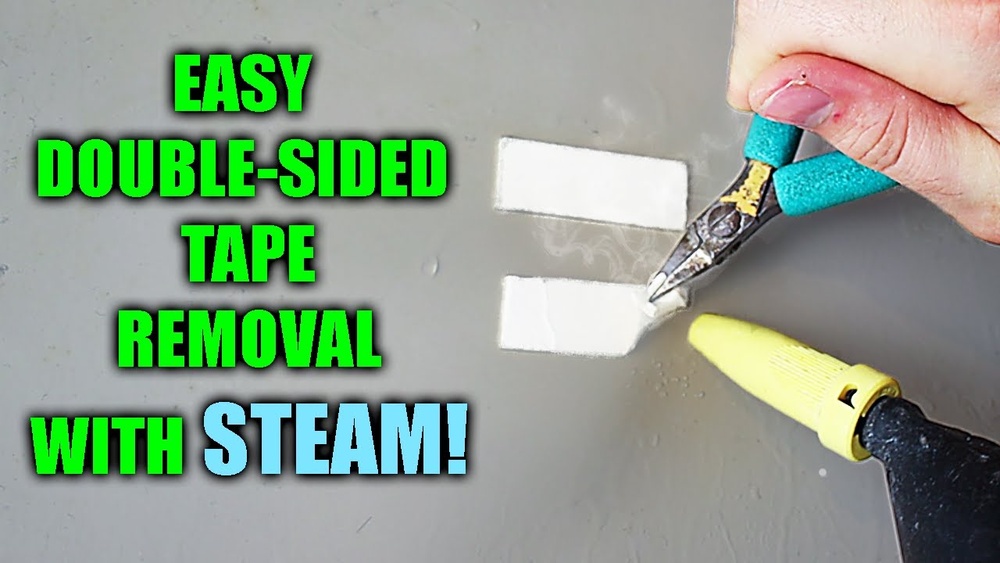
Safe Removal Techniques
Start by peeling the tape slowly from one edge. Pull it back at a low angle to avoid damage. Use a plastic scraper to lift stubborn edges. Avoid sharp tools that can scratch surfaces. Work gently to keep the surface clean.
Cleaning Residue
After removal, some sticky residue might remain. Use a soft cloth with warm, soapy water to wipe it off. For tougher residue, rubbing alcohol works well. Test a small area first to protect the finish. Dry the surface completely before applying new tape.
Reapplication Tips
Make sure the surface is dry and dust-free. Cut the tape to the needed length. Press it firmly onto the surface for a strong hold. Avoid touching the sticky side with your fingers. Apply pressure evenly to prevent bubbles or gaps.
Troubleshooting Common Issues
Using mounting tape can be quick and easy. Still, some common problems can happen. Knowing how to fix these issues helps you get the best results. This section covers simple solutions for typical mounting tape troubles.
Peeling Or Falling Tape
Peeling tape usually means the surface was not clean. Dirt, dust, or oil stops the tape from sticking well. Clean the area with rubbing alcohol and a cloth before applying tape. Press the tape firmly and hold it for a few seconds. Avoid moving the item soon after sticking it. This gives the tape time to bond strongly.
Surface Damage Prevention
Some tapes can damage paint or wallpaper when removed. Test a small hidden spot first. Use gentle, slow peeling to reduce damage. Heat from a hairdryer softens tape glue. This makes tape easier to remove without harm. Choose tapes labeled as safe for your surface type.
Improving Adhesion
Warm surfaces help tape stick better. Apply tape at room temperature or slightly warm the tape. Avoid cold or wet conditions. Use a roller or hard object to press tape evenly. More pressure means stronger hold. For heavy items, use double layers of tape or stronger tape types.
Credit: www.scotchbrand.com
Frequently Asked Questions
What Surfaces Work Best For Mounting Tape?
Mounting tape works best on clean, dry, and smooth surfaces like glass, metal, and painted walls. Avoid rough or porous surfaces for better adhesion.
How Long Does Mounting Tape Hold Items Securely?
Mounting tape holds items securely for months to years, depending on weight and surface. Proper application enhances durability and strength.
Can Mounting Tape Be Removed Without Damage?
Yes, most mounting tapes remove cleanly when peeled slowly. Heat with a hairdryer can help soften the adhesive for easier removal.
How To Prepare Surfaces Before Applying Mounting Tape?
Clean surfaces with rubbing alcohol and let dry completely. Avoid using water or oil-based cleaners for best results.
Conclusion
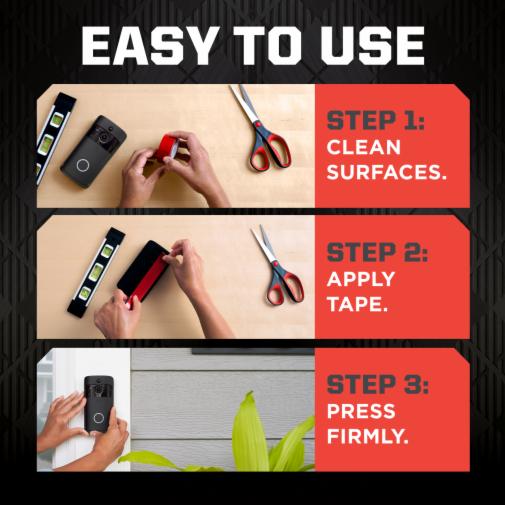
Applying mounting tape is simple with the right steps. Clean the surface well before applying the tape. Cut the tape to fit your project needs. Press firmly to make sure it sticks strong. Wait a few minutes before attaching items.
This helps the tape hold better. Using mounting tape saves time and tools. It works well on many smooth surfaces. Try these tips to get a neat, lasting hold every time.