Are you ready to take your shooting setup to the next level? Knowing how to drill and tap scope mounts yourself can save you time and money, while giving you full control over your gear.
Imagine perfectly mounting your scope with a custom fit that feels like it was made just for your rifle. Whether you’re a seasoned shooter or new to gunsmithing, this guide will walk you through each step clearly and safely. By the end, you’ll have the confidence to handle your scope mounts like a pro.
Keep reading to unlock the skills that will make your shooting experience sharper and more precise.
Credit: www.badacetactical.com
Choosing The Right Tools
Choosing the right tools is key to drill and tap scope mounts well. The correct tools make the job easier and safer. Using poor tools can cause mistakes and damage. Focus on three main areas: drill bits, taps, and safety gear. Each part plays a big role in success.
Selecting Drill Bits
Pick drill bits made of high-speed steel or cobalt. These types cut metal smoothly and last longer. Match the drill bit size to the screw you will use. A wrong size can cause loose or tight holes. Use a drill bit gauge to measure accurately. Sharp bits reduce heat and prevent metal damage.
Picking Taps And Tap Wrenches
Choose taps that match the screw thread size and pitch. Common types include taper, plug, and bottoming taps. Start with a taper tap for easy threading. Use a tap wrench that fits the tap tightly. A good wrench gives better control and reduces tap breakage. Turn taps slowly and back off often to clear chips.
Safety Gear Essentials
Wear safety glasses to protect your eyes from metal shavings. Use gloves to avoid cuts but ensure they do not catch in moving parts. Hearing protection helps when drilling loud metals. A dust mask keeps fine particles out of your lungs. Secure your workpiece firmly to stop slipping or spinning.

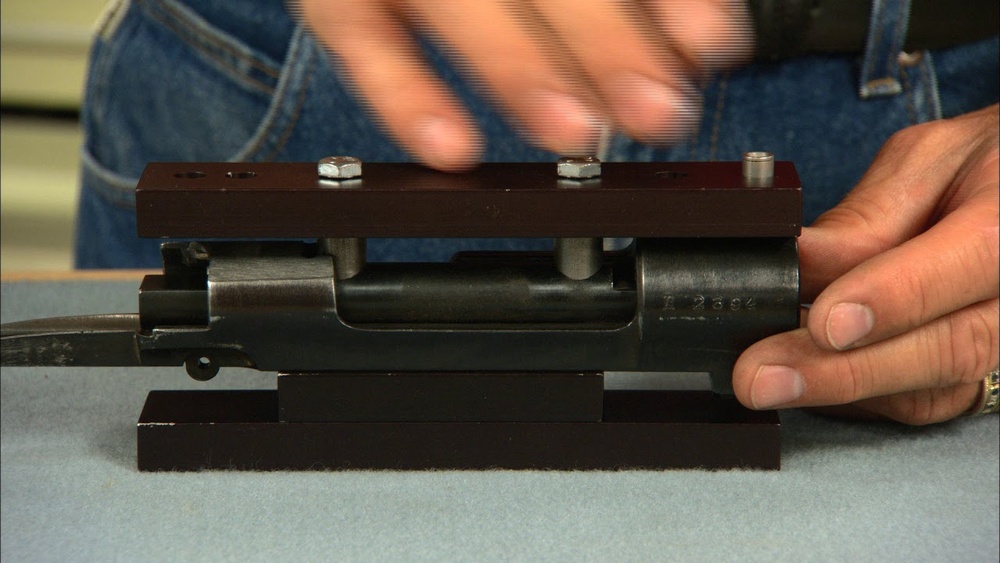
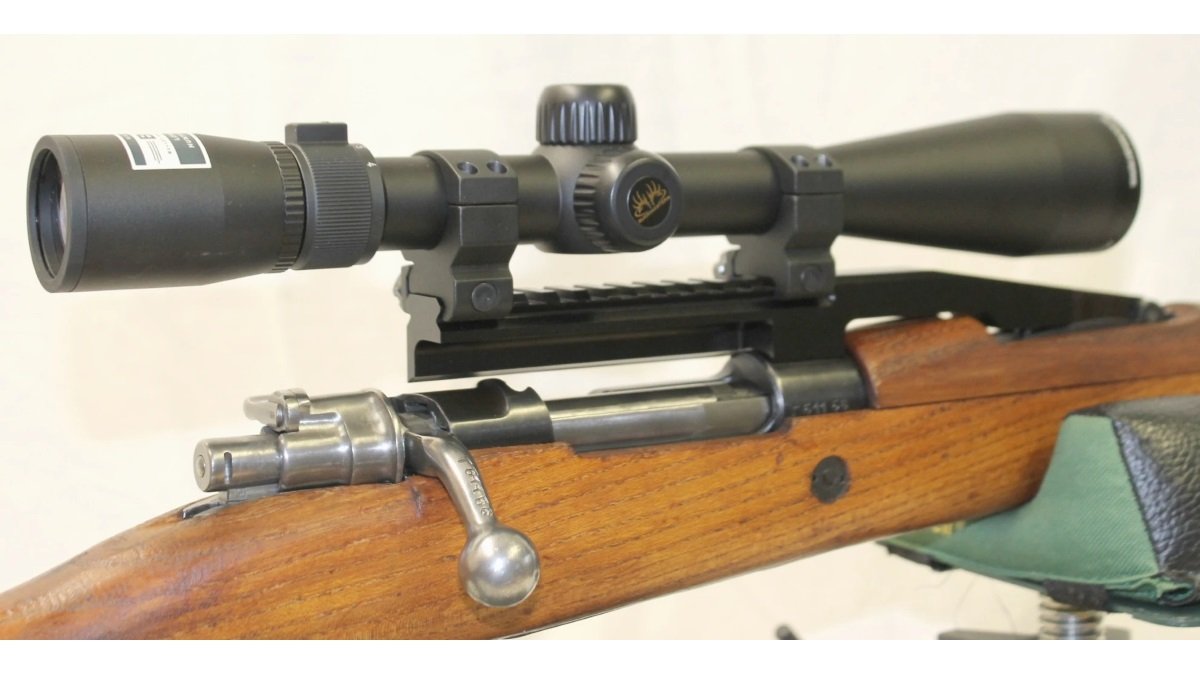
Credit: www.vintagegunscopes.com
Preparing The Scope Mount
Preparing the scope mount is a key step before drilling and tapping. This stage helps ensure accuracy and safety. Taking time to prepare can save effort later. It also improves the final fit of your scope mount. Follow these simple steps to get started.
Marking Drill Points
Start by marking the drill points clearly on the mount. Use a fine-tip marker or a punch tool. Mark the exact spots where holes will go. Double-check measurements to avoid mistakes. Accurate marks guide the drill bit precisely. This step reduces the chance of errors during drilling.
Securing The Mount
Secure the scope mount firmly before drilling. Use a clamp or a vise to hold it steady. A moving mount can cause uneven holes or damage. Keep the mount steady to maintain control. Proper securing protects both you and the equipment. It also improves drilling accuracy.
Cleaning The Surface
Clean the mount surface thoroughly before drilling. Remove dirt, oil, and debris with a cloth or cleaner. A clean surface prevents drill slippage and helps marks stay visible. It also improves the tap’s grip inside the hole. Take a moment to ensure the surface is spotless.
Drilling The Mount
Drilling the mount is the first critical step in installing your scope mounts. It requires care and precision to ensure the holes are accurate and clean. Proper drilling helps the taps work smoothly and keeps the mounts secure. Take your time and prepare your tools well before starting this step.
Setting Drill Speed
Choose the right speed for your drill. Too fast can burn the metal. Too slow can cause rough holes. Use a low to medium speed for aluminum or steel mounts. This helps control the drill and avoids damage. Check your drill’s manual for recommended speeds.
Drilling Straight Holes
Keep the drill bit straight to avoid angled holes. Use a drill press if possible for best results. If using a hand drill, mark the spot clearly and hold the drill steady. Start with a small pilot hole to guide the larger drill bit. This prevents slipping and keeps the hole centered.
Avoiding Common Mistakes
Do not rush the drilling process. Avoid applying too much pressure; let the drill do the work. Use cutting oil to cool the bit and reduce friction. Clear out metal shavings regularly to keep the hole clean. Check the hole size before tapping to ensure a proper fit.
Tapping The Threads
Tapping the threads is a key step in drilling and tapping scope mounts. It means cutting the inside threads where screws will go. Doing this right ensures a strong hold for your scope.
Careful tapping prevents damage to the metal and keeps everything aligned. The process needs patience and proper tools. Follow these steps for clean, precise threads that last.
Lubricating The Tap
Apply a small amount of cutting oil to the tap before starting. Lubrication reduces friction and heat. It helps the tap cut smoothly through the metal. Use oil made for metalworking to protect the tool and the mount.
Starting The Thread
Place the tap carefully on the drilled hole. Keep it straight and steady. Turn the tap slowly clockwise to begin cutting threads. Stop and back the tap out slightly every few turns. This clears the metal chips and avoids jamming.
Clearing Metal Shavings
Metal shavings build up inside the threads during tapping. Remove the tap and clean the hole often. Use compressed air or a small brush to clear shavings. Clean threads allow the screw to fit tightly without damage.
Checking Thread Accuracy
Checking thread accuracy is a key step when drilling and tapping scope mounts. It ensures the threads fit perfectly and hold the screws tightly. Poor thread accuracy can cause loose mounts or damage to the scope. Take your time to verify the threads for a secure and stable setup.
Using Thread Gauges
Thread gauges help measure the thread size and pitch. Use the correct gauge for your screw type. Insert the gauge into the tapped hole gently. It should slide in smoothly without force. A tight or loose fit means the threads need adjustment.
Test Fitting Screws
Try fitting the actual screws into the tapped holes. Turn the screws by hand at first. They should go in easily but feel snug. Avoid forcing the screws, which can damage threads. Proper test fitting confirms the thread quality and size.
Adjusting If Needed
Fix any thread issues before mounting the scope. Re-tap the hole if the threads are too tight or loose. Use a tap wrench for better control. Clean out metal shavings to prevent interference. Check the threads again after adjustments to ensure accuracy.
Final Assembly Tips
Final assembly is the last step in installing your scope mounts. It ensures everything stays in place and works well. Careful attention here improves accuracy and safety. Follow these simple tips for a strong, reliable setup.
Cleaning The Mount
Remove all dust, oil, and metal shavings from the mount. Use a clean cloth or brush for best results. Clean surfaces help screws and bolts hold tight. Avoid leftover debris that can cause misalignment or loosening.
Applying Thread Locker
Apply a small amount of thread locker to each screw. This prevents screws from vibrating loose over time. Use a medium-strength formula for easy removal later. Too much can make future adjustments difficult. Spread it evenly on the threads before tightening.
Securing The Scope
Place the scope carefully in the mounts. Align it properly with your rifle’s bore. Tighten the rings evenly and gently to avoid damage. Check the scope for any movement. Adjust as needed until the scope feels firmly secured and stable.

Credit: www.youtube.com
Frequently Asked Questions
What Tools Do I Need To Drill And Tap Scope Mounts?
You need a drill, drill bits, tap set, wrench, and a vise. Ensure you have the correct size bits and taps for your scope mounts. Proper tools help achieve precise holes and threads, ensuring secure mounting and alignment.
How Do I Choose The Right Drill Bit Size?
Select a drill bit slightly smaller than the tap’s outer diameter. This size allows the tap to cut threads correctly. Always check the tap chart for recommended drill sizes to prevent damaging the mount or creating loose threads.
Can I Tap Aluminum Scope Mounts Without Damage?
Yes, aluminum is soft and taps easily, but use cutting oil. Apply steady, gentle pressure and back off to clear chips. Avoid excessive force to prevent stripping threads or cracking the mount.
How Do I Ensure Scope Mounts Are Aligned Correctly?
Use a scope mount alignment tool or a bore sighter during installation. Double-check measurements before drilling. Accurate alignment prevents scope damage and improves shooting accuracy.
Conclusion
Drilling and tapping scope mounts needs care and the right tools. Take your time and measure twice before drilling once. Clean the area well to avoid mistakes. Use the right drill bit size for tapping. Tighten screws carefully to keep the mount secure.
These simple steps help your scope stay steady and accurate. Practice makes the process easier and safer. Enjoy better shooting with a properly mounted scope.