Have you ever noticed your brake lights staying on or not lighting up at all? This common issue can be caused by a misadjusted brake light switch.
Fixing it might seem tricky, but with the right steps, you can adjust your brake light switch quickly and safely. In this guide, you’ll learn exactly how to do it, saving you time and avoiding costly repairs. Keep reading to take control of your car’s brake lights and ensure your safety on the road.
Signs Of A Faulty Brake Light Switch
A faulty brake light switch can cause serious safety problems. It may not always be obvious at first. Knowing the signs helps you fix the issue early. This prevents accidents and costly repairs. Watch for these common symptoms.
Brake Lights Not Illuminating
Brake lights that do not turn on are a clear warning. Other drivers cannot see when you slow down or stop. This increases the risk of rear-end collisions. The problem often lies with the brake light switch. It may be broken or misaligned. Check the switch if your brake lights fail to illuminate.
Brake Lights Staying On
Brake lights that stay on without pressing the pedal drain the battery. They also confuse other drivers. A stuck or faulty switch can cause this issue. The switch may not release when the brake pedal lifts. Inspect and adjust the switch to prevent this problem.
Unresponsive Brake Pedal
The brake pedal may feel different with a bad switch. It might not respond smoothly or fully. This can affect braking performance and safety. Sometimes, the switch interferes with the pedal’s normal movement. Look for unusual pedal behavior and check the brake light switch.
Tools Needed For Adjustment
Adjusting the brake light switch requires some basic tools. Having the right tools makes the job easier and faster. It also helps avoid damage to your car parts. Prepare these tools before starting the adjustment process.
Basic Hand Tools
You need a few simple hand tools. A screwdriver set is essential, usually Phillips and flathead types. A wrench or socket set helps loosen or tighten bolts. Pliers come in handy for gripping small parts. Keep a flashlight nearby to see under the dashboard clearly.
Safety Equipment
Safety is important during any car repair. Use gloves to protect your hands from sharp edges. Safety glasses prevent dust and debris from entering your eyes. Wear comfortable clothes that cover your arms and legs. Keep a first aid kit nearby for minor cuts or scrapes.
Locating The Brake Light Switch
Finding the brake light switch is the first step to adjusting it. This small part controls your brake lights. It sends a signal when you press the brake pedal. Knowing its location makes the adjustment easy and safe.
The brake light switch location varies by car model. Most switches sit near the brake pedal. Sometimes, they hide in tight spaces. Knowing common spots helps you find it fast.
Common Switch Locations
Usually, the brake light switch is attached to the brake pedal arm. It sits just above the pedal, near the pedal bracket. Some cars place it under the dashboard, close to the driver’s feet. In trucks or SUVs, the switch might be mounted on the brake booster or firewall. Check around these areas carefully.
Access Tips
Clear the space under the dashboard for better access. Use a flashlight to see in dark corners. Sometimes, removing a panel helps reach the switch. Be gentle to avoid breaking clips or wires. Wear gloves for safety and grip. Take your time and avoid forcing parts.
Step-by-step Adjustment Process
Adjusting the brake light switch is a simple task anyone can do. It helps ensure your brake lights work correctly. This step-by-step guide shows how to adjust the switch safely and accurately.
Follow each step carefully for the best results. Taking your time makes the process easier and prevents mistakes.
Disconnecting The Battery
Start by disconnecting the car battery. This stops any electrical shocks or shorts. Use a wrench to remove the negative cable first. Keep the cable away from the battery terminal. Safety first.
Removing The Old Switch
Locate the brake light switch near the brake pedal. It usually clips or screws into place. Remove any clips or screws holding it. Gently pull out the old switch from its spot.
Aligning The New Switch
Take the new brake light switch and place it where the old one was. Adjust its position so the switch activates when you press the pedal. The switch should click on and off smoothly.
Testing The Adjustment
Reconnect the battery. Press the brake pedal slowly to check the lights. The brake lights should turn on immediately. If not, adjust the switch slightly and test again. Make sure the lights work every time you press the pedal.
Common Mistakes To Avoid
Adjusting the brake light switch needs care. Many make simple errors that cause problems. Avoiding these mistakes saves time and ensures safety. Focus on the right steps to keep your brake lights working well.
Over-tightening
Too much force on the brake light switch can damage it. Over-tightening may break the switch or strip threads. This stops the switch from working properly. Tighten just enough to hold it firmly in place. Use a gentle touch and check the fit often.
Incorrect Alignment
Setting the brake light switch out of line causes it to fail. The switch must align with the brake pedal arm. Wrong alignment means the lights stay on or won’t turn on. Adjust carefully so the switch moves correctly with the pedal. Test the lights after adjusting for best results.

Credit: forums.pelicanparts.com
When To Replace Instead Of Adjust
Knowing when to replace your brake light switch instead of adjusting it can save time and ensure safety. Not all problems fix with a simple tweak. Some signs show the switch needs a full replacement. Understanding these signs helps you avoid bigger issues on the road.
Signs Of Wear And Damage
Look for cracks or broken parts on the switch. A worn switch may cause brake lights to stay on or not turn on. Flickering lights or delays in lighting are common warning signs. If the switch feels loose or does not click, it might be damaged. These signs mean adjusting will not fix the problem.
Switch Lifespan
Brake light switches usually last 5 to 7 years. Heat, vibration, and use wear them down over time. Older switches may fail even if they look fine. Replacing the switch after this period is wise to keep brakes safe. New switches restore proper function and reliability quickly.
Safety Tips During Adjustment
Adjusting the brake light switch requires care and attention. Safety is very important during this process. Small mistakes can cause electrical problems or brake issues. Follow these tips to stay safe and keep your vehicle working well.
Working Around Electrical Components
Turn off the car engine before starting. Disconnect the battery to avoid electric shocks. Avoid touching metal parts with bare hands. Use insulated tools for all adjustments. Check wires for damage or wear. Replace any damaged parts before continuing.
Ensuring Proper Brake Function
Test the brakes after adjusting the switch. Press the brake pedal slowly and watch the lights. Make sure brake lights turn on and off correctly. If lights stay on, recheck the switch position. Proper brake function keeps you and others safe.
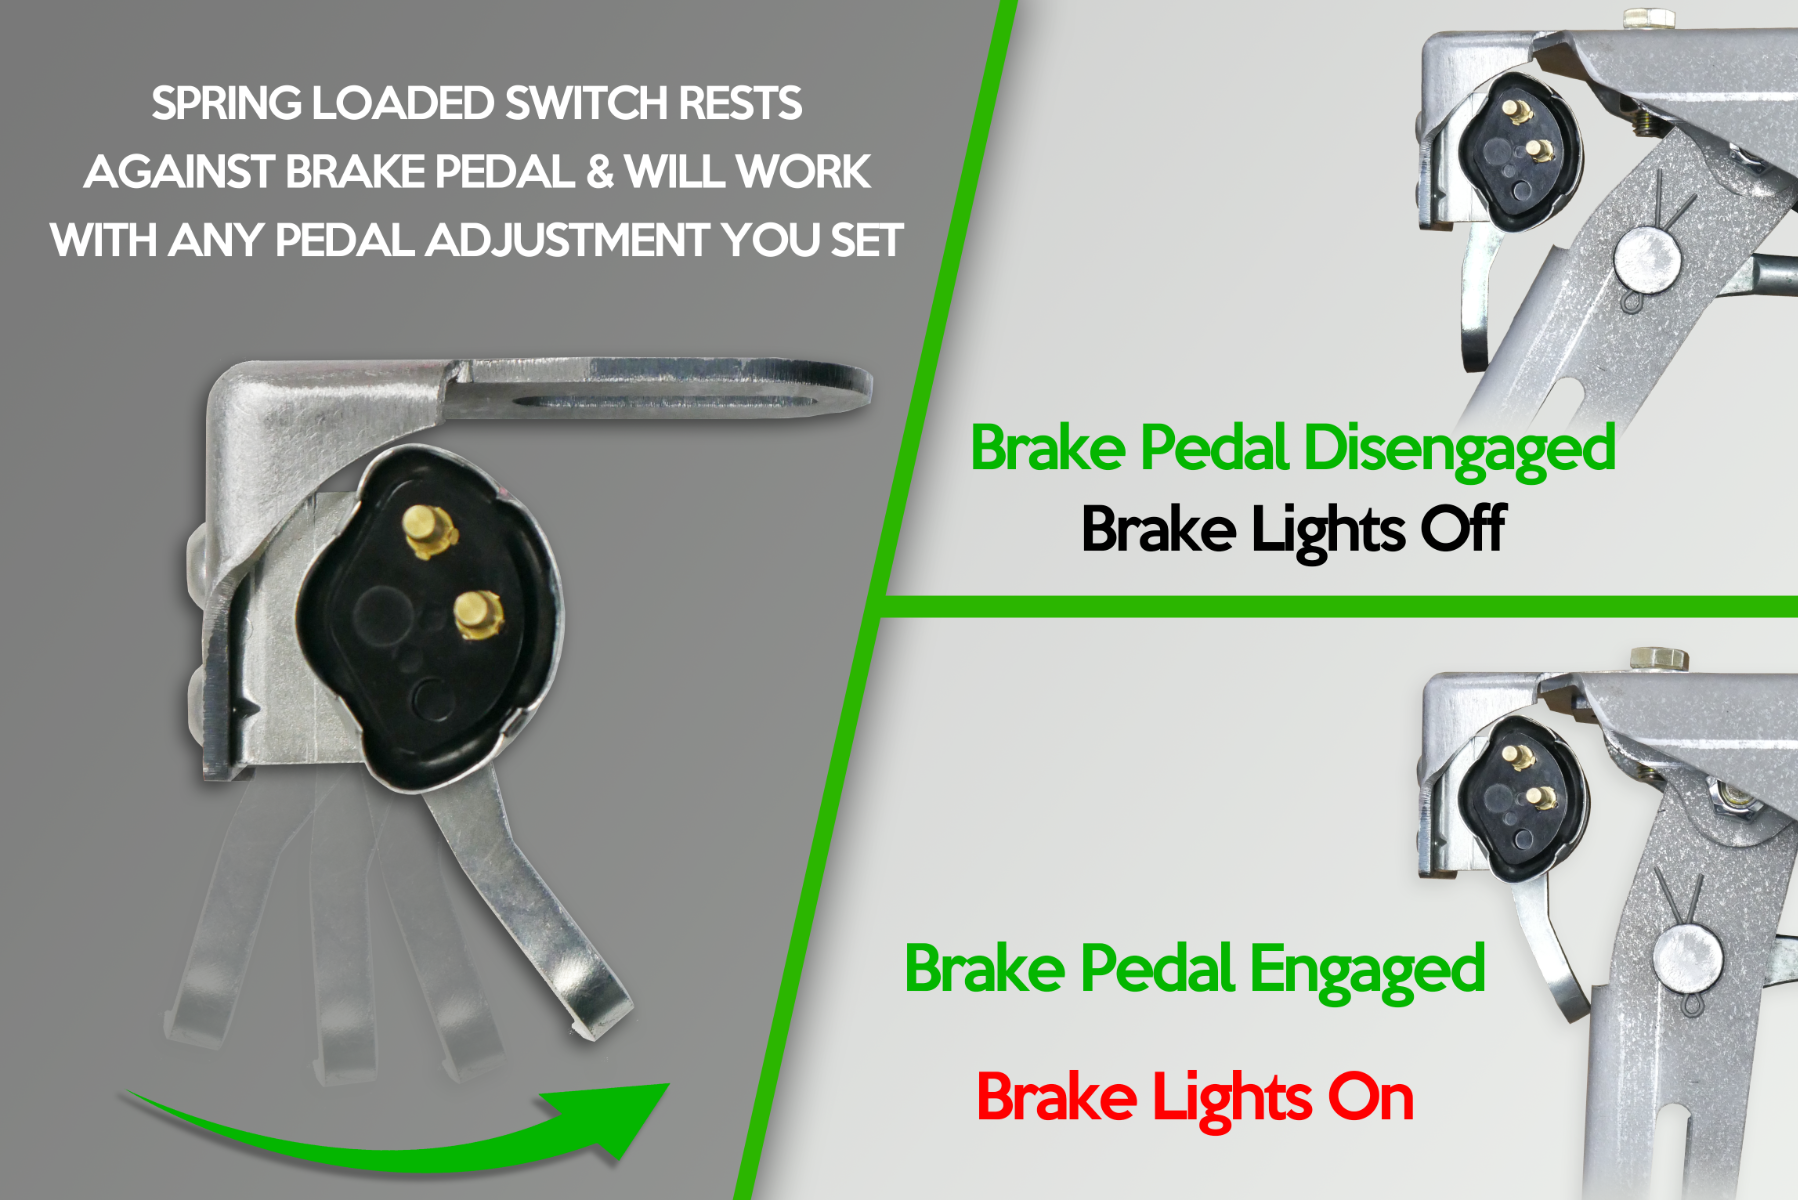
Credit: www.wideopendesign.com
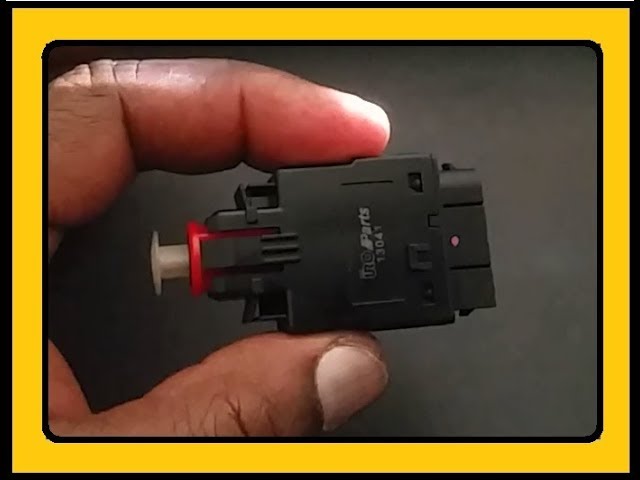
Credit: www.youtube.com
Frequently Asked Questions
How Do I Know If My Brake Light Switch Needs Adjustment?
If your brake lights don’t turn on or stay on, the switch may be misaligned. Also, check if the brake pedal feels unusual.
What Tools Are Needed To Adjust A Brake Light Switch?
Typically, you need a wrench or pliers to loosen the switch nut. A screwdriver may help in some car models.
How Long Does It Take To Adjust A Brake Light Switch?
Adjusting a brake light switch usually takes about 10 to 15 minutes. It’s a quick fix anyone can perform with basic tools.
Can I Adjust The Brake Light Switch Myself Safely?
Yes, adjusting the brake light switch is safe if the car is off and parked. Follow instructions carefully to avoid damage.
Conclusion
Adjusting your brake light switch keeps your car safe and working well. Proper brake lights help others see when you stop. Follow the steps carefully to avoid mistakes. Check the lights after adjusting to ensure they work right. Regular checks prevent accidents and costly repairs.
Take your time and be patient during the process. A simple fix can save you from bigger problems later. Stay safe on the road by keeping your brake lights in good shape.