Have you ever noticed your brake lights not turning on when you press the pedal? It’s not just a small inconvenience—it’s a serious safety issue that can put you and others at risk.
Installing a brake light switch might sound tricky, but with the right steps, you can do it yourself quickly and confidently. You’ll learn exactly how to install a brake light switch, so your car signals every stop clearly and keeps you safe on the road.
Keep reading—your safety depends on it.
Tools And Materials Needed
Installing a brake light switch needs the right tools and materials. Having these ready makes the job easier and faster. The tools help you reach and fix the switch safely. The materials ensure the new switch works well.
Gathering everything before starting saves time. It also prevents frustration from missing items. Below is a list of what you need.
Basic Hand Tools
You will need a set of screwdrivers, both flathead and Phillips. A socket wrench set is also important for removing bolts. Needle-nose pliers help with small clips and connectors. These tools fit most brake light switch models.
Replacement Brake Light Switch
Choose a switch that matches your vehicle’s make and model. Check the part number to be sure. Using the correct switch prevents electrical problems and ensures safety.
Electrical Tape And Connectors
Electrical tape secures wires and prevents shorts. Use new connectors if the old ones are damaged. Good connections keep the brake light working properly.
Multimeter
A multimeter tests electrical circuits and confirms the switch works. It helps find wiring problems. This tool is useful but not always required.
Safety Gloves And Glasses
Wear gloves to protect your hands from sharp parts. Safety glasses keep debris out of your eyes. Safety gear reduces the risk of injury.
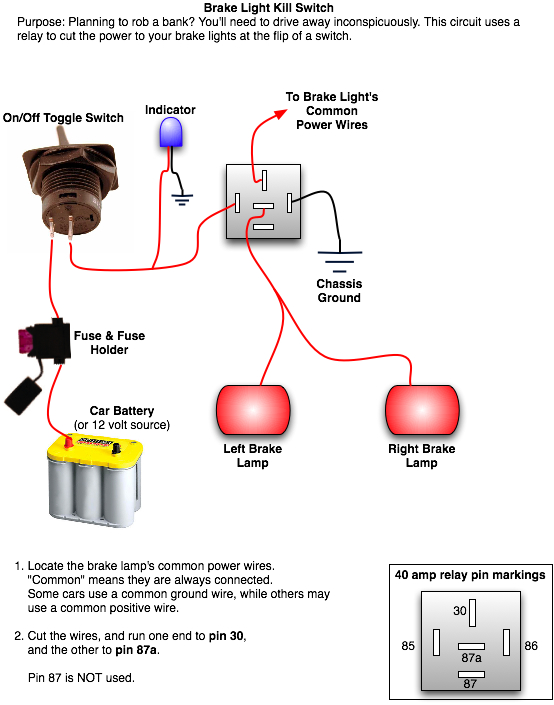
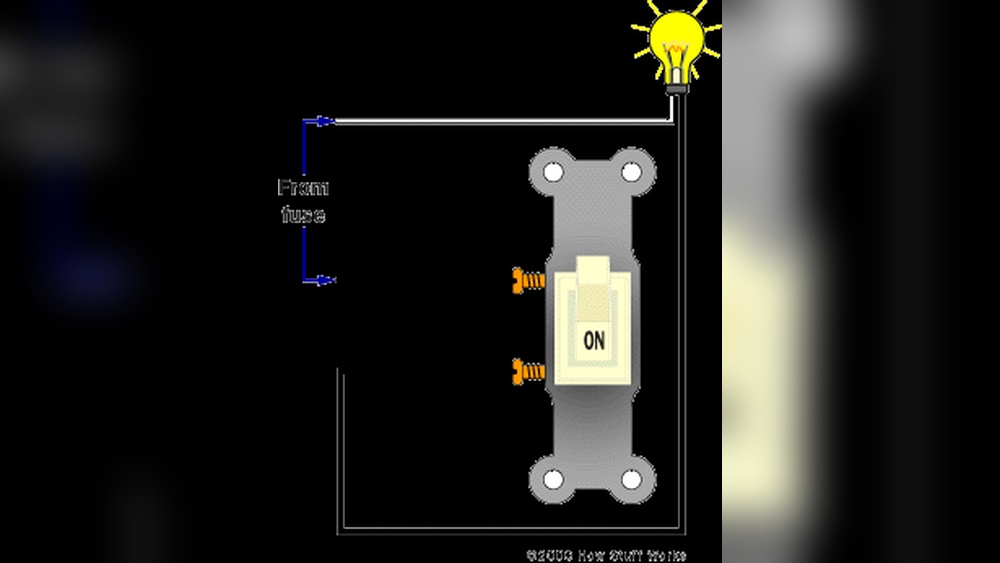
Credit: www.oznium.com
Locate The Brake Light Switch
Locating the brake light switch is the first step in installing a new one. This small part controls the brake lights and helps keep you safe on the road. Knowing its exact position saves time and effort during installation.
The brake light switch is usually near the brake pedal inside the car. It connects to the pedal arm and activates the brake lights when pressed. Finding this switch is simple once you know where to look.
Check Under The Dashboard
Get under the dashboard on the driver’s side. Look up near the top of the brake pedal. The brake light switch is often attached to the pedal arm or the pedal bracket here.
Identify The Switch Shape And Wiring
The switch is small and rectangular or cylindrical. It has one or two wires connected to it. These wires send the signal to the brake lights when you press the pedal.
Use A Flashlight For Better Visibility
Lighting helps you see clearly under the dash. A flashlight reveals the brake pedal area and the switch. This makes locating the switch much easier.
Prepare The Vehicle
Before installing a brake light switch, get the vehicle ready. Proper preparation helps avoid accidents and makes the process smooth. Taking simple steps first saves time and effort.
Start by creating a safe work area. This will protect you and your vehicle during the installation.
Ensure Safety Measures
Park the car on a flat surface. Use the parking brake to stop the vehicle from moving. Wear gloves and safety glasses to protect your hands and eyes. Keep tools and parts organized to avoid confusion.
Disconnect The Battery
Turn off the engine before touching any electrical parts. Locate the car battery and use a wrench to remove the negative cable. This step stops electric shocks and prevents short circuits during work. Wait a few minutes after disconnecting to let the system fully power down.
Remove The Old Brake Light Switch
Removing the old brake light switch is the first important step. This switch tells your car to light up the brake lights. It sits near the brake pedal. Removing it carefully helps you install the new one correctly. Follow these steps to remove the old switch safely and easily.
Access The Switch
Find the brake light switch under the dashboard. It is usually near the top of the brake pedal arm. Clear any objects that block your view or reach. Use a flashlight if needed. Sit or lie down to get a better angle. Make sure you can see the switch clearly before moving on.
Disconnect Wiring
Locate the wiring harness connected to the switch. Gently press the tab or clip to unlock it. Pull the connector straight out to avoid damage. Avoid pulling the wires themselves. Keep the wiring harness safe for the new switch. This step stops electrical power from flowing to the old switch.
Unscrew The Switch
Look for screws or nuts holding the switch in place. Use a screwdriver or wrench that fits well. Turn the screws counterclockwise to remove them. Hold the switch steady to prevent it from falling. Carefully pull the switch away from its mount. Keep the screws for installing the new switch later.
Install The New Brake Light Switch
Installing the new brake light switch is a key step in restoring your vehicle’s brake system. This part controls the brake lights, which warn drivers behind you when you slow down or stop. Proper installation ensures safety and helps avoid traffic accidents.
Follow these steps to place the switch correctly and connect it for smooth operation. Take your time and handle each part carefully.
Position The Switch
Locate the mounting spot near the brake pedal arm. Align the new switch so the plunger touches the pedal arm. The plunger must move freely when you press and release the brake pedal. Check the position twice to avoid errors.
Secure With Screws
Use the screws from the old switch or new ones included. Tighten them firmly to hold the switch in place. Avoid over-tightening, as it can damage the switch or bracket. The switch should not wiggle or shift after securing.
Reconnect Wiring
Attach the electrical connector to the new brake light switch. Ensure it clicks into place for a solid connection. Loose wiring can cause brake lights to fail. Double-check the wiring before testing the brake lights.

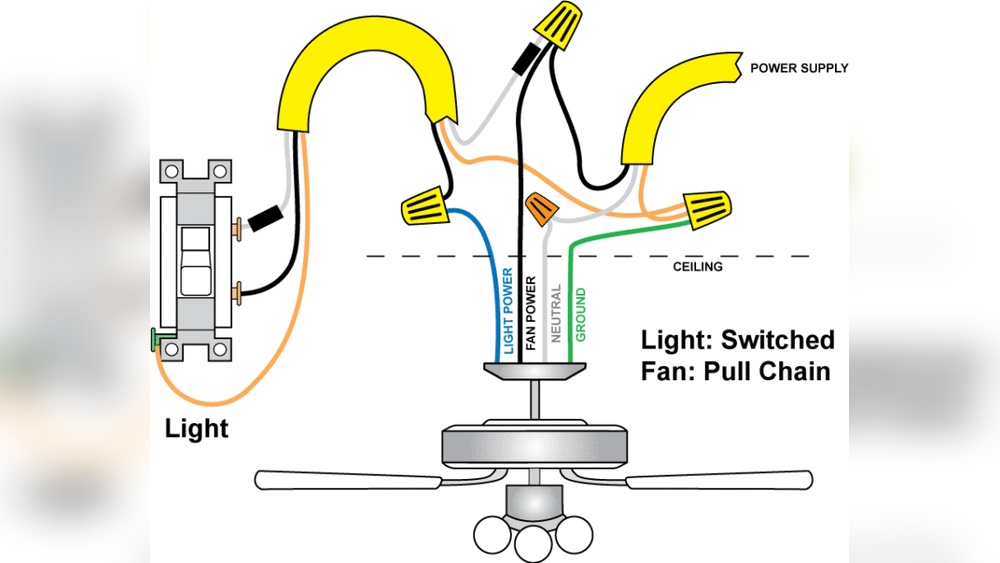
Credit: www.youtube.com
Adjust The Switch
Adjusting the brake light switch is a key step after installing it. Proper adjustment ensures the brake lights work correctly. This helps other drivers know when you slow down or stop. Small tweaks can make a big difference in safety.
Align With Brake Pedal
First, position the switch so it matches the brake pedal. The switch should press down when the pedal is released. Check the gap between the switch and pedal. It should be small but not touching. This alignment helps the switch activate at the right time.
Test The Activation
Press the brake pedal slowly to test the switch. The brake lights should turn on immediately. Release the pedal and watch the lights turn off. If the lights do not respond correctly, adjust the switch again. Repeat this until the lights react perfectly every time.
Test The Brake Lights
Testing the brake lights is a crucial step after installing the brake light switch. It ensures the new switch works correctly and keeps you safe on the road. Never skip this step. A quick test confirms the brake lights respond when you press the pedal.
Reconnect The Battery
Start by reconnecting the car battery. This restores power to the vehicle’s electrical system. Use a wrench to tighten the battery terminals securely. Ensure the connection is firm to avoid any electrical issues. After reconnecting, your brake light switch can receive power and function.
Verify Light Function
Ask a helper to press the brake pedal while you watch the brake lights. The lights should turn on immediately when the pedal is pressed. Release the pedal and check if the lights turn off. Repeat this test a few times to be sure the switch works well. If the lights do not respond, recheck the switch installation.
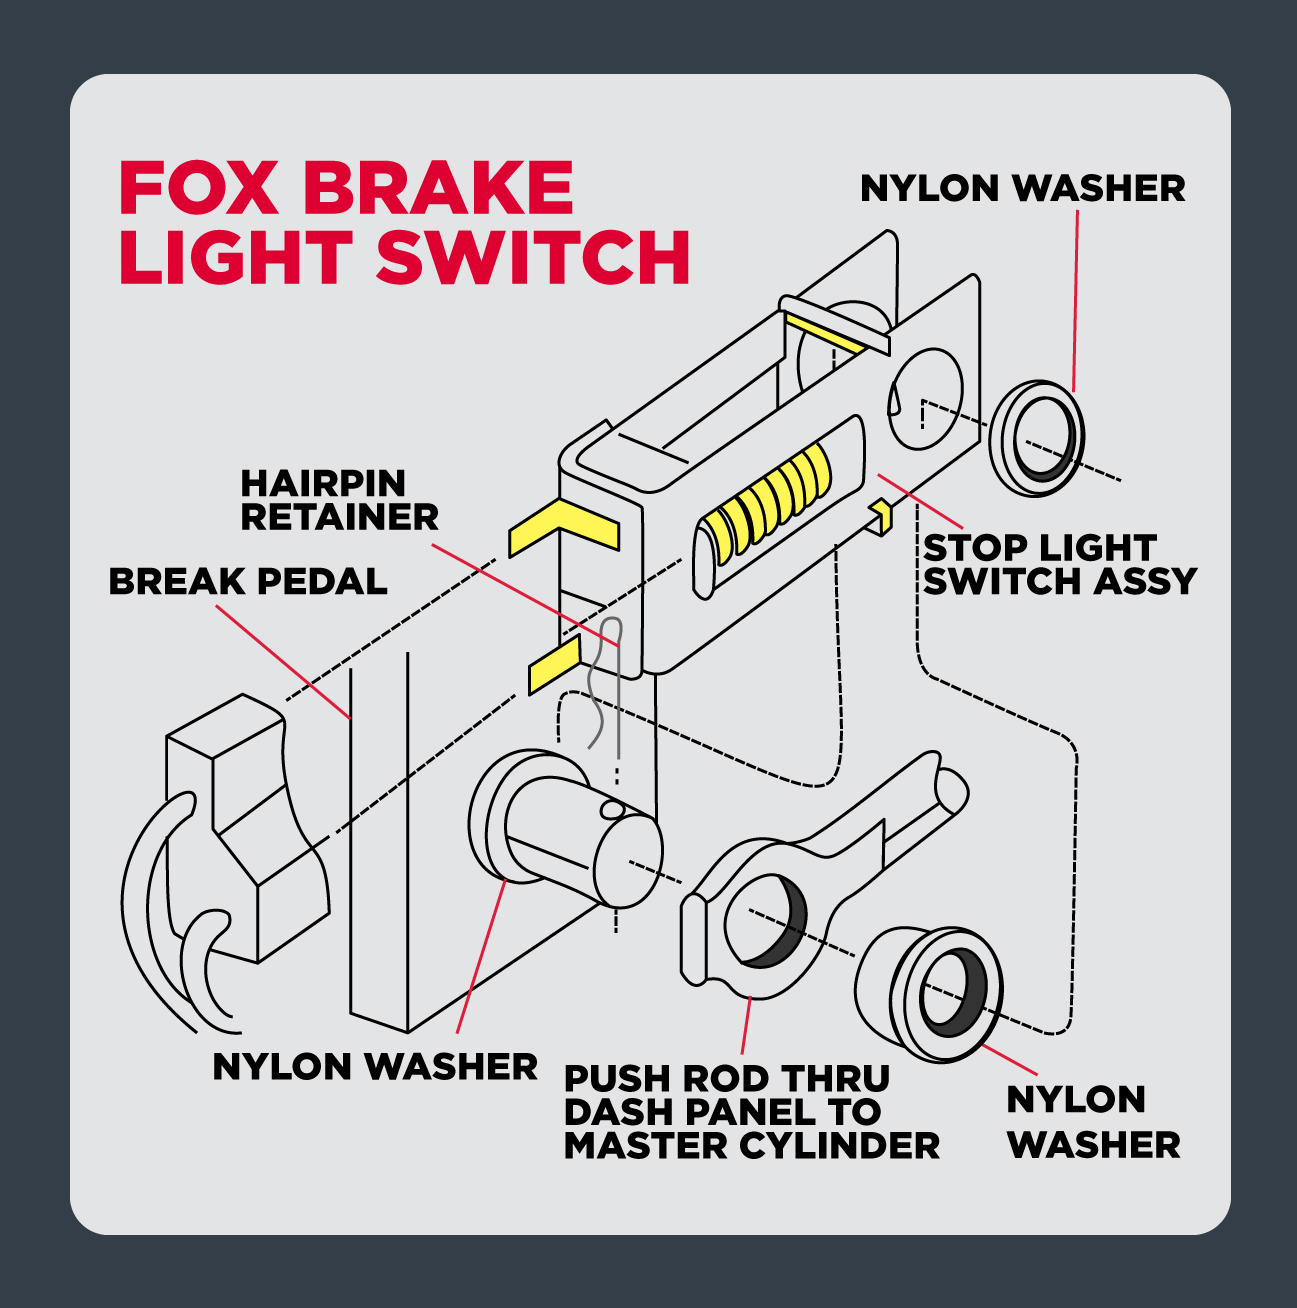
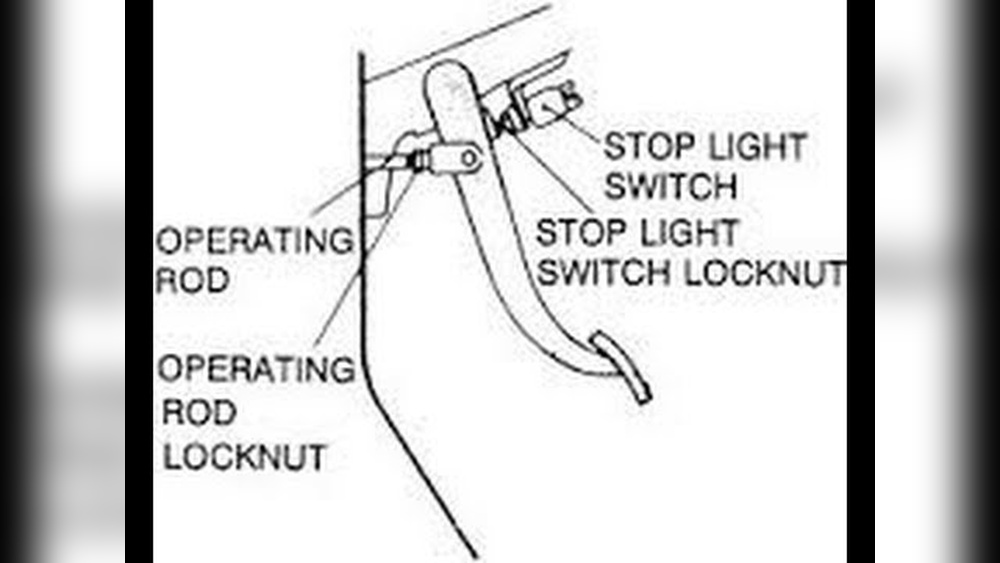
Credit: lmr.com
Troubleshooting Tips
Troubleshooting a brake light switch can save time and money. Knowing where to look helps fix problems quickly. Focus on key areas that often cause issues.
Start with easy checks before considering a full replacement. Small fixes may restore your brake lights fast.
Check Electrical Connections
Loose or dirty connections often stop brake lights from working. Look at the wires and plugs near the switch. Make sure they fit tightly and have no corrosion.
Clean any dirt or rust with a contact cleaner. Gently push the connectors back in place. Test the brake lights to see if they work now.
Inspect The Switch Alignment
The switch must press correctly when you push the brake pedal. Check if it lines up with the pedal arm. Misalignment stops the switch from activating the lights.
Adjust the switch position by loosening its mounting screws. Move it until it clicks as the pedal moves. Tighten screws and test the brake lights again.
Frequently Asked Questions
What Tools Are Needed To Install A Brake Light Switch?
To install a brake light switch, you need a wrench, screwdrivers, and possibly pliers. These tools help remove the old switch and secure the new one properly.
How Do You Locate The Brake Light Switch?
The brake light switch is usually found near the brake pedal arm. It mounts on the brake pedal bracket and activates when the pedal is pressed.
Can I Install A Brake Light Switch Myself?
Yes, installing a brake light switch is a simple DIY task. Basic tools and following instructions carefully make the process easy and safe.
How To Test If The Brake Light Switch Works?
After installation, press the brake pedal and check if the brake lights illuminate. If they light up, the switch works correctly.
Conclusion
Installing a brake light switch is a simple task anyone can do. Follow the steps carefully to avoid mistakes. Make sure the switch fits well and connects properly. Test the brake lights after installation to confirm they work. Safe driving depends on functional brake lights.
Keep your vehicle in good shape by checking this switch regularly. Taking a little time now saves trouble later. Ready to drive with confidence and safety?