Want to hang your favorite picture without nails or messy glue? Applying mounting tape is the easiest way to get your artwork up quickly and securely.
But if you’ve never used it before, you might wonder how to make sure it sticks well and stays put. In this guide, you’ll learn simple, step-by-step tips to apply mounting tape like a pro. By the end, your walls will look neat, and your pictures will stay exactly where you want them.
Ready to get started? Let’s dive in!

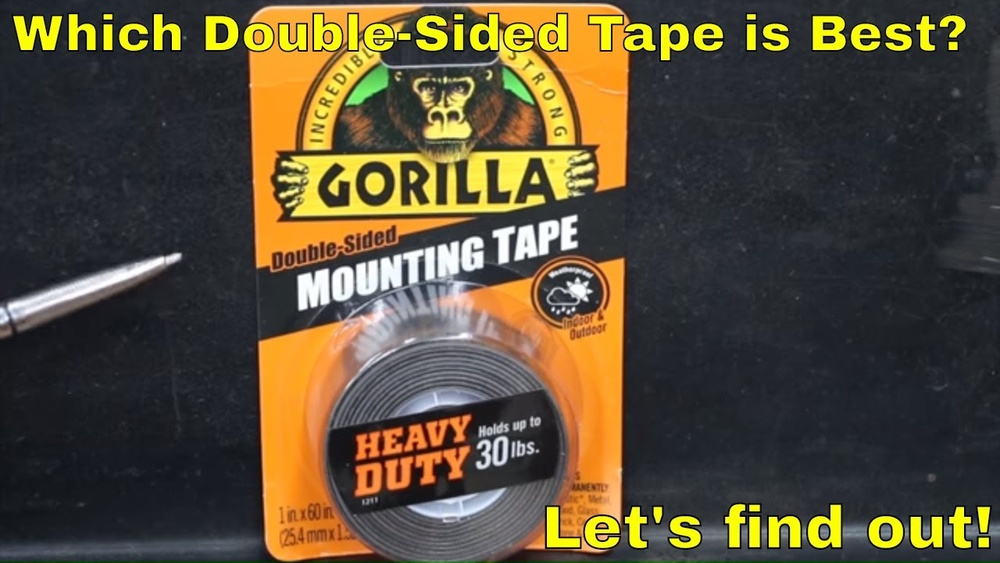
Credit: uk.gorillaglue.com
Choosing The Right Mounting Tape
Choosing the right mounting tape is important for hanging pictures safely and neatly. The tape must hold the picture without damaging the wall or the frame. Picking the wrong tape can cause pictures to fall or leave marks. Understanding different types of tape, their strength, and surface use helps you select the best one.
Types Of Mounting Tape
There are many types of mounting tape. Double-sided tape is common and sticks on both sides. Foam tape adds thickness and helps on uneven walls. Clear tape is less visible but may hold less weight. Each type works best in certain situations. Choose the tape type based on your picture and wall.
Tape Strength And Thickness
Tape strength shows how much weight it can hold. Thicker tape usually holds more weight. Thin tape is good for light pictures. Heavy pictures need strong and thick tape. Check the tape package for weight limits. Strong tape keeps your picture safe and stable.
Surface Compatibility
Some tapes work better on certain surfaces. Smooth surfaces like glass or metal need different tape than rough walls. Painted walls can peel with strong tape. Test a small spot before use. Choose tape made for your wall type. This prevents damage and keeps pictures secure.
Credit: www.youtube.com
Preparing The Picture And Wall
Preparing the picture and wall is key to a strong, lasting hold. This step helps the mounting tape stick better. It also keeps your wall and picture safe from damage. Take time to prepare both surfaces well. This makes a big difference in the final result.
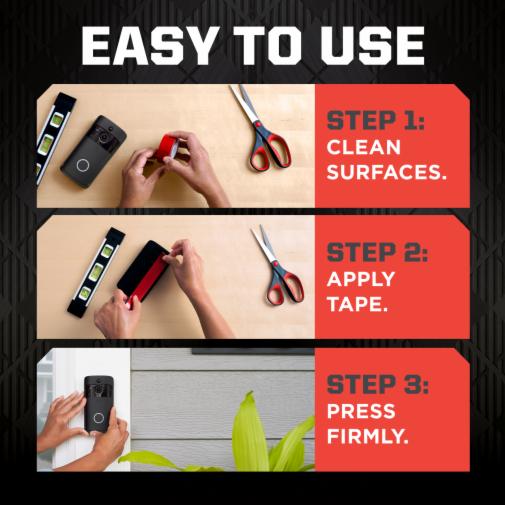
Cleaning The Surfaces
Start by cleaning the back of the picture frame. Use a soft cloth to remove dust and dirt. Next, clean the wall area where you want to hang the picture. A damp cloth or mild cleaner works well. Dirt and grease can stop the tape from sticking. Make sure to wipe away any residue completely.
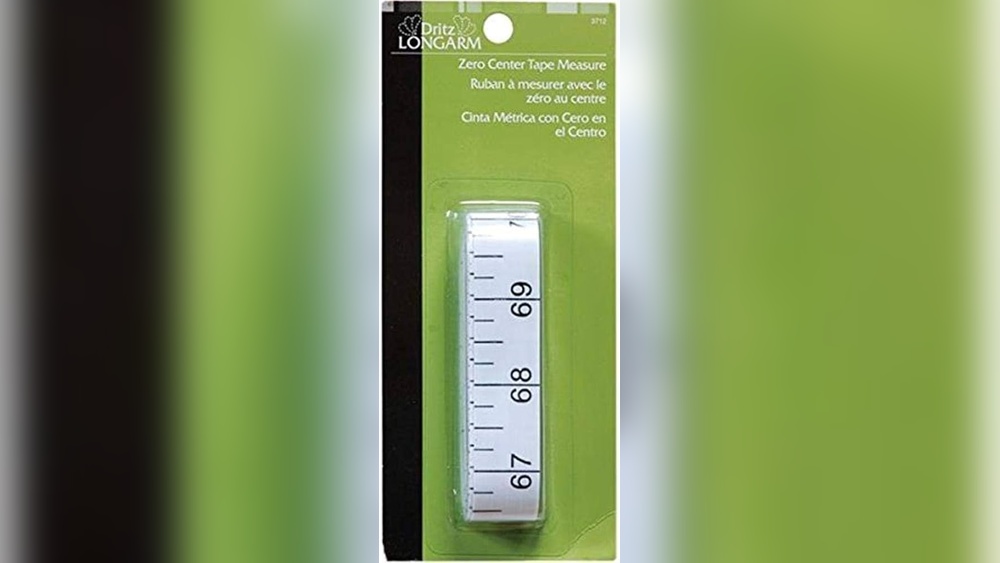
Measuring And Marking Placement
Measure the wall space carefully. Use a ruler or tape measure for accuracy. Mark the spot lightly with a pencil. Check the height and alignment twice. This step avoids crooked or off-center pictures. Marking the place helps guide your mounting tape placement.
Ensuring Dryness And Smoothness
Make sure both surfaces are dry before applying tape. Moisture weakens the tape’s hold. Also, check that the wall is smooth. Rough or uneven walls reduce adhesion. Sand lightly if needed to create a flat surface. Dry, smooth surfaces give the best results with mounting tape.
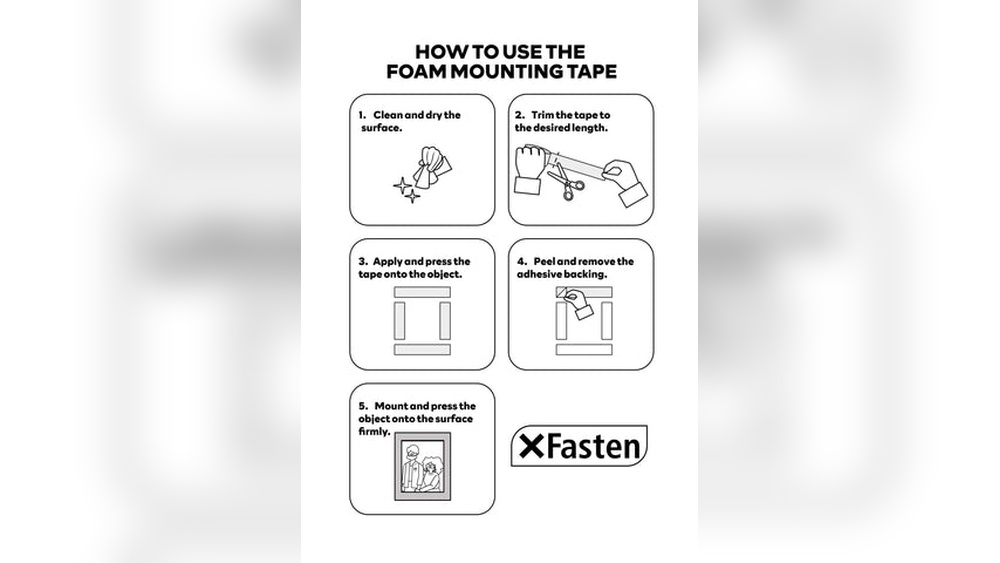
Cutting And Applying The Tape
Cutting and applying mounting tape correctly ensures your picture stays secure. It also helps the tape blend well with the frame and wall. This step is crucial for a neat, lasting result.
Measuring Tape Length
Start by measuring the length of tape needed. Use a ruler or measuring tape for accuracy. Cut slightly longer pieces for better grip. Measure each side of the picture separately.
Cutting Clean Edges
Cut the tape with sharp scissors or a utility knife. Clean edges prevent peeling and make the tape stick better. Avoid jagged or uneven cuts for a smooth finish. Cut each piece carefully to match the measured length.
Placing Tape On The Picture
Peel the tape backing slowly to avoid stretching it. Press the tape firmly along the edges of the picture back. Make sure the tape sticks without bubbles or wrinkles. Apply pressure evenly to ensure strong adhesion.
Mounting The Picture On The Wall
Mounting the picture on the wall is the final step to display your art or photo. It takes care and attention to place it correctly. Proper mounting keeps the picture secure and looking great. Follow the steps carefully for best results.
Aligning The Picture
Hold the picture up to the wall at eye level. Use a level tool or ruler to check straightness. Adjust the position until it looks balanced. Mark the spot lightly with a pencil if needed. This ensures the picture will hang perfectly.
Pressing Firmly For Adhesion
Press the picture firmly against the wall. Apply even pressure across the tape areas. Hold for at least 30 seconds to secure the bond. This helps the tape stick well and prevents falling. Avoid pressing too hard to protect the picture frame.
Checking Stability
Gently test the picture by nudging it. Make sure it does not shift or fall. Check all corners for proper attachment. If the picture moves, press again or add extra tape. Stable mounting protects your picture and wall.
Tips For Long-lasting Display
To keep your picture display lasting long, apply mounting tape carefully. Small steps make a big difference. Follow these tips to protect your picture and wall.
Avoiding Excess Weight
Mounting tape holds best with light to medium weight items. Heavy frames may fall or peel the tape. Use lighter frames or add extra support like hooks or nails. Check the weight limit on the tape package before use.
Maintaining Temperature And Humidity
Heat and moisture weaken the tape’s stickiness. Keep pictures in rooms with steady temperature. Avoid bathrooms or kitchens where humidity is high. Dry, cool spaces help tape last longer and prevent damage to pictures.
Removing Tape Without Damage
Remove tape slowly and gently. Pull the tape back against itself, not away from the wall. Use a hairdryer to warm the tape first. Warm tape peels off easier and leaves less residue. This protects both your picture and wall surface.
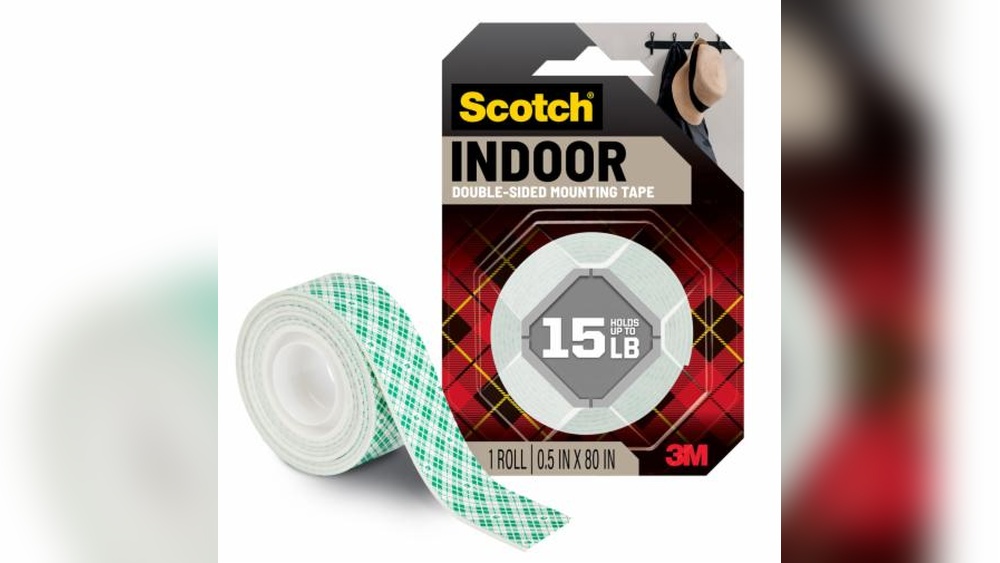
Credit: www.scotchbrand.com
Frequently Asked Questions
What Type Of Mounting Tape Is Best For Pictures?
Choose double-sided foam mounting tape for strong, gap-free adhesion. It supports picture weight well and prevents damage to walls or frames.
How Do I Prepare The Picture Before Applying Tape?
Clean the picture’s back surface and the wall with a dry cloth. Ensure both are dry and free from dust for better adhesion.
Can Mounting Tape Damage My Wall Or Picture?
High-quality mounting tape is designed to be removable without damage. Always test a small area first to avoid peeling paint or marks.
How Much Mounting Tape Should I Use Per Picture?
Use strips of tape on each corner and the center of the picture. This evenly distributes weight and ensures secure mounting.
Conclusion
Applying mounting tape to a picture is simple and quick. Clean the surface well before sticking the tape. Cut the tape to the right size for your frame. Press firmly to ensure the tape holds strong. Check that the picture is level and secure.
This method helps your pictures stay in place without damage. Try it for a neat and easy way to hang your art. You’ll find it saves time and keeps walls clean. Give it a go and enjoy your beautifully displayed pictures.