Have you ever wanted to give your artwork a stylish, modern look without spending a fortune? Floating your art with linen tape is a simple and elegant way to make your pieces stand out on any wall.
In this guide, you’ll discover easy steps to create that perfect floating effect, making your artwork appear like it’s suspended in mid-air. Whether you’re a beginner or just looking for a fresh display idea, you’ll find practical tips that anyone can follow.
Keep reading to transform your art and impress everyone who sees it!
Materials Needed
Gathering the right materials makes floating artwork with linen tape easier. Each item plays a key role in the process. Prepare everything before you start for smooth mounting.
Artwork Or Print
Choose a piece you want to display. It can be a painting, print, or photograph. Make sure it fits your frame and space.
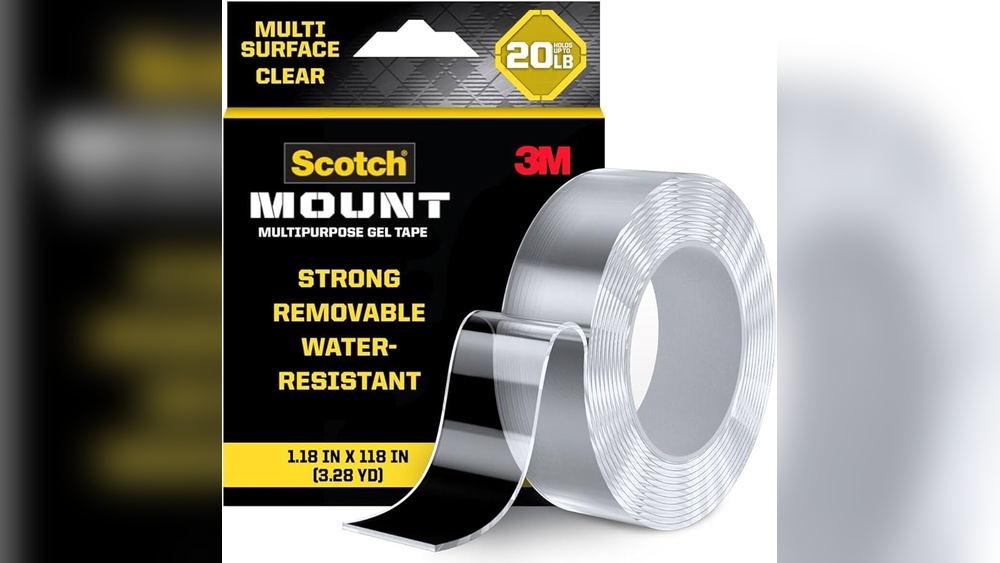
Linen Tape
Use linen tape to create the floating effect. It is strong and gentle on artwork. This tape holds the piece without damage.
Backing Board
A sturdy backing board supports the artwork. It keeps the piece flat and stable. Foam board or mat board works well.
Frame
Select a frame that suits your artwork size. The frame should have enough depth for floating. Floating frames or shadow boxes are ideal.
Measuring Tools
Use a ruler or measuring tape for accuracy. Precise measurements ensure even spacing. A pencil helps mark placement lightly.
Cutting Tools
Scissors or a craft knife cuts tape and board cleanly. Sharp tools create neat edges for better results.
Adhesive (optional)
Some prefer a gentle adhesive for extra hold. Use acid-free glue to protect artwork. This step is optional but helpful.
Credit: www.diplomaframe.com
Preparing Your Artwork
Preparing your artwork is the first step in creating a beautiful float mount with linen tape. It ensures your art looks clean and fits well in the frame. This process helps protect your piece and makes it easy to display.
Take your time to get everything ready before starting. Careful preparation will give your artwork a neat, professional appearance.
Choosing The Right Frame
Select a frame that matches the size and style of your artwork. The frame should be slightly larger than the art itself. This gap creates the floating effect, making the piece stand out.
Pick a frame with enough depth to hold the linen tape and artwork without squishing it. Simple and clean frames work best to highlight your art.
Measuring And Marking
Measure your artwork and the frame carefully using a ruler or tape measure. Note the exact dimensions to avoid mistakes. Mark the center points on both the art and backing board.
Use a pencil to make light marks on the backing board. These marks will guide where to place the linen tape. Accurate measuring keeps your artwork centered and balanced.
Cutting And Applying Linen Tape
Cutting and applying linen tape is a key step in float mounting artwork. This process helps secure the artwork while keeping it elevated from the backing. The right tape size and careful application ensure a clean, professional look. Follow simple steps to prepare and attach the tape correctly.
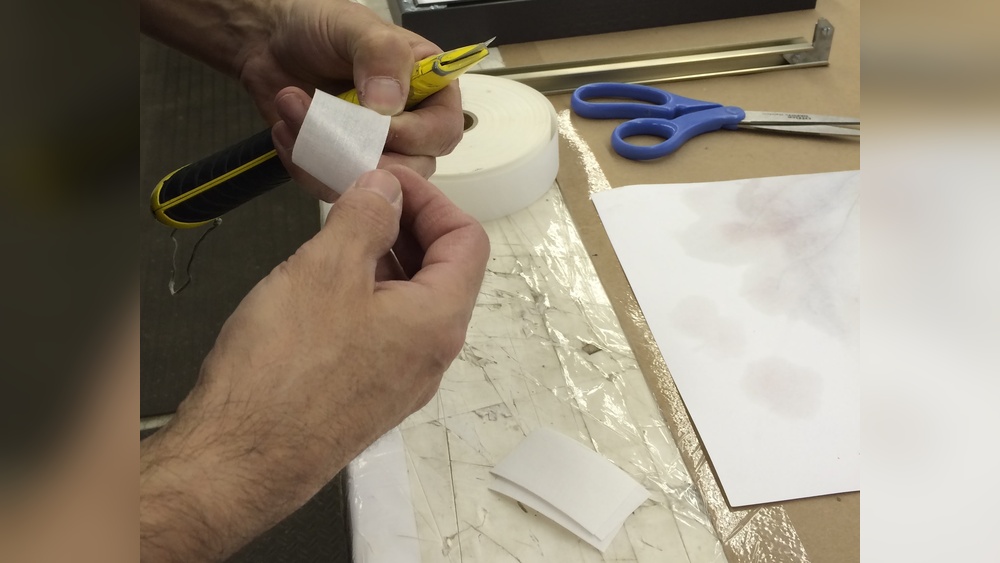
Cutting Tape To Size
Measure the edges of your artwork first. Cut strips of linen tape slightly shorter than each edge. Avoid tape that is too long to prevent folding or bunching. Use sharp scissors for clean, straight cuts. Prepare all strips before starting the application. This saves time and keeps your workspace organized.
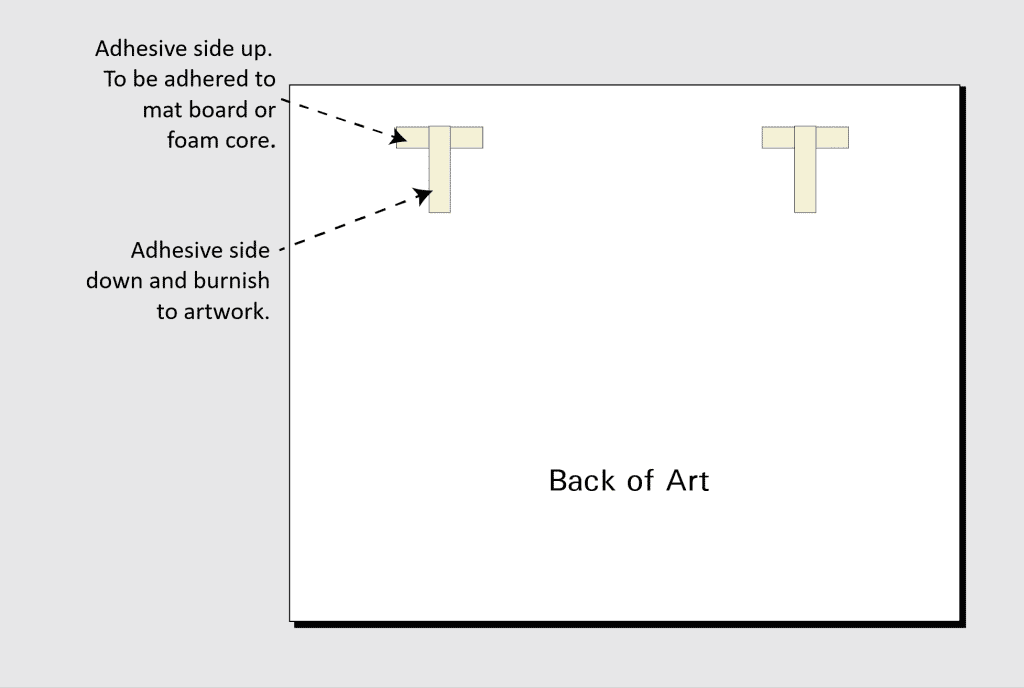
Applying Tape To Artwork
Place the artwork face down on a clean surface. Align the linen tape along the back edges carefully. Press the tape firmly to avoid air bubbles and wrinkles. Ensure the tape runs evenly along each side. Avoid stretching the tape to keep it flat and secure. Let the tape bond well before moving the artwork.
Mounting The Artwork
Mounting artwork with linen tape creates a floating effect that highlights the piece beautifully. This technique keeps the artwork off the backing board, adding depth and elegance. The process requires careful positioning and secure attachment to avoid damage or shifting.
Following clear steps helps achieve a neat and professional look. Take your time to align and fasten the artwork correctly. The right method ensures the piece stays flat and stable for display.
Positioning On Backing Board
Start by placing the backing board on a clean, flat surface. Lay the artwork gently on top without pressing it down. Adjust its position until centered and straight. Use a ruler or measuring tape for accuracy. Mark light pencil lines on the board outside the artwork edges. These marks guide tape placement and keep alignment perfect.
Securing The Artwork
Cut strips of linen tape slightly longer than the artwork edges. Fold the ends under to avoid sticky edges. Attach the tape to the back edges of the artwork first. Then press the tape onto the backing board along the pencil marks. Do not stretch the tape; keep it relaxed. Add tape strips on all four sides for strong support. Check the artwork is still floating slightly above the board. Press the tape firmly to secure the hold. Avoid covering the artwork surface with tape.
Final Touches
Final touches make your floating artwork look perfect and last longer. This step ensures everything is straight and well-protected. A careful review helps avoid mistakes that might be hard to fix later.
Checking Alignment
Check the artwork’s position carefully. Look from different angles to see if it is straight. Use a ruler or level for accuracy. Adjust the linen tape if the art shifts. Small changes can improve the display a lot. Take your time here. Proper alignment gives a neat and professional look.
Sealing And Protection
Seal the edges of the linen tape to keep it secure. Use a clear, acid-free sealant for the best results. This protects the tape and the artwork from dust and moisture. Avoid applying too much sealant. Let it dry completely before hanging the art. This step helps keep your artwork safe for years.

Credit: www.youtube.com
Tips For A Professional Look
Achieving a professional look with float-mounted artwork using linen tape requires careful attention. Small details can make a big difference. Follow these tips to ensure your artwork looks clean and sharp. Focus on smooth surfaces and preserving the artwork’s quality. A neat finish will impress viewers and protect your art.
Avoiding Wrinkles And Bubbles
Start with a clean, dry surface. Carefully apply linen tape in small sections. Press gently but firmly to avoid air pockets. Use a soft cloth or roller to smooth the tape. Move from the center outward to push out bubbles. Avoid stretching the tape as you apply it. Take your time. Rushing leads to wrinkles and uneven edges.
Maintaining Artwork Quality
Choose acid-free linen tape to protect your artwork. Acid-free materials prevent yellowing and damage over time. Keep your hands clean to avoid dirt or oils. Store finished pieces away from direct sunlight and moisture. Use a dust cover or glass frame for extra protection. Always handle artwork with care to maintain its condition.

Credit: margaretwhite.co.nz
Frequently Asked Questions
What Is Linen Tape Used For In Art Mounting?
Linen tape provides a strong, flexible backing for artwork. It helps secure pieces without damaging them. It’s ideal for floating mounts as it supports edges and prevents warping.
How Do You Float Mount Artwork With Linen Tape?
Place artwork on a backing board. Attach linen tape along edges, leaving space around the art. This creates a “floating” effect with a visible border, enhancing presentation.
Can Linen Tape Damage Delicate Artwork?
No, linen tape is archival and acid-free. It won’t harm paper or canvas over time. It’s safe for preserving artwork and maintaining its condition.
What Tools Are Needed For Linen Tape Mounting?
You need linen tape, a backing board, scissors, and a ruler. A craft knife and bone folder help achieve clean, precise edges.
Conclusion
Floating artwork with linen tape adds a unique, clean look. It keeps the art slightly raised from the frame. This method protects your piece while showing off its edges. You only need a few simple tools to start. Try it on different art sizes for varied effects.
This technique is easy to learn and apply. Give your artwork a fresh, elegant display today.