Is your ceiling fan’s light switch not working properly? Maybe it’s flickering, stuck, or just won’t turn on.
You don’t have to call an electrician or buy a whole new fan. Replacing the light switch on your ceiling fan is easier than you think—and you can do it yourself. In this guide, you’ll find simple, step-by-step instructions that anyone can follow.
By the end, your fan’s light will work like new, and you’ll save time and money. Ready to fix it quickly and safely? Let’s get started.
Tools And Materials Needed
Replacing the light switch on a ceiling fan needs the right tools and materials. Having these ready makes the job easier and safer. Below are the key items to prepare before starting your project.
Basic Tools
You need a screwdriver, usually a flathead and a Phillips. A voltage tester helps check if power is off. Wire strippers cut and strip wires cleanly. Needle-nose pliers help twist wires together. A flashlight can improve visibility inside the fan housing.
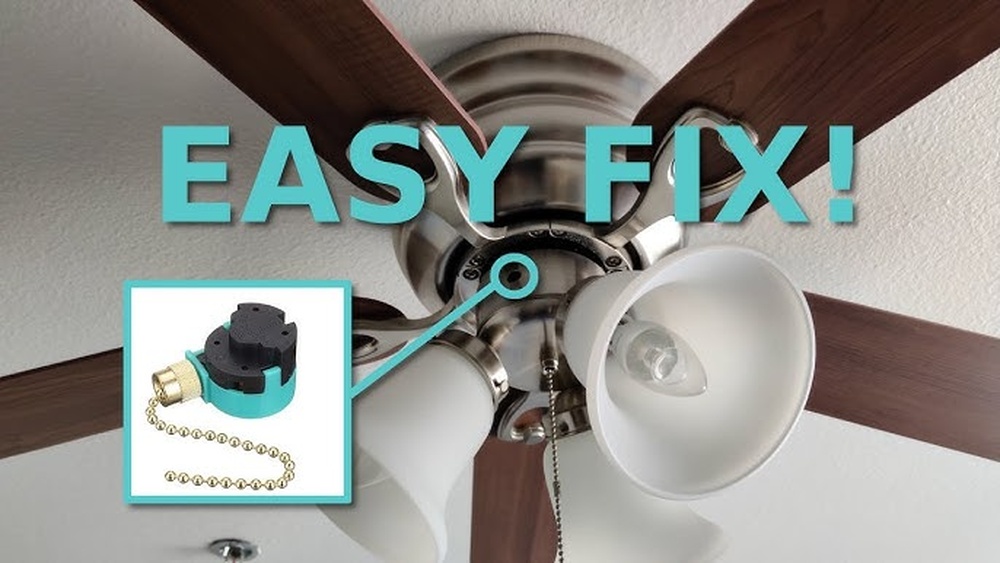
Replacement Switch Options
Choose a switch made for ceiling fans. Some have pull chains, others use toggle switches. Match the switch type to your fan model. Check the switch’s voltage and amp rating. Buy a switch that fits the fan’s wiring and controls.
Safety Gear
Wear safety glasses to protect your eyes. Use insulated gloves to avoid shocks. Turn off power at the circuit breaker before starting. Have a sturdy ladder to reach the fan safely. Keep a first aid kit nearby just in case.
Turn Off Power Safely
Turning off the power safely is the first step to replace a light switch on a ceiling fan. This step protects you from electric shocks. Always treat electricity with respect. Taking precautions helps you work confidently and avoid accidents.
Locate Circuit Breaker
Find your home’s circuit breaker panel. It is usually in the basement, garage, or utility room. Look for the breaker labeled for the ceiling fan or living room. If no label exists, switch off the main breaker to cut power to the entire house.
Confirm Power Is Off
Use a non-contact voltage tester on the fan switch wires. The tester lights up if power is still present. Flip the wall switch to check if the fan or light turns off. Never assume the power is off without testing. Safety first.
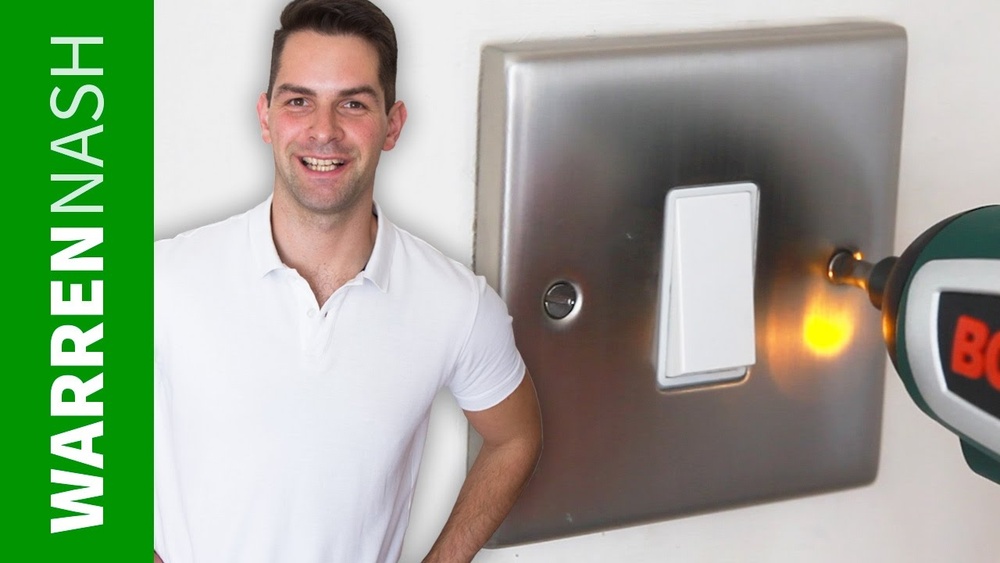
Remove The Ceiling Fan Switch Cover
Removing the ceiling fan switch cover is the first step in replacing the switch. This part protects the switch and keeps wires hidden. Taking it off carefully is important to avoid damage.
Understanding how to remove the cover makes the whole process easier. It helps you access the switch inside safely. Follow simple steps for smooth removal.
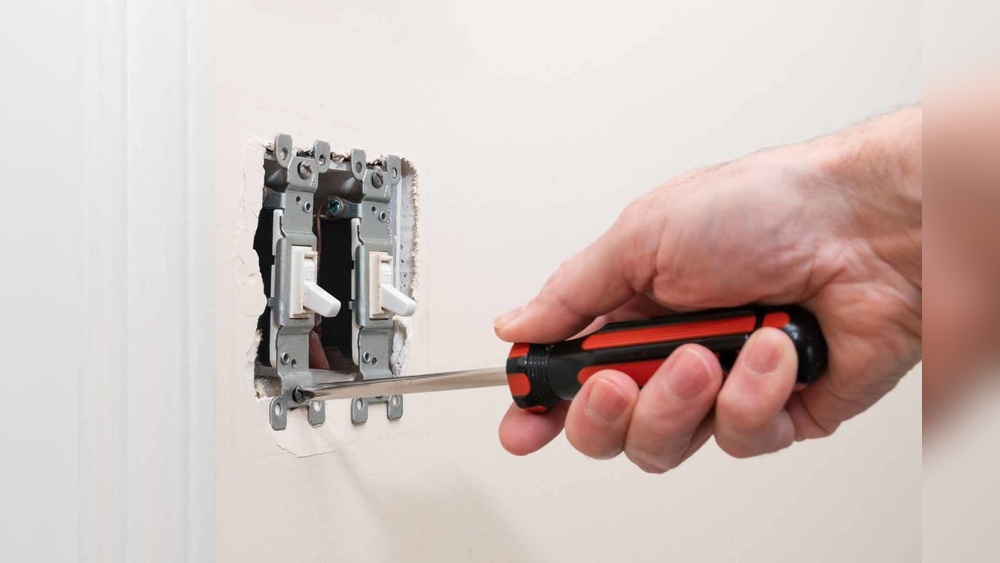
Accessing The Switch
First, turn off the power to the fan at the circuit breaker. This stops any risk of electric shock. Look at the fan’s base where the switch is located. The cover usually sits just below the fan blades or near the pull chain.
Check for any visible tabs or slots that hold the cover in place. Gently try to pull or slide the cover. It should come off without much force. If it feels stuck, check for screws that might be holding it.
Handling Screws And Panels
Some switch covers are secured with small screws. Use a screwdriver that fits the screws perfectly. Turn the screws counterclockwise to remove them. Keep the screws safe for reassembly later.
If there are no screws, the cover might snap on. Use a flat tool, like a flathead screwdriver, to pry the cover gently. Insert the tool into the gap and twist lightly. The cover should pop off without breaking.
Once the cover is off, set it aside carefully. Now, you can see the switch and wiring clearly. This makes the next steps of replacing the switch easier and safer.

Credit: www.youtube.com
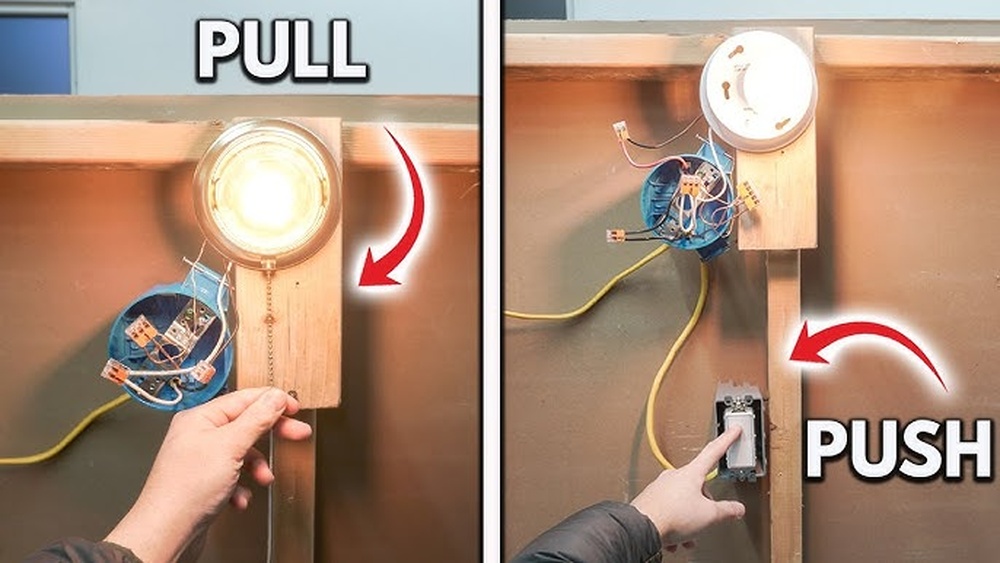
Disconnect Old Switch
Disconnecting the old switch is the first step in replacing a light switch on a ceiling fan. This step requires care to avoid electrical hazards. Always turn off the power at the circuit breaker before touching any wires. Double-check with a voltage tester to ensure no electricity flows through the wires. Follow these steps to disconnect the old switch safely and correctly.
Identify Wiring Connections
Remove the switch cover plate using a screwdriver. Gently pull the switch from the electrical box. Notice the wires connected to the switch terminals. Usually, you will see a black (hot) wire and possibly a red or white wire. Take note of how each wire is connected. Label them with tape if needed. This helps when connecting the new switch. Remember, each wire has a specific role in the circuit.
Safely Detach Wires
Use a screwdriver to loosen the terminal screws holding the wires. Carefully pull the wires away from the switch terminals. Avoid letting the wires touch each other or metal parts. If wires are attached with push-in connectors, use a small tool to release them. Keep the wires straight and untangled. Place the old switch aside once all wires are free. Now, the switch is ready to be replaced.
Install New Light Switch
Installing a new light switch on your ceiling fan is a simple task. It improves control over your fan’s lighting. Follow these steps carefully to ensure a safe and secure installation.
Connect Wires To New Switch
First, identify the wires from the ceiling fan. Typically, you will find a black, white, and ground wire. Match the wires from the new switch to the fan’s wires. Connect the black wire from the switch to the black wire from the fan. Twist the copper ends of the wires together and secure them with a wire nut. Repeat the process for the white wires. Attach the ground wire to the switch’s ground screw. Tighten all connections firmly to avoid loose wiring.
Secure Switch In Place
After wiring, gently push the wires back into the electrical box. Align the switch with the mounting holes in the box. Use screws to fasten the switch securely. Ensure the switch sits flush against the wall or fan housing. Check that the switch moves freely without resistance. Finally, attach the switch cover plate to complete the installation. This step protects the wiring and gives a clean look.
Test The New Switch
Testing the new switch is a key step after installation. It ensures your ceiling fan works safely and correctly. This step helps you avoid problems later. Follow these simple checks to confirm the switch functions well.
Restore Power
Turn the power back on at the circuit breaker. This supplies electricity to the fan and switch. Make sure the area is dry and safe before restoring power. Avoid touching wires or metal parts during this process. Use a voltage tester to confirm power is flowing to the switch.
Check Functionality
Test the switch by turning the fan on and off. Check all fan speeds and the light, if included. Listen for unusual noises or see if the fan stops suddenly. The switch should operate smoothly without sticking. If the fan does not respond, recheck your wiring connections carefully.
Troubleshooting Tips
Troubleshooting a light switch on a ceiling fan can save time and effort. Simple checks often fix common problems. Knowing what to look for helps avoid damage or safety risks. Below are key tips to identify and solve issues before calling for help.
Common Issues
The fan does not turn on even after switching. Loose wiring can cause this problem. Check if wires connect tightly to the switch. A burnt or broken switch might need replacement. Flickering lights can mean a bad connection or faulty bulb. Sometimes, the fan runs but the light stays off. This often signals a wiring issue or a dead bulb. Listen for unusual sounds when the fan operates. Noises might indicate motor or switch problems. Always turn off the power before inspecting the fan or switch.
When To Call A Professional
If wires look damaged or burnt, stop and call an expert. Problems inside the fan motor require professional service. If unsure about electrical parts or safety, ask for help. Persistent issues after replacing the switch need expert diagnosis. Professionals have tools to test voltage and fix wiring safely. Avoid risks by hiring a licensed electrician. Safety should always come first when working with electricity.

Credit: www.amazon.com

Credit: www.amazon.com
Frequently Asked Questions
How Do I Safely Replace A Ceiling Fan Light Switch?
Turn off the power at the breaker before starting. Remove the fan cover and disconnect old switch wires. Connect the new switch wires carefully, matching colors. Secure the switch and restore power to test functionality.
What Tools Are Needed To Replace A Fan Light Switch?
You will need a screwdriver, wire stripper, voltage tester, and electrical tape. These tools help remove the old switch, strip wires, check power, and secure connections safely.
Can I Replace The Light Switch Without Removing The Fan?
No, you must remove the fan cover and access the switch inside. This ensures safe and proper replacement without damaging the fan or wiring.
How Do I Identify The Correct Wires For The New Switch?
Use a voltage tester to identify live, neutral, and ground wires. Match these wires to the new switch terminals according to the manufacturer’s instructions.
Conclusion
Replacing a light switch on a ceiling fan is simple and safe. Turn off the power before you start. Use the right tools and follow each step carefully. Double-check all connections to avoid problems later. Taking your time helps you finish the job well.
Now, you can enjoy better control of your fan’s light. This small fix saves money and boosts home comfort. Try it yourself and feel proud of the work done.