Have you ever walked into a room only to find your pull chain light switch doesn’t work properly? Maybe it’s stuck, or the chain won’t pull at all.
Fixing it yourself might sound tricky, but it’s easier than you think. By the end of this guide, you’ll know exactly how to change your pull chain light switch safely and quickly. Imagine never dealing with that annoying flicker or faulty switch again—just smooth, reliable lighting whenever you need it.
Ready to take control of your home’s lighting? Let’s get started.
Tools And Materials Needed
Changing a pull chain light switch requires the right tools and materials. Having these ready makes the job easier and safer. Preparation helps avoid delays and mistakes during the process.
This section lists the essential tools and how to pick the right replacement switch. Knowing what to use ensures a smooth and successful switch change.
Essential Tools
- Screwdriver (flathead and Phillips) for removing screws
- Voltage tester to check power is off
- Wire stripper to remove insulation from wires
- Needle-nose pliers for bending and holding wires
- Electrical tape for securing wire connections
- Replacement pull chain light switch
- Flashlight for better visibility in dark areas
Choosing The Right Replacement Switch
Match the new switch to your old one in size and function. Check if it is single-pole or three-way. Use a switch designed for pull chain operation.
Look at the voltage and current ratings on the switch. Choose one with ratings equal to or higher than your old switch.
Select a switch that fits your fixture style and wiring. This helps avoid extra work or compatibility issues.

Credit: www.familyhandyman.com
Safety Precautions
Safety is the first step in changing a pull chain light switch. Electricity can be dangerous. Taking simple safety steps protects you from shocks and accidents. Follow these important precautions before starting any work on the switch.
Turning Off Power
Always turn off the power before touching the light switch. Find the correct circuit breaker in your home’s electrical panel. Flip it to the “off” position. This stops electricity from flowing to the switch. Double check by trying to turn on the light. No light means power is off.
Using A Voltage Tester
Use a voltage tester to confirm the power is off. Touch the tester’s probes to the switch wires. The tester shows if electricity is still present. If it reads no voltage, it is safe to continue. Never skip this step. It ensures your safety before handling wires.
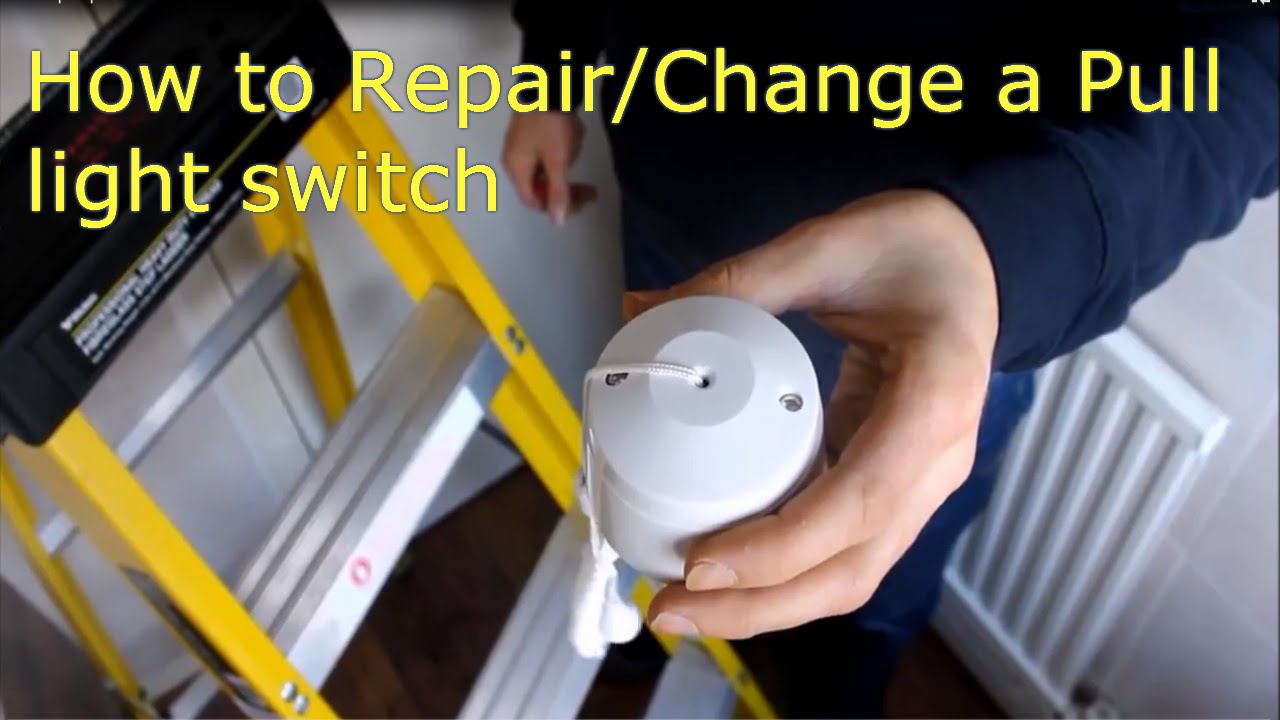
Removing The Old Switch
Removing the old pull chain switch is the first step to replacing it. This task needs care and attention to avoid damage or injury. Follow each step slowly to ensure safety and success.
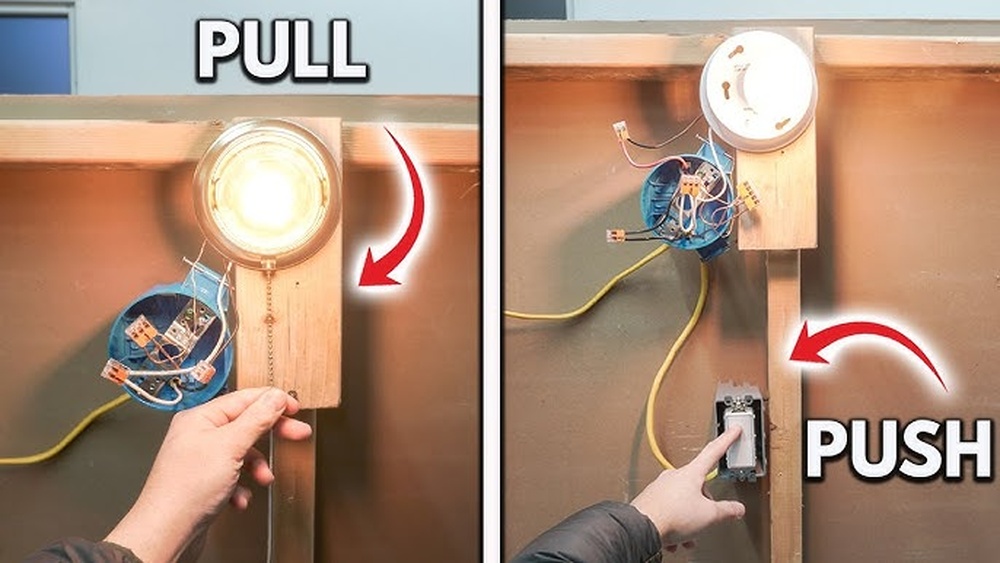
Accessing The Fixture
Turn off the power at the circuit breaker. This stops electric flow to the light. Use a ladder to reach the fixture safely. Remove the light bulb and any cover or globe. This gives clear access to the switch. Locate the screws holding the fixture to the ceiling. Unscrew them gently and lower the fixture slightly. Be careful not to pull on the wires.
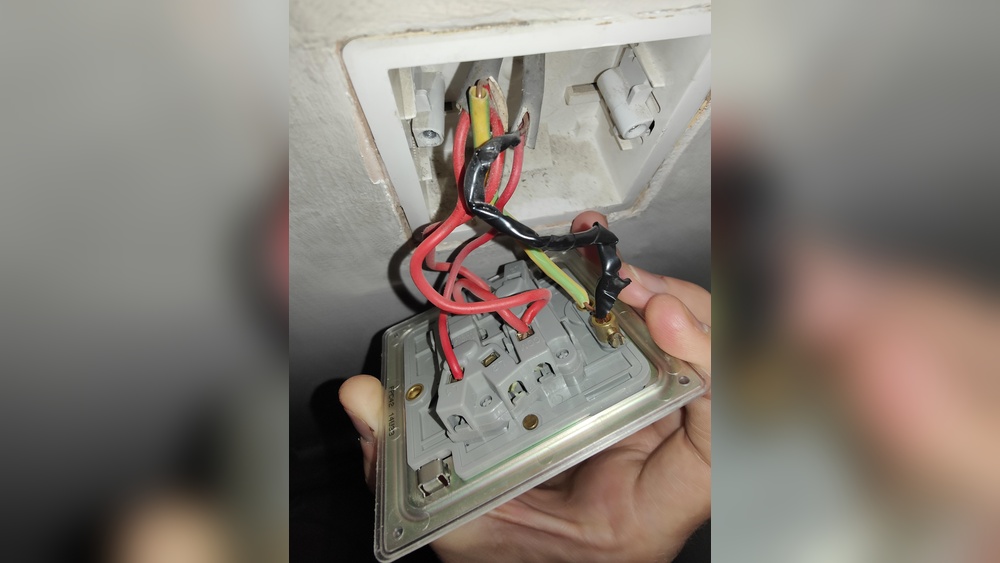
Disconnecting Wires
Look for the wires connected to the old switch. Use a voltage tester to check for power again. Once safe, loosen the screws or wire nuts holding the wires. Carefully separate the wires from the switch terminals. Note the wire positions to connect the new switch correctly. Wrap the wires with electrical tape if needed. Remove the old switch from the fixture.
Credit: www.youtube.com
Installing The New Switch
Installing the new pull chain light switch is a key step to get your light working again. This part is simple if you follow the right steps carefully. Take your time and stay safe by keeping the power off before starting. Below, learn how to connect the wires and secure the switch properly.
Wiring The Replacement
First, identify the wires on the new switch. Most switches have two terminals. Attach the wires from the ceiling to these terminals. Usually, it does not matter which wire goes where. Tighten the screws to hold the wires firmly. Make sure no wire strands are loose. Loose wires can cause shorts or poor connection.
Securing The Switch
After wiring, push the switch into the fixture box gently. Align the holes on the switch with the box screws. Use a screwdriver to tighten the screws. Do not overtighten to avoid breaking the switch. The switch should sit flush and steady. Test the pull chain to check if it moves smoothly.
Testing The Installation
After replacing a pull chain light switch, testing the installation is important. This step confirms that the switch works correctly and safely. Testing also helps catch any wiring mistakes early. Follow simple steps to restore power and check the switch’s function.
Restoring Power
First, turn the circuit breaker back on. This restores electricity to the light fixture. Wait a few seconds for the power to stabilize. Avoid touching the switch until power is fully restored. Use caution to prevent electric shock.
Checking Switch Functionality
Pull the chain slowly to test the light. The bulb should turn on and off with each pull. Try several pulls to confirm consistent operation. If the light does not respond, turn off power and recheck wiring. Correct any loose or wrong connections before testing again.

Credit: diy.stackexchange.com
Troubleshooting Tips
Troubleshooting a pull chain light switch can save time and effort. Problems often have simple solutions. Knowing what to check first helps fix the issue faster.
Start by identifying the problem clearly. Check if the light does not turn on or the chain feels loose. Small issues often cause the switch to stop working properly.
Common Issues
The pull chain may break or become loose. This stops the switch from working. Dirt or dust inside the switch can also block contact. The light bulb might be burned out. Sometimes, wiring connections come loose or get damaged.
Try pulling the chain gently to see if it moves smoothly. Check the light bulb by replacing it with a new one. If the switch feels loose, it may need tightening or replacement. Use a screwdriver to check screws holding the switch.
When To Call A Professional
Call an electrician if the wiring looks damaged or unsafe. Do not try to fix electrical issues without experience. If the light flickers or sparks appear, stop using it. A professional can safely handle complex wiring problems.
If you cannot find the cause or fix the problem, call a professional. Safety is the top priority when dealing with electricity. Experts can ensure the switch works correctly and safely.
Frequently Asked Questions
How Do I Safely Turn Off Power Before Replacing A Pull Chain Switch?
Always turn off the circuit breaker controlling the light. Use a voltage tester to confirm no power is present. This ensures your safety while replacing the pull chain switch.
What Tools Do I Need To Change A Pull Chain Light Switch?
You will need a screwdriver, wire stripper, voltage tester, and the replacement pull chain switch. These tools help you remove the old switch and install the new one correctly.
How Can I Identify The Wires In A Pull Chain Switch?
Typically, black or red wires are hot, white is neutral, and green or bare copper is ground. Confirm wire function with a voltage tester before proceeding to avoid errors.
Can I Replace A Pull Chain Switch Without Electrician Help?
Yes, if you follow safety precautions and understand basic wiring. Turn off power, use the right tools, and carefully connect wires. However, consult a professional if unsure.
Conclusion
Changing a pull chain light switch is simple and safe. Turn off the power first to avoid shocks. Follow the steps carefully and take your time. Use the right tools for a smooth process. Test the switch after installation to ensure it works.
This small fix can brighten your room again. No need to call a professional for this task. Give it a try and enjoy your updated light switch.