Have you ever noticed a cracked or outdated light switch cover in your home and wondered how to replace it yourself? Changing a light switch cover is a simple task that can instantly refresh the look of any room.
You don’t need special skills or tools, just a little guidance and confidence. You’ll discover step-by-step instructions that make the process quick and hassle-free. By the end, you’ll have the know-how to give your switches a fresh, clean look—saving you time and money.
Ready to get started? Let’s dive in!
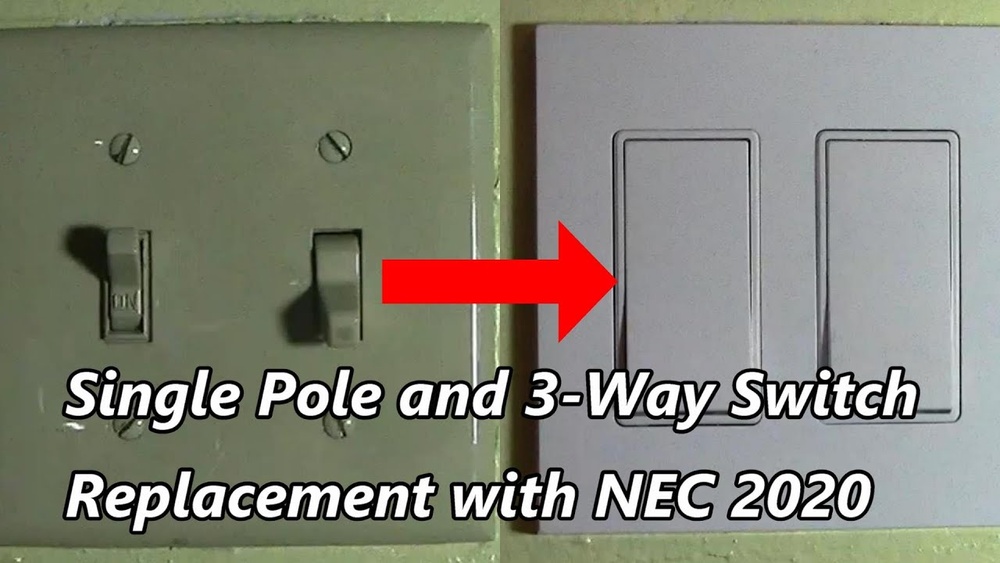
Credit: www.reddit.com
Tools And Materials Needed
Replacing a light switch cover is a simple task. Having the right tools and materials makes the job easier and safer. You do not need many items to complete the work. Just a few basic tools and a new cover plate are enough.
Tools Required
A screwdriver is the main tool you need. Usually, a flathead or a Phillips screwdriver works. The type depends on the screws holding your current cover.
A voltage tester helps check that the power is off. This tool keeps you safe from electric shock. It is important to use it before starting.
Materials Needed
A new light switch cover plate is necessary. Choose one that fits your switch and matches your room style. Plastic or metal covers are common options.
Keep the screws from the old cover or use new ones. Make sure the screws fit well to hold the cover tightly.
Safety Precautions
Safety is the top priority when replacing a light switch cover. Working with electricity can be risky without proper care. Taking the right safety steps helps avoid shocks and accidents. Follow these simple rules before starting your project.
Turn Off The Power
Switch off the power at the circuit breaker. Do not rely only on the light switch. Confirm the power is off by testing the switch or using a voltage tester. This step prevents electric shock during the work.
Use Proper Tools
Use tools with insulated handles. Avoid metal tools that can conduct electricity. A screwdriver designed for electrical work reduces risk. Keep tools organized and within reach to avoid distractions.
Wear Safety Gear
Wear rubber-soled shoes to reduce shock risk. Use safety glasses to protect your eyes from dust. Gloves made for electrical work add a layer of protection. These simple items keep you safer throughout the task.
Work In A Dry Area
Ensure the work area is dry. Water and electricity create a dangerous mix. Avoid wet floors or damp hands during the job. If needed, dry the area completely before starting.
Do Not Rush
Take your time and work carefully. Rushing increases the chance of mistakes. Follow each step slowly and double-check your work. Safety improves when you stay calm and focused.
Turning Off The Power
Turning off the power is the first and most important step before replacing a light switch cover. This step keeps you safe from electric shock. Always make sure the power is off before touching any wiring or the switch itself.
Electricity can cause serious injury. Never skip this step. It only takes a moment to turn off the power, but it protects you greatly.
Locate The Circuit Breaker
Find your home’s main electrical panel. This panel holds the circuit breakers. Usually, it is in the basement, garage, or utility room. Look for a box with a metal door.
Identify The Correct Breaker
Each breaker controls power to specific areas. Look for labels that describe which rooms they serve. If labels are missing or unclear, turn off breakers one by one and test the switch to find the right one.
Switch Off The Power
Flip the correct breaker to the “off” position. This stops electricity flow to the switch. Double-check by trying to turn on the light. The light should not come on.
Use A Voltage Tester
Always check the switch with a voltage tester. This tool confirms no electricity runs through the wires. Touch the tester to the wires and switch terminals. No light or sound means the power is off.
Removing The Old Switch Cover
Removing the old switch cover is the first step in replacing it. This task is simple but needs care. Safety is the top priority. Make sure the power is off before starting. This prevents any risk of electric shock.
Use the right tools and work slowly. The old cover might be stuck or painted over. Taking time avoids damage to the wall or switch. Follow these steps to remove the old switch cover safely.
Turn Off The Power
Find the circuit breaker for the switch. Flip it off to cut power to the area. Double-check by trying the switch to ensure it is off. Never touch the switch or cover with power on.
Gather Tools
Get a flathead or Phillips screwdriver. Check the screws on the cover to know which one fits. Have a flashlight ready if the room is dark. A small container helps keep screws safe.
Remove The Screws
Locate the screws on the old switch cover. Use the screwdriver to turn them counterclockwise. Remove both screws carefully. Keep the screws in the container for reuse or disposal.
Take Off The Switch Cover
Hold the cover gently and pull it away from the wall. If it is stuck, wiggle it slightly. Avoid pulling too hard to prevent damage. Set the old cover aside for recycling or trash.
Cleaning The Switch Area
Cleaning the switch area is an important step before replacing a light switch cover. Dirt and dust can build up around the switch. This can make the new cover look dirty or not fit well. A clean surface helps the cover sit flat and look neat.
Take time to clean carefully. It makes the whole job easier and the result better.
Turn Off The Power
Always turn off the power at the circuit breaker first. This keeps you safe from electric shock. Never clean near the switch without cutting the power.
Remove Dust And Dirt
Use a soft, dry cloth to wipe away dust. A small brush or cotton swab helps clean tight spaces. Remove all loose dirt before using any cleaner.
Clean With Mild Soap
Mix a small amount of mild soap with water. Dampen a cloth with this mix and wipe the switch area gently. Avoid soaking the area with water.
Dry The Area Thoroughly
Use a dry cloth to remove any moisture. Wait a few minutes to ensure the area is completely dry. Moisture can cause problems with the new cover.
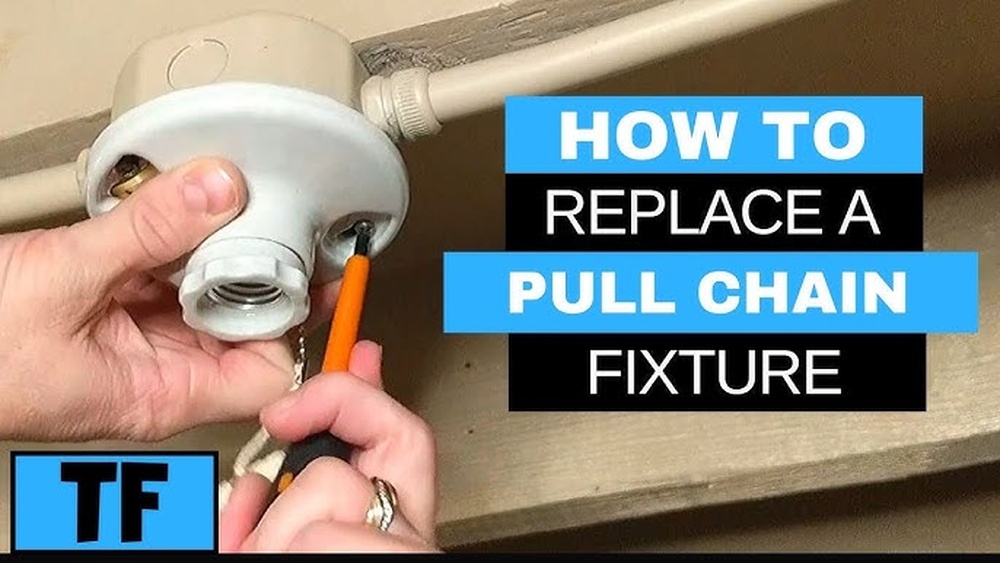
Credit: hydrangeatreehouse.com
Choosing The Right Replacement Cover
Choosing the right replacement cover for your light switch is important. The cover protects the switch and keeps the wall looking neat. A good cover fits well and matches your room style. This section helps you pick the perfect cover for your needs.
Understanding Different Materials
Light switch covers come in plastic, metal, and wood. Plastic covers are cheap and easy to clean. Metal covers look strong and last long. Wood covers add warmth and style but need care. Pick a material that suits your room and budget.
Matching The Size And Style
Check the size of your old cover before buying a new one. Covers come in single, double, or triple switch sizes. Match the style to your room’s decor. Simple covers fit modern rooms. Decorative covers work well in classic rooms.
Choosing The Right Color
Color can make a big difference. White covers are common and fit most walls. Beige or cream covers blend with warm walls. Dark colors like black or bronze add contrast. Pick a color that matches or complements your wall paint.
Considering Safety Features
Some covers have extra safety features like tamper-resistant designs. These covers protect children from electric shocks. Look for covers that meet safety standards. Safety is key for every home, especially with kids around.
Installing The New Cover
Installing the new light switch cover is a simple task that finishes the job neatly. It protects the wiring and gives your room a fresh look. Follow these steps carefully to ensure a smooth installation.
Prepare The New Cover For Installation
Take the new cover out of its package. Check for any cracks or damage. Align it with the switch to make sure it fits correctly. This step avoids problems later.
Position The Cover Over The Switch
Hold the cover gently. Place it directly over the light switch plate. Ensure the screw holes line up perfectly with the switch box holes. This helps keep the cover stable.
Screw The Cover Securely
Insert the screws into the holes. Use a screwdriver to tighten them carefully. Do not overtighten. Tighten just enough to hold the cover firmly in place.
Check The Installation
Make sure the cover does not move. Test the switch to confirm it works properly. The cover should sit flush against the wall. This ensures a clean and safe finish.
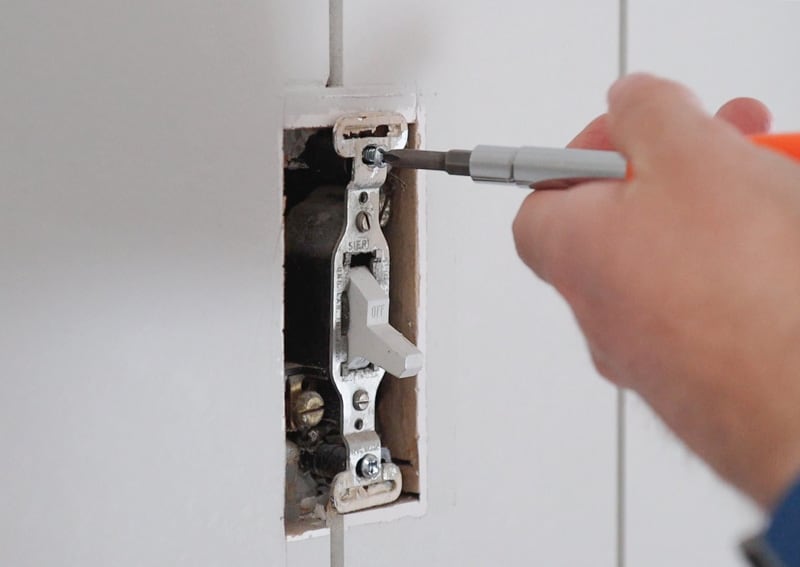
/how-to-replace-a-light-switch-1824670_hero_40432-43add2624f6c4522a4ee50bb24ece2be.jpg)
Credit: www.thespruce.com
Testing The Installation
Testing the installation of a light switch cover is a crucial step. It ensures everything works safely and correctly. This step helps avoid electrical problems and keeps your home safe. Follow these simple checks to confirm your new cover is installed properly.
Turn The Power Back On
Start by switching the power back on at the circuit breaker. This restores electricity to the switch. Make sure you do this before testing the switch. Never test a switch with the power off.
Check The Switch Operation
Press the light switch up and down. The light should turn on and off smoothly. If it feels loose or does not work, turn off the power and check the wiring again.
Inspect The Cover Fit
Look closely at the switch cover. It should sit flat against the wall. No gaps or cracks should be visible. If the cover is crooked, tighten the screws carefully.
Ensure No Sparks Or Smells
Watch and listen for any sparks or burning smells. These signs show a poor connection or wiring issue. If you notice this, turn off the power immediately and recheck everything.
Confirm Safety And Cleanliness
Make sure the area around the switch is clean and dry. No water or dust should be near the switch. This keeps the installation safe and long-lasting.
Troubleshooting Common Issues
Troubleshooting common issues helps you fix problems fast when replacing a light switch cover. Small mistakes can cause big problems. Knowing what to check saves time and effort.
Here are some common problems and easy ways to solve them. Follow these tips for a smooth replacement process.
Loose Switch Cover
A loose cover can wiggle or fall off. Check if the screws are tight. Use a screwdriver to secure them firmly but not too tight.
Make sure the cover fits the switch box properly. Sometimes covers are the wrong size or shape.
Switch Cover Not Lying Flat
Switch covers must sit flat against the wall. If they do not, check for wall bumps or uneven surfaces. Sand the wall lightly to smooth it out.
Verify that wires inside the box are not pushing the cover out. Tuck them neatly back.
Cracked Or Broken Cover
A cracked cover looks bad and may be unsafe. Replace broken covers immediately. Use a cover made of durable material for longer use.
Paint On Switch Cover
Paint can cause covers to stick or look messy. Clean old paint from the edges before installing the cover. Use a soft cloth and mild cleaner.
Tips For Maintaining Switch Covers
Maintaining switch covers keeps your home looking clean and fresh. Dirt and grime can build up fast. Regular care helps switch covers last longer. Small efforts prevent big problems later.
Clean Switch Covers Regularly
Use a soft cloth to wipe covers often. Avoid harsh chemicals that can damage plastic. Mild soap and water work well. Dry covers completely to stop moisture damage.
Check For Cracks And Damage
Look closely at each cover for cracks. Replace any covers that are broken or chipped. Damaged covers can be unsafe and look bad. Regular checks keep your home safe.
Avoid Excessive Force
Remove and replace covers gently. Tighten screws just enough to hold firmly. Over-tightening can crack the cover. Treat covers with care to avoid damage.
Choose Quality Covers
Buy covers made from durable materials. Cheap covers can wear out quickly. Quality covers resist stains and cracks better. Investing in good covers saves money over time.
Frequently Asked Questions
How Do I Safely Remove A Light Switch Cover?
Turn off the power at the circuit breaker first. Use a screwdriver to carefully remove the screws. Gently pull off the cover without forcing it to avoid damage or injury.
What Tools Are Needed To Replace A Light Switch Cover?
You typically need a flathead or Phillips screwdriver. Sometimes a voltage tester is helpful for safety. Ensure you have the right screwdrivers for your cover screws.
Can I Replace A Light Switch Cover Without Turning Off Power?
No, always turn off power at the breaker before replacing covers. This prevents electric shock and ensures your safety during the process.
How Do I Choose The Right Light Switch Cover Size?
Match the cover size to your existing switch and wall box. Measure the switch plate dimensions and check for single or double switches to ensure compatibility.
Conclusion
Replacing a light switch cover is simple and quick. Turn off the power first to stay safe. Use a screwdriver to remove the old cover. Fit the new cover carefully, then tighten the screws. Check that everything looks right before turning power back on.
This small task can refresh your room’s look easily. Anyone can do it with a little care. Try it yourself and enjoy the neat, clean finish. A small change can make a big difference.