Are you ready to give your cabinets a fresh, polished look? Installing hardware on your cabinet doors and drawers can transform the entire room, making it look stylish and organized.
But how do you make sure everything lines up perfectly without guesswork? That’s where a cabinet hardware template comes in. In this guide, you’ll discover simple, step-by-step instructions to use a hardware template like a pro, so your handles and knobs fit just right every time.
Keep reading, and you’ll gain the confidence to upgrade your cabinets quickly and easily—no frustration, just flawless results.
Credit: www.thehappyhousie.com
Choosing The Right Hardware
Choosing the right hardware is key to good cabinet installation. The hardware affects how cabinets look and feel. It also makes them easier to use. Picking the right style, material, and finish can improve your space instantly. This guide helps you decide what fits best.
Types Of Cabinet Hardware
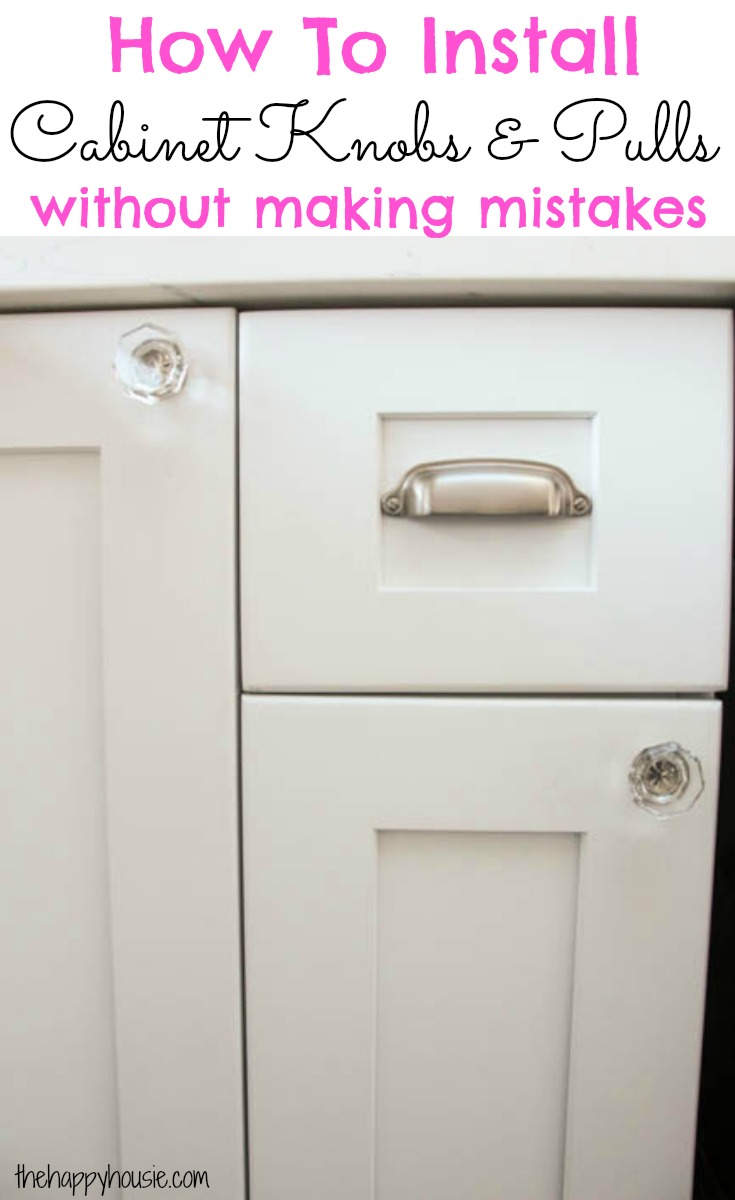
Cabinet hardware comes in many forms. Knobs are small and round, easy to grip. Pulls are longer bars that offer a modern look. Handles can be decorative or simple. Each type changes how you open and close cabinets.
Consider how often you use the cabinets. Knobs suit light use. Pulls work well for heavy use. Choose what feels right in your hand.
Materials And Finishes
Hardware materials affect durability and style. Common options include metal, plastic, and wood. Metal lasts long and looks sleek. Plastic is cheap but may wear out fast. Wood offers a warm, natural look.
Finishes add color and texture. Chrome shines bright and matches modern kitchens. Bronze feels classic and warm. Matte finishes hide fingerprints better. Pick a finish that fits your room’s mood.
Matching Hardware To Cabinet Style
Hardware should match cabinet design. Modern cabinets suit clean, simple pulls. Traditional cabinets fit ornate knobs or handles. Rustic cabinets look great with wood or iron hardware.
Think about color contrast too. Light cabinets go well with dark hardware. Dark cabinets pair nicely with bright metal finishes. Match styles and colors to create balance and style.
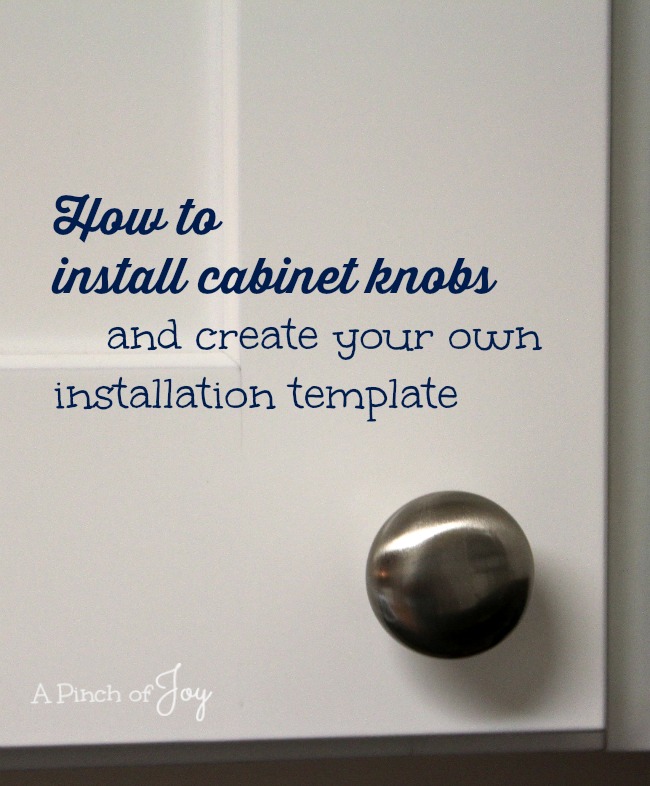
Credit: www.apinchofjoy.com
Tools And Materials Needed
Installing hardware on cabinets requires the right tools and materials. Having these ready makes the job easier and faster. It helps you avoid mistakes and ensures the hardware fits well. Below is a list of what you need to get started.
Essential Tools
A cordless drill is key for making holes and driving screws. Use a screwdriver set for tightening screws in small spaces. A level ensures your hardware stays straight. Clamps hold parts steady while you work. A hammer may be needed for light tapping. These tools help you work with precision and speed.
Hardware Components
Choose the right handles or knobs for your cabinets. Include screws that match the hardware size. Use anchors if attaching to drywall. Hinges are important for cabinet doors. Pick materials that match your cabinet style. Having all hardware parts on hand prevents delays.
Measuring And Marking Tools
Use a tape measure to get exact sizes. A pencil marks drill points clearly. A ruler or square helps keep lines straight. Marking guides prevent uneven placement. Accurate measuring is key to a professional look. Double-check measurements before drilling holes.
Preparing The Cabinet Surface
Preparing the cabinet surface is a key step before installing new hardware. A clean and smooth surface helps the hardware fit better. It also makes sure the hardware lasts longer and looks good.
Take time to prepare the surface well. This will save you from problems later. Follow these simple steps to get your cabinet ready.
Cleaning The Surface
Start by wiping the cabinet with a soft cloth. Use warm water and mild soap. Remove all dust, grease, and dirt. A clean surface helps the hardware stick well. Let the cabinet dry completely before the next step.
Removing Old Hardware
Use a screwdriver to take off old handles and knobs. Keep screws in a safe place if you need them later. Remove any leftover glue or tape. Smooth the surface with fine sandpaper if needed. This makes the new hardware fit perfectly.
Checking For Damage
Look for cracks, holes, or chips on the cabinet. Small damages can affect the hardware’s hold. Use wood filler to fix these areas. Let it dry and sand it smooth. A strong surface keeps your hardware secure and stable.
Measuring And Marking Placement
Measuring and marking placement is the first step in installing hardware on cabinets. This step ensures handles and knobs sit perfectly. Careful measuring prevents mistakes and saves time. Precise marks guide you where to drill and attach hardware. Take your time and be exact for the best result.
Determining Handle And Knob Positions
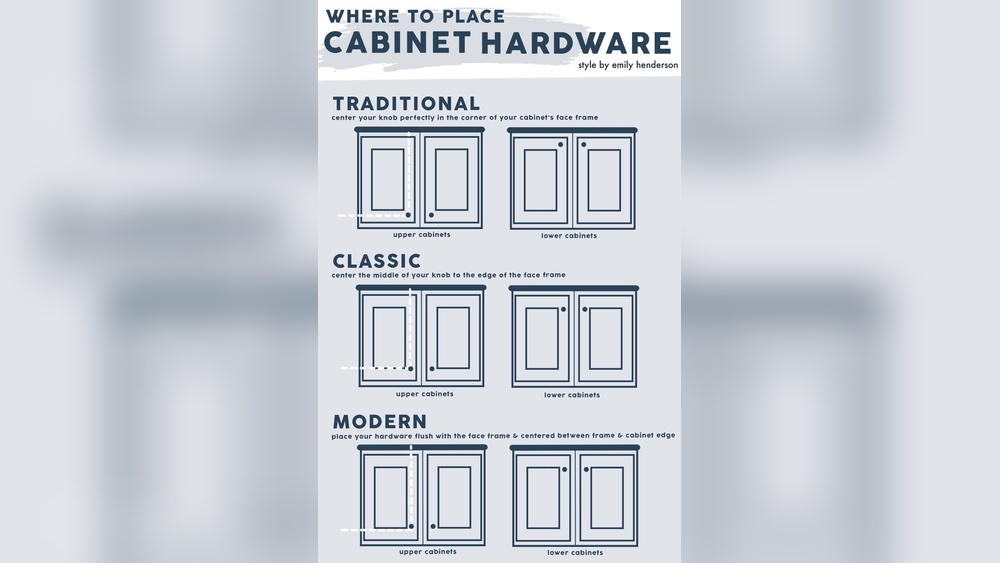
Decide the best spot for handles and knobs. Usually, knobs go near cabinet corners. Handles often sit horizontally on drawers or vertically on doors. Measure from the edge to keep them even. Use a ruler or tape measure for accuracy. Consistent placement improves the cabinet’s look and feel.
Using Templates For Accuracy
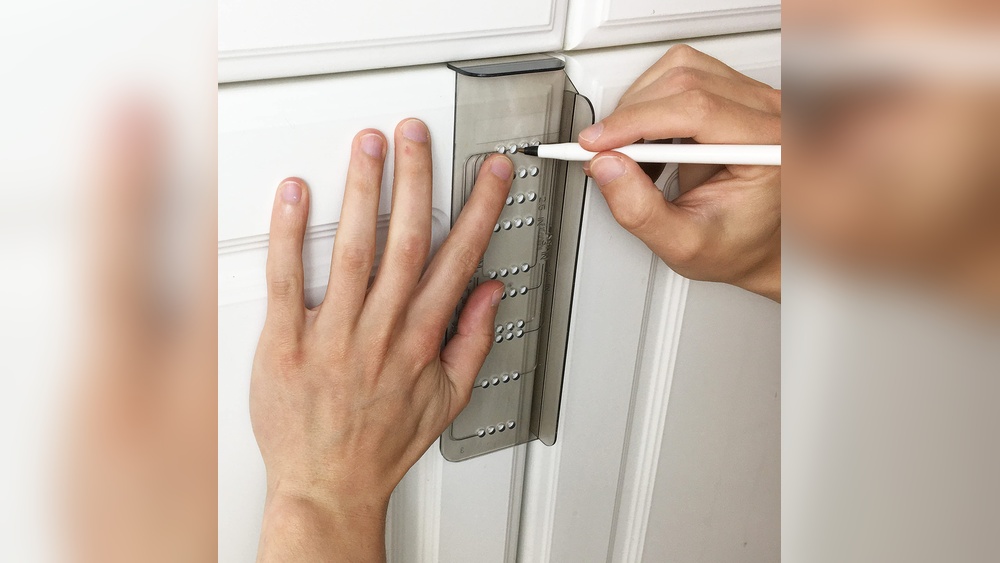
Templates help place hardware quickly and correctly. Use a paper or plastic template with pre-made holes. Align the template on the cabinet surface. Hold it steady to avoid shifting. Templates make sure holes are spaced right. This method reduces errors and speeds up work.
Marking Drill Points
After deciding positions, mark where to drill. Use a pencil to make small dots. Double-check measurements before marking. Marks should be clear but easy to erase if needed. Correct marks lead to precise drilling. This step is key for smooth hardware installation.
Drilling Holes Safely
Drilling holes safely is key when installing hardware on cabinets. It protects the cabinet’s surface and ensures precise placement. Taking care during drilling prevents mistakes that could ruin your project.
Follow simple steps to drill clean, accurate holes without damage. Use the right tools and techniques to get the best results.
Choosing The Right Drill Bit
Select a drill bit that matches the screw size for your hardware. Wood drill bits work best for cabinets. Avoid using bits meant for metal or concrete. A sharp bit cuts cleanly, reducing splintering. Check the bit for any damage before use.
Drilling Techniques
Mark the spot clearly where you want to drill. Start with a small pilot hole to guide the larger bit. Hold the drill steady and apply gentle pressure. Drill at a slow, steady speed. Stop if the drill feels stuck or too hot. Keep the drill straight to avoid angled holes.
Preventing Damage And Splintering
Place a piece of scrap wood under the cabinet surface. This supports the wood and reduces splintering. Use painter’s tape over the drilling area to protect the finish. Drill slowly near the surface and slow down as you exit. Clean any dust or debris from the hole before inserting screws.
Installing Handles And Knobs
Installing handles and knobs on cabinets is a simple way to improve their look and function. Proper installation helps your cabinets open smoothly and stay secure. Follow easy steps for the best results.
Attaching Hardware Securely
Start by aligning the handle or knob with the pre-drilled holes on the cabinet. Hold the hardware firmly in place. Insert screws through the inside of the cabinet into the handle or knob. Make sure the screws fit well and the hardware does not move.
Tightening Screws Properly
Use a screwdriver to tighten each screw. Turn the screws slowly to avoid stripping them. Tighten until the handle or knob feels stable but do not overtighten. Overtightening can damage the cabinet or hardware.
Checking Alignment
Step back and check if the handles or knobs are straight. Look from different angles to ensure they line up correctly. Adjust screws slightly if needed. Proper alignment gives a neat, professional look to your cabinets.
Finishing Touches
Finishing touches make your cabinet hardware look perfect. This step is important for a clean and polished result. Taking time here improves the overall appearance. Small details matter in cabinet installation.
Cleaning Residue
After installing hardware, clean off any dust or glue. Use a soft cloth and mild cleaner. Avoid harsh chemicals that can damage the finish. Check edges and screws for leftover dirt. Clean surfaces help hardware shine and last longer.
Adjusting Hardware
Test each handle and hinge to ensure smooth movement. Tighten screws if parts feel loose. Align hardware so doors and drawers close evenly. Small adjustments make a big difference in function and look. Don’t rush this step for the best fit.
Maintaining Cabinet Hardware
Keep hardware looking new with regular care. Wipe with a damp cloth to remove fingerprints and dust. Avoid abrasive cleaners that scratch metal or paint. Check screws every few months and tighten if needed. Proper care extends hardware life and keeps cabinets attractive.
Common Mistakes To Avoid
Installing hardware on cabinets may seem simple. Yet many people make avoidable mistakes. These errors can cause poor fit, damage, or extra work later. Avoiding common mistakes saves time and keeps cabinets looking great.
Misaligned Hardware
Hardware must be aligned correctly on cabinet doors and drawers. Misalignment causes handles or knobs to look crooked. It also makes opening and closing harder. Use a template or measuring tool for exact placement. Mark spots before drilling holes. Check alignment twice to avoid errors.
Over-tightening Screws
Too much force on screws can damage hardware and cabinets. Over-tightening may crack wood or strip screw holes. Tighten screws just enough to hold hardware firmly. Use a screwdriver with good control, not a power drill at high speed. Proper tightening keeps hardware secure without damage.
Ignoring Cabinet Material
Different cabinet materials need different hardware and screws. Hardwoods, plywood, and particleboard react differently to screws. Use screws made for your cabinet type. Wrong screws can split wood or loosen over time. Know your cabinet material to pick the right hardware parts.

Credit: www.amazon.com
Frequently Asked Questions
What Tools Are Needed To Install Cabinet Hardware?
You need a drill, screwdriver, measuring tape, pencil, and a hardware template. These tools ensure accurate and easy installation of cabinet hardware.
How Do I Use A Hardware Template On Cabinets?
Align the template on the cabinet door or drawer front. Mark the drill holes precisely, then drill and attach the hardware securely.
Can I Install Cabinet Hardware Without A Template?
Yes, but a template ensures consistent placement and professional results. Without it, measurements may vary, causing misaligned hardware.
How Do I Measure Cabinet Hardware Placement Accurately?
Measure the distance from the edge of the cabinet to the desired hole location. Use a template to maintain uniformity across all doors and drawers.
Conclusion
Installing hardware on cabinet templates is simple with the right steps. Measure carefully and mark spots clearly. Use the right tools to avoid mistakes. Take your time and work patiently. This will help you get a neat and strong fit.
Small details make a big difference in the final look. Enjoy your updated cabinets that look clean and new. Follow these tips to make your project easier and better. Keep practicing to improve your skills over time.