Are you looking to add a stylish and secure finish to your sewing projects? Learning how to install turn button fasteners can make a big difference in both the look and function of your garments or accessories.
These fasteners are easy to use and give your creations a professional touch. In this guide, you’ll find simple, step-by-step instructions that anyone can follow—no special tools or skills needed. Keep reading, and soon you’ll be confidently adding turn button fasteners to your work, making your projects stand out and last longer.

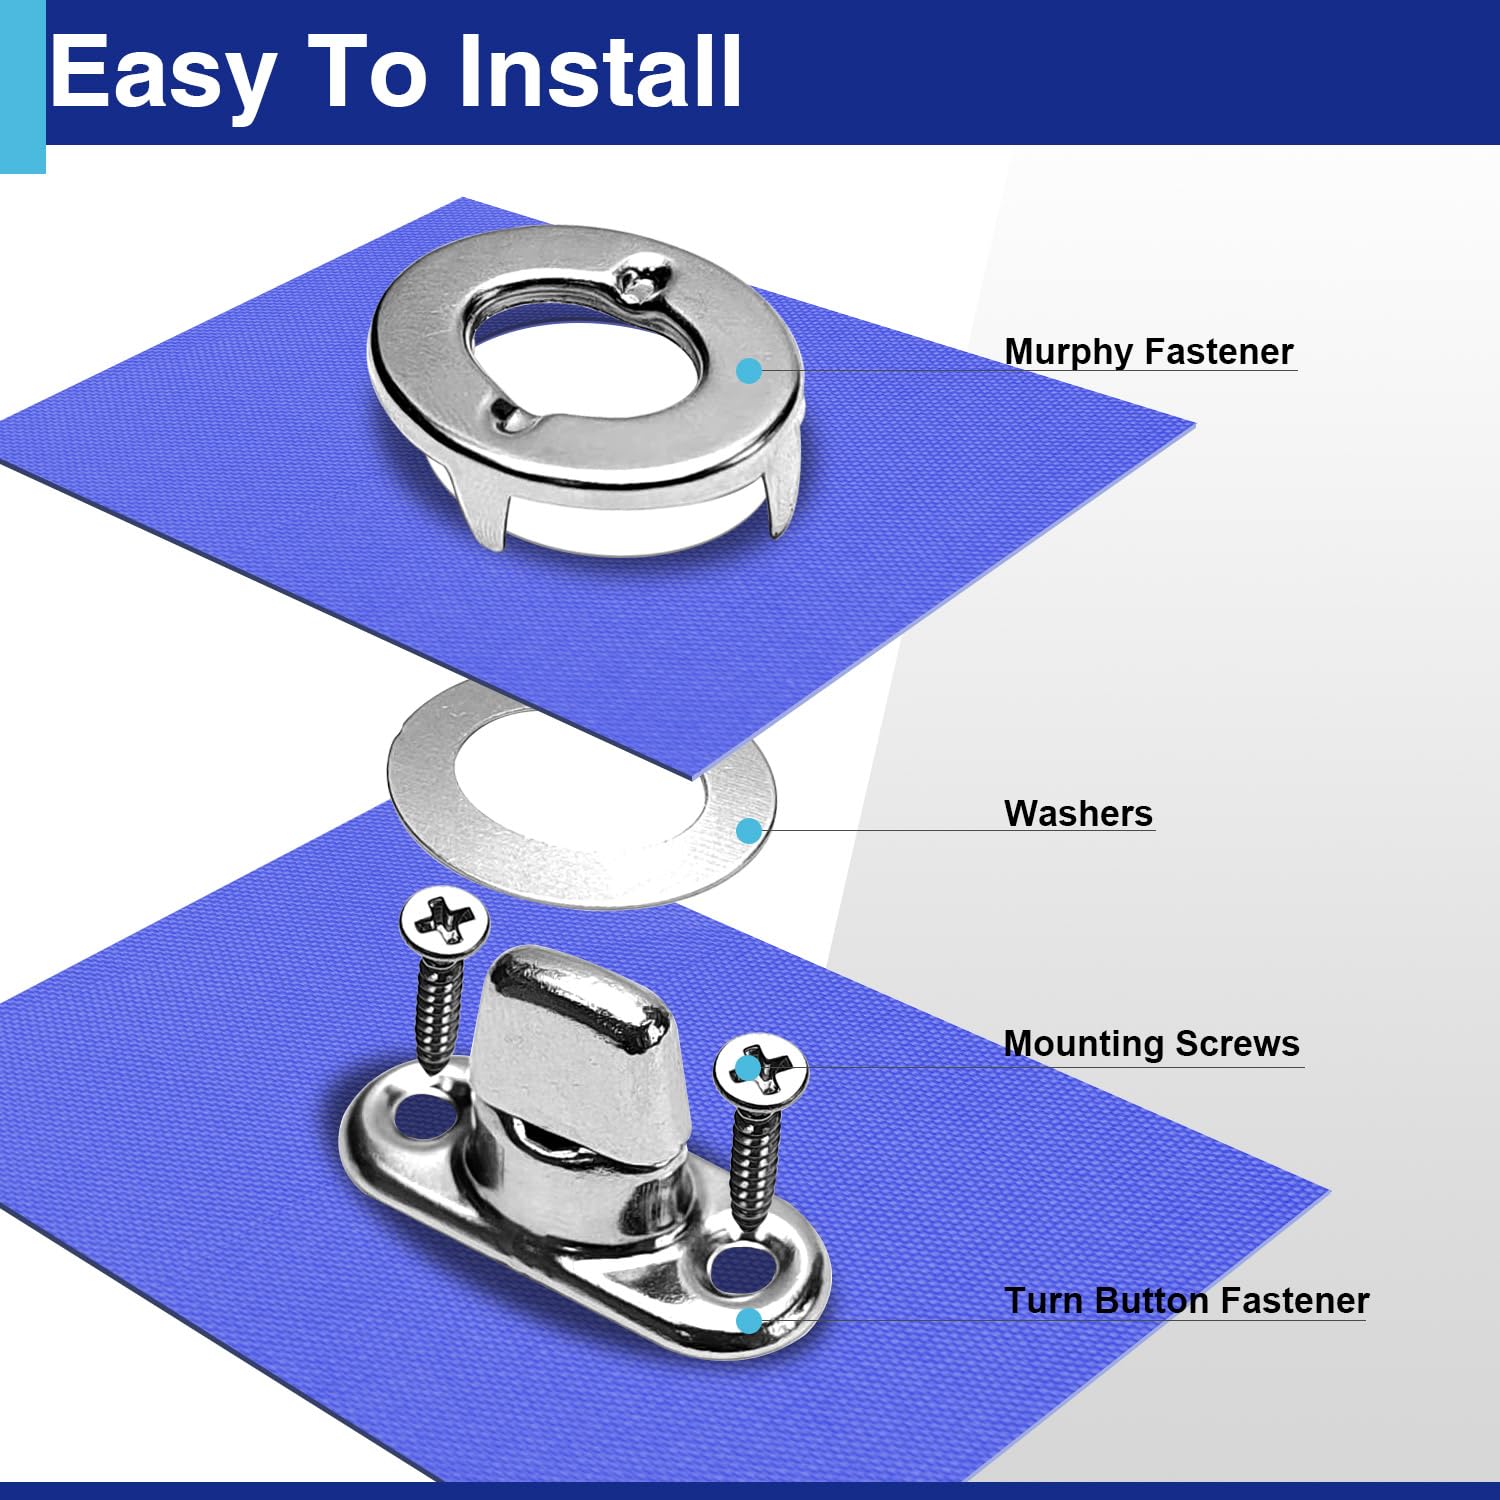
Credit: marinefabricatormag.com
Choosing The Right Turn Button Fasteners
Choosing the right turn button fasteners is important for a secure fit. The right type helps your project last longer and work better. Factors like material, size, and tools affect your choice.
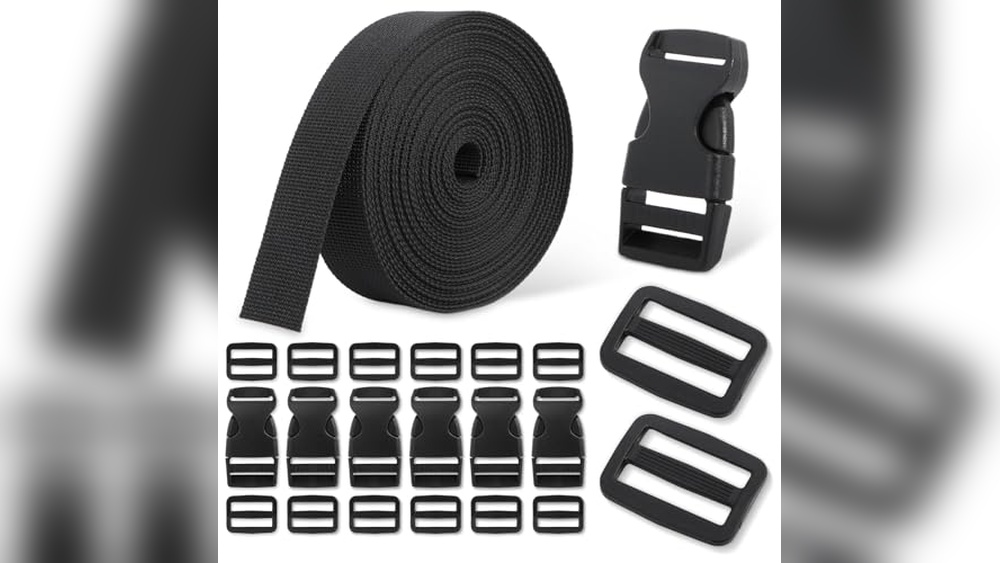
Types Of Turn Button Fasteners
Turn button fasteners come in several types. Some have a simple flat design, while others have a round or decorative shape. Some turn buttons have a locking feature for extra security. Choose a style that matches your project’s look and function.
Materials And Sizes
Fasteners come in different materials like brass, steel, and plastic. Brass resists rust and looks nice. Steel is strong and durable. Plastic is light and easy to use for small projects. Sizes vary too. Pick a size that fits your wood or panel thickness. The wrong size can cause a weak hold or damage.
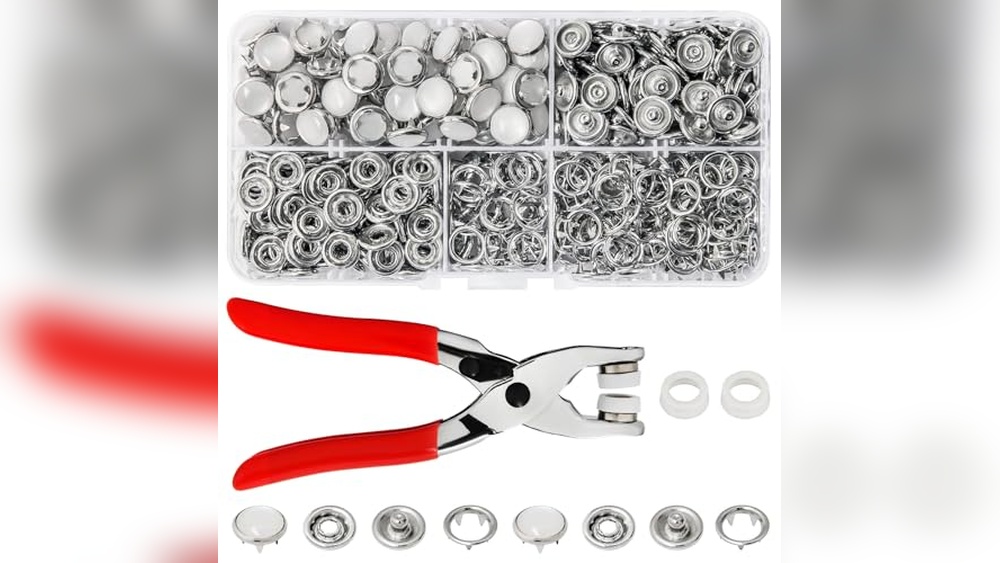
Tools Needed
Basic tools help install turn button fasteners properly. You need a drill, screwdriver, and measuring tape. A pencil helps mark placement. A level keeps fasteners straight. Having the right tools makes the job easier and faster.
Preparing The Surface
Preparing the surface is a key step before installing turn button fasteners. A clean, well-marked, and measured area helps the fastener work properly and last longer. Taking time here saves effort later.
Cleaning The Area
Start by cleaning the surface where you will place the fastener. Remove dust, dirt, and grease with a cloth or mild cleaner. A clean surface helps the fastener stick better and prevents damage.
Marking Placement Spots
Next, mark the exact spots for the fasteners. Use a pencil or fabric marker to make small dots. Clear marks make it easier to align fasteners evenly on your project.
Measuring For Accuracy
Use a ruler or tape measure to check distances between marks. Measure twice to avoid mistakes. Accurate spacing ensures the fastener holds tight and looks neat.
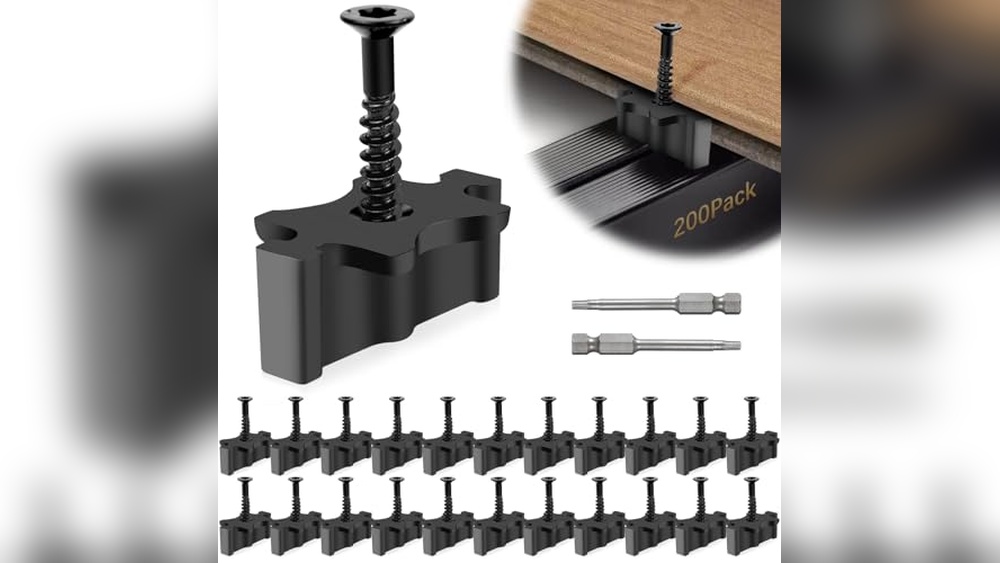
Installing The Base Plate
Installing the base plate is the first step in fitting turn button fasteners. It holds the fastener firmly in place. Correct installation ensures the fastener works well and lasts long.
Aligning The Base
Place the base plate on the fabric or surface. Make sure it sits flat and straight. Align it with the edge or mark where you want it. Check the position before moving on.
Drilling Pilot Holes
Use a small drill bit to make pilot holes. These holes guide the screws and prevent splitting. Drill carefully at the marked points on the base plate. Keep the holes straight and shallow.
Securing With Screws
Insert screws into the pilot holes. Tighten them with a screwdriver slowly. Do not overtighten to avoid damage. The base plate should feel secure but not warped.

Credit: www.youtube.com
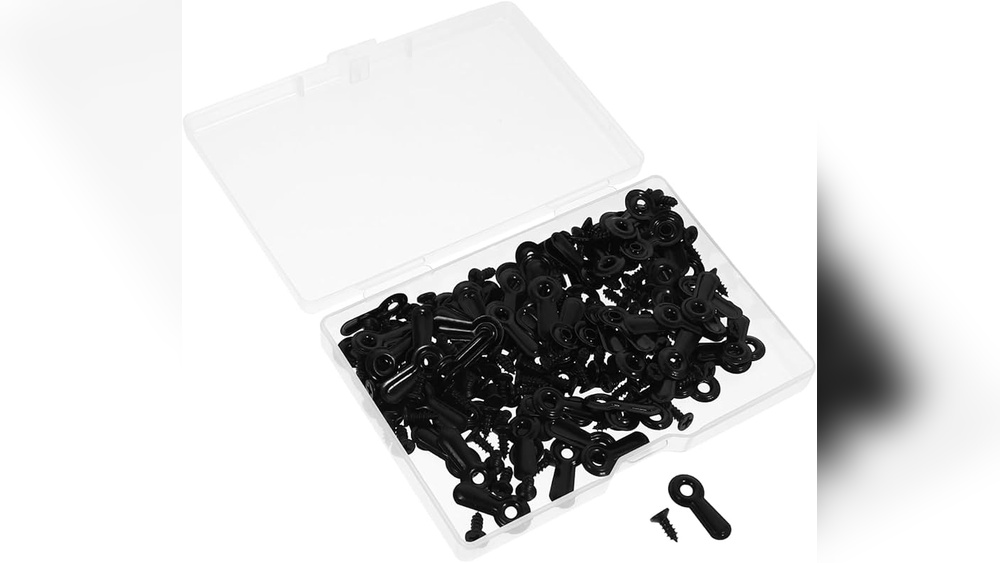
Attaching The Turn Button
Attaching the turn button is a key step in installing turn button fasteners. This part holds the button securely and allows it to turn smoothly. Proper attachment ensures the fastener works well and lasts long.
Positioning The Button
Place the turn button where it will hold the fabric or panel firmly. Check that it aligns with the catch or loop on the other piece. Mark the spot with a pencil or fabric chalk for accuracy. Make sure the button is easy to reach and turn.
Fixing The Button In Place
Use screws or small nails to fix the turn button on the marked spot. Hold the button steady while fastening to avoid slipping. Tighten the screws enough to keep it firm but do not over-tighten. Over-tightening can break the button or damage the surface.
Testing The Movement
Turn the button several times to check its movement. It should rotate smoothly without sticking or wobbling. The button must hold the fabric or panel tightly when turned. Adjust the screws if the button is loose or hard to turn. Proper testing ensures the fastener works well every time.
Adjusting For A Perfect Fit
Adjusting turn button fasteners is key to a secure and neat finish. Proper adjustment helps the fastener hold firmly without being too tight or loose. This step ensures the fastener works smoothly and lasts longer.
Take your time during this phase. Small changes make a big difference in fit and function.
Tightening Or Loosening
Start by tightening the fastener just enough to hold the fabric or material firmly. Avoid over-tightening as it can damage the fabric or the fastener itself. If the fastener feels too tight, loosen it slightly. Aim for a balance where the fastener stays in place but can be turned easily.
Ensuring Smooth Operation
Test the turn button by rotating it several times. It should move smoothly without sticking or feeling rough. If you feel resistance, adjust the tightness again. Smooth operation means the fastener will be easier to use and less likely to wear out.
Final Alignment Check
Look closely at the fastener’s position. Both parts should line up perfectly when closed. Misalignment can cause strain and reduce durability. Adjust the fastener’s base or the receiving plate until they sit flush. A perfect fit improves the look and function of your project.
Maintenance Tips
Maintaining turn button fasteners helps them last longer and work smoothly. Regular care prevents rust, dirt build-up, and stiff movement. Simple steps keep the fasteners in good shape and save time on repairs.
Cleaning The Fasteners
Use a soft cloth to wipe dirt and dust off the fasteners. For tough grime, use mild soap and warm water. Avoid harsh chemicals that can damage the finish. Dry the fasteners completely to stop rust from forming.
Lubricating Moving Parts
Apply a small amount of light oil or silicone spray to the moving parts. This reduces friction and keeps the turn button turning smoothly. Wipe off any extra oil to avoid attracting dust. Repeat this every few months for best results.
Troubleshooting Common Issues
If the turn button sticks or feels hard to move, clean and lubricate it first. Check for loose screws or worn parts and tighten or replace them. If rust appears, gently remove it with fine sandpaper before lubricating. Regular checks prevent small problems from growing.
Credit: lepaystchad.com
Frequently Asked Questions
What Tools Do I Need To Install Turn Button Fasteners?
You need a screwdriver, drill, measuring tape, pencil, and the turn button fasteners themselves. These tools ensure precise and secure installation.
How Do I Position Turn Button Fasteners Correctly?
Measure and mark the exact spots where you want to install the fasteners. Proper positioning ensures they hold items firmly without damage.
Can Turn Button Fasteners Be Used On Different Materials?
Yes, they work well on wood, fabric, and some plastics. Choose the right screws and fasteners for each material type.
Are Turn Button Fasteners Reusable After Removal?
Yes, you can remove and reuse them without damaging your project. This makes them ideal for temporary or adjustable closures.
Conclusion
Installing turn button fasteners is simple with clear steps. Take your time and follow each part carefully. Use the right tools for best results. Check the fasteners after installation to ensure they hold tight. Practice makes perfect, so don’t worry if you need another try.
With patience, your project will look neat and work well. Enjoy the satisfaction of completing this task yourself. Keep these tips handy for future repairs or projects.