If you’re looking to remove a Schlage deadbolt lock cylinder, you might feel a bit overwhelmed. But don’t worry—this task is easier than you think.
Whether you want to replace a worn-out lock or upgrade your home security, knowing how to take out the cylinder is the first step. In this guide, you’ll get clear, simple instructions that anyone can follow. By the end, you’ll have the confidence to handle your lock like a pro.
Ready to get started? Let’s dive in and make your home safer together.
Tools Needed
Removing a Schlage deadbolt lock cylinder requires a few simple tools. Having the right tools makes the job easier and faster. Prepare all items before starting to avoid interruptions.
Each tool has a specific role in the process. Using the correct tools helps prevent damage to the lock or door.
Phillips Head Screwdriver
This screwdriver removes the screws holding the lock in place. Most Schlage deadbolts use Phillips head screws. Choose a screwdriver that fits the screw size well.
Flathead Screwdriver
A flathead screwdriver helps pry parts gently. It can assist in loosening the lock cylinder. Use it carefully to avoid scratches.
Allen Wrench
Some Schlage models use small hex screws. An Allen wrench fits these screws perfectly. Check your lock to see if you need one.
Tweezers Or Needle-nose Pliers
These tools help grab small parts or springs inside the lock. They make removing tiny pieces easier. Handle parts gently to avoid bending them.
Flashlight
A flashlight provides better visibility inside the lock area. It helps spot screws and clips clearly. Use a bright, focused light for the best view.
Credit: www.youtube.com
Prepare The Door
Preparing the door is a crucial first step to remove a Schlage deadbolt lock cylinder. Without proper preparation, the process can become difficult or cause damage to the door or lock.
This section guides you through the simple steps needed to get the door ready for cylinder removal.
Gather Necessary Tools
Collect all tools before starting. You will need a screwdriver, usually a Phillips head, and possibly an Allen wrench. Having the right tools saves time and effort.
Clear The Work Area
Remove any objects near the door. Clear space on both sides of the door for easy access. This prevents accidents and helps you work smoothly.
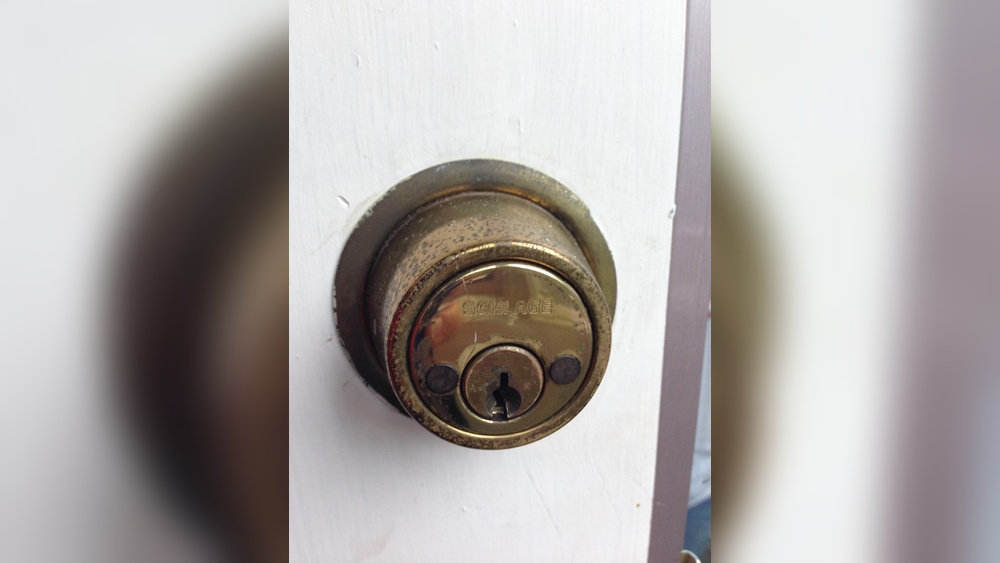
Inspect The Door And Lock
Look closely at the deadbolt and door surface. Check for screws or covers hiding the lock cylinder. Understanding the setup helps avoid mistakes.
Remove Door Hardware Covers
Many Schlage locks have decorative covers over screws. Use a flat tool to gently pry off these covers. This reveals the screws that hold the lock cylinder.
Ensure The Door Is Securely Closed
Close the door fully and latch it. A stable door keeps the lock steady while you remove the cylinder. This makes the task easier and safer.
Remove The Deadbolt Thumb Turn
Removing the deadbolt thumb turn is the first step in taking out a Schlage deadbolt lock cylinder. The thumb turn is the small knob on the inside of the door that you twist to lock or unlock the door. Taking it off carefully allows you to access the lock cylinder and other parts.
This part is easy to remove but requires attention to detail. Follow the steps below to remove the thumb turn safely without causing damage.
Locate The Set Screw On The Thumb Turn
Look closely at the base of the thumb turn. You will find a small set screw. It is usually on the side or bottom of the knob. This screw holds the thumb turn in place.
Use The Right Tool To Unscrew
Grab a small screwdriver or an Allen wrench. Match the tool size with the set screw. Turn the screw counterclockwise to loosen it. Do not force it to avoid stripping the screw head.
Pull The Thumb Turn Off The Spindle
Once the screw is loose, gently pull the thumb turn away from the door. It should slide off the spindle easily. If it feels stuck, wiggle it slightly while pulling.
Keep The Set Screw Safe
Place the set screw in a small container or safe spot. You will need it later to reattach the thumb turn or for other parts. Losing this screw can cause extra work.
Unscrew The Interior Plate
Start by locating the screws on the interior plate of the deadbolt. Use a screwdriver to carefully remove these screws and take off the plate. This step gives you access to the lock cylinder inside.
Prepare Your Tools
Start by gathering a screwdriver that fits the screws on the interior plate. Usually, a Phillips head screwdriver works best. Having the right tool makes the process easier and faster.
Locate The Screws
Look closely at the interior plate on your Schlage deadbolt. You will see two screws holding it in place. These screws keep the plate attached to the door.
Use your screwdriver to turn the screws counterclockwise. Remove both screws completely. Keep the screws somewhere safe. You will need them later to reattach the plate.
Remove The Interior Plate
After unscrewing, gently pull the interior plate away from the door. It should come off easily. If it feels stuck, check for any hidden screws or clips.
Extract The Lock Cylinder
Extracting the lock cylinder is a key step in removing a Schlage deadbolt. This part holds the lock’s core and allows the key to turn. Taking it out lets you replace or repair the lock easily. The process needs care to avoid damage.
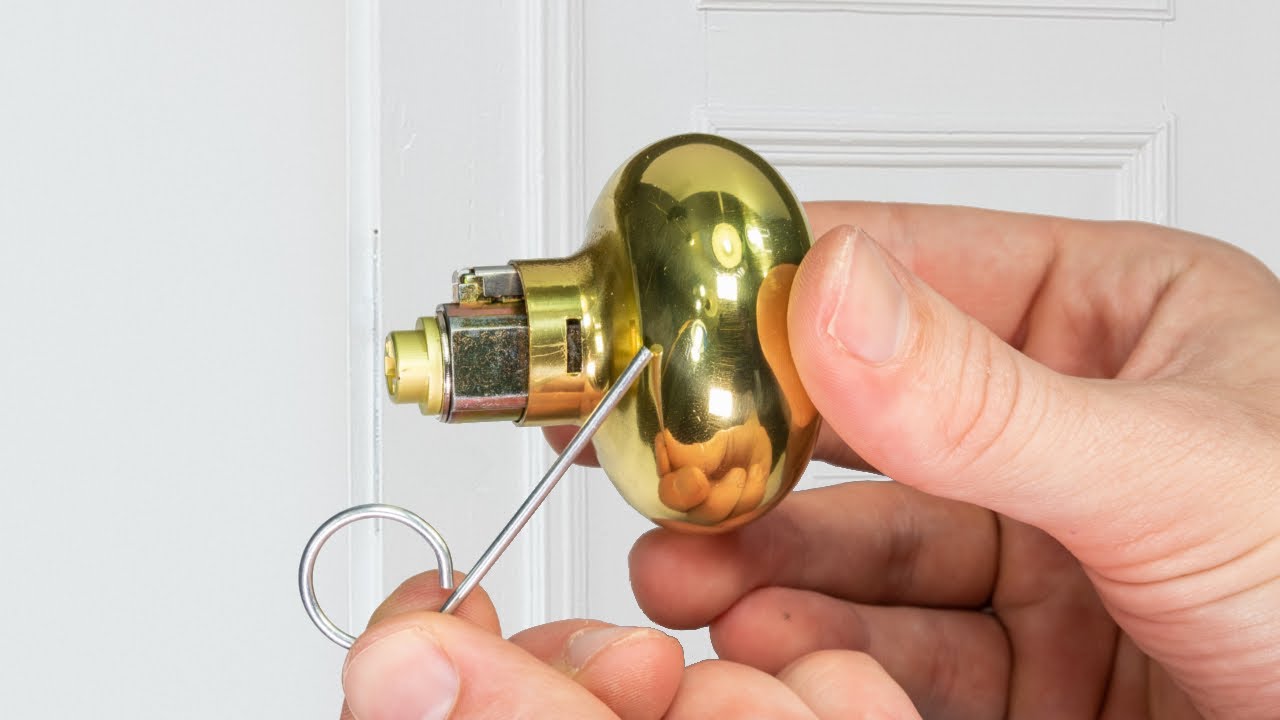
Remove The Retaining Clip
First, find the small clip at the back of the lock cylinder. Use a flathead screwdriver or needle-nose pliers to pull it off gently. This clip holds the cylinder in place. Removing it frees the cylinder for extraction.
Pull Out The Cylinder
After removing the clip, grip the cylinder firmly. Pull it straight out from the lock housing. If it feels stuck, wiggle it slightly while pulling. Avoid forcing it hard to prevent damage.
Check For Additional Screws
Sometimes, extra screws hold the cylinder inside. Look around the cylinder for any visible screws. Remove them with a screwdriver. This step ensures the cylinder can slide out smoothly.

Credit: www.reddit.com
Handle Stuck Cylinders
Handle stuck cylinders can make removing a Schlage deadbolt lock cylinder tricky. The handle may not turn or move, blocking access to the cylinder. This issue often comes from dirt, rust, or worn parts inside the lock. Fixing this problem requires patience and careful steps.
Start by checking the handle’s condition. Look for visible rust or grime. Dirt can jam the mechanism, stopping the handle from turning. Light cleaning can help free the stuck parts.
Apply Lubricant To The Handle
Use a spray lubricant designed for locks. Spray inside the handle area and on moving parts. Avoid heavy oils that attract dust. Let the lubricant sit for a few minutes. This softens rust and clears dirt.
Gently Wiggle The Handle
Try moving the handle back and forth gently. Do not force it. Slow movements help loosen stuck parts. Forcing the handle can cause damage. Patience is key.
Remove Handle Screws
Locate screws holding the handle in place. Use a screwdriver to remove them carefully. Once screws are out, the handle should come off easily. This step gives better access to the cylinder.
Inspect And Clean Inside The Lock
Look inside the lock for dirt or broken parts. Use a small brush or cloth to clean. Remove any debris that blocks the mechanism. Clean parts help the handle work smoothly again.
Reassemble The Deadbolt
Reassembling the deadbolt is the final step after removing the lock cylinder. It requires careful attention to put all parts back correctly. This process restores the lock’s function and security. Follow each step closely for best results.
Align The Deadbolt Components
Start by placing the bolt into the door edge. Make sure it slides smoothly inside the hole. Check that the bolt faces the correct direction. Misalignment can cause the lock to jam.
Attach The Cylinder And Thumb Turn
Insert the cylinder back into the lock assembly. Align it with the bolt mechanism. Next, place the thumb turn on the interior side. Ensure it fits snugly and turns without resistance.
Secure The Lock With Screws
Use the original screws to fasten the lock parts. Tighten screws evenly to avoid misalignment. Do not over-tighten as it can strip the screw holes. Check that the lock feels solid and stable.
Test The Deadbolt Operation
Turn the key or thumb turn to test the bolt. The bolt should move smoothly and lock firmly. Open and close the door several times. Confirm the lock works without sticking or jamming.
Test The Lock Functionality
Testing the lock functionality is a vital step after removing the Schlage deadbolt lock cylinder. It ensures the lock works smoothly and safely before you finish the installation or reassemble the door. Checking now saves time and prevents future problems.
Performing a simple test confirms the cylinder fits correctly and operates as expected. It also helps identify issues like misalignment or stuck parts. This step is essential for your security and peace of mind.
Insert The Key And Turn
Put the key into the new or reinstalled cylinder. Turn it gently to the left and right. It should move smoothly without sticking or forcing. If it feels tight, check the cylinder’s position or try lubricating it slightly.
Check The Deadbolt Movement
While turning the key, watch the deadbolt slide in and out of the door frame. The bolt must move fully without hesitation. Partial movement means the cylinder or bolt might need adjustment or realignment.
Test Both Sides Of The Lock
If your Schlage lock has a thumb turn on the inside, test it too. Turn the thumb turn to extend and retract the deadbolt. Make sure it works independently from the key side. Both sides must function well for security.
Confirm The Lock Engages Securely
Close the door and lock it. Check if the door stays firmly locked without wobbling. A secure lock keeps the door tight and prevents forced entry. If the door feels loose, recheck the cylinder installation steps.

Credit: www.youtube.com
Frequently Asked Questions
How Do I Remove A Schlage Deadbolt Lock Cylinder?
To remove a Schlage deadbolt cylinder, first, unscrew the interior side plate. Then, turn the key slightly to align the cam and pull the cylinder out carefully.
What Tools Are Needed To Remove Schlage Lock Cylinder?
You need a Phillips screwdriver and a flathead screwdriver. Sometimes, a tension wrench or key is required to turn the cylinder for removal.
Can I Remove The Lock Cylinder Without A Key?
Removing the cylinder without a key is difficult. You may need to drill the lock or call a locksmith for safe removal.
How Long Does It Take To Remove Schlage Deadbolt Cylinder?
Removing a Schlage deadbolt cylinder usually takes 5 to 10 minutes. It depends on your experience and the lock’s condition.
Conclusion
Removing a Schlage deadbolt lock cylinder is simple with the right steps. Follow the instructions carefully and take your time. Use basic tools and stay patient throughout the process. This guide helps you do the job yourself, saving money and effort.
Remember, practice makes perfect. Try again if needed, and you will improve. Keep your home secure by maintaining your locks regularly. Now, you know how to remove the lock cylinder safely and easily.

