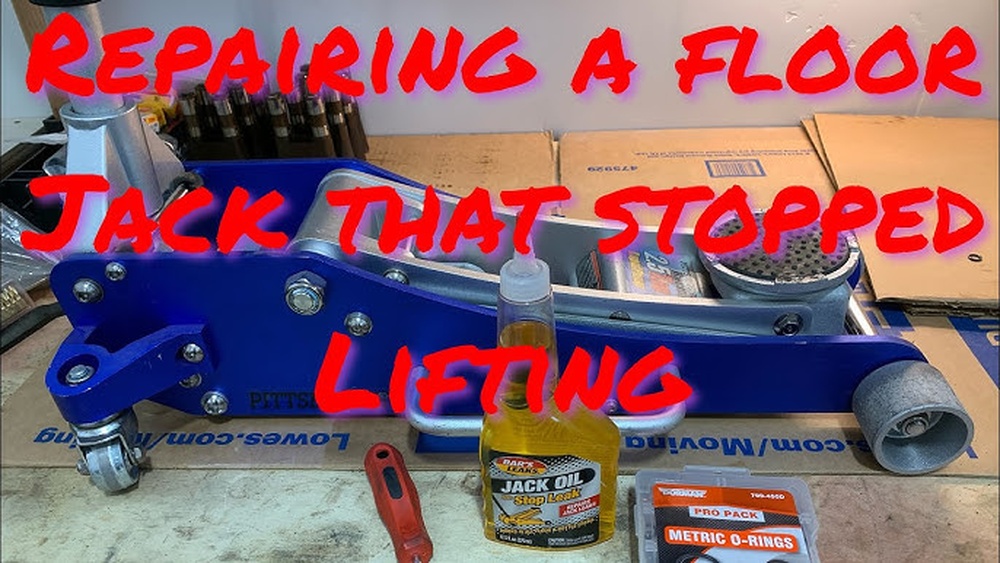
If your floor jack isn’t lifting like it used to, the problem might be a worn-out clip on crank pump. Replacing this small but crucial part can save you time, money, and frustration.
In this guide, you’ll learn exactly how to replace the clip on crank pump step-by-step. By the end, you’ll have your floor jack working smoothly again—without needing to buy a new one or pay for expensive repairs. Ready to get your jack back in action?
Let’s dive in.
Tools And Materials Needed
Replacing the clip on crank pump of a floor jack requires the right tools and materials. Having these ready makes the job easier and safer. Gather everything before starting to avoid interruptions.
Each tool has a specific role in the repair process. Using the correct materials ensures the pump works well after replacement.
Basic Hand Tools
Start with a set of wrenches or socket tools. These help remove bolts and nuts holding the pump. A screwdriver set is also needed for screws and clips.
Replacement Clip On Crank Pump
Use a pump designed for your floor jack model. A wrong fit may cause leaks or failure. Check the part number before buying.
Lubricants And Cleaning Supplies
Clean parts work better. Use a degreaser or cleaning spray to remove dirt. Lubricate moving parts with light oil to prevent rust and ensure smooth motion.
Protective Gear
Wear gloves to protect your hands from sharp edges. Safety glasses keep dirt and debris out of your eyes. These simple items keep you safe during repair.

Credit: www.walmart.com
Safety Precautions
Always wear gloves and eye protection before starting the pump replacement. Ensure the floor jack is stable and lowered to avoid accidents. Keep tools organized and work in a clean, well-lit area for safety.
Wear Protective Gear
Always wear gloves to protect your hands from sharp edges. Use safety glasses to shield your eyes from debris. Closed-toe shoes prevent foot injuries during the repair.
Work On A Flat Surface
Place the floor jack on a flat, stable surface. This prevents the jack from slipping or tipping over. A steady base ensures safety while replacing the pump.
Release Pressure Carefully
Before starting, make sure to release any pressure in the jack. Slowly open the release valve to avoid sudden drops. This step prevents accidents during disassembly.
Use Proper Tools
Select the right tools for removing and installing the clip on the crank pump. Using wrong tools can cause damage or injury. Keep tools organized to avoid mistakes.
Keep The Area Clean
Clear your workspace of clutter and spills. A clean area reduces the risk of slips and falls. It also helps you find parts and tools easily.
Identifying The Clip On Crank Pump
Identifying the clip on crank pump is the first step in replacing it on a floor jack. This part helps lift and lower the jack smoothly. Knowing what it looks like and where it sits makes the replacement easier and faster.
The clip on crank pump is usually attached to the side of the floor jack. It has a crank handle that you turn to operate the jack. This handle connects directly to the pump mechanism inside.
Visual Features Of The Clip On Crank Pump
The clip on crank pump has a small metal clip securing it to the jack body. The crank handle is often curved for better grip. The pump itself is a compact metal cylinder.
Location On The Floor Jack
Look along the side of the floor jack’s frame. The clip on crank pump sits near the base. The crank handle sticks out, ready for manual turning.
How To Recognize The Pump By Function
Turn the crank handle slowly. If the jack lifts or lowers smoothly, the pump is working. A stuck or loose handle means the pump might need replacement.

Credit: www.amazon.ca
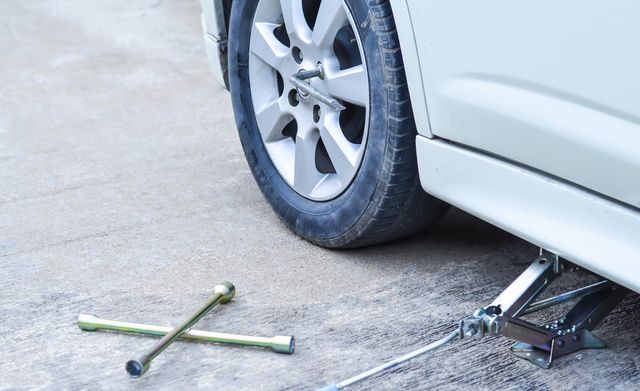
Preparing The Floor Jack
Preparing the floor jack is an important first step before replacing the clip on crank pump. This step ensures safety and makes the process smoother. Taking time to prepare the jack helps prevent damage and injury. Follow these simple actions to get ready.
Lowering The Jack
Start by lowering the floor jack completely. This releases pressure from the hydraulic system. Use the release valve or handle to bring the jack down slowly. Make sure the jack rests flat on the ground. Do not leave it partially raised. A lowered jack is safer to work on and easier to handle.
Cleaning The Pump Area
Next, clean the area around the pump. Remove dirt, dust, and grease with a cloth. Use a mild cleaner if needed, but avoid harsh chemicals. A clean surface prevents dirt from entering the pump parts. It also helps you see the clip on crank pump clearly. Clean work areas reduce mistakes and make repairs easier.
Removing The Old Clip On Crank Pump
Removing the old clip on crank pump from your floor jack is the first step in replacement. This task needs care and the right tools. Follow simple steps to detach the clip and pull out the pump safely. Avoid damage to other parts of the jack.
Detaching The Clip
Locate the clip holding the crank pump in place. Use pliers or a flat-head screwdriver to pry it gently. The clip may be tight, so work slowly. Remove the clip carefully to avoid bending or breaking it. Set the clip aside for reinstallation or replacement.
Extracting The Pump
After removing the clip, grip the pump firmly. Pull the pump straight out without twisting. If it feels stuck, wiggle it slightly to loosen. Clean any dirt or debris around the pump area. Keep the removed pump for inspection or disposal.
Credit: www.caranddriver.com
Installing The New Clip On Crank Pump
Installing the new clip on crank pump is a key step in fixing your floor jack. This task requires careful positioning and firm attachment. Proper installation ensures smooth operation and safety while using the jack.
Positioning The New Pump
Place the new clip on crank pump in the exact spot of the old one. Align the pump with the mounting hole on the floor jack. Check that the crank handle moves freely without any blockage. The pump must sit flush against the jack body for a tight fit.
Securing The Clip
Attach the clip firmly to hold the pump in place. Use the original screws or fasteners to secure the clip. Tighten them evenly to avoid loosening during use. Make sure the clip grips the pump tightly, preventing any wobble or slip. Test the crank pump by turning the handle to confirm stability.
Testing The Floor Jack
Testing the floor jack after replacing the clip on crank pump is important. It helps ensure the jack works safely and correctly. Take your time to check each part carefully. This step prevents accidents and saves repair time later.
Checking For Leaks
Look closely around the pump and jack body. Notice any fluid drops or wet spots. Leaks often appear near seals or connections. Even small leaks can reduce the jack’s lifting power. Use a clean cloth to wipe areas and watch for fresh oil marks. Fix leaks before using the jack again.
Verifying Pump Operation
Start by pumping the handle slowly. The jack should lift smoothly without strange noises. Check if the lifting arm moves steadily upward. If the pump feels stiff or slips, the repair might need revisiting. Lower the jack carefully to test the release valve. The arm should drop down in a controlled way. Confirm the pump works well before any heavy use.
Troubleshooting Common Issues
Troubleshooting common issues helps keep your floor jack working well.
Fixing problems early saves time and avoids bigger repairs later.
Here are some simple tips to solve usual problems with clip on crank pumps.
Check For Leaks Around The Pump
Leaks cause loss of pressure and poor jack performance.
Look closely around the clip and pump seals for oil spots.
Tighten loose fittings or replace worn seals to stop leaks.
Inspect The Clip For Damage
Damaged clips may not hold the pump securely in place.
Look for cracks, bends, or worn parts on the clip.
Replace the clip if it looks weak or broken.
Ensure Proper Pump Alignment
Misaligned pumps can cause the jack to work poorly or stick.
Make sure the pump fits straight into the floor jack.
Adjust the clip or reposition the pump for better alignment.
Test The Crank Handle Movement
Stiff or stuck handles stop the pump from working smoothly.
Move the handle up and down to check for smooth motion.
Lubricate moving parts or clear debris blocking the handle.
Frequently Asked Questions
How Do I Remove The Old Clip On A Crank Pump?
To remove the old clip, first release any pressure in the jack. Use pliers to carefully pry the clip off the crank pump shaft. Ensure you keep all parts for reassembly.
What Tools Are Needed To Replace The Crank Pump Clip?
You will need pliers, a wrench set, and possibly a screwdriver. These tools help remove and install the clip safely and securely.
How Can I Ensure The New Clip Fits Properly?
Match the new clip size exactly to the original. Check for a snug fit on the crank pump shaft before securing it in place.
How Long Does It Take To Replace A Clip On A Crank Pump?
Replacing the clip typically takes 15 to 30 minutes. Time depends on your experience and the floor jack’s condition.
Conclusion
Replacing the clip on the crank pump of your floor jack is simple. Follow the steps carefully and take your time. Use the right tools and check each part before assembling. This keeps your floor jack working safely and smoothly.
Regular maintenance helps avoid future problems and saves money. Now, your floor jack is ready for use again. Keep it clean and inspect it often. You can do this yourself with confidence and care.