Are you struggling with those stubborn expanding wall anchors that just won’t come out? You’re not alone.
Removing them can feel tricky and frustrating, especially if you want to avoid damaging your walls. But don’t worry—this guide is here to help you take control and get those anchors out smoothly. Keep reading, and you’ll discover simple, effective steps to remove expanding wall anchors without the stress.
Your walls will thank you!
Tools Needed
Removing expanding wall anchors requires the right tools. Using proper tools makes the job easier and safer. This section covers common tools and optional equipment. These tools help you remove anchors without damaging the wall.
Common Tools
First, a screwdriver is essential. Most anchors need a flathead or Phillips screwdriver to unscrew them.
Next, a pair of pliers helps grip and pull the anchor out. Needle-nose pliers work best for tight spots.
A utility knife can cut around the anchor if it is stuck or flush with the wall. This helps loosen it for removal.
Finally, a drill with a drill bit can help if the anchor is very tight. Drilling slowly can break the anchor free.
Optional Equipment
A putty knife can help pry anchors out gently without hurting the wall surface. It slides under the anchor edge easily.
Wall repair tools like spackle and sandpaper are useful after anchor removal. They fix holes and smooth the surface.
A flashlight is handy for better visibility inside dark or narrow spaces. Clear view means safer, more precise work.
Identify The Anchor Type
Identifying the type of expanding wall anchor is the first step in removing it safely. Different anchors have different shapes and materials. Knowing the type helps you pick the right tools and method for removal. It also prevents damage to your wall.
Different Expanding Anchors
There are several types of expanding anchors. Plastic anchors expand as you tighten the screw. Metal anchors, like molly bolts, spread open inside the wall. Winged plastic anchors open wings behind the wall surface. Each type grips the wall differently.
Signs To Look For
Look at the anchor’s body to identify it. Plastic anchors often have ridges and a hollow center. Metal anchors may have a shiny or dull finish with a split end. Winged anchors have parts that extend when inserted. Check if the anchor moves or feels loose too.
Prepare The Area
Preparing the area is the first step before removing expanding wall anchors. This step helps avoid damage and makes the process smoother. Taking time to prepare saves effort later.
Organize the space so you can work safely and easily. Keep tools close and protect walls and furniture from scratches or dust.
Clear The Workspace
Remove any furniture or items near the wall. This clears space for movement and tool use. A tidy area lowers the risk of accidents. It also stops dust from settling on your belongings. Use a small box or tray for screws and parts you remove. Keep the floor clean to avoid slipping.
Protect Surrounding Surfaces
Cover nearby surfaces with a drop cloth or old sheet. This protects walls and floors from dust and scratches. Use painter’s tape to secure the covering in place. Shield electrical outlets and switches to avoid dust entry. Protect furniture edges with soft padding. Taking these steps prevents extra cleaning later.

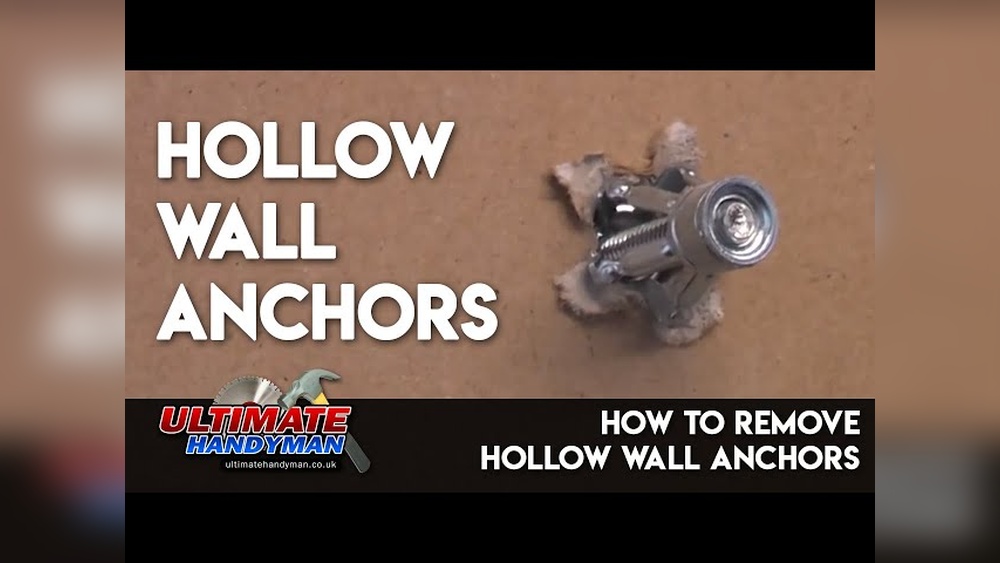
Credit: www.youtube.com
Remove The Screw
Removing the screw is the first step in taking out expanding wall anchors. This step frees the anchor so you can pull it out easily. The screw holds the anchor tightly in the wall. Removing it carefully prevents damage to your wall and makes the next steps easier.
Unscrewing Techniques
Use the right screwdriver that fits the screw head. Turn the screwdriver counterclockwise to loosen the screw. Apply steady, even pressure to avoid stripping the screw head. If the screw moves smoothly, keep turning until it comes out completely. Hold the screwdriver firmly to keep control and avoid slipping.
Handling Stuck Screws
Stuck screws need gentle but firm force. Try turning the screw back and forth slightly to loosen it. Use a lubricant like WD-40 to reduce friction. Let the lubricant sit for a few minutes before trying again. If the screw still won’t budge, try a rubber band over the head for extra grip. Avoid using too much force to prevent breaking the screw.
Extract The Anchor
Removing expanding wall anchors can be tricky. These anchors spread inside the wall, holding tight. To remove them, you need to extract the anchor carefully. This prevents damage to your wall and prepares it for new fixtures.
Extraction takes patience and the right method. Some anchors come out easily, while others need a bit more effort. The key is to pull steadily without breaking the anchor inside the wall.
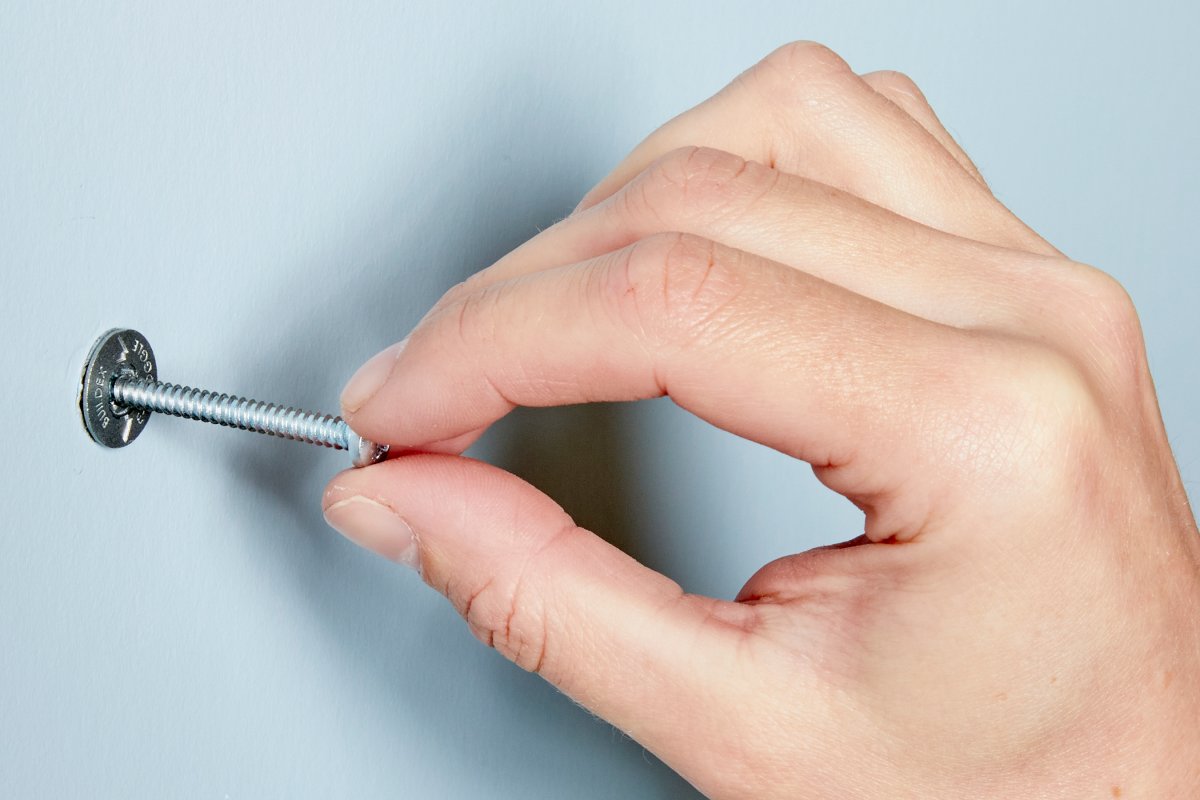
Pulling Methods
One common way is to pull the anchor straight out. Use steady force. Avoid sudden jerks that can harm the drywall. Sometimes, pushing the anchor deeper and then pulling helps loosen it.
For small anchors, use your fingers or a pair of pliers. Grip firmly and pull slowly. The anchor should slide out with moderate effort. If it resists, try rotating it gently while pulling.
Using Pliers Or Tools
Pliers work well for stubborn anchors. Needle-nose pliers offer a strong grip on small anchors. Hold the anchor’s head tightly and pull it out carefully.
For larger anchors, locking pliers provide better control. Clamp them on the anchor and pull evenly. Avoid squeezing too hard to prevent crushing the anchor.
If the anchor breaks, remove pieces with a screwdriver or a hook tool. Clean the hole after extraction to prepare for repairs or new anchors.
Fill And Repair The Hole
After removing expanding wall anchors, you will see holes in your wall. These holes need filling to restore the wall’s smooth surface. Filling and repairing the hole is a simple step but important for a neat finish. It helps prepare the wall for painting or wallpapering. Follow these steps carefully to achieve the best result.
Choosing The Right Filler
Pick a filler that matches the wall material. For drywall, use a lightweight spackling compound. For plaster walls, choose a plaster repair filler. Small holes need a quick-drying filler. Larger holes require a stronger patching compound. Avoid fillers that shrink too much when dry. Check product labels for drying time and sanding ease. Using the right filler makes repair easier and longer lasting.
Applying And Sanding
Start by cleaning the hole from dust and loose debris. Use a putty knife to apply filler in layers. Press the filler firmly into the hole. Smooth the surface with the knife for evenness. Let the filler dry completely as per instructions. After drying, sand the area gently with fine sandpaper. Sand until the surface is flush with the wall. Wipe away dust with a damp cloth. A smooth finish is ready for painting or decorating.
Tips For Preventing Wall Damage
Removing expanding wall anchors can damage your walls if done carelessly. Preventing damage starts before you install the anchor. Taking simple steps can save your wall and keep it neat. Careful planning and the right tools protect your wall’s surface and structure.
Proper Anchor Installation
Drill holes the correct size for the anchor. Too large holes weaken the wall. Insert the anchor gently without forcing it. Tighten screws slowly to avoid cracking. Stop if the wall shows signs of stress. Use a level to keep anchors straight. Straight anchors distribute weight better and prevent wall damage.
Using Correct Anchor Types
Choose anchors based on wall material and weight needs. Drywall anchors suit light loads. For heavy objects, use toggle bolts or metal anchors. Avoid using heavy anchors on thin walls. Plastic anchors can crack under high pressure. Match anchor type to the job for safety and wall care.

Credit: www.hgtv.com
Credit: www.bobvila.com
Frequently Asked Questions
How Do You Safely Remove Expanding Wall Anchors?
To remove expanding wall anchors, first unscrew the anchor’s screw. Then, use pliers to gently pull out the anchor. If it’s stuck, push the anchor into the wall cavity and patch the hole afterward.
Can Expanding Wall Anchors Damage Drywall During Removal?
Yes, improper removal can damage drywall. Use gentle pulling and avoid excessive force. Patch any holes or dents after removal to maintain wall integrity.
What Tools Are Needed To Remove Expanding Wall Anchors?
You need a screwdriver, needle-nose pliers, and a putty knife. A drill may help if the anchor is stubborn. Sandpaper and spackle are useful for repairing wall damage.
Is It Better To Push Or Pull Out Wall Anchors?
Pulling is preferred to avoid pushing damage inside the wall. If pulling fails, carefully push the anchor through the drywall cavity and repair the surface.
Conclusion
Removing expanding wall anchors does not have to be hard. Use the right tools and take your time. Gently twist or pull the anchor to avoid damage. Small holes can be filled easily with spackle or putty. Clean the area before applying new paint or decorations.
This simple process helps keep your walls neat and strong. Now, you can safely remove anchors and prepare walls for new projects. Keep these steps handy for any future repairs or changes.