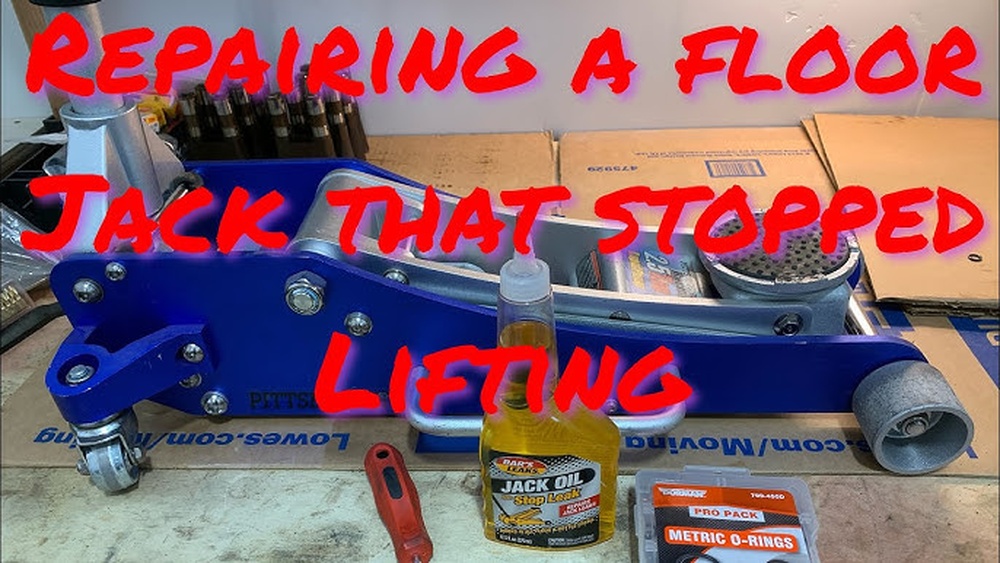
If you own a Craftsman Model 50156 floor jack, you know how important it is to keep it in top shape. Over time, seals can wear out, causing leaks and making your jack less reliable.
But don’t worry—you can fix this yourself. In this guide, you’ll learn exactly how to replace the seals on your floor jack step by step. By following these simple instructions, you’ll save money, avoid costly repairs, and get your jack working like new again.
Ready to get started? Let’s dive in.
Tools And Materials Needed
Replacing seals on your Craftsman Model 50156 floor jack requires specific tools and materials. Having everything ready makes the job easier and faster. Using the right tools helps avoid damage and ensures a proper seal replacement.
Gather all tools and materials before starting. This preparation saves time and prevents interruptions.
Basic Hand Tools
You will need a set of wrenches and screwdrivers. These help remove bolts and open the jack casing. A socket set is useful for hard-to-reach nuts. A hammer and punch may be needed to tap out old seals gently.
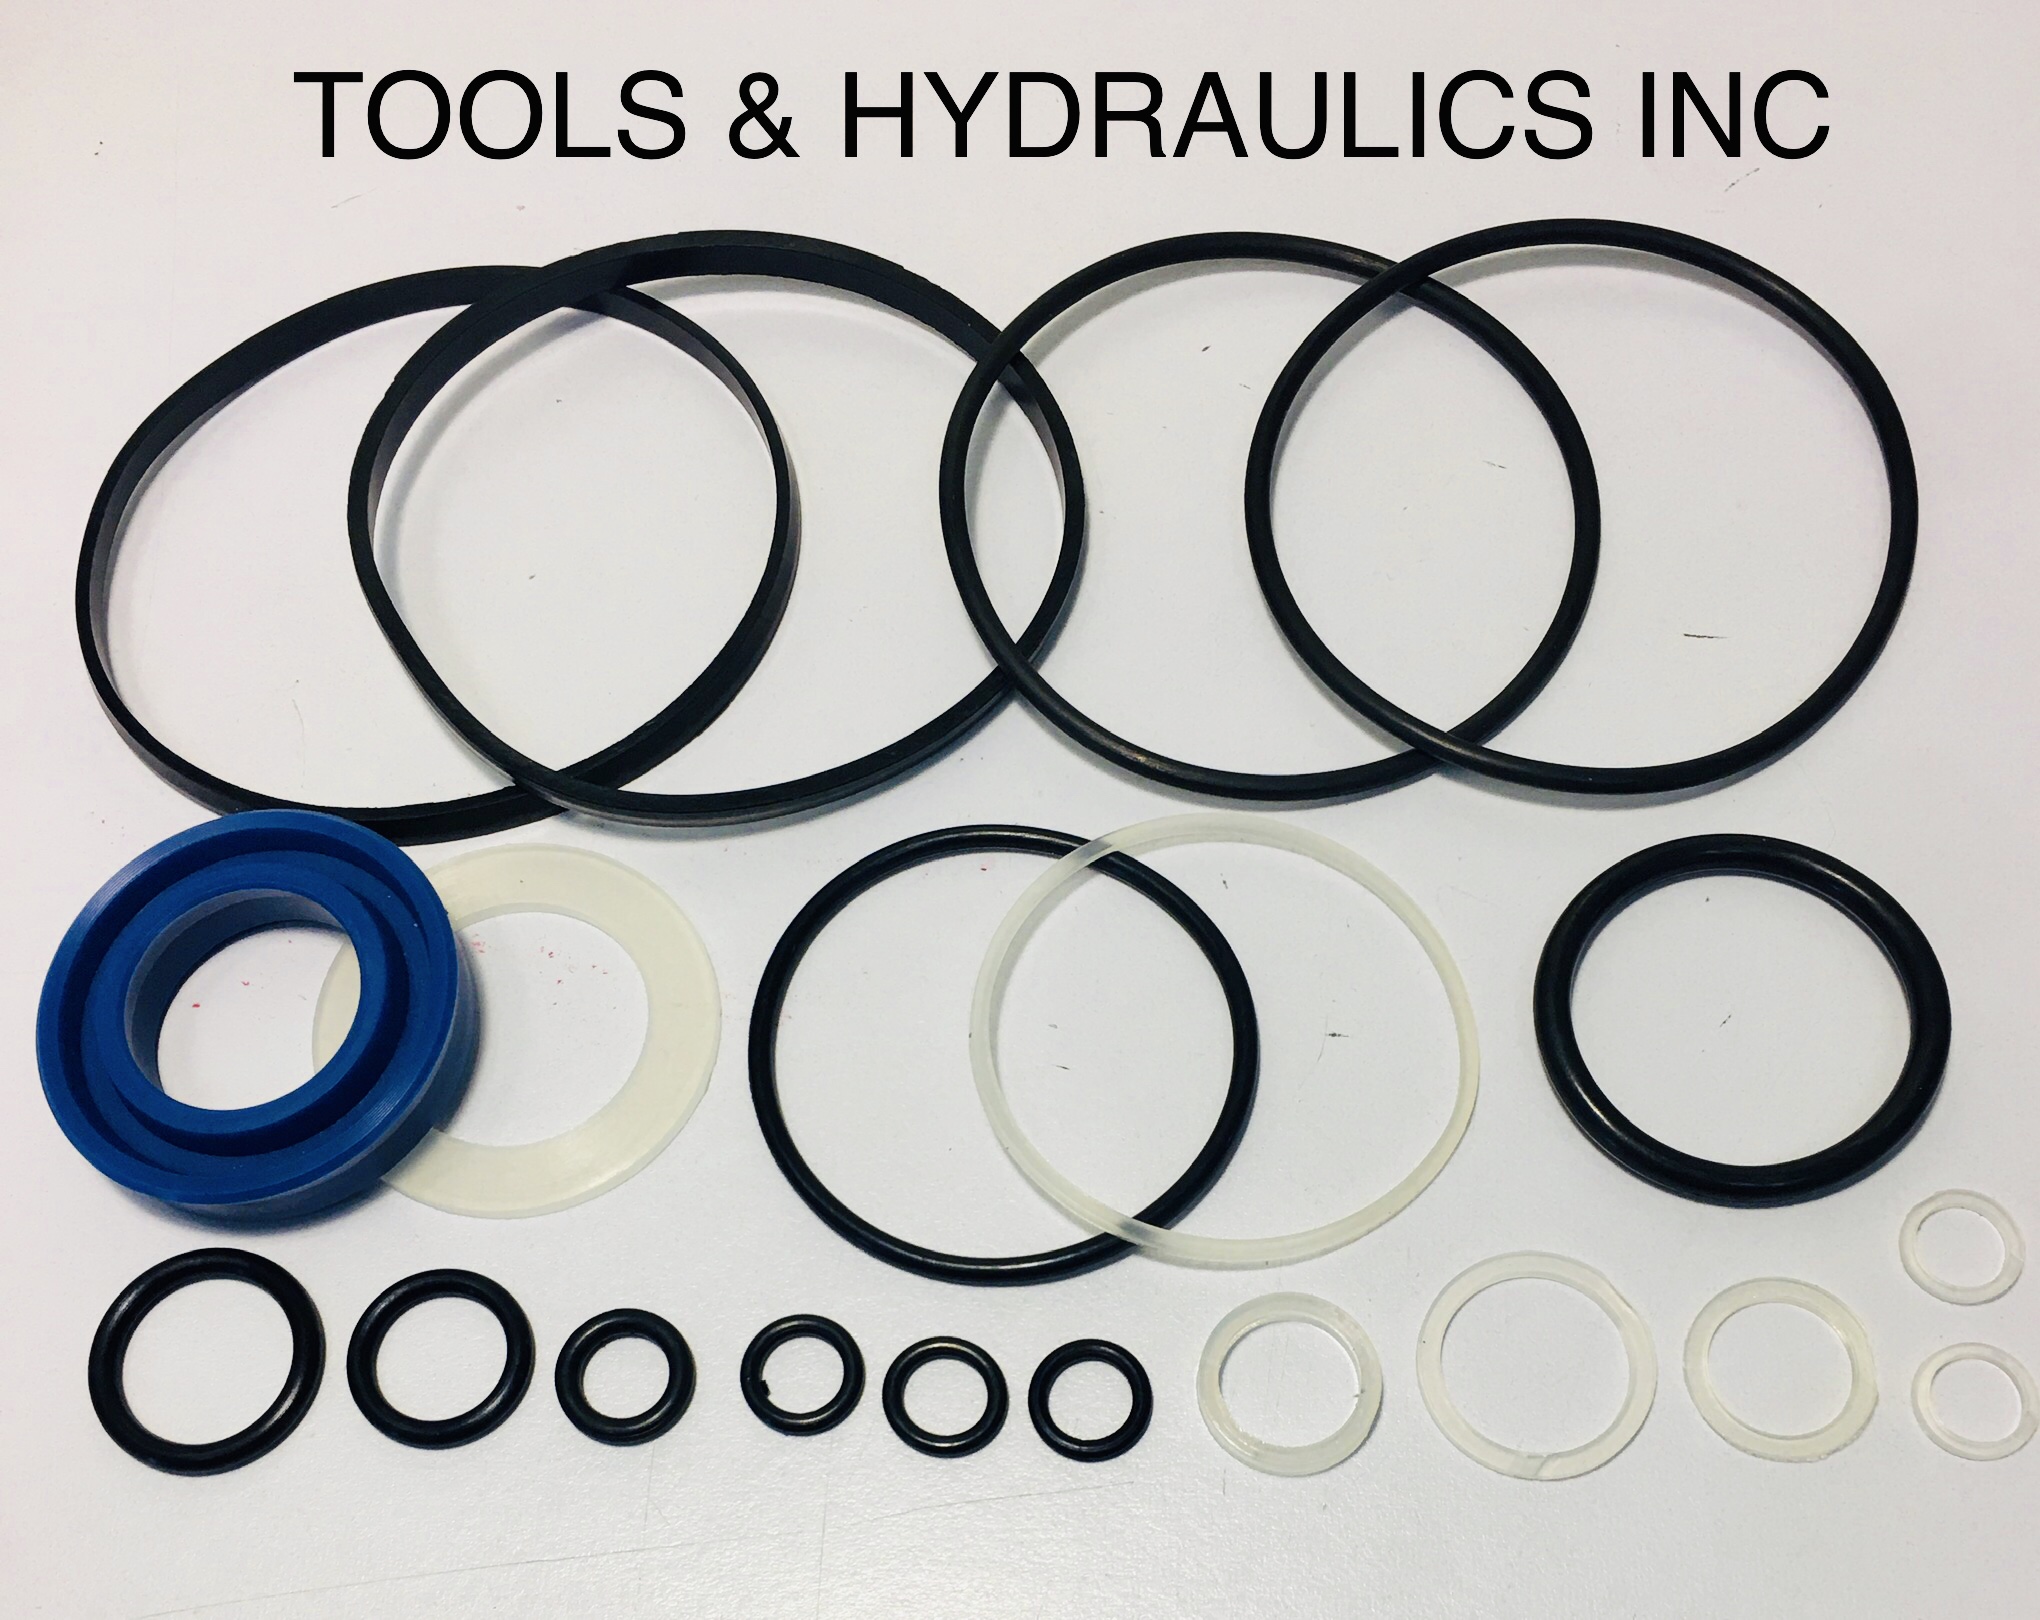
Seal Kit For Craftsman 50156
Buy a seal replacement kit designed for this model. The kit contains all the seals you need. Using the exact seals ensures a good fit and proper function.
Cleaning Supplies
Use rags or shop towels to clean parts. A cleaning solvent or brake cleaner helps remove grease and dirt. Clean surfaces ensure the new seals fit tightly and last longer.
Hydraulic Fluid
After replacing seals, refill the jack with hydraulic fluid. Use the fluid recommended by Craftsman. Proper fluid keeps the jack working smoothly and safely.
Safety Gear
Wear gloves to protect your hands. Safety glasses shield your eyes from debris. Working safely is important during seal replacement.
Credit: www.hcrcnow.com
Safety Precautions
Always wear safety gloves and goggles to protect your hands and eyes. Make sure the floor jack is on a flat, stable surface before starting. Keep tools organized and avoid rushing to prevent accidents.
Wear Protective Gear
Always wear safety glasses to protect your eyes from debris. Use gloves to keep your hands safe from sharp parts and chemicals. Wear closed-toe shoes to protect your feet from heavy tools or parts.
Work On A Stable Surface
Place the floor jack on a flat and solid surface. This prevents it from slipping or tipping over. Avoid working on uneven ground to keep the jack steady.
Release Pressure Safely
Before starting, make sure the jack is fully lowered and pressure is released. This stops sudden movements or accidents while replacing seals. Handle hydraulic parts carefully to avoid fluid spray.
Use Proper Tools
Use the right tools designed for floor jack repair. Wrong tools can damage parts or cause injury. Keep your tools organized and within reach to work smoothly.
Keep Area Clean
Clear your workspace from clutter and spills. A clean area reduces the risk of slips and falls. Dispose of old seals and fluids properly to avoid hazards.
Preparing The Floor Jack
Preparing the Craftsman Model 50156 floor jack is the first step in replacing its seals. Proper preparation ensures safety and makes the repair easier. It helps prevent damage to the jack and ensures the new seals fit well.
Cleaning The Jack
Start by cleaning the floor jack thoroughly. Remove dirt, grease, and dust from all surfaces. Use a rag and a mild cleaner to wipe it down. Pay close attention to the area around the seals. Clean parts allow better inspection and help avoid contamination during repair.
Positioning For Repair
Next, position the jack on a flat, stable surface. This prevents it from moving while you work. Lower the jack completely to release any pressure. Use blocks or stands to keep it steady. Proper positioning makes the seal replacement safer and easier to handle.
Removing The Old Seals
Removing the old seals from a Craftsman Model 50156 floor jack is a key step. It helps keep the jack working smoothly and safely. This process requires care and the right steps. Follow each part closely to avoid damage. Start by emptying the hydraulic fluid. Then, take the jack apart carefully. Finally, pull out the old seals to replace them with new ones.
Draining Hydraulic Fluid
Place a drain pan under the jack. Open the release valve to let the fluid out. Let all the fluid drain completely. This step stops spills and keeps the work area clean. Dispose of the old fluid properly. It can harm the environment if thrown away carelessly.
Disassembling The Jack
Use a wrench to remove the bolts holding the jack together. Keep the parts organized as you take them apart. Remove the lifting arm and base plate carefully. Watch out for springs and small pieces. They can fly out or get lost easily. Lay the parts out on a clean surface.
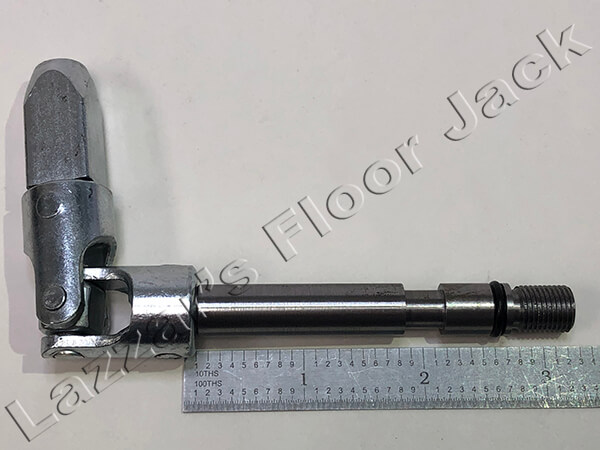
Extracting The Seals
Locate the seals inside the hydraulic cylinder and piston. Use a flat tool or seal puller to pry the seals out gently. Avoid scratching the metal surfaces. Clean the seal grooves before installing new seals. Old seals may be stiff or cracked. Remove every bit to ensure a good seal with new parts.
Inspecting Components
Inspecting components is a key step when replacing seals on your Craftsman Model 50156 floor jack. Careful inspection helps find parts that need repair or replacement. It ensures the jack works safely and smoothly after maintenance.
This process involves checking each part for damage or wear. It also requires cleaning all components to remove dirt and old oil. Clean parts fit better and last longer with new seals.
Checking For Wear And Damage
Look closely at the jack’s seals, pistons, and valves. Check for cracks, tears, or hard spots on seals. Worn seals cause leaks and lower lifting power.
Examine metal parts for rust, dents, or bends. Damaged parts may stop the jack from lifting properly. Replace any broken or badly worn components before installing new seals.
Cleaning Parts Thoroughly
Use a clean cloth and mild cleaner to wipe each part. Remove old oil, dirt, and dust from all surfaces. Clean parts help the new seals fit tightly and work well.
Do not use harsh chemicals that could damage rubber seals. Dry all parts completely before assembly to avoid moisture buildup inside the jack.
Credit: www.blackhawkparts.com
Installing New Seals
Installing new seals on your Craftsman Model 50156 floor jack is a key step. It helps keep the jack working smoothly and safely. Proper installation stops leaks and keeps pressure steady. Follow clear steps for the best results. Take your time and handle parts gently to avoid damage.
Applying Lubricant
Start by applying a light lubricant to the seals. This helps them slide into place easily. Use a lubricant that matches the jack’s requirements. Avoid using too much oil or grease. A thin, even layer works best. Lubricant also prevents the seals from tearing during installation.
Positioning Seals Correctly
Place each seal in its exact spot carefully. Check the seal’s shape and direction before fitting it. Make sure it fits snugly without gaps or folds. Press the seals gently but firmly into their grooves. Proper positioning ensures no oil leaks and long-lasting performance.
Reassembling The Floor Jack
Reassembling the Craftsman Model 50156 floor jack is a careful step. It brings the jack back to working order after seal replacement. Taking your time ensures each part fits well. This avoids leaks and keeps the jack safe to use.
Clean All Parts Before Assembly
Wipe down every piece. Remove dirt and old oil. Clean surfaces help seals fit tightly. Use a clean cloth and a little solvent. Let parts dry completely before moving on.
Install New Seals Correctly
Place each seal in its correct groove. Press gently but firmly to avoid damage. Check that seals sit flat and snug. Misaligned seals cause leaks and reduce jack power.
Reassemble The Hydraulic Cylinder
Carefully slide the piston back inside the cylinder. Avoid forcing it, which can damage seals. Make sure the piston moves smoothly. Secure the cylinder with the proper clips or bolts.
Attach The Pump And Handle
Reconnect the pump assembly to the main body. Align the handle with the pump lever. Tighten bolts but do not overtighten. Loose parts can cause malfunction, tight parts can break.
Test The Floor Jack
Lower the jack fully before testing. Pump the handle slowly to build pressure. Watch for leaks or unusual noises. Operate the jack several times to check seal tightness and smooth motion.
Refilling Hydraulic Fluid
Refilling the hydraulic fluid in your Craftsman Model 50156 floor jack is key to its smooth operation. The fluid helps the jack lift heavy loads and keeps the seals in good shape. Without enough fluid, the jack can lose pressure and stop working properly.
Taking care during the refill process ensures your floor jack stays reliable and safe. Use the right fluid and follow the correct steps to avoid damage or leaks.
Choosing The Right Fluid
Choose hydraulic fluid made for floor jacks or automotive use. Avoid motor oil or other liquids. The right fluid has the right thickness and protects seals from wear. Check your jack’s manual for fluid recommendations. Using the wrong fluid can cause poor performance and seal damage.
Filling Procedure
Start by placing the jack on a level surface. Open the release valve to let air out. Remove the fill plug or cap on the reservoir. Slowly pour the hydraulic fluid in until it reaches the full mark. Avoid overfilling to prevent leaks or pressure issues. Close the fill plug tightly after filling. Pump the jack handle several times to remove air pockets. Check the fluid level again and add more if needed.
Testing The Floor Jack
Testing the floor jack after replacing the seals is very important. It helps confirm the repair worked well. This step shows if the jack is safe and ready for use. Careful testing avoids accidents and damage to your vehicle. Follow these steps to check your Craftsman Model 50156 floor jack properly.
Checking For Leaks
Start by inspecting the jack for any fluid leaks. Look around the seals you replaced. Use a clean cloth to wipe the area first. Then, pump the jack several times. Watch closely for fresh oil or hydraulic fluid. No leaks should appear. If you see fluid, the seals might not fit well. Tighten parts or replace seals again if needed.
Ensuring Proper Operation
Next, test the jack’s lifting and lowering functions. Place the jack on a flat surface. Pump the handle slowly and watch the arm rise. It should lift smoothly without hesitation. Lower the arm gently using the release valve. The arm must move down steadily, without jerks or drops. If the jack feels weak or slow, check the seals and fluid levels. Repeat pumping until the jack works smoothly and safely.

Credit: www.youtube.com
Maintenance Tips
Maintenance is key to keep your Craftsman Model 50156 floor jack working well. Regular care prevents leaks and damages. It also extends the jack’s life. Follow these simple tips to maintain your floor jack’s seals and overall condition.
Check Seals Regularly
Inspect the seals every few months. Look for cracks, wear, or leaks. Replace damaged seals quickly to avoid bigger problems. Clean seals with a soft cloth to remove dirt.
Use Proper Hydraulic Fluid
Fill the jack with the recommended hydraulic fluid. Avoid mixing fluids or using low-quality oil. Clean fluid helps seals work better and lasts longer. Change the fluid as the manual suggests.
Store Jack In A Dry Place
Keep the jack in a dry, clean spot. Moisture can damage seals and metal parts. Cover the jack to protect it from dust and dirt. Proper storage reduces the risk of rust and leaks.
Operate Jack Smoothly
Lift and lower the jack gently. Avoid sudden movements or overloading it. Smooth operation reduces stress on seals. It helps keep the jack safe and functional.
Perform Routine Cleaning
Clean the jack after each use. Remove dirt, grease, and debris from seals and moving parts. Use a mild cleaner and soft cloth. Clean tools last longer and work better.
Frequently Asked Questions
How Do I Identify Seal Damage On Craftsman 50156?
Look for hydraulic fluid leaks or jack not lifting properly. Inspect seals for cracks or wear. Damaged seals cause pressure loss and reduced performance.
What Tools Are Needed To Replace Floor Jack Seals?
You need wrenches, screwdrivers, seal kit, hydraulic fluid, and rags. A clean workspace is essential. Having the correct seal kit ensures a proper fit.
How Long Does It Take To Replace Seals On This Jack?
Seal replacement usually takes 30 to 60 minutes. Time varies with experience and condition of the jack. Proper cleaning and careful assembly speed up the process.
Can I Use Generic Seals For Craftsman 50156 Jack?
Using generic seals is not recommended. They may not fit or perform correctly. Always use seals designed specifically for Craftsman 50156 for safety and efficiency.
Conclusion
Replacing seals on the Craftsman Model 50156 floor jack keeps it working well. Take your time and follow each step carefully. Use the right tools to avoid damage. Regular maintenance helps the jack last longer and work safely. With clean seals, the jack lifts smoothly every time.
Keep an eye on wear and tear to fix problems early. This simple task can save money and prevent accidents. Now, your floor jack is ready for action again.