If you want to boost your home security quickly and easily, installing a Kwikset deadbolt lock is a smart choice. You might think it’s a tricky job, but with the right steps, you can do it yourself without any hassle.
Imagine having the peace of mind knowing your door is locked tight, and you didn’t have to wait for a locksmith. In this guide, you’ll discover simple, clear instructions that make the whole process straightforward. Keep reading, and by the end, you’ll have your new deadbolt installed and your home safer than ever.

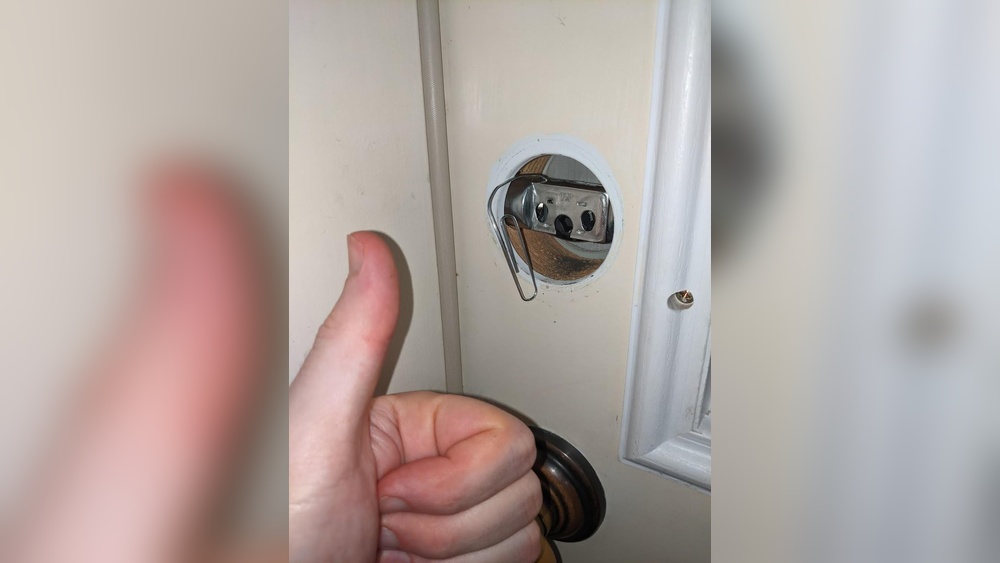
Credit: www.youtube.com
Tools And Materials Needed
Installing a Kwikset deadbolt lock is simple with the right tools and materials. Preparing everything before starting saves time and effort. Gather all items to ensure a smooth installation process.
Basic Tools Required
You will need a screwdriver, preferably a Phillips head. A power drill helps with quicker installation but is optional. A tape measure ensures correct placement of the lock. A pencil marks drilling spots accurately. A hammer may assist in minor adjustments.
Kwikset Deadbolt Lock Components
The package includes the deadbolt, latch, strike plate, screws, and keys. Check all parts before starting. Missing components can delay installation. Keep everything organized for easy access.
Additional Materials To Have
Wood filler or putty helps fix any mistakes or holes. Sandpaper smooths rough edges around drilled holes. Safety glasses protect your eyes during drilling. A level ensures the lock is straight on the door.
Preparing The Door
Preparing the door is the first step to install a Kwikset deadbolt lock correctly. This step ensures the lock fits well and works smoothly. Careful preparation helps avoid mistakes and saves time during installation.
Measuring And Marking
Start by measuring the door thickness and backset. The backset is the distance from the door edge to the center of the hole. Most doors use a 2-3/8 or 2-3/4 inch backset.
Next, mark the door where you will drill. Use a pencil to mark the center of the hole on the door face. Mark the edge of the door for the latch hole too. Double-check your marks for accuracy.
Drilling Holes
Choose the right drill bits for the holes: a hole saw bit for the main hole and a spade bit for the latch hole. Drill the main hole through the door face carefully. Keep the drill steady and straight.
Then drill the latch hole on the door edge. Drill slowly to avoid splintering the wood. Clean the holes from debris to ensure a smooth fit for the lock parts.
Installing The Deadbolt Mechanism
Installing the deadbolt mechanism is a key step in securing your door with a Kwikset lock. This part includes placing the main lock components inside the door and making sure they fit well. Proper installation ensures the lock works smoothly and keeps your home safe.
Fitting The Deadbolt
Start by sliding the deadbolt into the hole on the edge of the door. The bolt should fit flush with the door’s surface. Check that the bolt moves freely by pushing and pulling it. If it feels stuck, adjust the position slightly until it slides easily.
Next, insert the screws through the bolt’s faceplate. Tighten them just enough to hold the bolt firmly but avoid over-tightening. Over-tightening can warp the bolt and cause problems later.
Securing The Lock Body
Place the exterior part of the lock with the keyhole on the outside of the door. Align the tailpiece, the metal bar, through the deadbolt mechanism inside the door. Then, position the interior lock body on the inside of the door.
Insert screws through the interior lock body into the exterior part. Tighten these screws evenly to hold both sides together. Check that the lock turns smoothly with the key and thumb turn. Make small adjustments if needed to ensure easy operation.
Attaching The Exterior And Interior Plates
Attaching the exterior and interior plates is a key step in installing your Kwikset deadbolt lock. These plates secure the lock to your door and ensure smooth operation. Taking time to align and mount them correctly will make your lock work well and last longer.
Aligning The Exterior Plate
Start by placing the exterior plate on the outside of the door. Make sure the keyhole lines up with the hole in the door. Check that the tailpiece, the small metal rod, fits through the hole properly. Hold the plate steady to avoid shifting. Tighten the screws slowly to keep everything in place. Do not over-tighten. The plate should sit flat and snug against the door.
Mounting The Interior Plate
Next, position the interior plate on the inside of the door. Align it with the exterior plate and the tailpiece. The thumb turn should fit comfortably through the center hole. Insert the screws and tighten them evenly. This secures the lock’s inner mechanism. Make sure the plates do not move. Check that the lock turns smoothly with the thumb turn. Proper mounting prevents future problems and keeps your door secure.
Installing The Strike Plate
Installing the strike plate is an important step when setting up your Kwikset deadbolt lock. The strike plate helps the bolt slide securely into the door frame. This adds strength and stops the door from moving too much when locked.
Proper installation of the strike plate ensures the lock works smoothly. It also increases the safety of your door. Follow the steps below to position and secure the strike plate correctly.
Positioning The Strike Plate
First, align the strike plate on the door frame. It should match the hole where the deadbolt extends. Hold the plate firmly in place. Make sure the edges sit flat against the wood. Check that the bolt can slide in without hitting the frame.
Securing With Screws
Next, use the screws provided with your lock. Insert them into the holes of the strike plate. Tighten the screws with a screwdriver until the plate feels secure. Avoid over-tightening to prevent damage to the wood. Test the deadbolt by locking and unlocking the door. The bolt should move smoothly into the strike plate every time.

Credit: brinkshome.com
Testing The Lock Functionality
Testing the lock functionality is an important step after installing a Kwikset deadbolt. It ensures the lock works smoothly and keeps your home secure. Taking time to check the lock helps avoid problems later.
Locking And Unlocking
Start by turning the key to lock the deadbolt. Check if the bolt moves easily into the door frame. Then, try unlocking it with the key from outside. Use the thumb turn inside to lock and unlock as well. The lock should turn without sticking or resistance. If it feels hard to turn, the lock might need adjustment.
Adjusting For Smooth Operation
If the deadbolt is hard to move, check the strike plate on the door frame. The bolt should fit fully into the strike plate hole. Tighten or loosen screws to align the parts better. Sometimes, you may need to file the strike plate slightly. Test the lock again after each adjustment. Keep adjusting until locking and unlocking is smooth and easy.
Tips For Maintenance And Security
Keeping your Kwikset deadbolt lock in good shape helps it last longer. It also keeps your home safer. Small steps can stop problems before they start. Simple care keeps the lock working smooth and strong.
Check the lock often. Look for dirt or damage. Clean it gently with a soft cloth. Avoid harsh chemicals that can harm the finish. A little oil on the keyhole helps the lock move easily.
Cleaning And Lubricating The Lock
Use a dry cloth to wipe away dust and dirt. Spray a small amount of graphite lubricant inside the keyhole. Turn the key several times to spread it well. Do this twice a year for best results.
Checking For Wear And Tear
Look closely at the lock and door frame. Make sure screws are tight and parts are not loose. Replace any worn parts fast. Loose screws or broken parts can cause the lock to fail.
Changing Your Keys Regularly
Change keys if you lose one or share it with others. Re-key the lock to keep your home secure. This stops old keys from working. It is a cheap way to protect your home.
Using The Lock Correctly
Turn the key gently to avoid breaking it. Don’t force the lock if it sticks. Check the alignment of the door and strike plate. Proper fit helps the lock work right every time.

Credit: www.kwikset.com
Frequently Asked Questions
How Do I Install A Kwikset Deadbolt Lock?
To install a Kwikset deadbolt, first align the lock parts with the door holes. Secure the exterior and interior assemblies with screws. Test the lock operation and adjust the strike plate if needed. Installation usually takes 15-30 minutes with basic tools.
What Tools Are Needed For Kwikset Deadbolt Installation?
You need a Phillips screwdriver, tape measure, pencil, and drill with a 2 1/8-inch hole saw. A chisel may be required for the strike plate. These common tools help you install the deadbolt quickly and accurately.
Can I Install A Kwikset Deadbolt On Any Door?
Kwikset deadbolts fit standard door thicknesses of 1 3/8 to 1 3/4 inches. Ensure your door has the correct bore hole size. Most residential doors are compatible, but check measurements before installation.
How Do I Adjust The Kwikset Deadbolt Strike Plate?
If the deadbolt doesn’t latch smoothly, adjust the strike plate position on the door frame. Loosen screws, reposition slightly, then retighten. This ensures proper alignment and smooth locking action.
Conclusion
Installing a Kwikset deadbolt lock is simple and quick. Follow each step with care for best results. You will feel safer with a sturdy lock on your door. Take your time and use the right tools. This small effort adds great security to your home.
Now, you can enjoy peace of mind every day. Keep your home protected with a strong deadbolt lock.