Are you ready to brighten up your space but don’t know where to start? Adding a new light fixture and switch might seem tricky, but with the right steps, you can do it yourself.
Imagine turning on a brand-new light that you installed with your own hands. It’s easier than you think, and this guide will walk you through every step. Keep reading, and you’ll learn how to safely and confidently upgrade your lighting, making your home more inviting and stylish.
Let’s get started!
Tools And Materials Needed
Before starting to install a new light fixture and switch, gather all necessary tools and materials. Having everything ready makes the job easier and safer. It also helps avoid interruptions during the work.
Essential Tools
- Screwdriver set (flathead and Phillips)
- Wire stripper
- Voltage tester
- Drill with bits
- Wire nuts
- Measuring tape
- Electrical tape
- Flashlight or work light
- Ladder or step stool
Required Materials
- New light fixture
- Light switch (single-pole or as needed)
- Electrical box (if not already installed)
- Electrical wires (14/2 or 12/2 gauge, based on circuit)
- Wire connectors
- Mounting screws
- Faceplate for the switch

Credit: diy.stackexchange.com
Safety Precautions
Safety is the top priority when adding a new light fixture and switch. Electricity can be dangerous without proper care. Taking the right safety steps prevents accidents and injuries. Follow these key safety precautions before starting your project.
Power Off Procedures
Turn off the power at the main circuit breaker. Do not rely on the wall switch alone. Use a voltage tester to confirm the power is off. Test all wires and terminals before touching them. This step keeps you safe from electric shocks.
Protective Gear
Wear insulated gloves to protect your hands. Use safety goggles to shield your eyes from dust and debris. Avoid loose clothing that might catch on wires or tools. Proper gear reduces the risk of injury during the installation.
Planning Your Installation
Planning your installation is the first step to add a new light fixture and switch safely. Good planning helps avoid mistakes and saves time. It also ensures your new setup works well with your home’s electrical system. Take time to consider where and how you want to install the fixture and switch.
Choosing The Location
Pick a spot that fits your lighting needs. Think about areas that need more light or where you want to create ambiance. Avoid placing fixtures near water or heat sources. Make sure the location allows easy access to the switch. Check if the ceiling or wall can support the fixture’s weight.
Checking Electrical Capacity
Check your home’s electrical panel to see if it can handle more fixtures. Find out the circuit’s load limits and current usage. Overloading circuits can cause breakers to trip or wiring to overheat. Use a voltage tester to confirm power is off before working. If unsure, consult a licensed electrician for safety advice.

Credit: www.do-it-yourself-help.com
Wiring Basics
Understanding the basics of wiring is essential before installing a new light fixture and switch. Proper wiring keeps your home safe and ensures the light works correctly. This section covers the key parts of a circuit and how to identify wires.
Understanding Circuit Components
A circuit has several parts. The power source sends electricity to the light fixture. The switch controls the flow of electricity. Wires connect all parts and carry the current. A breaker or fuse protects the circuit from overload. Each component plays a vital role in lighting your room safely.
Identifying Wires
Wires come in different colors and sizes. The black or red wire is usually the “hot” wire. It carries electricity from the power source to the fixture or switch. The white wire is the “neutral” wire. It completes the circuit by carrying current back to the power source. The green or bare wire is the ground wire. It protects against electrical shock by directing electricity safely into the ground.
Removing Old Fixtures And Switches
Removing old light fixtures and switches is the first step to install new ones safely. Careful removal prevents damage and ensures a smooth upgrade. Follow simple steps to take out old parts without trouble.
Disconnecting Power
Turn off the power at the circuit breaker. This stops electricity flow to the fixture and switch. Double-check power is off by flipping the light switch. Use a voltage tester on wires to confirm no current. Safety first. Never skip this step.
Detaching Existing Components
Remove the light fixture cover or shade. Unscrew the fixture base from the ceiling or wall. Carefully pull the fixture away to expose wiring. Unscrew the switch cover plate. Unscrew the switch from the wall box. Gently pull the switch out to see the wires. Note how wires connect to the switch. Disconnect wires by unscrewing or unclipping them. Keep parts organized for easy installation of new fixtures.
Installing The New Light Fixture
Installing the new light fixture is a key step in updating your room’s lighting. This part involves fixing the fixture in place and connecting the electrical wires safely. Careful work ensures your new light works well and stays secure.
Mounting The Fixture
Start by attaching the mounting bracket to the electrical box on the ceiling or wall. Use screws that come with the fixture. Make sure the bracket is tight and stable. This bracket holds the light fixture firmly.
Next, lift the light fixture and align it with the bracket. Secure the fixture by tightening the screws or nuts provided. Check that the fixture does not wobble or move. A steady fixture looks good and lasts longer.
Connecting Wires
Turn off the power at the circuit breaker before touching any wires. Identify the wires: black or red for live, white for neutral, and green or bare for ground. Connect the matching wires from the fixture to the house wires using wire nuts.
Twist the wires together tightly before screwing on the wire nuts. Wrap electrical tape around the nuts for extra safety. Attach the ground wire to the green screw on the mounting bracket. Double-check all connections to avoid loose wires.
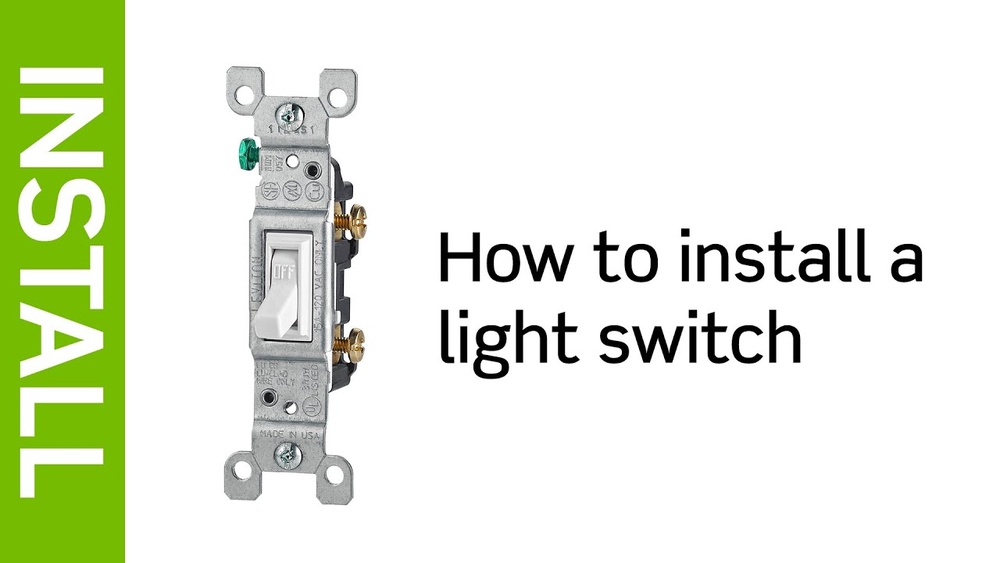
Adding The New Switch
Adding the new switch is a key step in installing a light fixture. It controls the power to the light, so it must be installed safely and correctly.
This part involves placing the switch box and connecting the wires properly. Careful work here ensures the switch functions well and lasts long.
Switch Box Installation
First, choose the right spot for the switch box. Usually, it goes near the door or where it is easy to reach.
Cut a hole in the wall that fits the box snugly. Use a stud finder to avoid cutting into studs or pipes.
Insert the switch box into the hole. Secure it tightly with screws or clamps so it does not move.
Wiring The Switch
Turn off the power at the circuit breaker before working with wires. Safety first.
Connect the black (hot) wire to one switch terminal. This wire carries electricity to the switch.
Attach the other terminal to the black wire going to the light fixture. This sends power to the light.
Connect the white (neutral) wires together with a wire nut. They do not connect to the switch.
Attach the ground wire to the green screw on the switch. Grounding prevents electric shocks.
Double-check all connections. Tight and correct wiring prevents shorts and failures.

Credit: www.youtube.com
Testing The Installation
Testing the installation is a key step after adding a new light fixture and switch. It ensures everything works safely and correctly. This step helps catch any wiring mistakes or faulty parts early. Taking time to test saves trouble later. Follow clear steps to check your work thoroughly.
Restoring Power
First, turn the main power back on at the breaker box. Be cautious and avoid touching wires. Use a voltage tester if available to confirm power is live. Do not rush this step. Ensure the circuit is energized before testing the switch and light. Safety is the top priority.
Functionality Check
Flip the switch to see if the light turns on. Test the switch multiple times. The light should turn on and off smoothly. Check for flickering or dimming. If the light does not respond, double-check wiring connections. Also, test any dimmer or special controls if installed. Confirm everything works as expected.
Troubleshooting Common Issues
Troubleshooting is a key step when installing a new light fixture and switch. Problems can stop your light from working. Simple checks can save time and effort. This section covers common issues and easy fixes. Follow these tips to get your light working fast.
No Power To Fixture
Check the circuit breaker first. It may have tripped. Flip it off and on again. Confirm the light bulb is good. Test it in another socket. Make sure the fixture wires connect tightly. Loose wires block power flow. Use a voltage tester to see if power reaches the fixture. No power means a wiring problem or breaker issue.
Switch Not Working
Look at the switch wiring. Loose or wrong connections stop the switch. Turn off power before touching wires. Tighten any loose screws. Test the switch with a multimeter. A bad switch needs replacement. Check if the switch controls the right wires. Wrong wiring can cause no response from the switch.
Maintenance Tips
Maintaining your new light fixture and switch is key to keeping them safe and working well. Regular care helps avoid problems and extends their life. Simple steps can make a big difference.
Regular Inspections
Check your light fixture and switch often. Look for loose parts or signs of wear. Tighten screws if needed. Watch for flickering lights or unusual sounds. These may signal a problem. Early checks stop bigger issues.
Replacing Bulbs Safely
Turn off the switch before changing bulbs. Wait for bulbs to cool down to avoid burns. Use the right bulb type and wattage for your fixture. Handle bulbs with care to prevent breakage. Proper replacement keeps your light bright and secure.
Frequently Asked Questions
How Do I Safely Turn Off Power Before Installation?
Always switch off the circuit breaker before starting. Use a voltage tester to confirm no power is present. Safety ensures no electric shock during installation.
What Tools Are Needed To Add A Light Fixture And Switch?
You’ll need a screwdriver, wire stripper, voltage tester, electrical tape, and a drill. These tools help secure and connect wires safely and efficiently.
Can I Install A New Switch Without An Electrician?
Yes, if you understand basic wiring and follow safety rules. Turn off power, use proper tools, and follow instructions carefully to avoid hazards.
How Do I Connect Wires For A New Light Fixture?
Match wire colors: black (hot), white (neutral), and green or bare copper (ground). Use wire nuts to secure connections and wrap with electrical tape for safety.
Conclusion
Adding a new light fixture and switch can brighten any room quickly. Follow safety steps carefully to avoid accidents. Use the right tools and check all connections twice. Take your time and work step-by-step. Enjoy the new look and better lighting in your space.
Simple changes can make a big difference at home. Keep this guide handy for future projects. You can do it!