Are you worried about the security of your home? Installing a new deadbolt lock is one of the simplest and most effective ways to protect your family and belongings.
You don’t need to be a handyman or spend hours figuring it out. With the right steps, you can upgrade your door’s security quickly and easily. Keep reading, and you’ll learn exactly how to install a deadbolt lock yourself—saving money and gaining peace of mind.
Let’s get started!
Choosing The Right Deadbolt
Choosing the right deadbolt is key to improving home security. The right lock keeps your home safe and gives peace of mind. Many options exist, so understanding them helps in making the best choice. Focus on the type, material, and security rating to match your needs.
Types Of Deadbolts
Single-cylinder deadbolts use a key outside and a thumb turn inside. They are easy to use and common in homes. Double-cylinder deadbolts require a key on both sides. They add extra security but can be tricky in emergencies. There are also digital deadbolts, which use a code or fingerprint. These offer convenience and good security for tech-friendly homes.
Material And Finish Options
Deadbolts come in different materials like brass, steel, and zinc. Steel is strong and resists force better than others. Brass looks nice and resists rust well. Zinc is affordable and works for most homes. Finishes matter too. Satin nickel, bronze, and chrome fit different door styles. Choose a finish that matches your door and lasts long.
Security Ratings To Consider
Look for locks with high security ratings. ANSI rates locks from Grade 1 to Grade 3. Grade 1 offers the best security and is used by professionals. Grade 2 is good for most homes and has solid protection. Grade 3 is basic and fits low-risk areas. Pick a rating that fits your home’s security needs.
Credit: www.youtube.com
Tools And Materials Needed
Installing a new deadbolt lock needs the right tools and materials. Having everything ready makes the job faster and easier. This section lists the tools you need and shows how to prepare your workspace for a smooth installation.
Essential Tools List
Gather these tools before starting the installation:
- Phillips screwdriver
- Flathead screwdriver
- Power drill with drill bits
- Measuring tape
- Pencil
- Chisel
- Hammer
- Level
- Safety glasses
The deadbolt lock kit usually includes screws and the lock itself. Check the package to confirm you have all parts.
Preparing Your Workspace
Clear the area around the door to have room to work. Good lighting helps you see small details. Lay down a cloth or newspaper to catch debris.
Keep your tools within reach to avoid interruptions. Wearing safety glasses protects your eyes from dust and wood chips. Take your time to set up well before drilling.
Removing The Old Lock
Removing the old deadbolt lock is the first step to install a new one. This process clears the door and prepares it for a fresh lock. You need to be careful to avoid damaging the door or the frame. Follow these simple steps to remove the existing lock safely and clean the area for installation.
Unscrewing The Existing Lock
Start by locating the screws on the interior side of the deadbolt. Use a screwdriver that fits well to avoid stripping the screws. Remove the screws completely and keep them aside. Gently pull the interior part of the lock away from the door. Next, remove the exterior part by pulling it out carefully. The deadbolt mechanism should come out easily once both sides are removed.
Cleaning The Door Surface
After removing the lock, clean the door surface around the hole. Use a damp cloth to wipe away dust and dirt. Check for any old paint or debris that might block the new lock. Smooth the area with fine sandpaper if needed. A clean surface helps the new lock fit properly and work well.
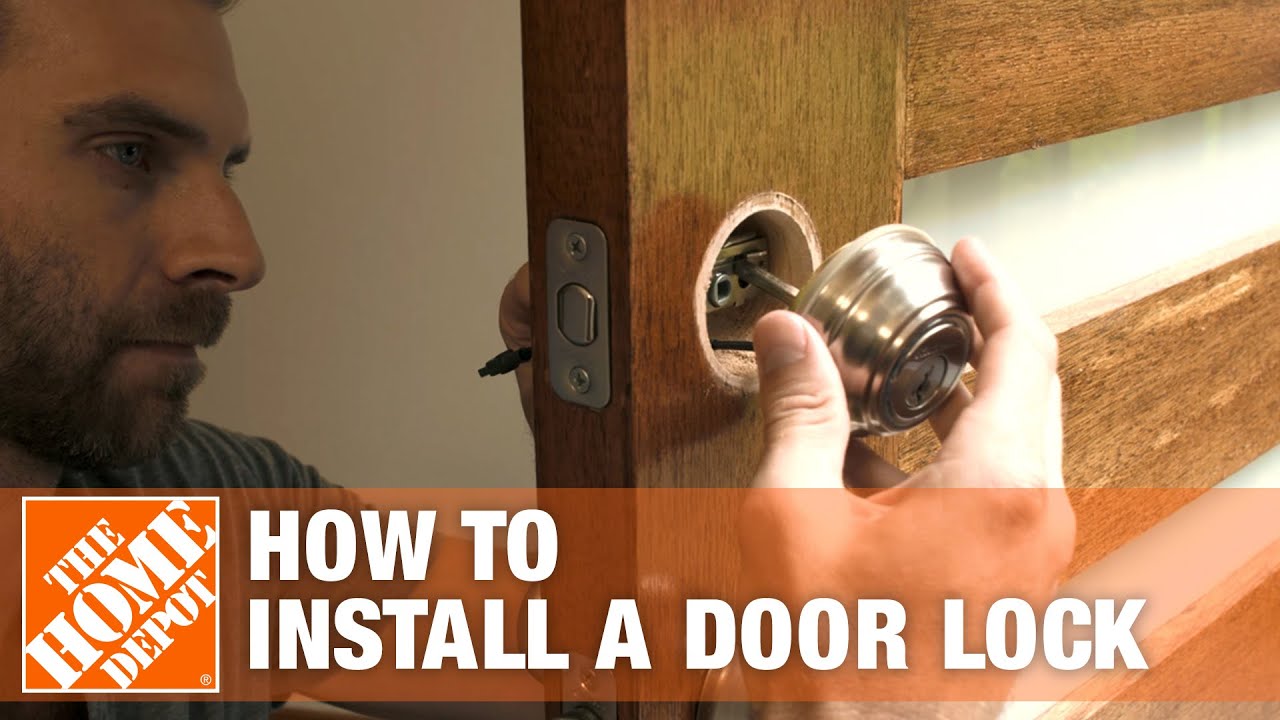
Credit: www.homedepot.com
Marking And Drilling New Holes
Marking and drilling new holes is a key step in installing a deadbolt lock. This step ensures the lock fits well and works smoothly. Careful marking prevents mistakes that could damage your door.
Drilling must be done with precision. It creates clean holes for the lock parts to fit securely. Taking time here helps avoid extra work later.
Measuring For Proper Placement
Start by measuring the height of your existing lock or the desired spot. Use a tape measure to mark the right position for the deadbolt. Mark the center point on the door edge and face.
Check the backset distance. This is the space from the door edge to the lock center. Most deadbolts need a 2-3/8 or 2-3/4 inch backset. Mark these points clearly with a pencil.
Double-check all measurements before drilling. Mistakes here can cause misalignment and lock issues. Use a level to keep marks straight and even.
Using A Drill Safely
Select the correct drill bit size for your lock. Usually, a 1-inch bit is used for the main hole. Smaller bits are needed for the latch and screws.
Wear safety glasses to protect your eyes from dust and debris. Hold the drill steady and start at a slow speed. Drill straight into the door to avoid angled holes.
Drill halfway through one side, then finish from the other side. This prevents splintering the wood. Clean any rough edges with sandpaper after drilling.
Installing The Deadbolt Components
Installing the deadbolt components is a key step to secure your door. It requires careful placement and alignment of parts. Follow each step closely to ensure a smooth fit. Proper installation helps the lock work correctly and last longer.
Fitting The Latch Mechanism
Start by inserting the latch into the hole on the door edge. Make sure the slanted side faces the door frame. Push the latch in until it fits flush with the door. Use a screwdriver to fasten the latch plate with screws. Check that the latch moves freely without sticking.
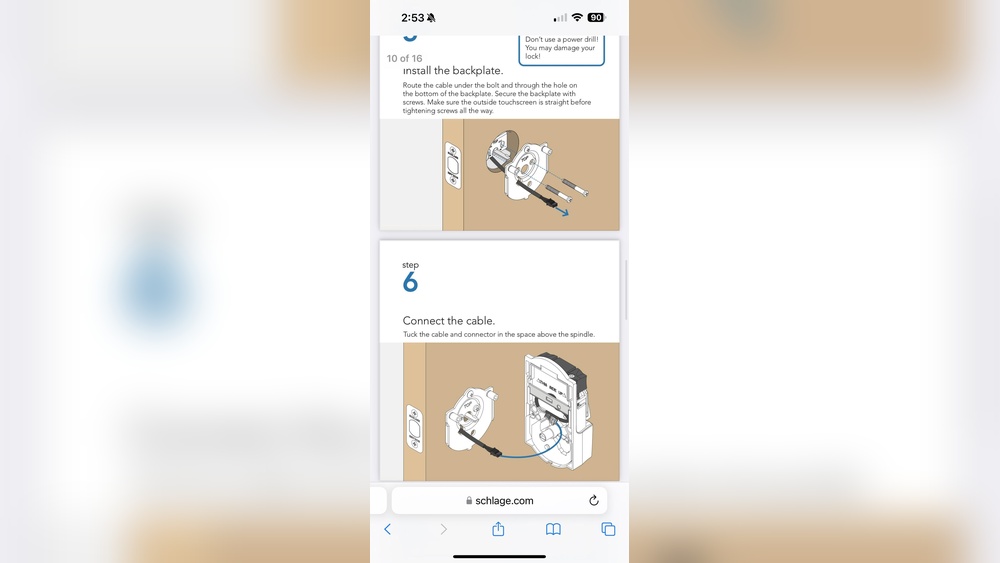
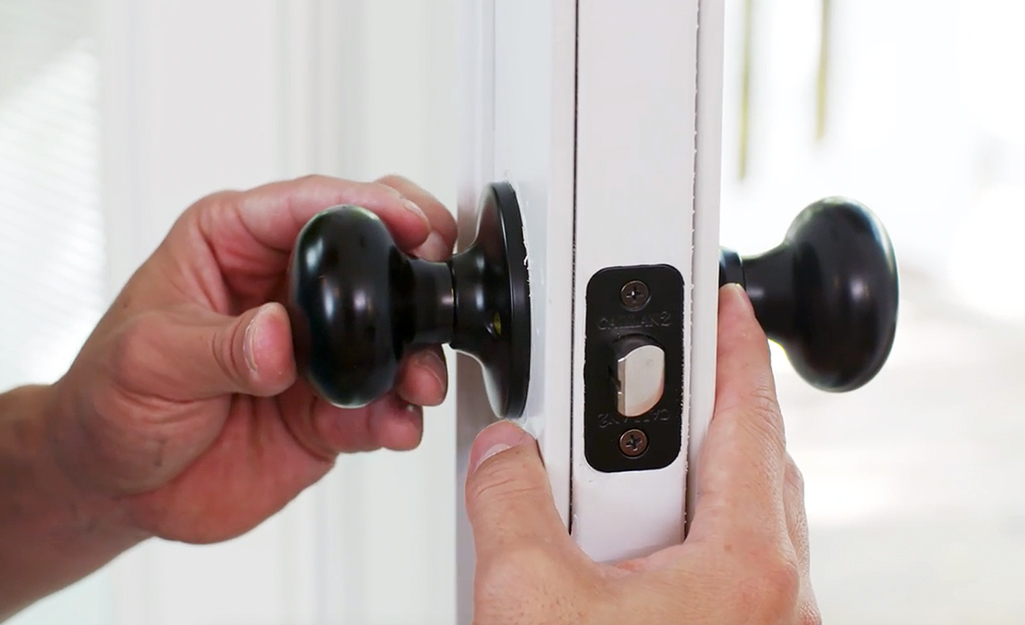
Attaching The Exterior And Interior Plates
Place the exterior plate with the keyhole on the outside of the door. Align the spindle through the latch hole. On the inside, fit the interior plate with the thumb turn. Both plates must sit flat against the door surface. Ensure the parts line up for smooth turning and locking.
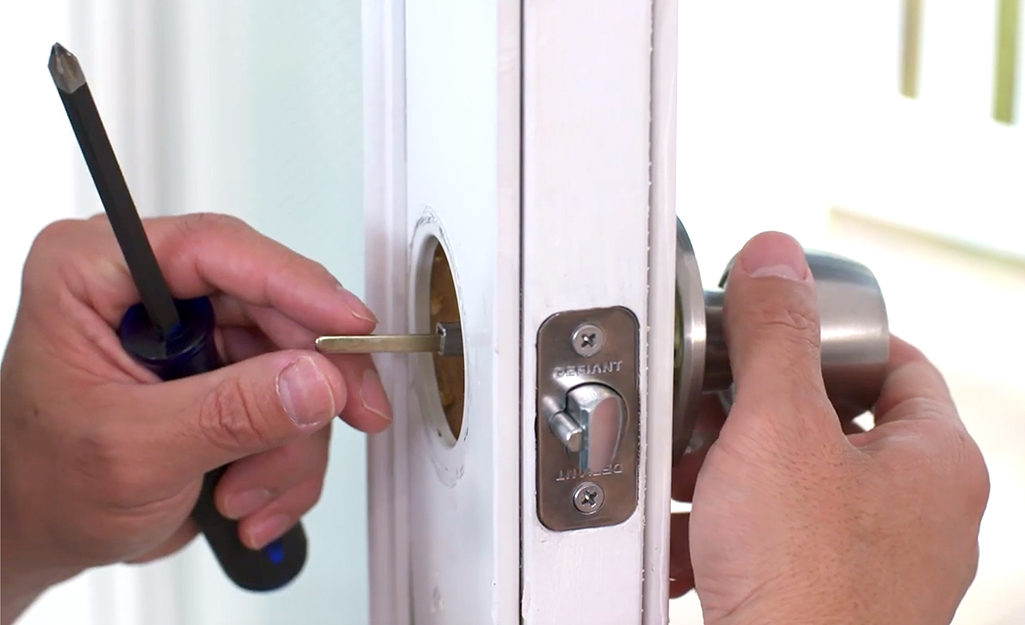
Securing With Screws
Insert screws through the interior plate into the exterior plate. Tighten each screw evenly using a screwdriver. Avoid over-tightening, which can damage the door or lock. Confirm that the plates are secure and do not wiggle. Test the lock by turning the key and thumb turn for smooth action.
Testing The Lock Functionality
Testing the lock functionality is a crucial step after installing a new deadbolt. It ensures the lock works correctly and keeps your home safe. Proper testing helps spot any issues early. This way, you avoid problems later.
Checking Lock Alignment
Start by closing the door slowly. Watch the deadbolt carefully as it moves. The bolt should fit smoothly into the strike plate. If it hits the plate or slides hard, the alignment is off. Adjust the strike plate or the lock position. The bolt must enter the hole without force.
Ensuring Smooth Operation
Turn the key or thumb turn several times. The lock should turn easily without sticking. Listen for any grinding or unusual sounds. Test locking and unlocking from both sides of the door. The mechanism must work smoothly every time. If it feels rough, check the installation and parts again.
Enhancing Door Security
Enhancing door security is key to protecting your home. A strong deadbolt lock alone is not enough. The door frame and hardware must also resist force. Strengthening these parts stops break-ins and gives peace of mind.
Small upgrades make a big difference. Focus on areas around the lock that face the most pressure. Reinforcing these spots helps your deadbolt work at its best.
Reinforcing The Strike Plate
The strike plate holds the lock bolt in place. Most strike plates are thin and weak. Replace it with a heavy-duty metal plate. Use long screws that go deep into the wall stud. This stops the lock from pulling out easily.
Check the plate size. It should cover the door jamb hole fully. A larger strike plate spreads force over a wider area. This reduces the chance of the door frame splitting.
Adding Door Jamb Shields
Door jamb shields add extra strength around the lock area. These metal pieces cover the door frame edges. They protect the wood from splitting during forced entry attempts.
Install jamb shields inside the frame near the deadbolt. Use screws that reach the wall studs. This reinforcement makes the frame harder to break or kick in. It is a simple step that boosts security greatly.
Maintenance Tips For Longevity
Keeping your deadbolt lock in good shape helps it work well for years. Simple care steps prevent problems and keep your home safe. Regular maintenance stops the lock from sticking or breaking.
Follow these tips to extend the life of your new deadbolt lock. Small efforts make a big difference in its performance.
Lubricating Moving Parts
Use a dry lubricant or graphite powder for the lock’s moving parts. Avoid oil-based lubricants, as they attract dust and dirt. Apply a small amount inside the keyhole and on the bolt mechanism. This helps the lock turn smoothly and stops it from getting stuck.
Regular Inspection And Adjustment
Check your deadbolt lock every few months for wear or damage. Look for loose screws or misaligned parts that affect operation. Tighten screws and adjust the strike plate if the bolt does not fit properly. Early fixes prevent bigger problems and keep the lock secure.
Credit: www.homedepot.com
Frequently Asked Questions
How Do I Choose The Right Deadbolt Lock?
Choose a deadbolt based on security grade, door thickness, and lock type. Pick between single or double cylinder locks. Ensure compatibility with your door and frame for easy installation and better protection.
What Tools Are Needed To Install A Deadbolt Lock?
You need a drill, screwdriver, measuring tape, pencil, and chisel. These tools help create holes and fit the lock precisely. Having the right tools ensures a smooth and secure installation process.
How Long Does It Take To Install A Deadbolt Lock?
Installing a deadbolt typically takes 30 to 60 minutes. Time depends on your experience and door condition. Following instructions carefully helps complete the job efficiently without errors.
Can I Install A Deadbolt Lock On Any Door?
Most solid wood and metal doors support deadbolt locks. Hollow or thin doors may require reinforcement. Always check door thickness and material before installation for proper lock function.
Conclusion
Installing a new deadbolt lock improves your door’s security. Follow each step carefully to avoid mistakes. Use the right tools to make the process easier. Test the lock several times to ensure it works smoothly. A properly installed lock gives peace of mind.
Keep your keys safe and share them wisely. Regularly check the lock to maintain its function. Taking these simple steps protects your home effectively.