If you want to boost your home’s security quickly and easily, installing a deadbolt on your door is one of the best steps you can take. You might think it’s complicated or requires special tools, but the truth is, you can do it yourself with just a few simple steps.
Imagine the peace of mind you’ll feel knowing your door is locked tight against unwanted visitors. In this guide, you’ll learn exactly how to install a deadbolt, even if you’ve never done it before. Keep reading, and by the end, you’ll have a stronger, safer door you can rely on.
Credit: www.homedepot.com
Choosing The Right Deadbolt
Choosing the right deadbolt is key to securing your door properly. A good deadbolt stops break-ins and gives peace of mind. Knowing the types, materials, and security ratings helps you pick the best fit for your door. This guide covers the basics for easy decision-making.
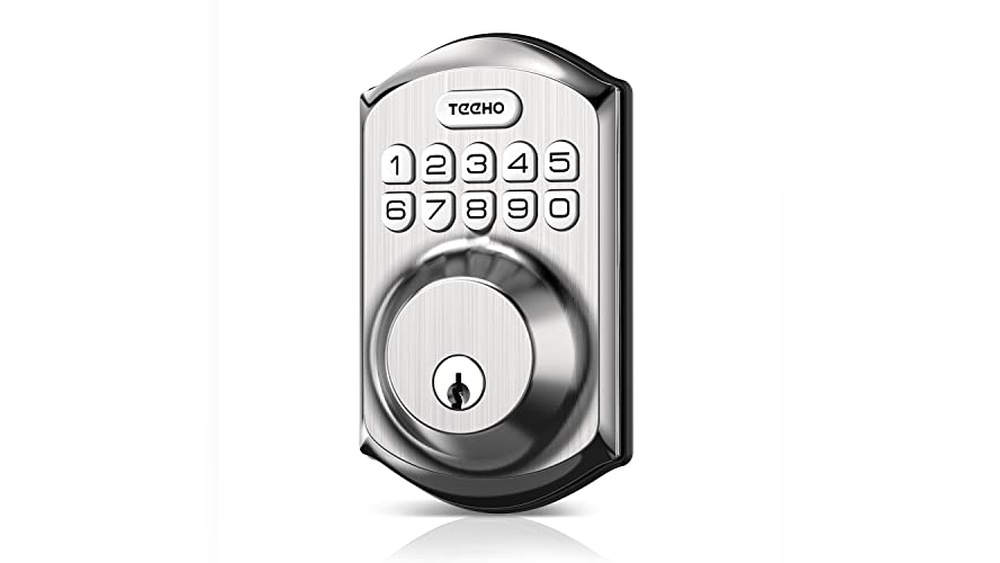
Types Of Deadbolts
Single-cylinder deadbolts use a key outside and a thumb turn inside. They are common and easy to use. Double-cylinder deadbolts need a key on both sides. They add extra security but can slow down emergency exit. Lockable thumb-turn deadbolts let you lock the thumb turn with a key. They combine convenience and security.
Materials And Finishes
Deadbolts come in brass, stainless steel, and bronze. Brass resists corrosion and looks classic. Stainless steel is strong and durable. Bronze offers a rustic look and good strength. Choose a finish that matches your door and resists weather well. Finish types include polished, satin, and antique.
Security Ratings To Consider
Look for deadbolts rated by ANSI or BHMA. Grade 1 is the highest, offering the best protection. Grade 2 is good for most homes. Grade 3 provides basic security and is less strong. Higher grades mean tougher locks and better resistance to force. Check the rating before buying your deadbolt.

Credit: support.shopyalehome.com
Tools And Materials Needed
Before installing a deadbolt on your door, gather all necessary tools and materials. Having everything ready makes the job faster and easier. It also helps avoid interruptions during installation. This section lists the essential tools, additional supplies, and safety gear you will need.
Essential Tools
- Power drill with drill bits
- Screwdriver (Phillips and flathead)
- Measuring tape
- Pencil or marker
- Chisel
- Hammer
- Hole saw kit (usually 2 1/8 inches for the lock hole)
- Spade bit (typically 1 inch for the latch hole)
Additional Supplies
- Deadbolt lock set
- Wood filler (for correcting mistakes)
- Sandpaper (to smooth edges)
- Masking tape (for marking drill points)
- Extra screws (just in case)
Safety Gear
- Safety glasses to protect your eyes
- Work gloves to protect your hands
- Ear protection if using loud power tools
Preparing The Door
Preparing the door is a key step before installing a deadbolt. It makes sure the lock fits well and works properly. Careful preparation helps avoid mistakes that can weaken the door or lock.
This stage involves measuring, marking, drilling, and cleaning. Each task needs attention to detail. Taking your time here saves effort later.
Measuring And Marking
Start by measuring the door thickness and height. These details guide where to place the deadbolt. Use a pencil to mark spots for holes clearly. Check marks twice for accuracy. Proper marking prevents holes in the wrong places.
Drilling The Holes
Select the right drill bit size for your deadbolt. Drill slowly and steadily at the marked points. Keep the drill straight to avoid uneven holes. Drill on both sides if needed. Smooth holes ensure the lock fits tightly without damage.
Cleaning The Surface
Remove dust and debris from drilling. Use a brush or cloth to clean the door edges. A clean surface helps the deadbolt sit flush. It also improves the lock’s durability and function.

Credit: www.homedepot.com
Installing The Deadbolt
Installing the deadbolt is a key step to secure your door. Follow each part carefully for a strong lock. This section guides you through fitting the deadbolt, securing the faceplate, and attaching the strike plate. Take your time and check each step as you go.
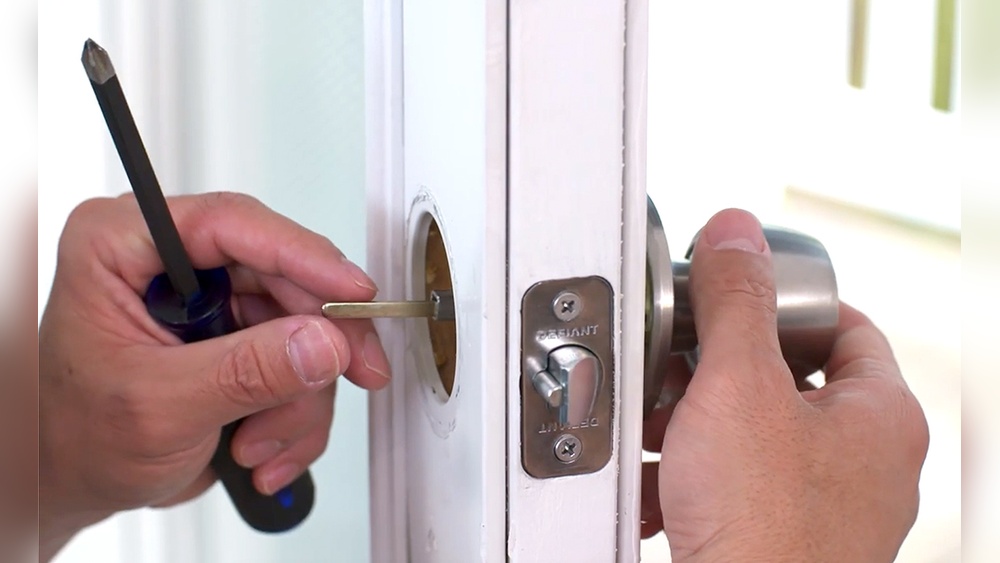
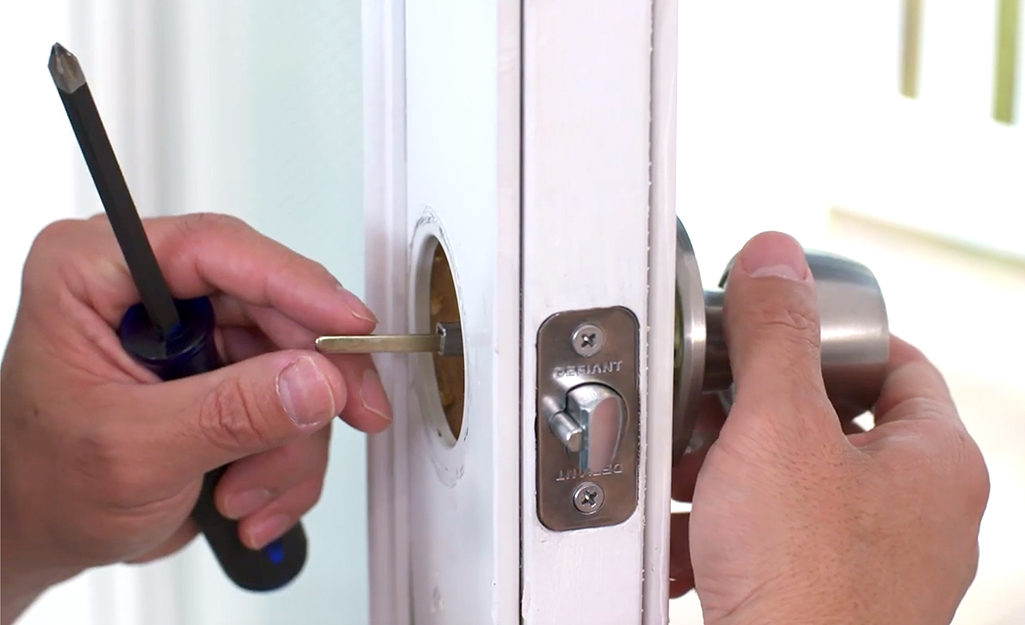
Fitting The Deadbolt Mechanism
First, insert the deadbolt mechanism into the hole on the door edge. Make sure the bolt slides smoothly in and out. The flat side of the bolt should face the door frame. Tighten the screws to hold the mechanism firmly in place. Avoid over-tightening, which can damage the lock.
Securing The Faceplate
Next, align the faceplate over the deadbolt on the door edge. The faceplate covers the mechanism and gives a finished look. Use a screwdriver to fasten the faceplate screws tightly. Ensure it sits flush with the door surface. This prevents dust and debris from entering the lock.
Attaching The Strike Plate
The strike plate goes on the door frame where the bolt locks in. Mark the spot where the bolt meets the frame. Chisel out a shallow recess for the strike plate to fit flush. Screw the strike plate securely into place. Check the bolt fits into the strike plate smoothly.
Testing And Adjustments
After installing the deadbolt, testing and making adjustments is crucial. This step ensures the lock works smoothly and keeps your door secure. Small tweaks can fix problems before they become bigger issues. Follow these steps to check and adjust your deadbolt.
Checking Lock Functionality
Turn the key or thumb turn to test the deadbolt. The bolt should slide out smoothly without sticking. Lock and unlock the door several times. Make sure the bolt fully extends and retracts each time. Check both sides of the door to confirm easy operation.
Aligning The Strike Plate
The strike plate on the door frame must line up with the bolt. Close the door slowly and watch the bolt meet the plate. Adjust the strike plate if the bolt hits the wood or does not enter easily. Use a screwdriver to move the plate up, down, or sideways. Proper alignment stops the lock from jamming.
Troubleshooting Common Issues
If the lock sticks, check for dirt or debris inside the bolt hole. Clean the area with a brush or cloth. Tighten any loose screws on the lock and strike plate. If the key is hard to turn, try lubricating the lock with graphite powder. Avoid oil-based lubricants that attract dust. Test the lock again after each adjustment.
Frequently Asked Questions
How Do I Install A Deadbolt On A Wooden Door?
Start by marking the correct height and drilling holes for the lock and latch. Insert the deadbolt, secure with screws, and test the lock’s function before finishing.
What Tools Are Needed To Install A Deadbolt Lock?
You need a drill, hole saw, screwdriver, tape measure, pencil, and chisel. These tools help you create precise holes and secure the deadbolt properly.
Can I Install A Deadbolt On A Metal Door?
Yes, but you must use a metal drill bit and possibly a different latch type. Follow the same steps but ensure your tools suit metal surfaces.
How Long Does It Take To Install A Deadbolt Lock?
Installation usually takes 30 to 60 minutes, depending on your skill level and door type. Preparation and accurate measurements save time.
Conclusion
Installing a deadbolt on your door adds strong security. The steps are simple and clear to follow. Take your time to measure and align parts correctly. Use the right tools for a smooth installation. Test the lock to make sure it works well.
A properly installed deadbolt helps protect your home. Safety matters, and this small task makes a big difference. Keep your door secure with this easy upgrade. You can do it yourself and save money too.