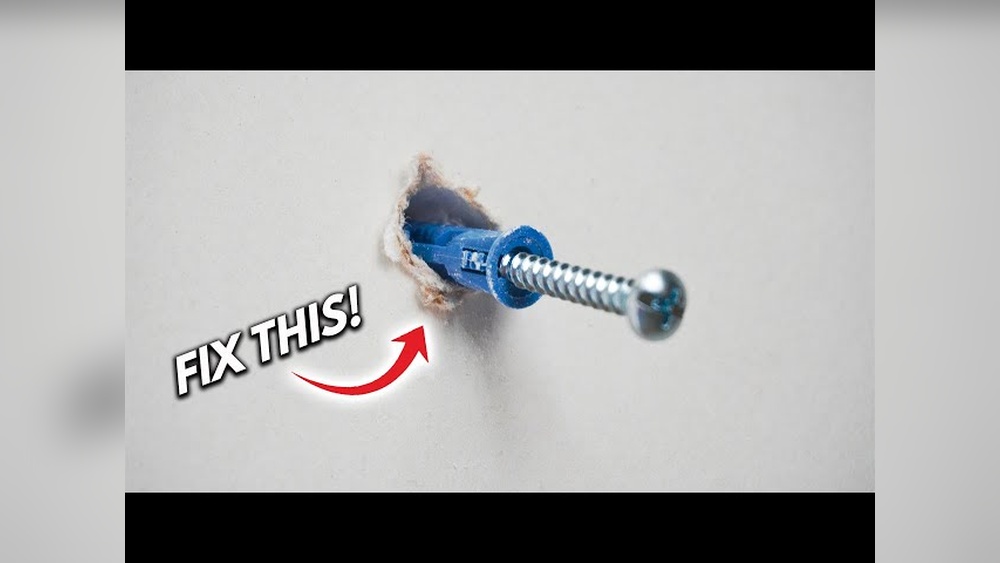
Have you ever looked at those small holes left behind by drywall anchors and wished they would just disappear? You’re not alone.
These holes can make your walls look messy and unfinished, even if the rest of the room is spotless. The good news is, fixing them is easier than you think. In this guide, you’ll discover simple, step-by-step methods to repair those pesky holes quickly and get your walls looking smooth and flawless again.
Keep reading—you’ll be surprised at how simple it is to restore your walls to perfect condition.

Credit: diy.stackexchange.com
Tools And Materials Needed
Fixing drywall anchor holes requires a few simple tools and materials. Having the right items makes the repair easier and cleaner. Gather everything before starting to save time and avoid frustration.
Most tools are common and easy to find at any hardware store. The materials will help fill and smooth the holes so the wall looks good as new.
Spackling Paste Or Joint Compound
This is the main material for filling holes. Choose spackling paste for small holes and joint compound for larger repairs. Both dry hard and sand smooth.
Putty Knife
A putty knife spreads the spackling paste evenly. Use a small one for precise control. It helps create a flat surface over the hole.
Sandpaper
Sandpaper smooths the dried compound. Use fine-grit sandpaper to avoid damaging the wall. It prepares the surface for painting.
Primer And Paint
Primer seals the patch and prevents paint from peeling. Choose a paint color that matches your wall. Paint covers the repair and blends it with the rest of the wall.
Cleaning Cloth
Keep a clean cloth handy to wipe dust and debris. A clean surface helps spackling stick better and makes sanding easier.
Preparing The Hole
Preparing the hole is the first step in fixing drywall anchor holes. This step helps create a smooth surface for patching. Proper preparation ensures the repair lasts longer and looks better.
Cleaning Loose Debris
Start by removing any loose debris inside and around the hole. Use a small brush or a vacuum to clear dust and particles. Clean edges help the patch stick firmly to the wall.
Loose drywall bits can cause bumps or weak spots in the repair. Make sure the hole is clean and dry before moving on.
Widening Irregular Holes
Check the hole shape. If it is uneven or jagged, widen it slightly. Use a utility knife or sandpaper to smooth rough edges.
A regular, round hole is easier to fill and patch. Avoid making the hole too big; just enough to create a clean surface.
Smooth edges prevent cracks and peeling after the repair dries. Take time to shape the hole properly for a neat finish.
Filling Small Holes
Filling small drywall anchor holes is a simple task that improves wall appearance. Small holes can be filled quickly with basic materials. This helps prepare the surface for painting or decoration. A neat finish hides any signs of damage.
Using Spackle Or Joint Compound
Start by cleaning the hole area from dust and loose debris. Apply spackle or joint compound with a putty knife. Press the compound firmly into the hole to fill it completely. Smooth the surface by spreading the compound evenly over the hole. Let the spackle dry for the time recommended on the package.
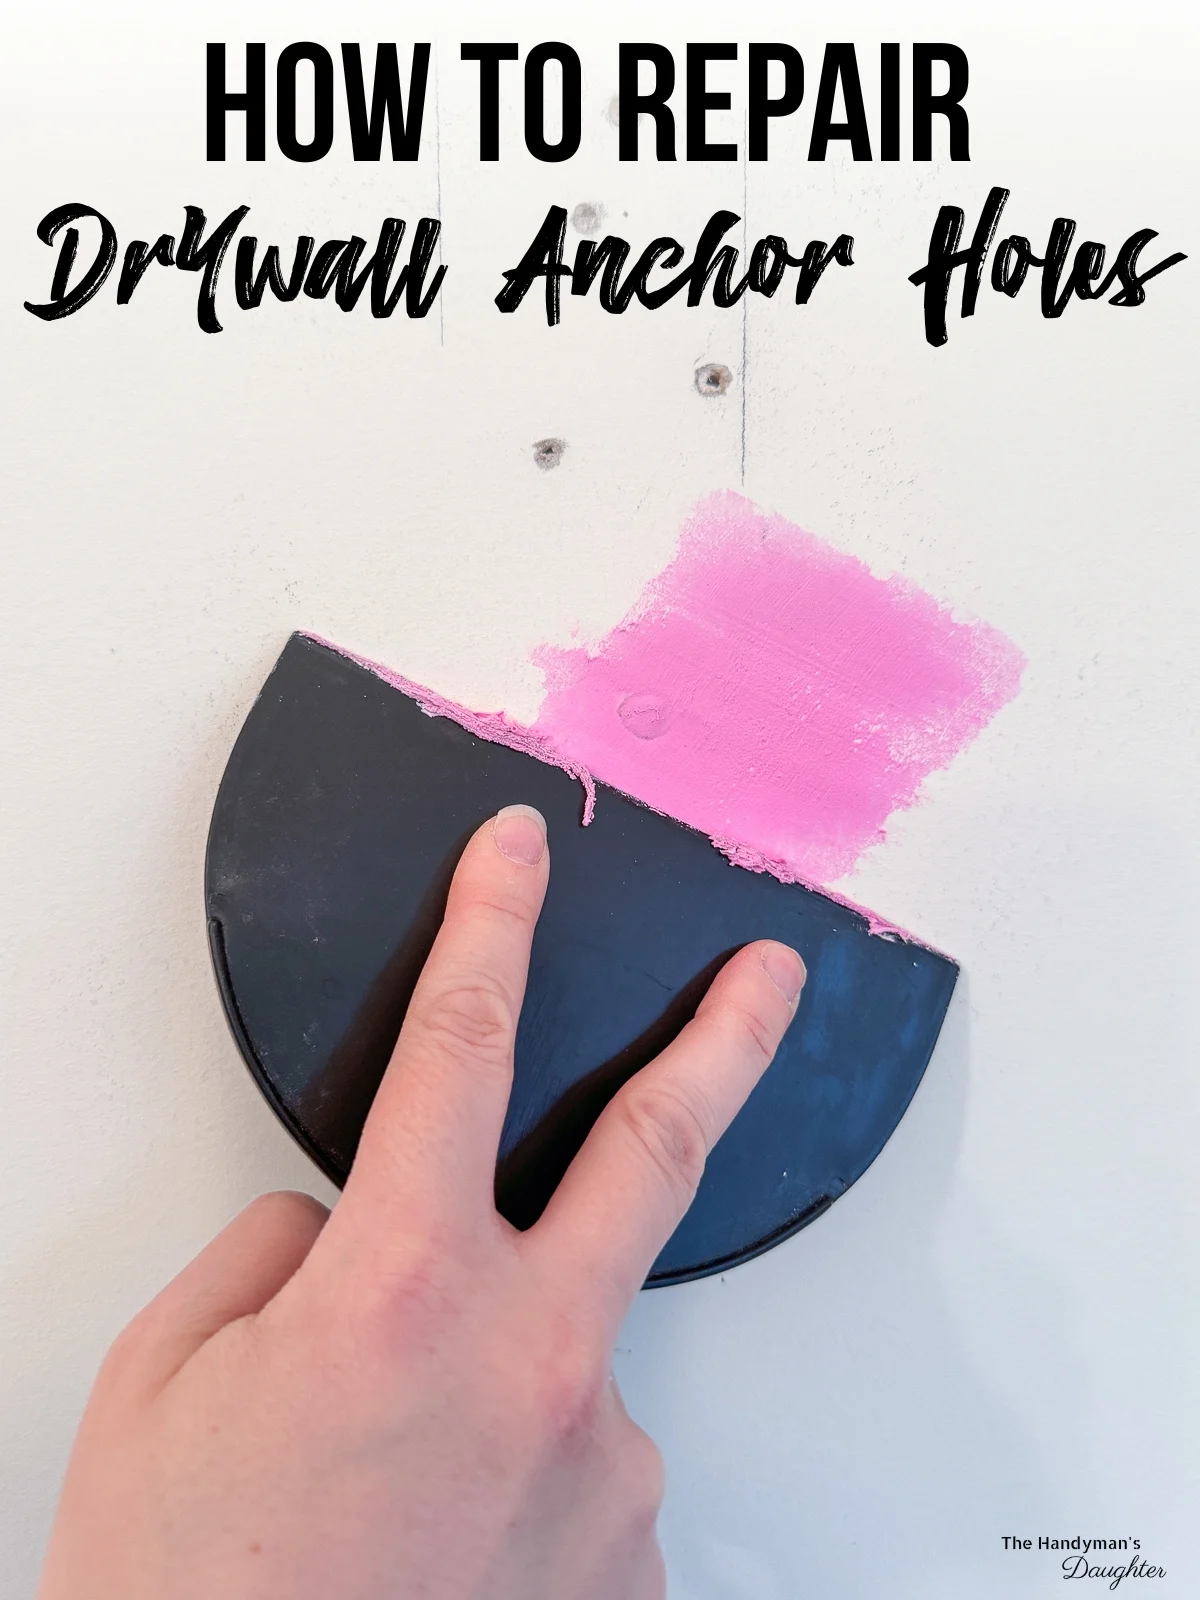
Sanding For Smooth Finish
After drying, use fine-grit sandpaper to sand the area gently. Sand until the patch is flush with the wall surface. Avoid sanding too hard to prevent damage. Wipe away dust with a damp cloth before painting or decorating. This step ensures a clean, smooth finish that blends well.
Repairing Larger Holes
Repairing larger holes in drywall anchor spots requires more care than fixing small holes. These bigger holes often need extra support to hold the patch firmly. Using the right materials and steps helps restore the wall’s smooth surface. This section explains how to fix these holes effectively.
Applying Patch Kits
Patch kits are an easy way to fix larger holes. These kits usually include a mesh patch and joint compound. Start by cleaning the hole edges. Place the mesh patch over the hole. Press it flat against the wall.
Use a putty knife to spread joint compound over the patch. Cover the patch fully, smoothing the edges. Let the compound dry completely. Then, sand the area lightly until smooth. Repeat compound and sanding if needed. Paint over the repaired spot for a clean look.
Using Mesh Tape For Reinforcement
Mesh tape adds strength to bigger drywall repairs. Cut a piece of tape slightly larger than the hole. Stick it firmly over the hole and surrounding wall. Apply joint compound over the tape using a putty knife. Smooth out the compound and feather the edges.
Allow it to dry well before sanding. Add a second layer of compound for better coverage. Sand again once dry for a seamless finish. Mesh tape prevents cracks and helps the patch last longer. It is a good choice for holes that are uneven or rough.
Painting The Repaired Area
Painting the repaired area is the final step to make your wall look smooth and new. It hides the patch and blends it with the rest of the wall. Proper painting makes the repair less noticeable and protects the wall from damage.
Priming Before Painting
Apply a primer to the patched spot first. Primer helps paint stick better and stops color differences. Use a small brush or roller for even coverage. Let the primer dry completely before painting over it.
Matching Wall Color
Choose paint that matches your wall color exactly. Test the paint on a small hidden area first. Use the same paint finish as the rest of the wall. This keeps the repair from standing out. Paint in thin layers for smooth results.

Credit: www.youtube.com
Preventing Future Damage
Preventing future damage to drywall is important for a neat and lasting repair. Using the right anchors and installing them properly stops holes from getting bigger or walls from cracking. This saves time and money on repairs later. Follow these tips to keep your walls strong and smooth.
Choosing The Right Anchors
Select anchors that fit the weight of the item you want to hang. Light items need small plastic anchors. Heavy items require metal anchors or toggle bolts. Match the anchor size to the screw size for a tight fit. Avoid using anchors that are too big or small. The right anchor keeps the wall stable and stops damage.
Proper Installation Techniques
Drill a hole that matches the anchor size exactly. Make the hole clean and straight for a good grip. Push or screw the anchor carefully into the wall. Do not force it hard or make the hole bigger. Tighten screws slowly to avoid cracking the drywall. Proper installation keeps anchors secure and walls intact.
Credit: www.thehandymansdaughter.com
Frequently Asked Questions
How Do I Repair Small Drywall Anchor Holes?
To fix small holes, fill them with spackle using a putty knife. Let it dry, then sand smooth. Finally, paint over the repaired area for a seamless finish.
What Materials Are Needed To Fix Drywall Anchor Holes?
You need spackle or joint compound, a putty knife, sandpaper, primer, and paint. These materials help fill, smooth, and cover the holes effectively.
Can I Reuse Drywall Anchors After Repair?
Generally, no. After repairing, the original hole is filled, so you must drill a new hole nearby to reuse an anchor safely.
How Long Does Drywall Anchor Hole Repair Take?
Typically, it takes about 30 minutes to apply spackle and smooth it. Drying time can be a few hours before sanding and painting.
Conclusion
Fixing drywall anchor holes is simple and quick. Start by cleaning the hole and filling it with spackle or joint compound. Let it dry, then sand smooth. Finally, paint over the repair to match your wall. Small holes won’t show once done right.
This saves you time and keeps walls looking neat. Anyone can do this with basic tools at home. No need to call a pro for small fixes. Try it yourself and see the difference. Your walls will look fresh and clean again.