Are you staring at your deadbolt, wondering how to remove it without breaking a sweat? Whether you’re upgrading your locks or fixing a jammed one, taking out a deadbolt might seem tricky at first.
But don’t worry—you don’t need to be a locksmith to get it done. In this guide, you’ll discover simple steps that anyone can follow to remove a deadbolt quickly and safely. Keep reading, and you’ll have your deadbolt off in no time, ready for whatever comes next.
Tools Needed
Removing a deadbolt requires the right tools. Having these tools ready makes the job easier and faster. Each tool plays a specific role in the removal process. Prepare everything before you start to avoid delays.
Screwdriver
A screwdriver is essential for removing screws from the deadbolt. Most deadbolts use either a Phillips or flathead screw. Choose the correct type to avoid stripping screws.
Drill
A drill helps remove screws that are hard to turn by hand. It is also useful for drilling out broken or stuck locks. Use a drill with the right bit size for the screws.
Pliers
Pliers help grip and pull out small parts. They are useful for holding screws or turning stubborn pieces. Needle-nose pliers work well for tight spaces.
Utility Knife
A utility knife helps cut through paint or sealant around the deadbolt. This makes it easier to remove the lock without damage. Use it carefully to avoid injury.
Hammer
A hammer may be needed to tap parts loose. It helps with stuck components that won’t budge. Use gentle taps to avoid breaking the door or lock.
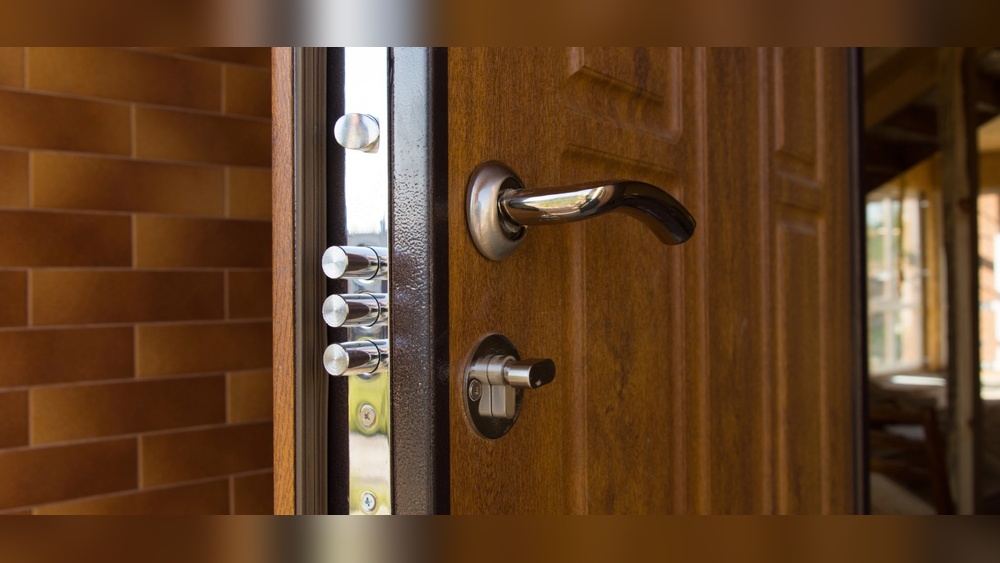
Locate The Deadbolt
Locating the deadbolt is the first step in removing it safely and quickly. Deadbolts are usually placed on doors for extra security. Knowing exactly where to find the deadbolt helps you prepare the right tools and avoid damage.
Deadbolts have two main parts: the inside lock and the outside keyhole. Both parts must be identified before starting the removal process. This section guides you through locating these parts clearly.
Find The Exterior Keyhole
The exterior keyhole is on the outside of the door. It looks like a small round or oval hole. This is where you insert the key to lock or unlock the door. Look closely at the door’s handle area to spot it.
Identify The Interior Turn Knob
On the inside of the door, the deadbolt has a turn knob. This knob allows locking or unlocking without a key. It is usually round and easy to twist. Locate this part as it often hides screws you need to remove.
Check The Edge Of The Door
The edge of the door shows the bolt itself. It is a metal piece that slides into the door frame. This part extends when locked and retracts when unlocked. Look here to see the bolt’s position and size.
Remove The Interior Thumb Turn
Removing the interior thumb turn is a key step in taking out a deadbolt. This small part controls the lock from inside your door. Removing it carefully helps expose the screws and parts you need to work on next.
The thumb turn can be simple or tricky, depending on the deadbolt type. You need basic tools like a screwdriver. Follow clear steps to avoid damage to your door or lock.
Locate The Thumb Turn
Look at the inside of your door. The thumb turn is the small knob you twist to lock or unlock the door. It sits right in the center of the deadbolt’s interior side.
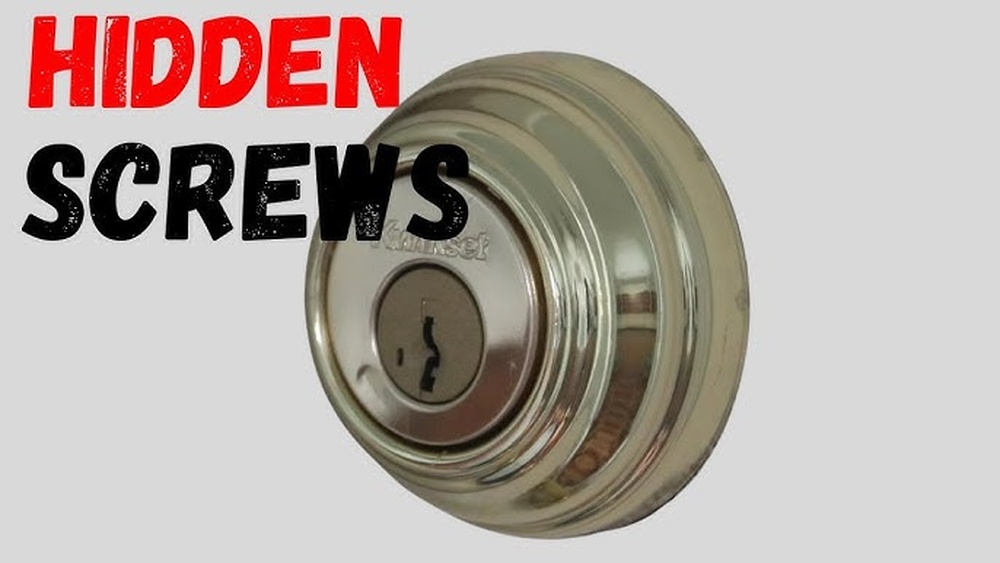
Check For Visible Screws
See if screws hold the thumb turn in place. Some models have small screws on the faceplate or sides. Use a screwdriver to remove these screws carefully.
Remove The Thumb Turn
Once screws are out, gently pull the thumb turn away from the door. If it feels stuck, wiggle it slightly. Avoid using too much force to prevent breaking the part.
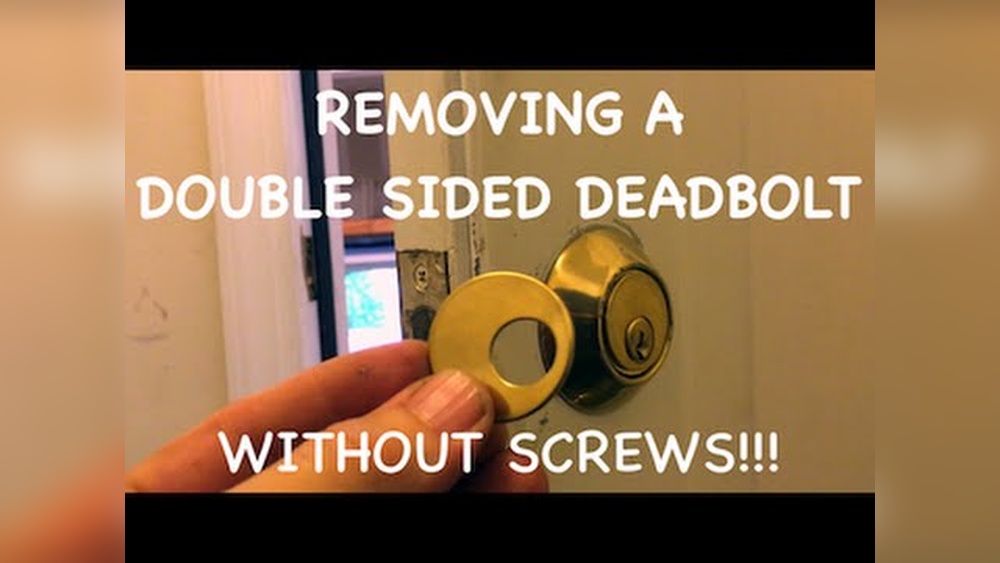
Handle Hidden Fasteners
Some thumb turns use hidden clips or pins. Look closely for a small hole or slot. Use a thin tool like a paperclip to press inside and release the clip.
Credit: www.reddit.com
Unscrew The Exterior Plate
Removing a deadbolt starts with unscrewing the exterior plate. This plate holds the lock on the door. Taking it off allows access to the internal parts of the deadbolt. It is the first step to safely remove the entire lock.
The exterior plate usually has visible screws. These screws keep the plate fixed tightly. Unscrewing them needs the right tools and care. This step requires patience and steady hands.
Gather The Right Tools
Prepare a screwdriver that fits the screws on the exterior plate. Most deadbolts use a Phillips head screwdriver. Check the screws carefully before choosing the tool.
Locate The Screws
Look around the outer plate to find all screws. Some deadbolts have two or more screws. Make sure to find every screw to avoid damage.
Unscrew Carefully
Turn the screwdriver slowly to loosen each screw. Keep the screws safe for later use. Avoid forcing the screws to prevent stripping.
Remove The Exterior Plate
After all screws are loose, gently pull off the plate. It may stick a little, so use slow, steady pressure. Set the plate aside in a safe place.
Extract The Deadbolt Mechanism
Extracting the deadbolt mechanism is a key step in removing a deadbolt lock. This part controls the lock’s bolt movement. Removing it allows you to replace or fix the lock easily. The process requires careful handling to avoid damage.
Start by locating the screws that hold the deadbolt mechanism in place. These screws are often on the edge of the door. Removing these screws will free the mechanism from the door.
Remove The Faceplate Screws
Look for screws on the deadbolt’s faceplate. These screws secure the mechanism inside the door. Use a screwdriver to remove them carefully. Keep the screws safe for reassembly or replacement.
Pull Out The Deadbolt Mechanism
After removing the screws, gently pull the mechanism from the door edge. It may need slight wiggling to come free. Avoid forcing it to prevent damage to the door or lock.
Check For Additional Fasteners
Some deadbolts have extra fasteners inside the door. Inspect the cavity for clips or pins. Remove any found fasteners to release the mechanism fully.
Handle The Mechanism With Care
The deadbolt mechanism contains small parts. Handle it gently to avoid breaking pieces. Place it on a clean surface for inspection or replacement.
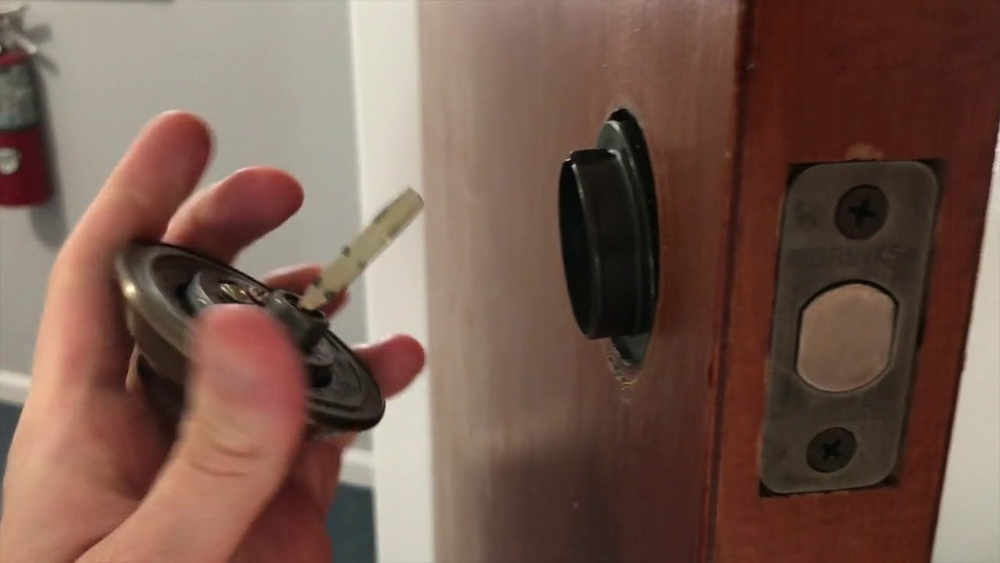
Check The Door Edge
Checking the door edge is an important step when removing a deadbolt. This part of the door holds key components of the lock. Examining it helps you understand how the deadbolt fits and what tools you will need.
Start by looking closely at the edge of the door where the deadbolt latch sticks out. You may see screws or a metal plate that keeps the lock in place. These must be removed or loosened first.
Locate The Faceplate On The Door Edge
The faceplate is a metal cover on the door edge. It surrounds the latch or bolt. Find this plate and check for screws holding it in place. Removing these screws allows you to pull out the latch.
Remove Screws Securing The Deadbolt
Screws on the door edge hold the deadbolt mechanism tightly. Use a screwdriver to take out all visible screws. Keep them safe. These screws might be small but are very important.
Inspect The Latch And Bolt Mechanism
With the faceplate off, you can see the latch inside the door edge. Check if it moves freely when you turn the lock. This step helps confirm that the deadbolt parts are ready to come out.
Handle Stuck Or Damaged Deadbolts
Handle stuck or damaged deadbolts cause real frustration. They stop the door from opening or closing smoothly. Removing these deadbolts can fix the problem or prepare for replacement.
Deadbolt handles get stuck because of rust, dirt, or worn parts. Sometimes, the internal mechanism breaks or bends. Knowing how to handle these issues helps save time and avoid damage.
Identify The Cause Of The Stuck Handle
Check if the handle moves at all. Try turning it gently to feel resistance. Look for rust or dirt around the handle and lock. Notice if the key turns easily in the lock cylinder. These clues tell what caused the handle to stick.
Use Lubricant To Free A Stuck Handle
Spray a small amount of lubricant into the keyhole and handle joints. Wait a few minutes for it to work. Move the handle back and forth slowly. This can loosen dirt and rust inside the lock. Avoid using too much oil to prevent grime buildup.
Remove Screws To Detach The Handle
Find screws on the faceplate or under a cover plate. Use a screwdriver to remove them carefully. Keep screws in a safe place for reassembly. Pull the handle away from the door gently. This exposes the internal deadbolt parts for further work.
Disassemble The Deadbolt Mechanism
Look inside the lock for more screws or clips. Remove these to free the deadbolt cylinder and latch. Handle broken parts with care to avoid extra damage. This step helps in replacing or repairing the deadbolt components.

Credit: www.youtube.com
Reinstall Or Replace The Deadbolt
After removing a deadbolt, deciding what to do next is important. You can either reinstall the same deadbolt or replace it with a new one. Both options have their benefits. Reinstalling saves money and time if the old lock works well. Replacing improves security and updates the door’s look.
Choosing the right option depends on the condition of the deadbolt and your needs. Here is how to approach both choices carefully.
Reinstalling The Deadbolt
Check the deadbolt for damage. Make sure the key turns smoothly. Test the locking mechanism by hand. Clean all parts before reinstalling. Align the deadbolt with the door holes. Tighten screws firmly to keep the lock stable. Test the lock after installation. Ensure the door locks and unlocks easily.
Replacing The Deadbolt
Pick a new deadbolt that fits your door. Measure the hole size before buying. Choose a lock with good security ratings. Remove the old deadbolt completely. Match the new lock parts with old holes. Follow the installation steps in the manual. Insert the new deadbolt and secure screws. Check the lock’s operation several times.
Tips For Both Options
Use a screwdriver that fits screws well. Keep all small parts safe during work. Work carefully to avoid damaging the door. Take your time for proper alignment. Test the lock many times after finishing. Call a locksmith if unsure about any step.

Credit: diy.stackexchange.com
Frequently Asked Questions
How Do I Remove A Deadbolt Lock Safely?
To remove a deadbolt lock safely, first, gather a screwdriver. Unscrew the interior and exterior plates carefully. Remove the latch mechanism from the door edge. Handle all parts gently to avoid damage. Follow the manufacturer’s instructions if available.
What Tools Do I Need To Remove A Deadbolt?
You need a Phillips or flathead screwdriver, depending on screws. Sometimes, an Allen wrench or drill might be necessary. A flashlight helps to see screws clearly. Always prepare all tools before starting the removal process.
Can I Remove A Deadbolt Without Damaging The Door?
Yes, by unscrewing the lock parts carefully, you avoid damage. Avoid forcing the lock or latch. Use proper tools and follow step-by-step instructions. This preserves the door’s finish and integrity during removal.
How Long Does It Take To Remove A Deadbolt?
Removing a deadbolt typically takes 10 to 20 minutes. Time varies based on your experience and tool availability. Careful handling might add a few extra minutes. Always allocate enough time for a smooth process.
Conclusion
Removing a deadbolt can seem hard at first. Follow each step with care and patience. Use the right tools for the job. Take your time to avoid damage to the door. Once done, you can replace or fix your lock easily.
This guide helps you feel more confident and ready. Keep safety in mind while working. Simple actions lead to good results. Now, you can handle deadbolt removal with ease.