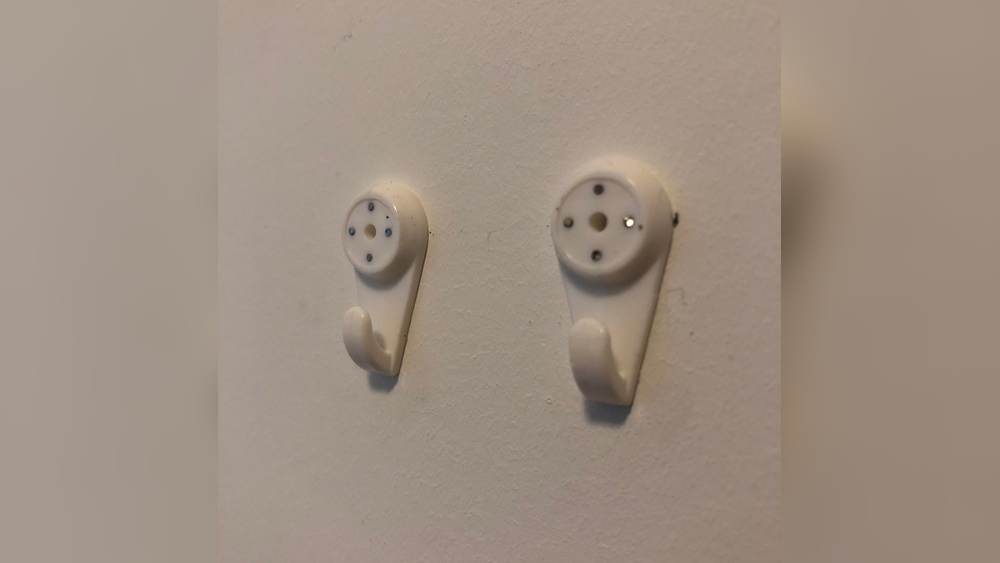
Have you ever stared at your wall, wondering how to get those stubborn picture hooks out without leaving a mess? Removing picture hooks can feel tricky, especially when you want to keep your walls smooth and damage-free.
But don’t worry—you’re just a few simple steps away from a clean, hook-free wall. You’ll discover easy, effective methods to remove picture hooks quickly and safely. Keep reading, and you’ll learn how to protect your walls while making your space look fresh and flawless.

Credit: www.reddit.com
Tools Needed
Removing picture hooks from walls is simple with the right tools. Having these tools ready makes the process safe and clean. You avoid damage and save time. Below is a list of tools you need to remove hooks easily.
Basic Supplies
Start with basic supplies you likely have at home. A flathead screwdriver helps pry the hook from the wall gently. A pair of pliers grips stubborn hooks tight. A putty knife smooths out any wall damage after removal. Keep a small container to hold screws and nails so they don’t get lost. Finally, have a soft cloth ready to clean the area once done.
Optional Tools
Optional tools can make the task easier but are not necessary. A hairdryer softens adhesive on sticky hooks, making removal easier. A utility knife can cut around the hook base for careful removal. Sandpaper helps smooth rough patches on the wall after pulling out hooks. Painter’s tape protects the wall edges during the process. These tools help if hooks are old or tough to remove.
Preparing The Area
Preparing the area is the first step before removing picture hooks from your wall. Taking time to get ready helps prevent damage and makes the process easier. A neat workspace also keeps you safe and organized.
Clear The Space
Remove any furniture or objects near the wall. This gives you room to work without bumping into things. Clear the floor below the hook to avoid tripping. Keep pets and children away to stay safe. A clear space lets you focus on the task.
Protect The Wall
Place a soft cloth or towel under the hook area. It catches dust and small debris during removal. Use painter’s tape around the hook to guard the paint. This step helps keep your wall clean and undamaged. Protecting the wall saves time on repairs later.
Removing Different Types Of Hooks
Removing picture hooks can be easy or tricky, depending on the type. Different hooks need different methods to take them off safely. Knowing how to remove each type helps protect your walls from damage. Here are simple tips for removing common picture hooks.
Wire Hooks
Wire hooks usually hang from a nail or screw. First, lift the wire off the hook carefully. Then, pull the hook straight out of the wall. Use pliers if the hook is tight. Avoid twisting to keep the wall safe.
Adhesive Hooks
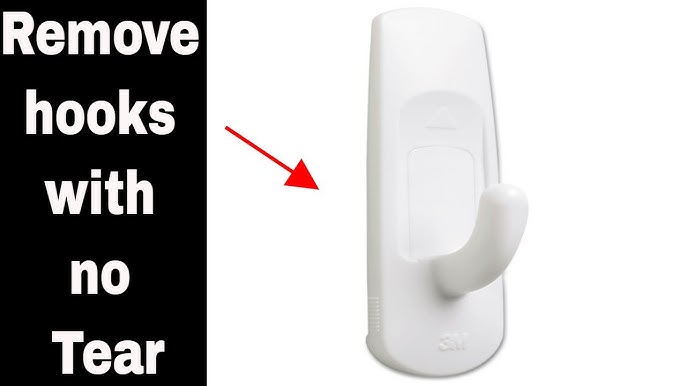
Adhesive hooks stick to the wall with glue. Slowly pull the bottom tab to stretch the adhesive strip. Pull it downward, close to the wall surface. This action releases the glue without damage. Never pull the hook straight out.
Nail Hooks
Nail hooks are simple and small. Use a claw hammer or flat tool to pry the nail. Push gently under the nail head and pull out. Be careful not to chip the paint. Fill any small holes after removal.
Picture Hangers
Picture hangers often have a metal hook on a nail. Remove the picture first. Then, use pliers to pull the nail straight out. If the nail is stubborn, wiggle it slowly. Fill the hole to keep the wall smooth.
Credit: www.reddit.com
Minimizing Wall Damage
Removing picture hooks can leave marks or damage on your wall. Minimizing this damage keeps walls smooth and ready for new decor. Using careful techniques reduces the risk of peeling paint or holes. Small steps make a big difference in preserving your wall’s look.
Gentle Pull Techniques
Start by pulling the hook slowly and gently. Avoid sudden yanks that can tear the wall surface. Hold the hook close to the wall to reduce pressure. Use your fingers instead of tools to feel the resistance. Soft, steady pressure helps the hook come off cleanly.
Using Heat Or Solvents
Apply a little heat with a hairdryer to soften adhesive parts. Warmth loosens sticky glue without hurting the paint. Use rubbing alcohol or adhesive remover on tough spots. Dab gently with a cloth to avoid spreading the solvent. These methods help lift the hook without wall damage.
Fixing Small Wall Imperfections
Removing picture hooks often leaves small holes and marks on your wall. Fixing these small imperfections makes the wall smooth and neat. The process is simple and requires just a few tools. Follow these steps to restore your wall’s appearance quickly.
Filling Holes
Start by cleaning the hole area from dust and dirt. Use a putty knife to apply wall filler or spackle. Press the filler firmly into the hole to fill it completely. Smooth the surface with the knife and remove extra filler. Let the filler dry according to the product instructions.
Sanding And Smoothing
Once the filler is dry, use fine-grit sandpaper to smooth the surface. Sand gently until the patch is flush with the wall. Wipe away dust with a damp cloth to prepare for painting. This step ensures the repaired area blends well with the wall.
Touching Up Paint
Match the paint color to your wall for a seamless finish. Use a small brush or roller for the patch area. Apply paint in thin layers and let each dry before adding more. This prevents uneven spots and helps the repair disappear. Your wall looks fresh and damage-free.
Tips For Future Hook Use
Using picture hooks carefully helps keep your walls neat and clean. Following some simple tips can prevent damage and make future removal easier. Choose the right hooks and install them well for best results.
Choosing Damage-free Hooks
Select hooks designed to hold weight without hurting walls. Adhesive hooks work well on smooth surfaces and leave little mark. Look for hooks labeled as “damage-free” or “removable.” These hooks peel off easily and protect paint. Use small hooks for lightweight pictures and larger ones for heavy frames.
Proper Installation Methods
Clean the wall surface before placing hooks. Dirt or dust stops hooks from sticking well. Press the hook firmly against the wall for about 30 seconds. Follow package instructions carefully for best hold. Avoid hanging items heavier than the hook’s limit. Remove hooks gently by pulling down slowly to avoid wall damage.
Credit: www.youtube.com
Frequently Asked Questions
How Do I Safely Remove Picture Hooks From Walls?
To safely remove picture hooks, gently twist or pull the hook from the wall. Use pliers if needed. Avoid force to prevent damage. Fill holes with spackle and sand smooth before repainting.
Can I Remove Picture Hooks Without Wall Damage?
Yes, carefully remove hooks by pulling them straight out or twisting slowly. Use minimal force to avoid wall damage. Repair small holes with spackle and touch up paint for a clean finish.
What Tools Help Remove Picture Hooks Easily?
Common tools include pliers, a putty knife, and spackle. Pliers help grip hooks securely. Use a putty knife to smooth repairs. Spackle fills holes for a flawless wall surface.
How Do I Fix Holes After Removing Picture Hooks?
Fill holes with lightweight spackle using a putty knife. Let it dry completely. Sand the area smooth, then repaint to match the wall color for a seamless look.
Conclusion
Removing picture hooks from walls can be quick and simple. Use gentle tools to avoid damage. Take your time and work carefully. Small holes can be filled easily later. Clean the wall to keep it looking fresh. These steps help maintain your wall’s good condition.
You can change your decorations anytime without worry. A little care goes a long way in home care. Keep these tips in mind for smooth wall updates.


