Have you ever wanted to control your room’s lighting with just a simple switch? Connecting a switch to a light bulb might seem tricky, but it’s easier than you think.
Imagine flipping a switch and instantly brightening your space—no hassle, no confusion. In this guide, you’ll discover clear, step-by-step instructions that anyone can follow. By the end, you’ll have the confidence to make your lights work exactly how you want.
Ready to take control of your lighting? Let’s get started!

Credit: www.youtube.com
Tools And Materials Needed
Before connecting a switch to a light bulb, gather the right tools and materials. Proper preparation makes the job safer and easier. This section covers what you need for a smooth installation.
Essential Tools
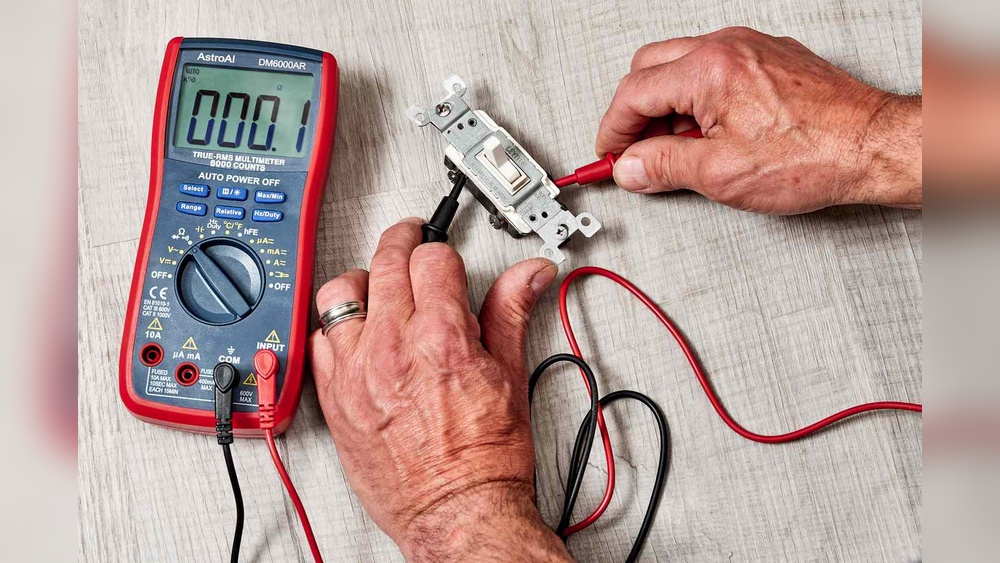
Start with basic tools. A screwdriver set is necessary to open switch boxes. Wire strippers help remove insulation from wires cleanly. Use a voltage tester to check if wires have power. Electrical tape secures wire connections safely. Pliers can twist wires together tightly. A drill may be needed to make holes for mounting.
Types Of Switches
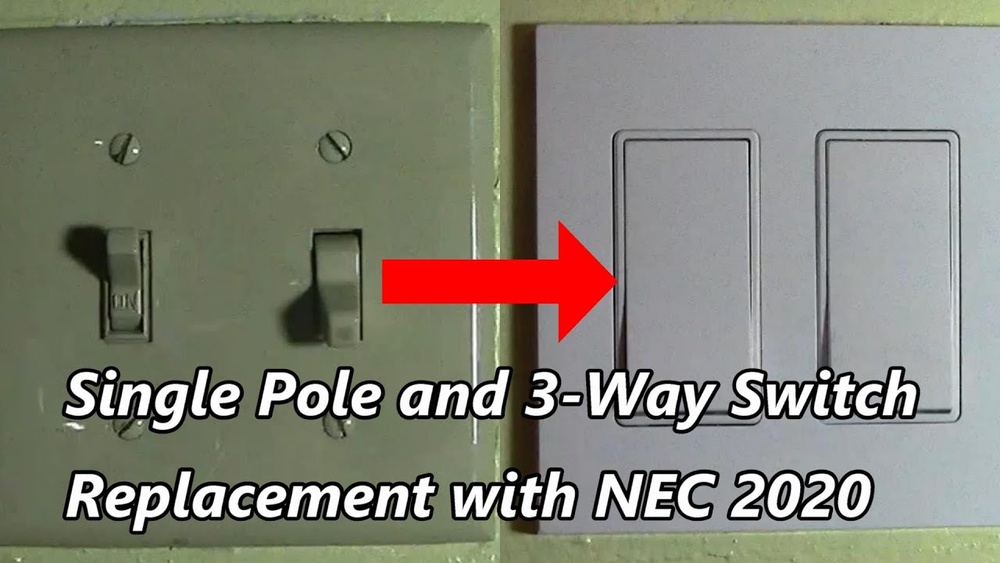
Choose the right switch for your light. Single-pole switches control one light from one place. Three-way switches control one light from two places. Dimmer switches adjust light brightness. Some switches are smart and work with apps or voice control. Match the switch type to your needs and wiring setup.
Choosing The Right Light Bulb
Pick a bulb that fits your fixture and switch. LED bulbs save energy and last long. Incandescent bulbs give warm light but use more power. Check the bulb’s wattage to avoid overloading the circuit. Some dimmer switches need special dimmable bulbs. Match the bulb base size to the socket.
Safety Precautions
Working with electrical wiring can be dangerous without proper care. Safety should be the top priority before connecting a switch to a light bulb. Taking the right steps helps avoid shocks and damage.
Turning Off Power
Always turn off the power at the circuit breaker. This stops electricity from flowing to the wires you will touch. Double-check that the power is off using a voltage tester. Never work on live wires.
Using Insulated Tools
Use tools with insulated handles to protect against electric shock. Insulated screwdrivers and pliers keep you safe if wires carry current. Avoid metal tools without insulation when working on electrical parts.
Checking Wiring Compatibility
Confirm the switch and bulb wiring match your home setup. Using incompatible wires or devices can cause short circuits or fires. Match wire types and colors carefully. Consult instructions or a professional if unsure.
Basic Wiring Concepts
Understanding basic wiring is key to safely connect a switch to a light bulb. This knowledge helps prevent electrical hazards and ensures the system works properly. Let’s break down the core concepts that make wiring simple and clear.
Understanding Live, Neutral, And Ground Wires
The live wire carries electricity from the power source to the light bulb. It is usually colored brown or red. The neutral wire completes the circuit by carrying electricity back to the power source. It is often blue or black.
The ground wire is a safety feature. It directs electricity safely into the earth if a fault occurs. This wire is green or green with yellow stripes. Knowing these wires helps you connect the switch and light bulb correctly.
How Switches Control Circuits
A switch controls the flow of electricity to the light bulb. When the switch is off, it breaks the circuit. This stops electricity from reaching the bulb. When the switch is on, it closes the circuit, allowing electricity to flow.
The switch usually connects to the live wire. This setup ensures the light turns off completely when the switch is off. Understanding this makes wiring easier and safer.

Credit: www.youtube.com
Step-by-step Wiring Process
Wiring a switch to a light bulb is a simple task that anyone can do with basic tools. This step-by-step guide breaks down the process. Follow these clear steps for a safe and working connection.
Preparing The Wires
Start by turning off the power from the main breaker. Use a voltage tester to check the wires are not live. Strip about 1 inch of insulation off the ends of each wire. Make sure the wires are clean and straight. This helps to make strong connections later.
Connecting Switch To Power Source
Identify the power source wire, usually black or red. Connect this wire to one terminal on the switch. Tighten the screw to hold the wire firmly. The switch will control the flow of electricity from this source.
Wiring The Light Bulb
Take the wire that goes to the light bulb socket. Connect it to the other terminal on the switch. Attach the neutral wire, usually white, directly to the light bulb socket. This completes the circuit for the light bulb.
Securing Connections
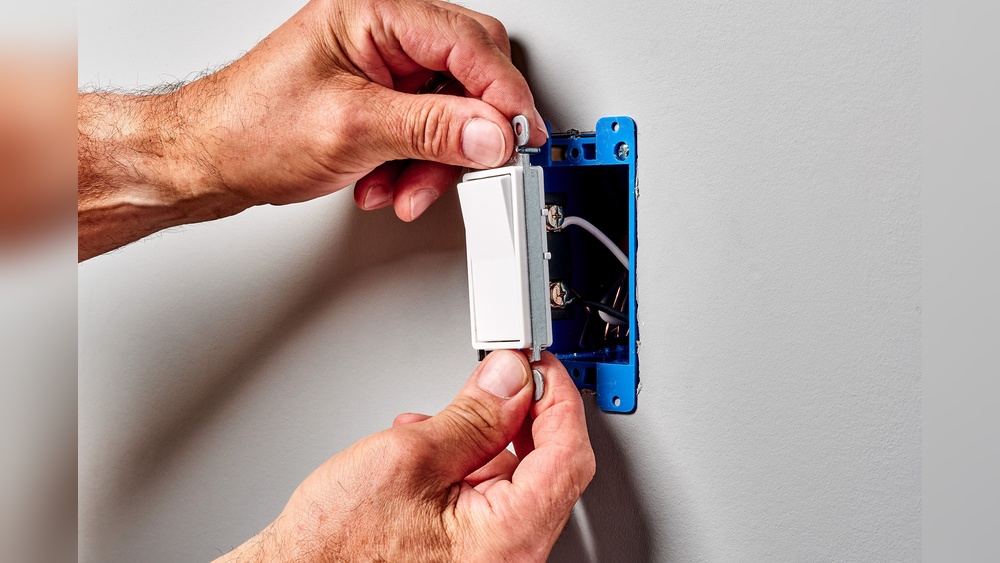
Double-check all wire connections are tight and secure. Use electrical tape to cover exposed wire parts. Place wires neatly inside the switch box. Finally, mount the switch and restore power to test the light bulb. The light should turn on and off smoothly.
Testing The Connection
Testing the connection between a switch and a light bulb is a key step. It ensures everything works safely and properly. This step helps find any wiring mistakes or faults. Follow simple checks to confirm your setup is correct.
Restoring Power Safely
Turn the power back on at the circuit breaker. Make sure your hands are dry and tools are insulated. Stand on a dry surface to avoid electric shocks. Do not touch any wires while restoring power. Safety is the top priority before testing the switch.
Checking Switch Functionality
Flip the switch to the “on” position. The light bulb should glow brightly. Turn the switch “off” to see the bulb go dark. If the bulb lights up, the connection works well. If not, double-check your wiring and bulb.
Troubleshooting Common Issues
The light stays off? Check if the bulb is screwed in tightly. Try a new bulb to rule out a faulty one. Examine the switch for loose wires or damage. Use a voltage tester to confirm power flows through. Fix any loose connections before testing again.

Credit: shivkumardas.wordpress.com
Tips For Neat Installation
Installing a switch to control a light bulb requires care and attention. A neat installation keeps everything safe and easy to manage. It also looks better and helps with future repairs.
Use the right tools and take your time. Follow these tips to keep your wiring tidy and organized.
Organizing Wires
Keep wires separated and avoid tangles. Use wire clips or ties to bundle wires neatly. Cut wires to the right length to prevent excess loops. This reduces clutter and makes the setup safer.
Using Proper Fixtures
Choose fixtures that fit your switch and light bulb securely. Use wall boxes or electrical enclosures to hold connections. Proper fixtures protect wires and prevent damage over time.
Labeling Components
Mark each wire and terminal clearly. Use simple labels or colored tape. Labeling helps identify parts quickly during repairs or upgrades. It saves time and avoids mistakes.
Frequently Asked Questions
How Do You Wire A Switch To A Light Bulb?
To wire a switch to a light bulb, connect the power source to the switch. Then, run a wire from the switch to the light bulb’s socket. This setup controls the bulb’s power flow, enabling you to turn the light on or off safely.
What Tools Are Needed To Connect A Switch To A Bulb?
You need a screwdriver, wire strippers, electrical tape, and a voltage tester. These tools help safely strip wires, secure connections, and verify power is off. Proper tools ensure a safe and effective switch-to-light bulb installation.
Can I Install A Switch Without Turning Off Power?
No, always turn off the power at the circuit breaker before installation. This prevents electrical shocks and accidents. Safety is critical when working with electrical wiring to protect yourself and your home.
What Type Of Switch Works Best For Light Bulbs?
A single-pole switch is most common for controlling one light bulb. It’s simple to install and use, making it ideal for basic lighting control. Choose switches rated for your bulb’s voltage and current.
Conclusion
Connecting a switch to a light bulb is simple and useful. You only need a few tools and basic steps. Always turn off the power before starting work. Follow safety rules to avoid accidents. This skill can save money and time at home.
Practice makes the process easier and faster. Now you can control your lights with a switch. Try it yourself and see how it works!