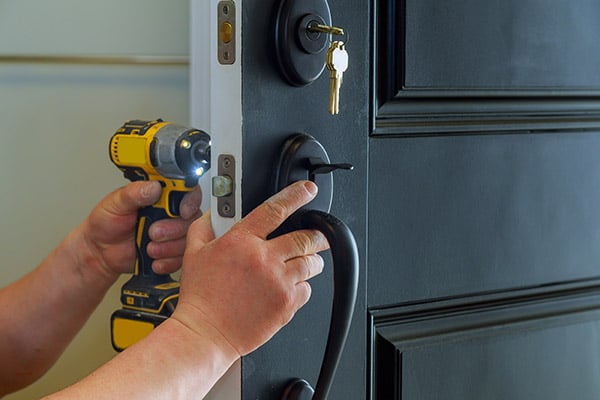
Replacing a deadbolt on your door might sound tricky, but it’s easier than you think. If your lock is old, broken, or just not working right, changing it yourself can save you time and money.
Imagine feeling safer at home with a fresh, strong lock you installed in no time. In this guide, you’ll get clear, simple steps to replace your deadbolt quickly and confidently—no special skills needed. Ready to take control of your home’s security?
Let’s get started!
Credit: www.4feldco.com
Tools And Materials Needed
Replacing a deadbolt requires the right tools and materials. Having everything ready makes the job easier and faster. This guide helps you prepare before starting the replacement.
Essential Tools
Gather a screwdriver set with flathead and Phillips heads. A drill can help with screws and holes. A tape measure ensures the new deadbolt fits perfectly. Use a pencil to mark measurements. A hammer might be needed for minor adjustments. Keep a utility knife handy for cleaning edges. Safety glasses protect your eyes during work.
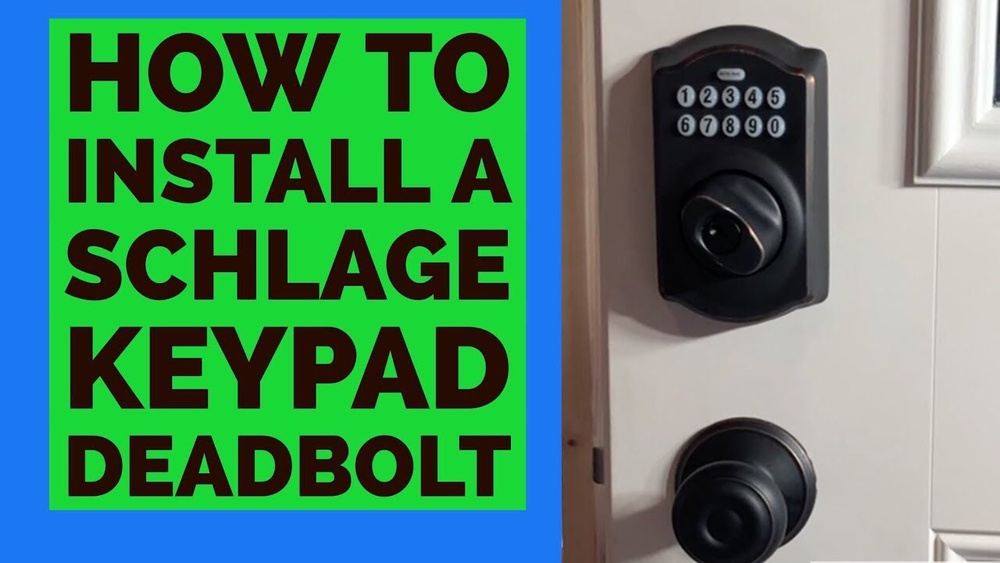
Choosing The Right Deadbolt
Select a deadbolt that fits your door thickness. Check the backset measurement to match your door’s existing setup. Pick between single-cylinder and double-cylinder types. Single-cylinder works with a key outside and thumb turn inside. Double-cylinder needs a key on both sides, adding security. Consider the finish to match your door hardware style.
Credit: www.homedepot.com
Preparing The Door
Preparing the door is the first step to replace a deadbolt. This process ensures the new lock fits well and works smoothly. A clean, clear surface helps the deadbolt stay secure. Proper preparation saves time and avoids problems later.
Start by removing the old deadbolt carefully. Then, clean the door surface for the best results. These steps create a strong base for the new lock.
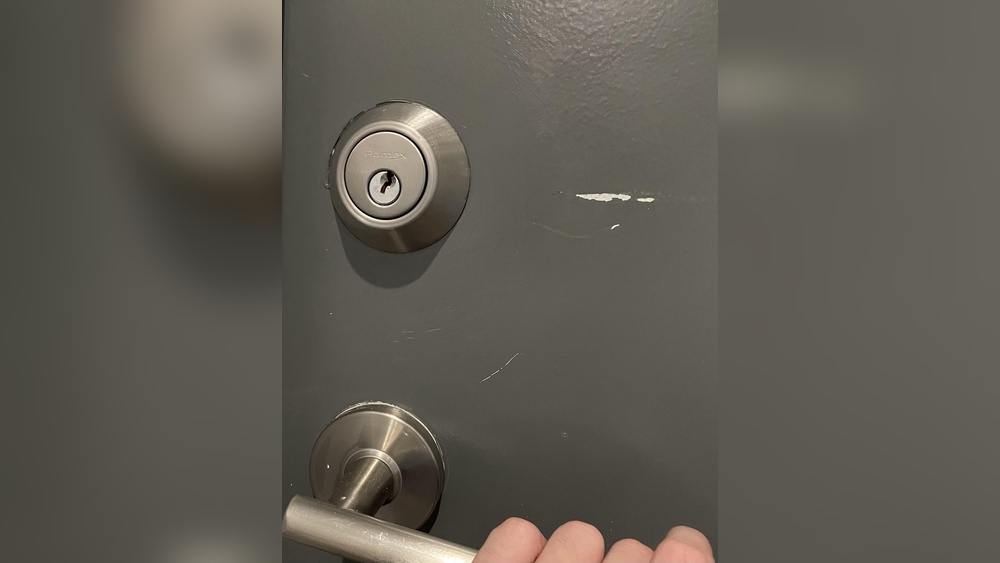
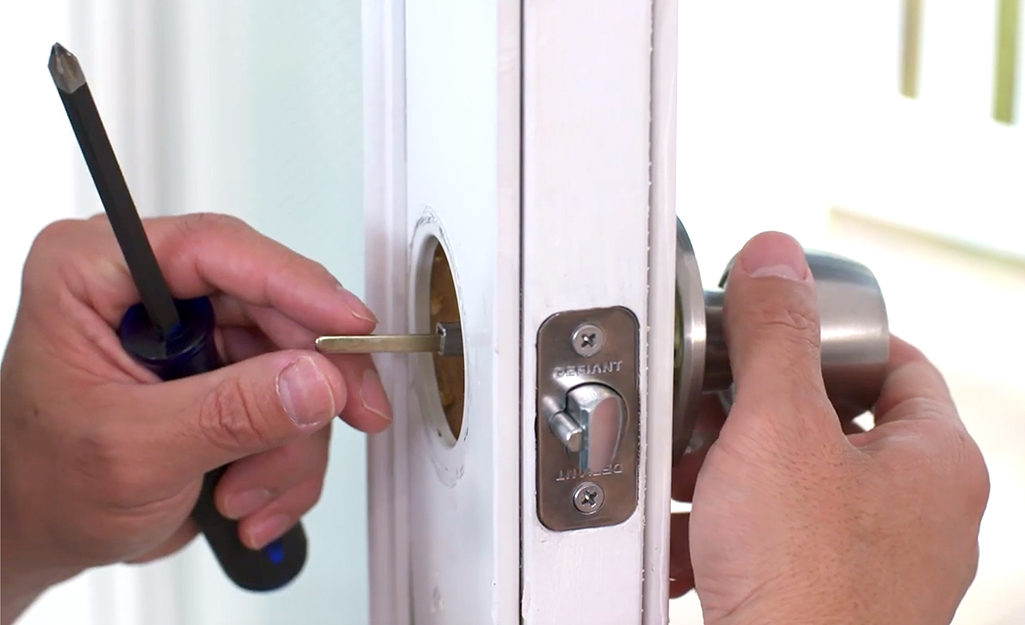
Removing The Old Deadbolt
Begin by unlocking the door and opening it wide. Use a screwdriver to take out the screws on the inside plate. Gently pull the inside and outside parts of the deadbolt apart. Remove the latch from the door edge by unscrewing it. Keep the screws and parts in a safe place. Check the door hole for any damage or leftover pieces. Fix any rough edges with sandpaper to make the hole smooth.
Cleaning The Door Surface
Use a cloth to wipe dust and dirt from the door surface. Clean around the deadbolt area thoroughly. Remove old paint or debris that may block the new lock. A clean surface helps the new deadbolt fit tightly. If needed, use mild soap and water for cleaning. Dry the door completely before installing the new deadbolt. A dry and smooth surface prevents rust and loosening.
Installing The New Deadbolt
Installing the new deadbolt is the next step after removing the old one. This part ensures your door locks securely and works smoothly. Take your time to fit all pieces correctly. Proper installation prevents problems later and keeps your home safe.
Aligning The Deadbolt Components
Start by placing the deadbolt inside the door hole. Make sure the bolt slides easily into the door frame. Check the bolt’s faceplate fits flush against the door edge. The bolt should move without sticking. Adjust the position if needed for smooth operation.
Next, align the exterior and interior parts through the door. The spindle must connect both sides. This connection lets the key turn and lock the door. Confirm the parts line up straight. Misalignment can cause the lock to jam or fail.
Securing The Exterior And Interior Parts
Hold the exterior and interior pieces tightly against the door. Insert the screws through the interior side into the exterior part. Tighten screws evenly, but do not over-tighten. Over-tightening can damage the lock or door.
Check the lock’s function by turning the key and thumb turn. The deadbolt should extend and retract smoothly. If it feels stiff, loosen screws slightly and adjust alignment. Repeat until the lock works correctly and firmly.

Credit: www.homedepot.com
Testing The Deadbolt
Testing the deadbolt is an important step after installation. It ensures the lock works correctly and keeps your door secure. A well-tested deadbolt prevents future problems and gives peace of mind. Follow these steps to check and adjust your new deadbolt.
Checking The Lock Mechanism
Start by turning the key or thumb turn slowly. The deadbolt should move smoothly without sticking. Listen for any unusual sounds like grinding or clicking. Test the lock from both sides of the door. Make sure the bolt fully extends into the door frame. If the bolt stops short, the lock may not secure the door well.
Adjusting For Smooth Operation
Check the alignment between the deadbolt and strike plate. Misalignment can cause the bolt to bind or not fully enter the hole. Loosen the strike plate screws and adjust its position slightly. Test the deadbolt again after each adjustment. Tighten the screws once the bolt slides smoothly into place. Also, check that the door closes firmly without forcing the lock.
Tips For Maintenance
Proper maintenance helps your deadbolt work smoothly for years. It saves time and money by avoiding early replacements and repairs. Simple care steps keep your door secure and easy to lock or unlock. Follow these tips to keep your deadbolt in good shape.
Lubrication And Care
Lubricate your deadbolt twice a year to prevent sticking. Use graphite powder or silicone spray, not oil. Oil can attract dust and gum up the lock. Clean the keyhole gently with a soft brush before applying lubricant. Check the screws and tighten them if loose. Make sure the bolt slides in and out without force. Regular cleaning removes dirt and dust that block movement.
When To Replace Your Deadbolt
Replace the deadbolt if it becomes hard to turn or sticks often. Rust or damage on the lock means it may fail soon. Old locks may not meet current security standards. If you lose keys or move to a new home, change the deadbolt. A fresh lock gives better protection and peace of mind. Don’t wait for problems. Change the deadbolt before it stops working properly.
Frequently Asked Questions
How Do I Remove An Old Deadbolt Lock?
Start by unscrewing the interior and exterior plates. Remove the screws holding the lock in place. Gently pull the deadbolt out from the door edge. Keep all screws safe for reinstallation. This ensures a smooth replacement process.
What Tools Are Needed To Replace A Deadbolt?
You typically need a screwdriver, tape measure, and new deadbolt lock. Sometimes a drill may be required for new holes. Having these tools ready saves time and ensures proper installation.
How To Align A New Deadbolt Correctly?
Measure the door thickness and backset carefully. Align the lock’s bolt with the strike plate on the door frame. Tighten screws evenly to avoid misalignment. Proper alignment ensures smooth locking and unlocking.
Can I Replace A Deadbolt Without Damaging The Door?
Yes, by carefully removing screws and avoiding force. Use the correct tools to prevent scratches or dents. Taking your time reduces the risk of damage during replacement.
Conclusion
Replacing a deadbolt can be simple and quick. Follow the steps carefully for best results. Use the right tools and take your time. Secure your home by ensuring the deadbolt fits well. Regular checks keep your lock working properly. A strong deadbolt adds safety and peace of mind.
You can handle this project without special skills. Keep your door secure with a new, reliable deadbolt.