Are you struggling with a stubborn deadbolt that won’t come off your door? Removing a deadbolt might seem tricky, but it doesn’t have to be.
Whether you’re upgrading your locks, fixing a jam, or just need to replace it, knowing the right steps will save you time and frustration. In this guide, you’ll learn exactly how to take a deadbolt off your door quickly and safely—no special tools or skills required.
Keep reading, and you’ll have that deadbolt removed before you know it.
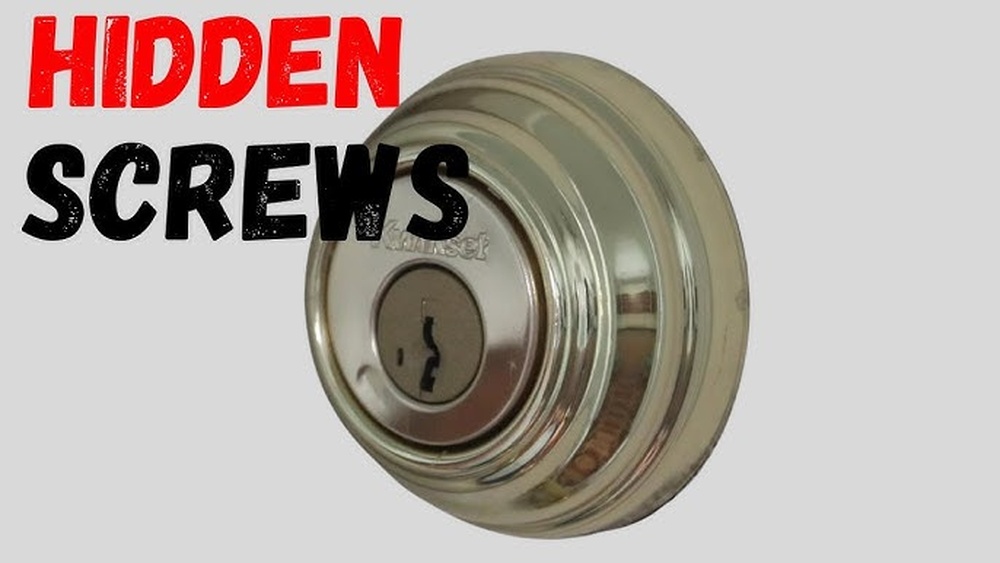
Credit: www.homedepot.com
Tools Needed
Basic tools like a screwdriver and a drill help remove a deadbolt from a door. A tape measure and pliers may also be useful for a smooth process. Having these ready makes the task easier and faster.
Removing a deadbolt from a door requires a few basic tools. These tools help you take apart the lock quickly and safely. Having the right tools makes the job easier and faster.
Most of these tools are common in any home toolbox. Using the correct tool prevents damage to the door and lock.
Phillips Screwdriver
A Phillips screwdriver is essential for removing screws from the deadbolt. It fits the cross-shaped screw heads found on most locks. Choose a size that matches the screws to avoid stripping them.
Flathead Screwdriver
A flathead screwdriver helps pry off covers or faceplates gently. It can also assist in loosening screws if they are stuck. This tool is useful for small tasks during the removal process.
Allen Wrench
Some deadbolts use Allen screws instead of regular screws. An Allen wrench set is handy for these types of locks. Check the lock to see if you need the correct size.
Pliers
Pliers help grip and turn stubborn parts of the lock. They also assist in pulling out any pins or small pieces. Use pliers carefully to avoid damaging the door or lock components.
Tape Measure
A tape measure helps confirm the size of the deadbolt and door thickness. This information is useful if you plan to replace the lock. Accurate measurements ensure you buy the right replacement parts.

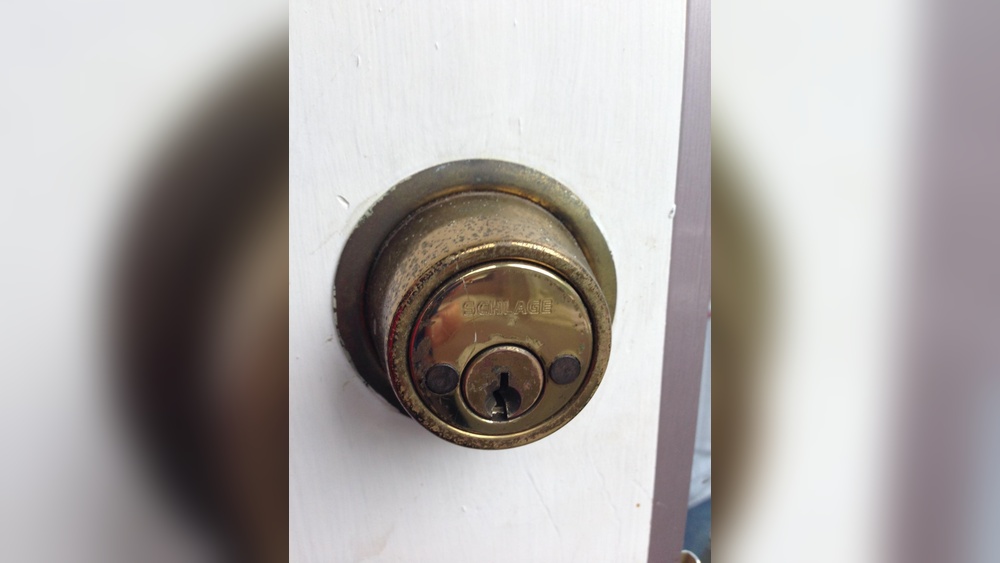
Credit: www.youtube.com
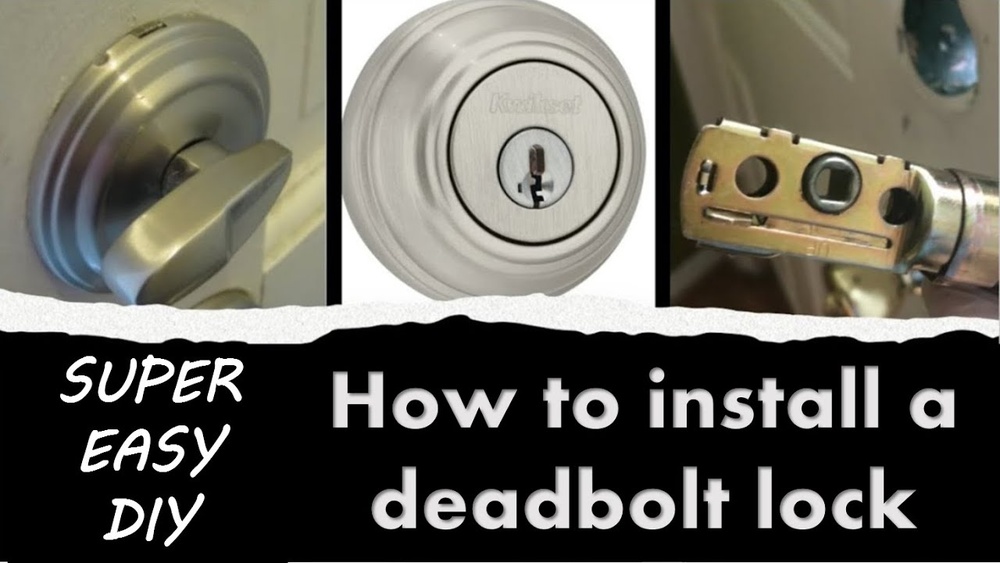
Locate Deadbolt Components
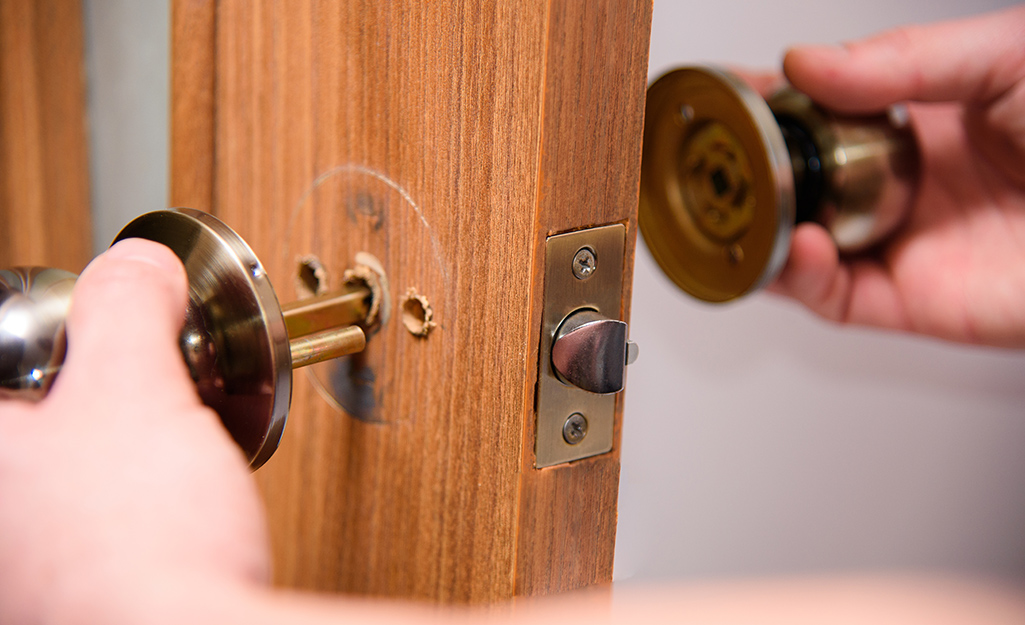
Start by finding the deadbolt’s main parts: the exterior knob, interior knob, and latch. These components connect through the door and must be separated carefully. Identifying each piece helps remove the deadbolt smoothly.
Identify Exterior And Interior Parts
Start by looking closely at your deadbolt. It has two main parts: one on the outside of the door and one on the inside. The exterior part usually has a keyhole or a thumb turn. The interior part is often a knob or lever you turn to lock or unlock the door from inside.
Knowing these parts helps you understand which side you need to work on. The exterior part connects to the lock mechanism inside the door. The interior part controls the deadbolt’s movement. Both work together to keep your door secure.
Find Screws And Plates
Look for screws on the interior side of the deadbolt. These screws hold the lock together. They are usually visible on the faceplate or around the knob. Sometimes, screws are hidden under a cover plate. Gently pry off the cover to see the screws.
The plates are metal pieces around the lock on both sides. The faceplate sits on the edge of the door. It holds the bolt in place. The strike plate is on the door frame. It receives the bolt to lock the door shut.
Finding all screws and plates is important. It lets you remove the deadbolt safely and correctly. Missing a screw might make the job harder or damage the lock.
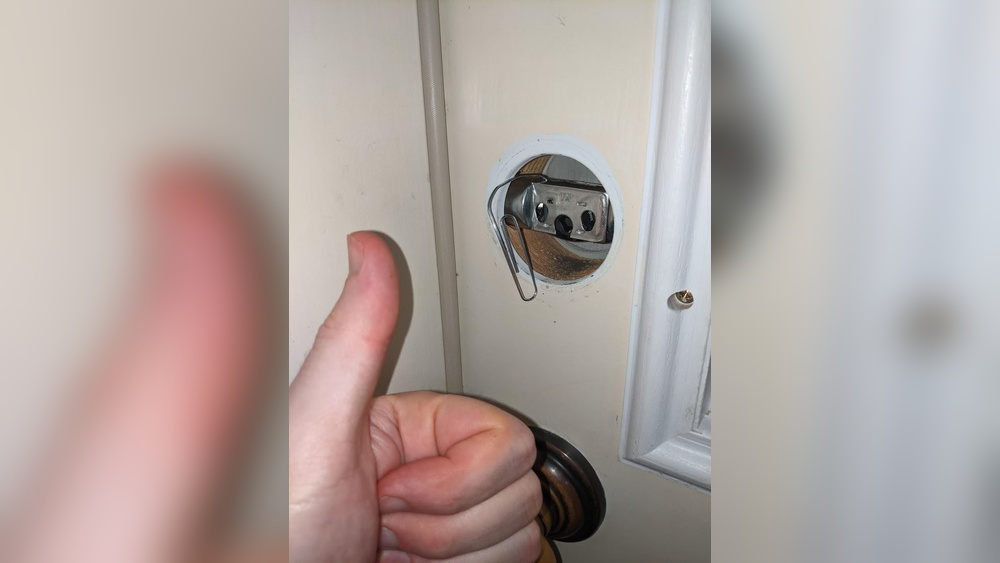
Remove Interior Plate
Removing the interior plate is an important step in taking the deadbolt off your door. This plate holds the turn knob or thumbturn and keeps the lock mechanism in place. Taking it off carefully helps you access the inner parts of the deadbolt easily.
Unscrew Mounting Screws
Find the screws holding the interior plate to the door. Usually, two or more screws secure the plate. Use a screwdriver that fits well to avoid stripping the screws. Turn the screws counterclockwise to remove them. Keep the screws safe for reinstallation.
Detach Turn Knob Or Thumbturn
After removing the screws, gently pull the interior plate away from the door. The turn knob or thumbturn will be attached to this plate. Carefully detach the knob or turn it to release it. Set the knob aside with the plate for the next steps.
Credit: doorcontrolsdirect.co.uk
Remove Exterior Cylinder
The exterior cylinder is the visible part of the deadbolt on the outside of your door. Removing it is the first step to taking the deadbolt off. This part holds the keyhole and is connected to the internal mechanism. You need to carefully remove the cylinder without damaging your door or the lock.
Make sure you have the right tools ready. A screwdriver is usually enough. Patience helps. Let’s break down the process.
Unlock And Extract Cylinder
Start by inserting the key into the cylinder. Turn the key to the unlock position. This aligns the internal parts and allows removal. Find the screw holding the cylinder in place on the edge of the door. Use a screwdriver to remove this screw carefully.
Pull the cylinder straight out from the door. If it feels stuck, do not force it. Check if the key is fully turned. Gently wiggle the cylinder to ease it out. Keep the cylinder safe for reuse or replacement.
Handle Stuck Cylinders
Sometimes the cylinder won’t come out easily. Dirt or rust may block it. Spray a small amount of lubricant into the keyhole. Let it sit for a few minutes. Try turning the key and pulling the cylinder again.
Use gentle taps with a wooden block and hammer if needed. Avoid heavy force to prevent damage. If the cylinder still does not move, double-check the mounting screw is fully removed. Be patient and repeat steps as needed.
Take Out Deadbolt Latch
Removing the deadbolt latch is a key step in taking off the deadbolt from your door. This part holds the lock in place inside the door edge. Getting it out carefully helps you avoid damage and makes the process smooth.
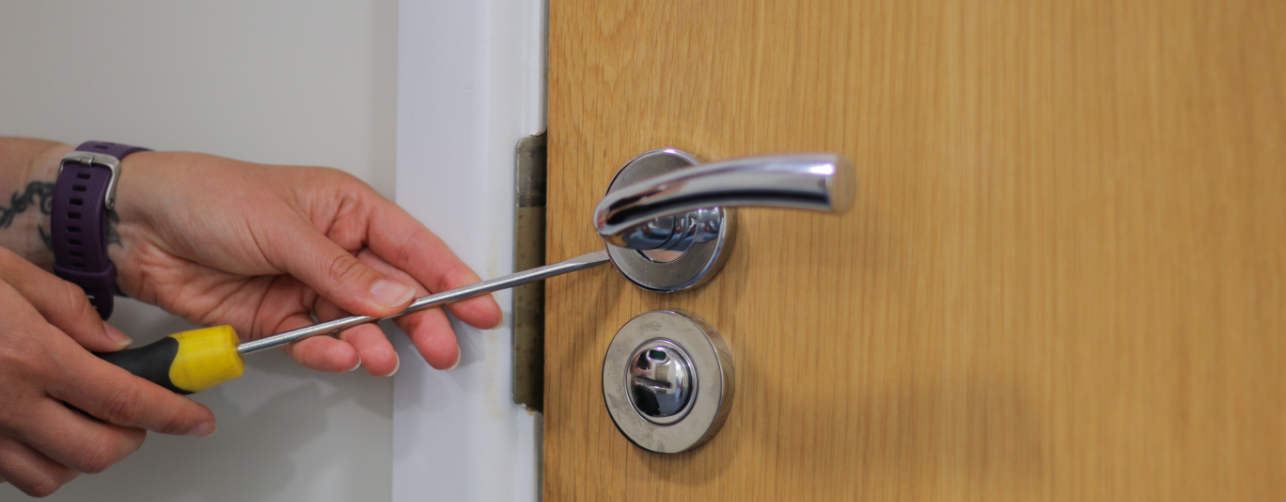
Unscrew Latch Plate
Start by locating the latch plate on the door edge. It is the metal piece around the latch bolt. Use a screwdriver to remove the screws holding the latch plate. Keep the screws safe for later use. Removing the plate exposes the latch mechanism inside.
Pull Out Latch Mechanism
After removing the latch plate, grab the latch mechanism. Pull it straight out of the door edge. If it feels stuck, wiggle it gently to loosen. Avoid forcing it hard to prevent damage. Once out, the latch mechanism is fully removed from the door.
Troubleshooting Common Issues
Removing a deadbolt can sometimes be tricky. Some parts may not come off easily. Common problems include stripped screws and rusty or jammed parts. These issues can slow down your work. Knowing how to handle them saves time and frustration.
Dealing With Stripped Screws
Stripped screws lose their grip and become hard to turn. Use a rubber band over the screw head. Press the screwdriver into the rubber band. This adds grip and helps turn the screw. If that fails, try a screw extractor tool. These tools bite into the screw for better grip. Drill the tool into the screw slowly. Always keep the drill steady to avoid damage.
Handling Rusty Or Jammed Parts
Rust can lock deadbolt parts in place. Spray a rust remover or lubricant on the rusty areas. Let it sit for 10 to 15 minutes. Use a wrench or pliers to gently move the parts. Tap lightly with a hammer to loosen stuck pieces. Avoid forcing parts hard to prevent breakage. Repeat the lubricant application if needed before trying again.
Safety Tips
Removing a deadbolt from a door can be simple if done safely. Safety is the first step. It helps avoid injury and damage to your door or lock. Follow these tips to stay safe while working on the deadbolt.
Wear Protective Gear
Always wear safety glasses to protect your eyes from dust and small metal pieces. Gloves protect your hands from sharp edges and tools. Use sturdy shoes to protect your feet from falling objects.
Use The Right Tools
Choose tools made for lock removal. Using the wrong tools can damage the door or lock. It also increases the risk of slipping and hurting yourself.
Work In A Well-lit Area
Good lighting helps you see screws and parts clearly. Avoid working in dark places where mistakes are easy. Use a flashlight if needed to improve visibility.
Keep Children And Pets Away
Keep kids and pets out of the work area. Small parts and tools can be dangerous if swallowed or stepped on. A safe space lets you focus on the task.
Handle Screws And Parts Carefully
Place screws and small parts in a container to avoid losing them. Loose parts on the floor can cause trips or falls. Handle all pieces gently to avoid damage.
Frequently Asked Questions
How Do I Remove A Deadbolt From A Door?
To remove a deadbolt, first unscrew the interior and exterior plates. Then, pull out the deadbolt mechanism from the door edge. Finally, remove the latch by unscrewing it from the door frame.
What Tools Are Needed To Take Off A Deadbolt?
You typically need a screwdriver (Phillips or flathead) and sometimes an Allen wrench. These tools help unscrew the plates and latch for easy deadbolt removal.
Can I Remove A Deadbolt Without A Key?
Yes, if you have access to the screws on the inside, you can remove the deadbolt without a key by unscrewing the plates and pulling out the bolt.
How Long Does It Take To Remove A Deadbolt?
Removing a deadbolt usually takes 5 to 15 minutes. It depends on your experience and the type of deadbolt installed.
Conclusion
Removing a deadbolt from a door is simple with the right steps. Always keep tools handy and work carefully. Taking your time helps avoid damage to the door. Follow the guide step-by-step for best results. Now, you can change or fix your lock easily.
Feel confident handling basic door hardware tasks yourself. Practice makes the process quicker and smoother next time. Stay safe and enjoy your improved door security.