Are you struggling to remove a Kwikset deadbolt lock from your door? Whether you’re replacing it, fixing a jam, or upgrading your security, taking out a deadbolt can feel tricky if you don’t know the right steps.
But don’t worry—you’re closer to unlocking this simple task than you think. In this guide, you’ll learn exactly how to remove your Kwikset deadbolt quickly and without damage. Keep reading to save time, avoid frustration, and get your door ready for whatever comes next.

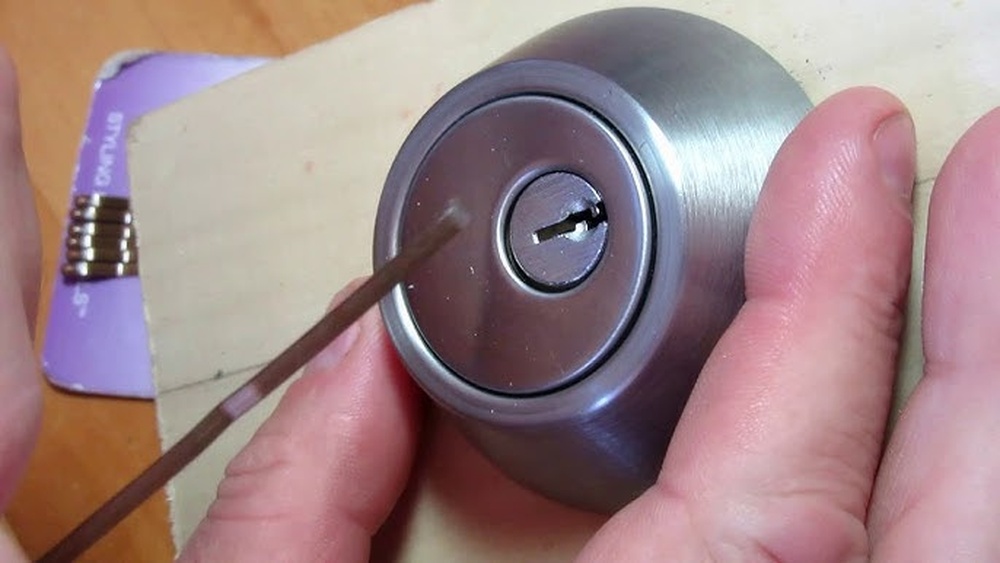
Credit: www.youtube.com
Tools Needed
Removing a Kwikset deadbolt lock needs specific tools. Having the right tools makes the job easier and faster. This section lists all the tools required for the task.
Screwdriver
A screwdriver is essential to remove screws holding the deadbolt. Most Kwikset locks use Phillips head screws. A flathead screwdriver might also help in some cases.
Allen Wrench
Some Kwikset models use small hex screws. An Allen wrench set helps remove these screws easily. Check your lock type to see if you need this tool.
Utility Knife
A utility knife helps cut through paint or sealant around the lock. This makes screw removal smoother. Be careful while using it to avoid damage.
Pliers
Pliers assist in gripping small parts or pulling out stubborn pieces. They provide extra force when needed. Needle-nose pliers work best for tight spaces.
Flashlight
A flashlight helps see inside the lock area clearly. Good lighting is important for precise work. Use a small handheld or headlamp flashlight.

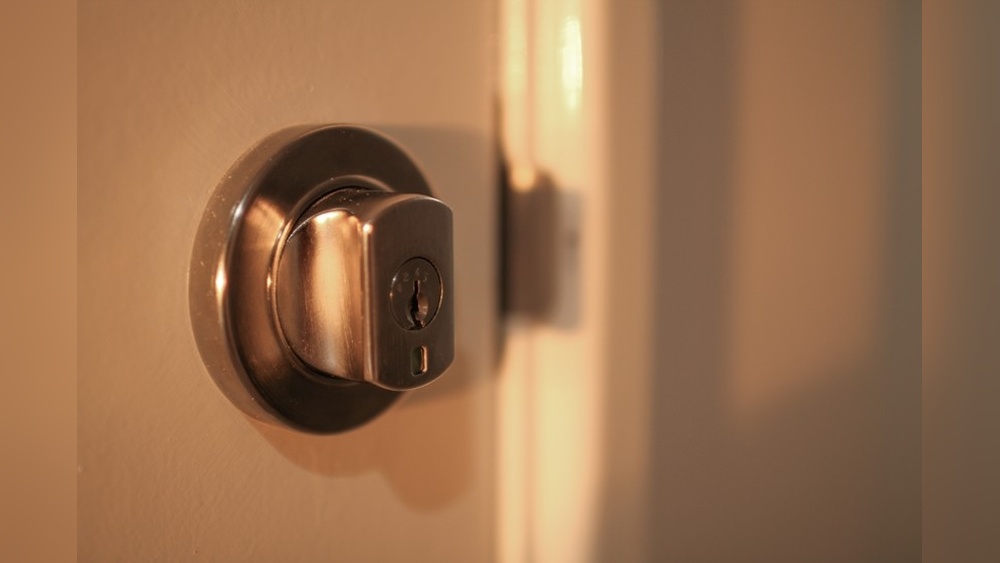
Credit: diy.stackexchange.com
Prepare The Door
Preparing the door is the first step to safely remove a Kwikset deadbolt lock. This step makes the removal process easier and faster. It also protects the door from damage during the work.
Taking time to prepare helps avoid mistakes and keeps tools handy. Clear the area around the door. Make sure the door is closed and stable before you start.
Gather Necessary Tools
Collect tools like a screwdriver, drill, and a small flat tool. Having everything ready saves time and frustration. Use tools that fit the screws on the lock.
Clear The Door Surface
Remove any decorations or objects near the lock. Clean the door surface with a cloth. This prevents dirt from falling inside the lock mechanism.
Check The Door Alignment
Inspect the door to ensure it closes properly. A misaligned door may cause issues during lock removal. Adjust hinges if the door is loose or uneven.
Secure The Door
Hold the door steady to avoid movement. Use a doorstop or wedge to keep it from swinging. A stable door helps remove the lock safely.
Remove The Exterior Knob
Start by unscrewing the screws on the interior side of the door. Then, gently pull off the exterior knob from the lock assembly. This step frees the lock for further removal.
Locate The Screws On The Exterior Knob
Start by finding the screws that hold the exterior knob in place. These screws are usually on the faceplate or under a small cover. Use a flathead screwdriver to gently pry off any cover hiding the screws.
Unscrew The Exterior Knob
Use a Phillips screwdriver to remove the screws. Turn the screwdriver counterclockwise until the screws come out. Keep the screws safe for reassembly or disposal.
Pull The Exterior Knob Away From The Door
Grasp the knob firmly and pull it straight out from the door. It should come off easily if all screws are removed. If it feels stuck, wiggle it gently to loosen it.
Check For Additional Components
Look behind the knob for a retaining clip or plate. Remove any extra parts carefully. These parts help secure the knob and must be taken off to remove the lock fully.
Detach The Interior Knob
Detaching the interior knob is the first step to remove a Kwikset deadbolt lock. This part is inside the door and holds the lock mechanism. Removing it gives you access to screws and other parts.
Handle the knob carefully to avoid damage. Follow simple steps to take it off safely. It does not require special tools or skills.
Locate The Set Screw
Look closely at the base of the interior knob. You will see a small screw called the set screw. This screw holds the knob tightly to the lock spindle.
Use A Screwdriver To Loosen The Set Screw
Use a flathead or Phillips screwdriver that fits the screw head. Turn the screw counterclockwise to loosen it. Do not remove it completely—just loosen enough to free the knob.
Pull The Interior Knob Away From The Door
After loosening the set screw, grip the knob firmly. Pull it straight out from the door. It should slide off easily if the screw is loose enough.
Keep The Knob And Screws Safe
Place the knob and the set screw in a small container. Keep them safe to avoid losing any parts during the lock removal process.
Unscrew The Deadbolt Assembly
Removing a Kwikset deadbolt lock starts by unscrewing the deadbolt assembly. This step is key to take the lock apart safely. Follow the right steps to avoid damage to the door or lock parts.
Keep your tools ready. A screwdriver will be the main tool you need. Make sure it fits the screws on your deadbolt.
Locate The Screws On The Interior Side
Look at the inside part of the door. The deadbolt assembly has two screws holding it in place. They are usually near the lock cylinder or on the faceplate. Identifying these screws helps to remove the lock easily.
Use The Correct Screwdriver
Choose a screwdriver that fits the screws well. Most Kwikset deadbolts use a Phillips head screwdriver. Using the wrong tool can strip the screws and make removal hard.
Turn The Screws Counterclockwise
Turn each screw slowly to the left. This loosens them. Keep turning until the screws come out completely. Hold the lock firmly so it does not fall.
Remove The Deadbolt Assembly From The Door
Once screws are out, gently pull the deadbolt assembly away from the door. It should come off easily. Set it aside safely to avoid losing parts.

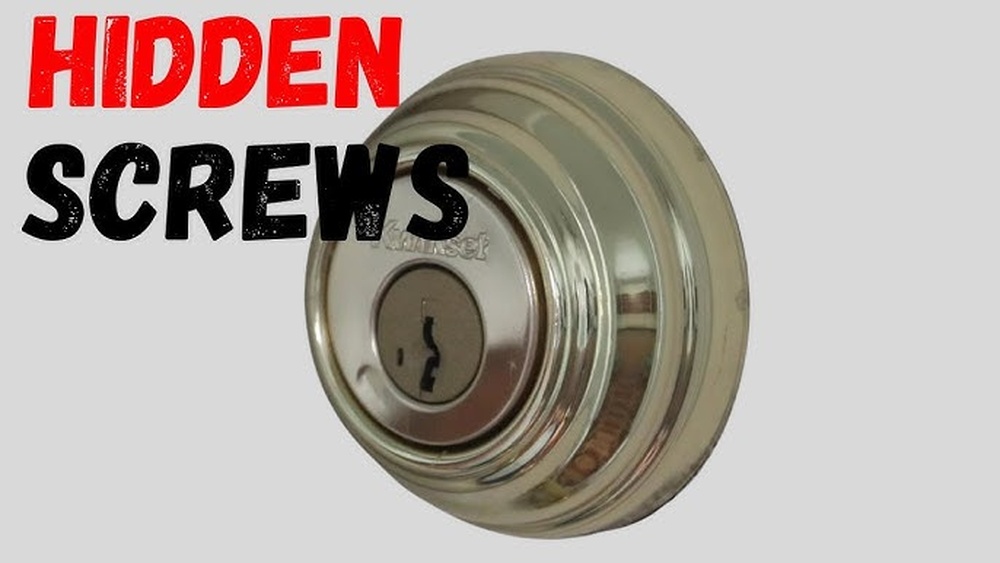
Credit: diy.stackexchange.com
Extract The Deadbolt
Extracting the deadbolt is a key step in removing a Kwikset deadbolt lock. This process frees the lock mechanism from the door, allowing you to replace or repair it. The deadbolt sits inside the door edge and controls the locking action. Removing it requires care and some basic tools.
Locate And Remove The Screws On The Door Edge
Start by opening the door wide. Look at the door edge where the deadbolt is. You will see two screws holding the deadbolt in place. Use a screwdriver to remove these screws. Keep the screws in a safe place. These screws secure the deadbolt mechanism inside the door.
Pull Out The Deadbolt Mechanism
After removing the screws, grasp the deadbolt latch firmly. Pull it straight out from the door edge. The deadbolt should slide out smoothly. If it feels stuck, wiggle it gently while pulling. Avoid using force to prevent damage to the door or lock.
Inspect The Deadbolt For Damage
Once removed, check the deadbolt for wear or damage. Look at the latch bolt and the metal casing. If the deadbolt is broken or bent, it will need replacement. A clean and intact deadbolt ensures proper locking function. This inspection helps decide if repair or replacement is needed.
Troubleshooting Common Issues
Troubleshooting common problems helps remove a Kwikset deadbolt lock smoothly. Sometimes parts do not come off easily. Other times, screws seem stuck. Knowing simple fixes saves time and effort.
Identifying Stuck Screws
Check if screws turn or feel tight. Use a screwdriver that fits well. Turn slowly to avoid stripping the head. Apply a little oil to loosen rusted screws. Let the oil sit for a few minutes. Then try unscrewing again.
Dealing With A Jammed Lock Cylinder
Insert the key and turn gently. If it won’t move, spray a small amount of lubricant inside. Avoid using too much liquid. Wait for the lubricant to work. Try turning the key again carefully.
Removing The Deadbolt Faceplate
The faceplate can stick to the door. Use a flat tool to pry it gently. Work around the edges slowly. Avoid forcing it to prevent damage. If it resists, check for hidden screws or nails.
Handling Misaligned Parts
Parts may not line up well after long use. Loosen screws slightly to adjust position. Move the lock components to fit better. Tighten screws after alignment. Check if the lock works smoothly before full removal.
Tips For Replacing Or Upgrading
Replacing or upgrading a Kwikset deadbolt can improve your door’s security and style. Choosing the right lock makes a big difference. Simple tips help you avoid common mistakes. Follow these easy steps to ensure a smooth process.
Choose The Right Deadbolt Size And Type
Measure your door’s thickness before buying a new lock. Kwikset deadbolts come in different sizes. Pick one that fits your door perfectly. Decide between single-cylinder or double-cylinder deadbolts. Double-cylinder locks need a key on both sides. This adds extra security but may slow exit in emergencies.
Check Compatibility With Your Door
Look at your door’s material and condition. Some deadbolts work better on metal doors, others on wood. Make sure the new lock matches your door’s design. Check the backset distance—the space from the door edge to the center of the lock hole. Most Kwikset locks fit standard backsets of 2 3/8 or 2 3/4 inches.
Test The Lock Before Final Installation
Install the new deadbolt parts loosely at first. Turn the key and knob to check smooth operation. Make sure the bolt slides in and out easily. Adjust the strike plate on the door frame if needed. A tight or loose bolt can cause problems later. Test multiple times to confirm proper function.
Use The Right Tools And Follow Instructions
Gather screwdrivers, a tape measure, and a drill if needed. Use the installation guide that comes with the lock. Follow each step carefully to avoid damage. Tighten screws firmly but don’t over-tighten. Over-tightening can strip screws or warp lock parts.
Frequently Asked Questions
How Do I Remove A Kwikset Deadbolt From A Door?
To remove a Kwikset deadbolt, start by unscrewing the interior mounting screws. Next, pull both the interior and exterior lock components off the door. Finally, remove the latch mechanism by unscrewing it from the door edge.
What Tools Are Needed To Remove A Kwikset Deadbolt?
You need a Phillips screwdriver and possibly a flathead screwdriver. A drill may help if screws are stuck. These tools allow you to remove mounting screws and the latch assembly safely.
Can I Remove A Kwikset Deadbolt Without The Key?
Yes, you can remove the deadbolt without the key by unscrewing the interior mounting screws. The lock cylinder usually comes off with the interior assembly, so the key is not required for removal.
How Long Does It Take To Remove A Kwikset Deadbolt?
Removing a Kwikset deadbolt typically takes 10 to 15 minutes. This depends on your skill level and if screws are easy to access and remove.
Conclusion
Removing a Kwikset deadbolt lock is simple with the right steps. Follow each part carefully for best results. Use basic tools and stay patient throughout the process. Doing it yourself saves time and money. Now, you can replace or repair your lock easily.
Keep this guide handy for future needs. Your door will be secure again soon. Simple actions make home maintenance less stressful. Try it today and feel confident handling your locks.