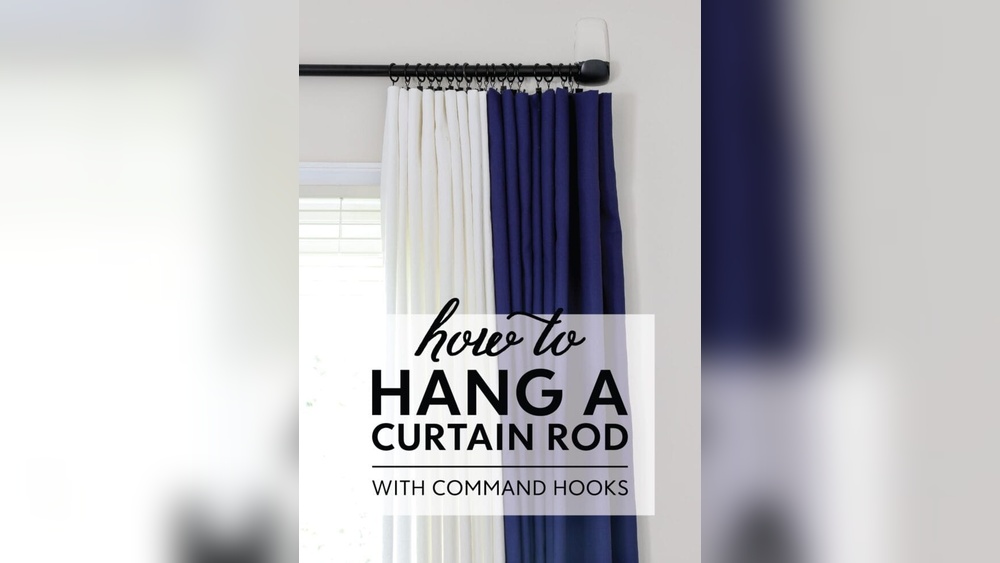
Have you ever tried to remove shelving hooks from your wall, only to end up frustrated with stubborn hooks that just won’t budge? You’re not alone.
Those small hooks can seem harmless, but pulling them out the wrong way can damage your wall or leave behind annoying holes. What if you could learn a simple, effective method to get those hooks out cleanly and quickly? Keep reading, and you’ll discover easy steps that save your wall and your patience.
Let’s get those hooks out without the hassle!
Types Of Shelving Hooks
Shelving hooks come in different types. Each type fits specific wall and shelf needs. Knowing these types helps in removing them safely and easily.
Common Wall Hooks
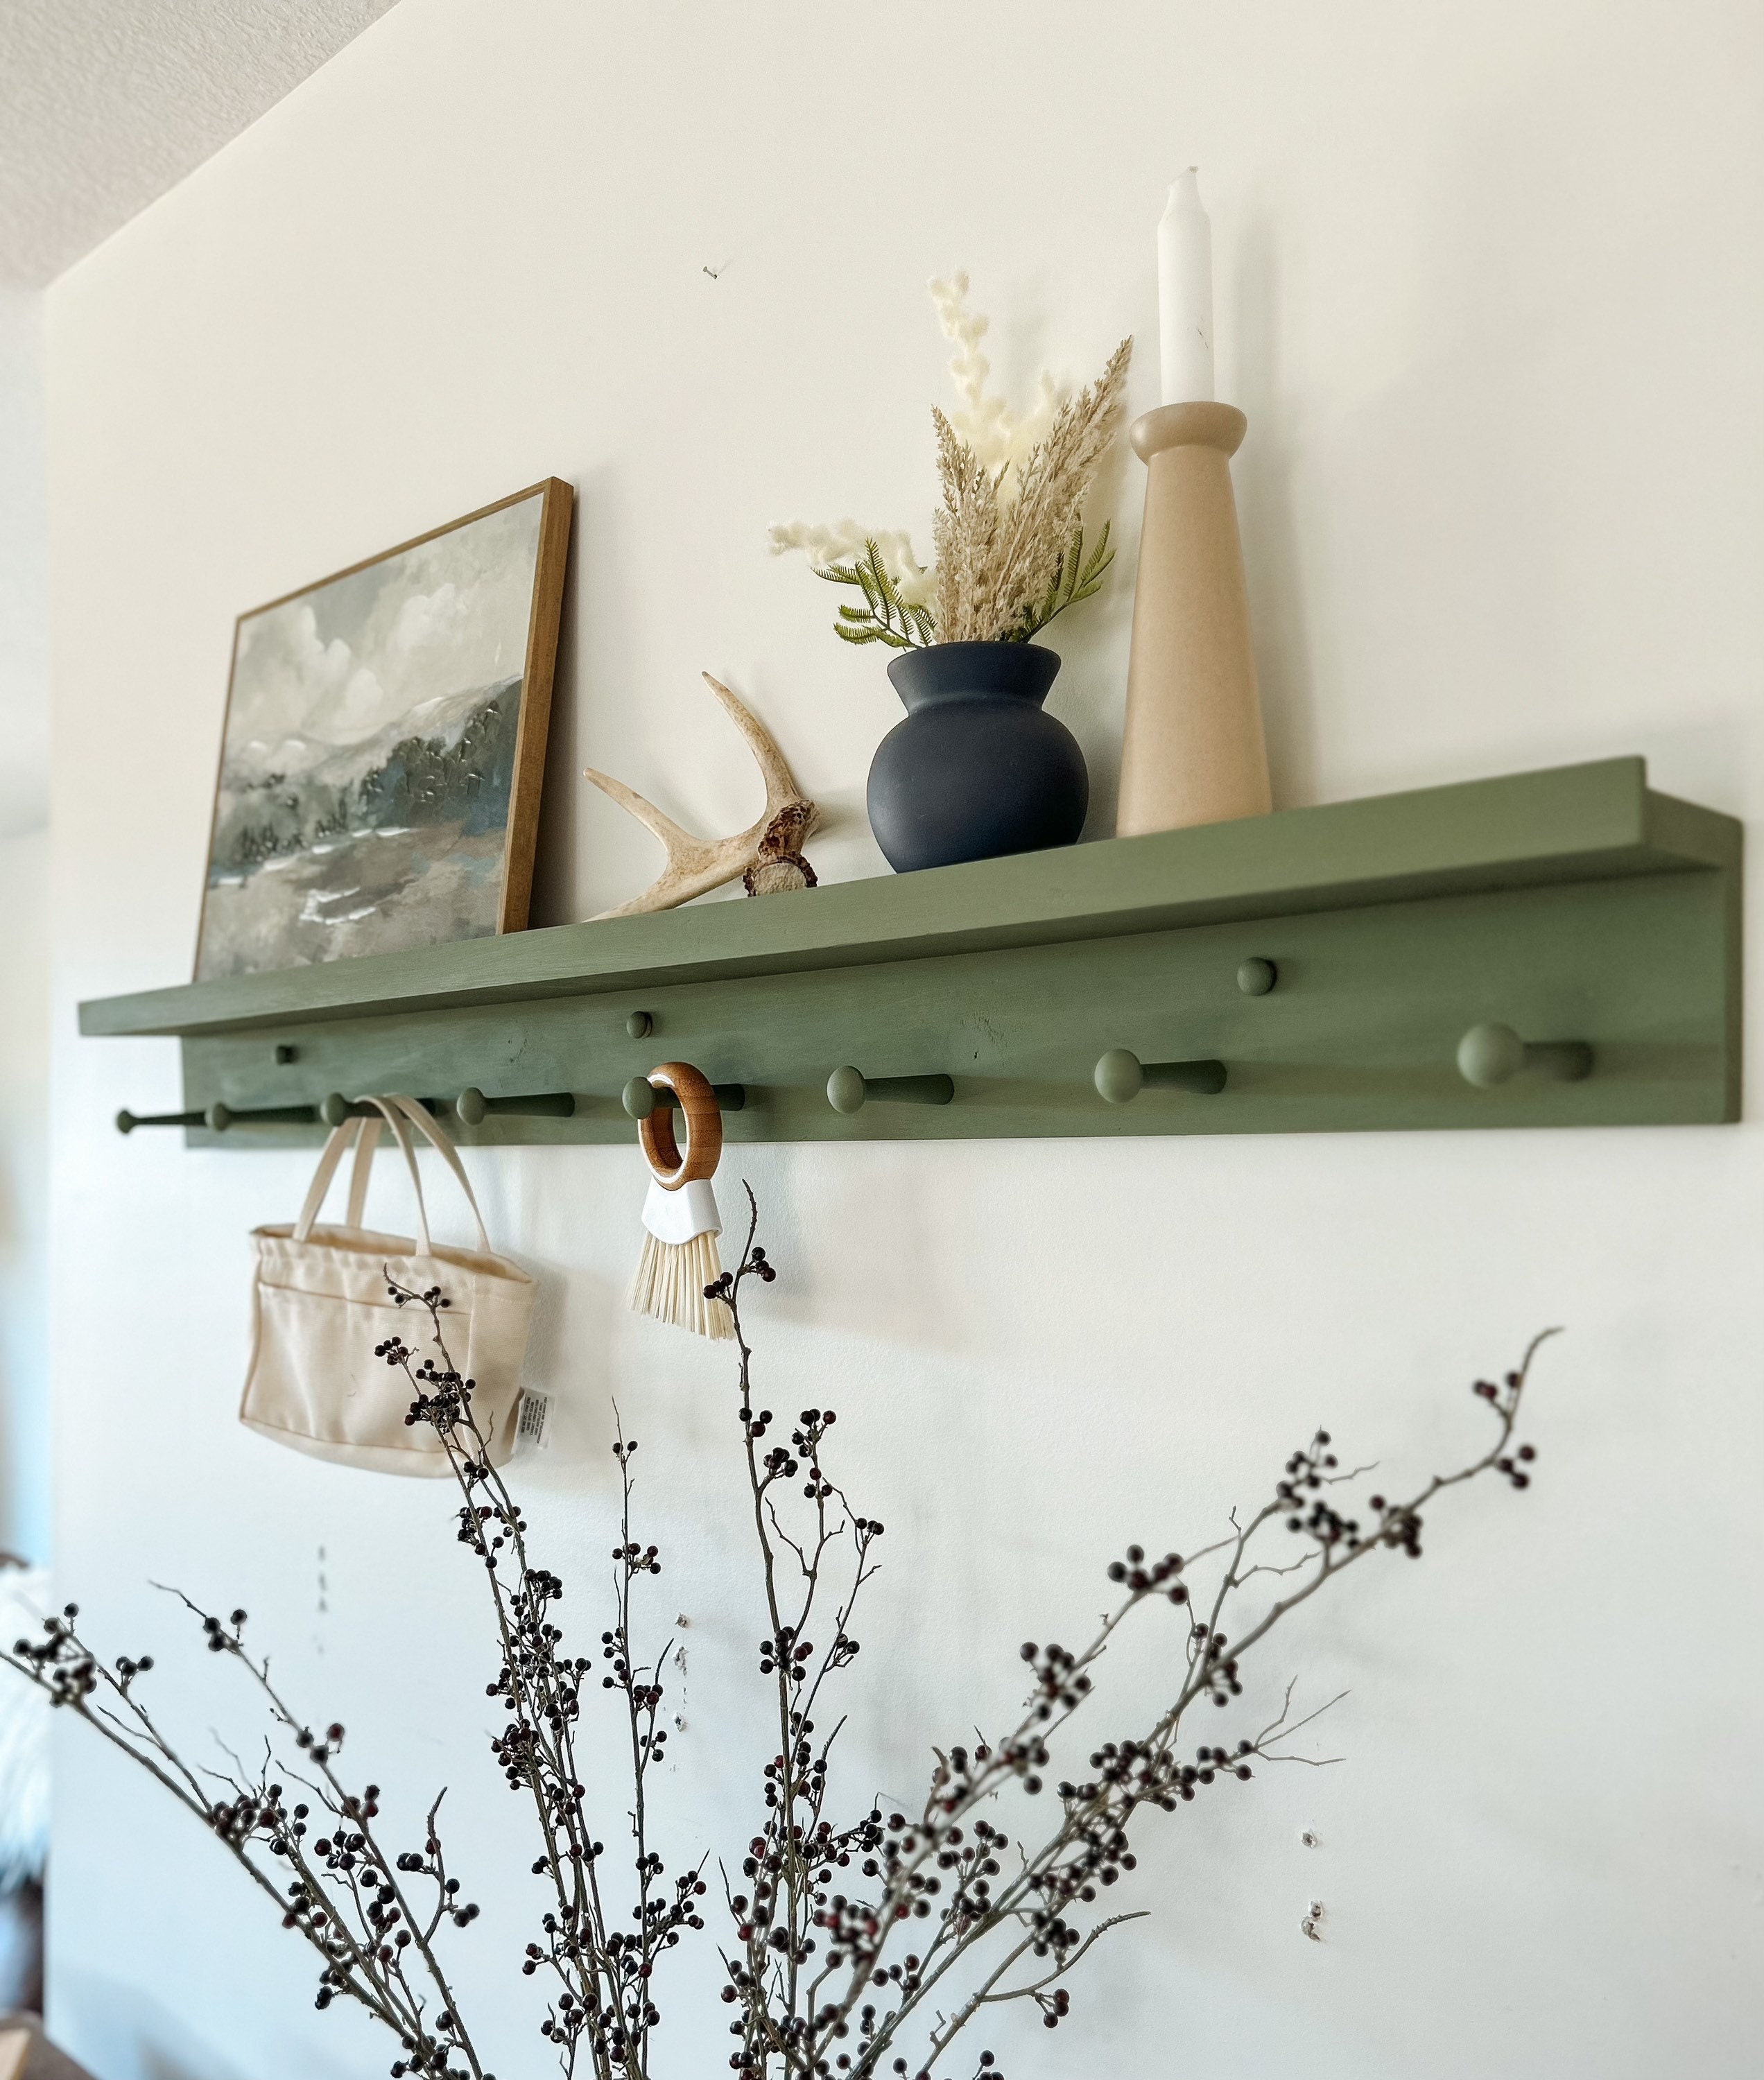
Common wall hooks are simple and often metal. They usually have a nail or pin backing. These hooks are pushed or hammered into the wall. They hold light to medium weight items. Removing them may leave small holes in the wall.
Adhesive Hooks
Adhesive hooks stick to the wall with glue. They do not need nails or screws. These hooks are easy to place and remove. They work best on smooth, clean surfaces. Removing them carefully prevents wall damage.
Screw-in Hooks
Screw-in hooks have a spiral metal end. You twist them into drywall or wood. They hold heavier items securely. Removing screw-in hooks requires unscrewing from the wall. This can leave larger holes that need patching.
Tools You’ll Need
Removing shelving hooks from walls requires the right tools. Using proper tools makes the job easier and protects your wall from damage. Prepare a small toolkit before starting.
Basic Household Tools
Start with common tools found at home. A flathead screwdriver helps pry hooks gently. A pair of pliers can twist or pull stubborn hooks. Use a hammer carefully to tap tools if needed. A putty knife helps to lift hooks without scratching walls. Keep a cloth nearby to clean any dust.
Specialized Removal Tools
Some hooks need special tools for removal. A stud finder locates nails or screws behind the wall. A hook removal tool designed for wall hooks reduces damage. A drill with a small bit helps remove screws quickly. Use a wall patch kit to fix holes after hook removal. These tools save time and protect your walls well.
Preparation Before Removal
Before removing shelving hooks from a wall, preparation is essential. It helps avoid damage and keeps the area safe. Taking a few simple steps makes the process easier and cleaner.
Prepare the space carefully. This saves time and prevents accidents or mess.
Clearing The Area
Remove any items near the shelving hooks. Clear shelves, tables, and floors around the hooks. This prevents objects from falling or getting damaged during removal.
Keep furniture and decorations away from the wall. Create enough space to work comfortably. This also helps avoid scratches or dents.
Protecting The Wall Surface
Use painter’s tape around the hook to protect the wall paint. This tape acts as a shield during removal. It reduces the chance of peeling or chipping paint.
Have a soft cloth or sponge ready to clean any dust or marks. Gently wipe the wall after removing the hooks. This keeps the wall neat and ready for repairs or repainting.
Credit: www.etsy.com
Removing Adhesive Hooks
Removing adhesive hooks from walls can be tricky. The glue sticks tightly to paint or wallpaper. Pulling too fast can peel off paint or leave marks. Taking time to soften the glue helps protect your wall. The right method makes removal easy and clean.
Softening The Adhesive
Heat loosens the glue under the hook. Use a hairdryer on low heat. Hold it a few inches away from the hook. Warm the adhesive for about 30 seconds. The glue becomes soft and less sticky. This step prevents damage when pulling the hook off.
Peeling Off Without Damage
Start by lifting one edge of the hook gently. Slowly peel it away from the wall. Keep pulling the hook close to the wall surface. Avoid yanking straight out to stop paint from tearing. If the hook resists, warm it again. Continue peeling until the hook detaches fully.
Removing Screw-in Hooks
Removing screw-in hooks from walls can be simple with the right approach. These hooks twist into the wall and need careful handling to avoid damage. Patience and the proper tools help make the task easier and safer.
Unscrewing Techniques
Start by turning the hook counterclockwise. Use your hand to grip the hook firmly. If it feels loose, continue twisting until it comes out. Avoid forcing it to prevent wall damage. For better grip, use pliers gently.
Keep steady pressure while twisting. Move slowly to avoid stripping the hook. If the hook spins but does not move, it may be stuck deeper inside.
Handling Stubborn Hooks
Apply a small amount of lubricant around the base of the hook. Let it sit for a few minutes to loosen the threads. Try twisting again with pliers for better control.
If the hook still won’t budge, tap the wall gently near the hook. This can help break the grip inside the wall. Use light taps to avoid damage.
As a last option, carefully drill around the hook to remove it. This method should be done with caution and only if other methods fail.
Credit: www.amazon.com
Fixing Wall Damage
Removing shelving hooks often leaves holes or marks on the wall. Fixing wall damage restores the smooth surface and keeps your wall looking fresh. This process involves filling holes, sanding the area, and applying touch-up paint. Each step is simple and helps the wall look like new.
Filling Holes
Start by cleaning the holes from dust and loose debris. Use a putty knife to apply wall filler or spackle. Press the filler firmly into the holes until they are completely covered. Let the filler dry according to the product instructions. This step is key to making the wall smooth again.
Sanding And Smoothing
Once the filler is dry, use fine-grit sandpaper to sand the area gently. Sand in small, circular motions to blend the filled spots with the wall. Wipe away dust with a damp cloth after sanding. This creates a smooth, even surface ready for painting.
Touch-up Painting
Choose paint that matches your wall color for the best results. Use a small brush to apply paint over the patched areas. Apply thin layers and let each dry before adding another. This hides the repair and blends the spot with the rest of the wall.
Preventing Damage In Future
Preventing damage to your walls saves time and money. Small holes and cracks can get worse. Careful choices and smart installation keep walls strong. Follow these tips to avoid future problems.
Choosing The Right Hooks
Select hooks that fit your wall type. Use lightweight hooks for drywall. Heavy items need stronger hooks or anchors. Metal hooks hold more weight than plastic. Match hook size to the shelf and load. Avoid oversized hooks that stress the wall.
Proper Installation Tips
Mark the spot before drilling or hammering. Use a level to keep shelves straight. Drill pilot holes to prevent wall cracks. Insert anchors for extra support on drywall. Tighten screws gently to avoid stripping. Check hook stability before hanging items.

Credit: frillsanddrills.com
Frequently Asked Questions
How Do I Safely Remove Shelving Hooks From Walls?
To safely remove shelving hooks, gently twist or pull them while supporting the wall. Use pliers for stubborn hooks. Avoid damaging the wall by working slowly and carefully.
What Tools Are Needed To Take Shelving Hooks Out?
You need pliers, a flathead screwdriver, and a putty knife. These tools help grip, loosen, and remove hooks without harming the wall surface.
How Can I Fix Wall Damage After Removing Hooks?
Fill holes with spackle or wall filler. Smooth with a putty knife, let dry, then sand. Finally, repaint to match the wall color for a seamless finish.
Can Shelving Hooks Cause Wall Damage When Removed?
Yes, improper removal can cause holes, paint peeling, or plaster cracks. Use correct tools and gentle methods to minimize damage.
Conclusion
Removing shelving hooks from walls can be simple with the right steps. Use gentle tools to avoid damage. Take your time and work carefully. Small holes can be filled and painted easily. This keeps your wall looking neat and clean.
Remember, patience helps prevent mistakes. Now, your wall is ready for new decorations or a fresh look. Keep these tips handy for future projects. Simple actions make a big difference in home care.