Your light switch cover is one of the most overlooked spots in your home. Yet, with just a little creativity, it can become a small but powerful detail that brightens up any room.
Imagine turning this simple piece into a unique decoration that reflects your style and personality. You don’t need to be an expert or spend a lot of money to do it. You’ll discover easy and fun ways to decorate your light switch cover, making your space feel more inviting and truly yours.
Ready to transform something ordinary into something eye-catching? Let’s get started!

Credit: www.youtube.com
Choosing The Right Materials
Choosing the right materials is key to a great light switch cover. The materials affect the look, feel, and durability. Picking the best option depends on your style and the room’s use. Some materials offer bright colors. Others bring texture or a unique touch. Think about the material’s ease of use and cleaning needs too.
Paints And Finishes
Paint is a popular choice for light switch covers. Acrylic paint works well and dries fast. Use a primer first for better color hold. Matte, glossy, or satin finishes change the look. Glossy finishes shine and are easier to clean. Matte finishes hide fingerprints and smudges. Choose finishes based on the room’s style and lighting.
Decals And Stickers
Decals and stickers add quick decoration. They come in many shapes, patterns, and colors. Peel and stick designs are easy to apply. Remove them without damage if you want to change styles. Use waterproof decals in kitchens and bathrooms. Layer decals for a fun, personalized look. They work well on plain covers.
Fabric And Textures
Fabric gives a soft and cozy feel. Use cotton, burlap, or felt for texture. Glue fabric smoothly to avoid wrinkles. Add trim or buttons for extra detail. Textured fabrics bring warmth and depth. Seal fabric with a clear finish for protection. Perfect for bedrooms or living rooms.
Recycled And Upcycled Items
Recycled materials add a unique, eco-friendly touch. Use old buttons, scraps of wood, or metal pieces. Glue these items creatively on the cover. This method saves money and reduces waste. Each piece will be one of a kind. Great for rustic or vintage styles. Make sure the items are safe and well-attached.
Credit: www.homedit.com
Prepping Your Switch Cover
Prepping your light switch cover is the first step to a beautiful makeover. This step helps paint and decorations stick well. It also ensures your design lasts longer. Taking time now saves effort later.
Cleaning And Sanding
Start by removing dust and dirt from the switch cover. Use soap and water or rubbing alcohol. Let it dry fully before the next step. Lightly sand the surface with fine-grit sandpaper. This roughens the cover so paint will hold better. Wipe off any sanding dust with a clean cloth.
Priming For Better Adhesion
Apply a thin layer of primer to the cover. Choose a primer that matches your paint type. Primer creates a smooth base and helps paint stick. Let the primer dry completely before painting. This step prevents peeling and uneven color.
Painting Techniques
Painting a light switch cover is a simple way to add personality to any room. Different painting techniques can create unique and beautiful effects. These methods are easy to try and do not need special skills. Choose the style that fits your room and mood.
Solid Colors And Patterns
Start with a clean, smooth cover. Use a primer if the cover is plastic. Pick a color that matches your room. Solid colors give a neat and fresh look.
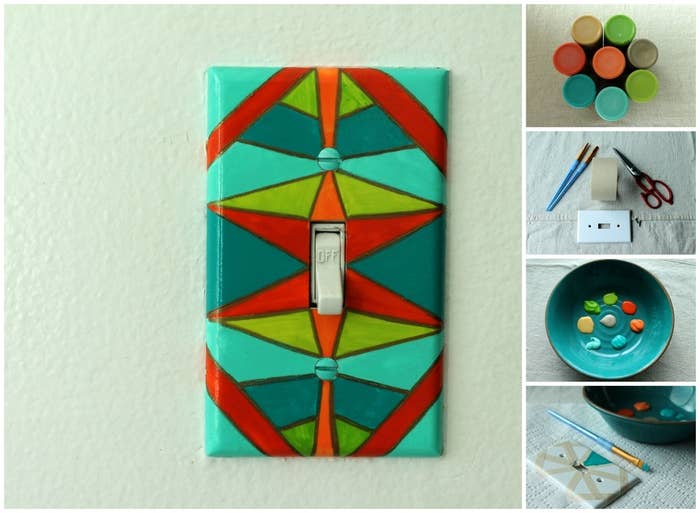
For patterns, use a thin brush or sponge. Polka dots, stripes, or chevron can be fun. Keep the pattern small to fit the cover size. Let each layer dry before adding more.
Stenciling Designs
Stencils help create detailed shapes easily. Place the stencil on the cover and hold it steady. Use a small brush or sponge to apply paint over the stencil. Gently lift the stencil to avoid smudges.
Choose simple shapes like stars, leaves, or geometric forms. Use contrasting colors for a bold effect. Stenciling adds charm without much effort.
Using Tape For Sharp Lines
Painter’s tape creates clean, straight lines. Stick the tape on the cover to mark areas. Paint over the exposed parts carefully. Wait until the paint dries fully before removing tape.
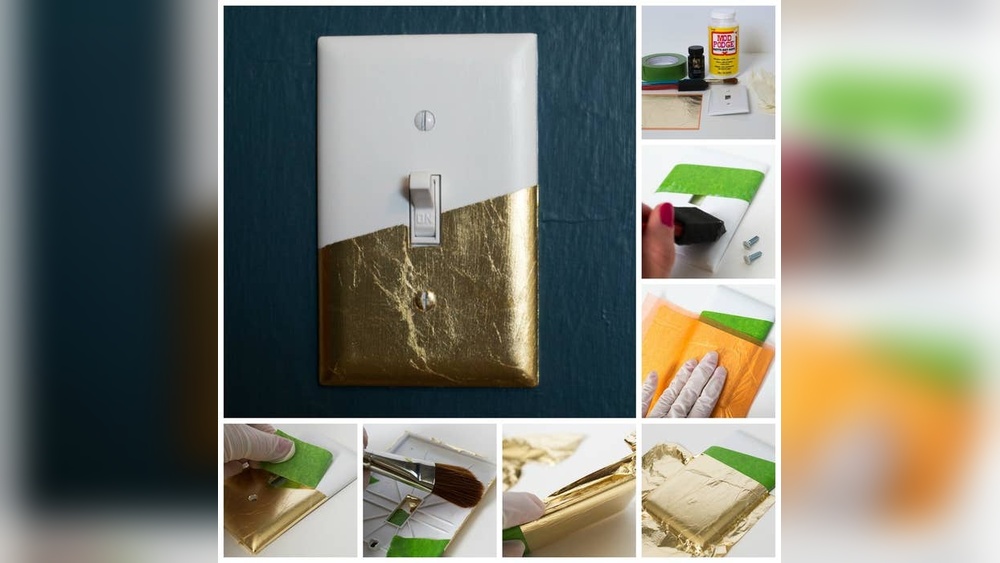
This method works well for stripes or color blocks. Use different colors to create modern designs. Sharp lines give a professional and polished look.
Adding Decorative Elements
Adding decorative elements to a light switch cover can change a plain wall into a charming space. Small details make a big difference in home decor. Decorating these covers is easy and fun. You can use simple materials to create unique designs. This section shows easy ways to add style and personality.
Applying Decoupage
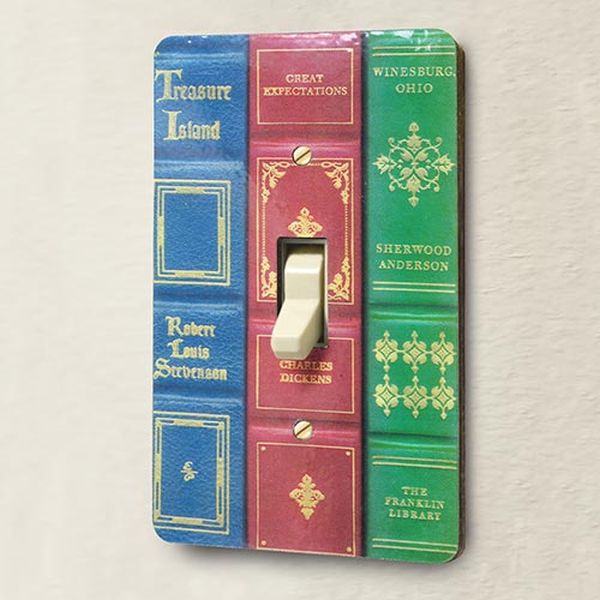
Decoupage is a simple way to decorate a light switch cover. Cut out pretty paper or fabric pieces. Use glue to stick them on the cover. Smooth out bubbles and wrinkles carefully. Seal the surface with a clear varnish for protection. This technique lets you add colorful patterns or images quickly.
Attaching Small Embellishments
Small embellishments bring texture and charm to switch covers. Use beads, buttons, or tiny shells. Attach them with strong glue or a hot glue gun. Arrange the pieces in a pattern or randomly for a fun look. These decorations make the cover stand out and feel personal.
Using Washi Tape
Washi tape is a quick and clean way to decorate. Choose tapes with stripes, dots, or floral designs. Cut strips and stick them on the cover in different directions. You can create stripes, borders, or geometric shapes. Washi tape peels off easily, so you can change designs often.
Creative Themes To Try
Decorating light switch covers offers a fun way to personalize any room. Creative themes can transform a plain cover into a small piece of art. Choosing a theme helps match the cover to your room’s style. Here are some creative ideas to inspire your next project.
Nature-inspired
Nature themes bring calm and freshness indoors. Use leaf patterns, flowers, or wood textures. Paint small trees or birds to add charm. Natural colors like green, brown, and blue work well. This theme fits living rooms, bedrooms, and even kitchens.
Vintage And Retro
Vintage covers add a classic, timeless touch. Try old floral prints or retro geometric shapes. Soft pastel colors or sepia tones create nostalgia. Use stickers or decoupage with vintage paper. This theme suits cozy spaces and vintage decor fans.
Minimalist Styles
Minimalist covers keep things simple and clean. Use solid colors or simple lines and shapes. Black, white, and gray are perfect choices. A small dot or stripe can make a big impact. This style works well in modern and small spaces.
Whimsical And Fun
Whimsical themes bring joy and playfulness. Paint cartoon characters, animals, or funny faces. Bright colors and bold patterns create energy. Use glow-in-the-dark paint for a surprise effect. This theme is great for kids’ rooms or creative spaces.
Sealing And Protecting Your Design
Sealing and protecting your design is a key step in decorating a light switch cover. It keeps your artwork safe from dirt, water, and daily wear. A good sealant helps your design last longer and stay bright. Protecting your work also makes cleaning easier and keeps colors from fading.
Choosing The Right Sealant
Pick a sealant that fits your design material. Clear acrylic spray sealants work well on painted or paper designs. For decoupage or fabric, use a water-based polyurethane sealant. Avoid sealants with strong fumes for indoor use. Matte or glossy finishes offer different looks. Choose one that matches your style. Test the sealant on a small part first to see how it reacts.
Tips For Long-lasting Finish
Apply sealant in thin, even layers for best results. Let each coat dry fully before adding another. Use at least two coats for strong protection. Avoid touching or moving the cover until the sealant dries completely. Clean the cover gently with a soft cloth to avoid scratches. Keep the switch cover away from harsh chemicals or sharp objects. Store extra sealant for touch-ups later.
Diy Light Switch Cover Ideas
Light switch covers are small details that can brighten any room. Decorating them yourself adds personality and charm. You can create unique covers with simple materials. These ideas are easy and budget-friendly. Try these three creative ways to decorate your light switch covers.
Using Scrapbook Paper
Scrapbook paper offers many colors and patterns. Choose a design that matches your room’s style. Cut the paper to fit the cover size. Use glue or decoupage medium to stick the paper on. Seal it with a clear coat for durability. This method is quick and lets you change covers often.
Mosaic Tile Covers
Mosaic tiles add texture and shine to covers. Pick small tiles or broken pieces for a mosaic look. Arrange them on the cover in a pattern you like. Glue each tile firmly in place. Fill gaps with grout for a smooth finish. This project takes time but creates a stunning effect.
Chalkboard Paint Covers
Chalkboard paint turns covers into writable surfaces. Apply two coats of chalkboard paint evenly. Let it dry completely between coats. Use chalk to write notes or draw on the cover. Erase and change designs anytime. This idea is fun and practical for kitchens or kids’ rooms.
Credit: www.buzzfeed.com
Safety And Installation Tips
Decorating a light switch cover can brighten a room and show your style. Safety is very important during this process. Taking care with installation avoids accidents and damage. Follow easy steps to keep safe and install covers correctly.
Removing And Replacing Covers Safely
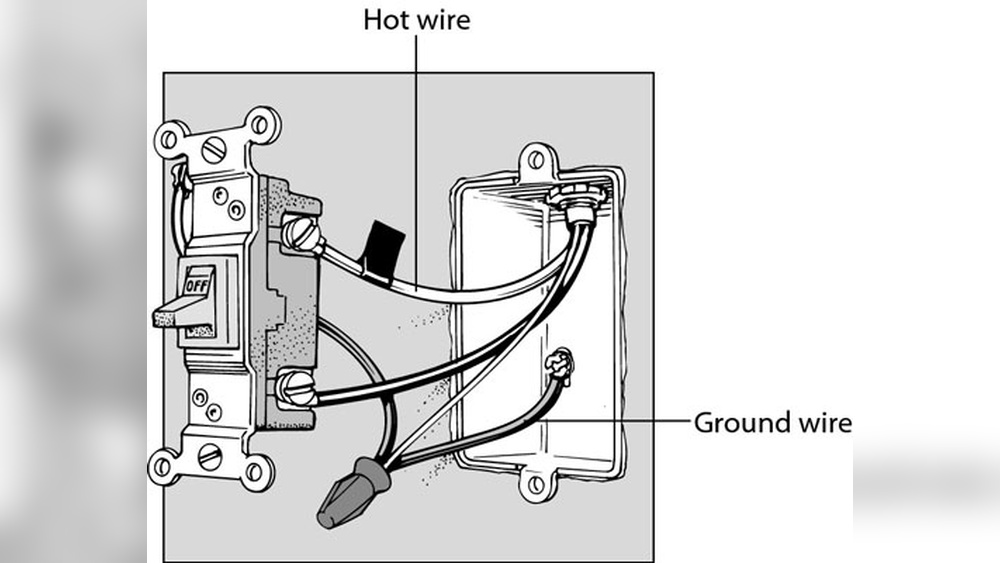
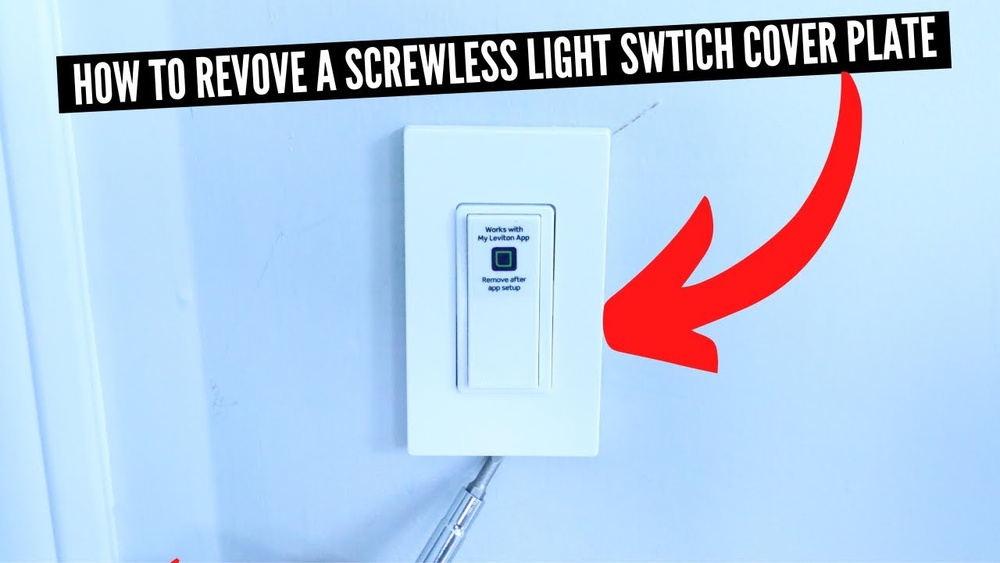
Turn off the power at the circuit breaker before starting. Use a screwdriver to remove the screws on the old cover. Hold the cover gently and pull it away from the wall. Check the wall for any damage or dirt before placing the new cover.
Align the new cover with the switch and wall holes. Insert screws carefully and tighten them without forcing. Do not over-tighten screws to avoid cracking the cover. Turn the power back on after the cover is secure.
Avoiding Electrical Hazards
Never touch wires or electrical parts during decoration. Use insulated tools to reduce shock risk. Keep water and liquids away from the switch area. Avoid decorating covers with metal parts that can conduct electricity.
Check for any loose or exposed wires before starting. If you see damaged wires, call a professional electrician. Always use covers made from non-conductive materials. Keep children away from the work area during installation.
Frequently Asked Questions
How Do I Remove A Light Switch Cover Safely?
Turn off the power at the circuit breaker first. Use a screwdriver to unscrew the cover gently. Avoid forcing it to prevent damage. Always handle electrical components with care to ensure safety.
What Materials Can I Use To Decorate A Light Switch Cover?
You can use paint, washi tape, stickers, fabric, or decoupage. Choose materials that adhere well and are easy to clean. Avoid anything flammable or that blocks the switch’s function.
Can I Use Spray Paint On Light Switch Covers?
Yes, spray paint works well for smooth, plastic covers. Remove the cover before painting. Apply thin, even coats for best results. Allow full drying time between coats to prevent drips.
How Do I Protect Decorated Light Switch Covers?
Seal the design with a clear acrylic spray or varnish. This protects against dirt and wear. Make sure the sealant is compatible with your decoration materials. Let it dry completely before reinstalling.
Conclusion
Decorating a light switch cover is simple and fun. Small changes can brighten any room. Use paint, stickers, or fabric for a fresh look. Personal touches make your space feel special. Try different styles until you find one you like.
It’s a quick project anyone can do. Enjoy the process and your new decor!